Hello, I have am OMtech red/black 60W and have been making some larger signs that require use of the Print and Cut feature. I am using American Photonics lens and their red dot to align the nozzle. The red dot is not great on the original or AP setup because it always seems to move. I am sure everyone here has experienced it, but even a slight bit of movement in the red laser causes it to go out of alignment and I am never confident in its accuracy.
Since I am using the Print and Cut so much I am hoping for some help in making the alignment easier, quicker, and more accurate. Right now I use the red dot to get pretty close then walk in the laser by doing pulse burns on the target to confirm. The problem is, if I have to do pulse burns more than several times I end up burning over old marks making alignment a problem.
I am looking at either a beam combiner or getting a camera setup…or any other advice you all may have. Is the camera as accurate as a beam combiner would be?
Not as accurate. On our 1610 bed, with the 8MP camera, I got it around 2-4 mm so far, as long as you’re in the middle part of the bed. We might be able to get it calibrated better. There is a limiting factor, at this size even the high-MP camera’s pixel width seems like 1-2mm so accuracy is limited by pixel size too.
I have to think something is wrong with the alignment or maybe movement in the camera location. Even 2 mm is big but 4 mm is basically useless.
I suspect you’re right that it won’t be quite as accurate as a beam combiner but I would expect <1mm deviance given that print and cut can accurately cut through material using a camera without a material seam.
I don’t think it’s movement. I’ve defeated the interlock and left the door open and didn’t move it. Fired in one spot, shifted to precision for that spot, then tried another part of the bed and it had a different offset.
The camera lens calibration didn’t go that smoothly, first corners got good scores, rear ones struggled to ever get below 1.0. So that might be better. But even with the highest res camera, the pixel width is a limiting factor for placement accuracy on larger beds.
Hmm. The 8MP camera I have should be 3840 horizontal resolution. I have a 1600mm wide bed. Some of the camera field of view is outside the bed and unusable, but not much. My workspace background should have a resolution significantly better than 1mm, but it doesn’t appear so. Is the LB software reducing the resolution when displaying it under the workspace?
This should at least verify what you should be getting in LightBurn. LightBurn is also doing distortion correction so pixels won’t be 1:1 but should at least confirm the expected input resolution.
I had always understood that it would be more accurate to do the alignment with a wider pattern since you’d be averaging out the error from a larger area.
4mm deviance would make it only really useful for rough placement.
You may want to rerun your calibration since that’s where you said you had the most trouble. If you didn’t the first time, try gluing down the calibration pattern to a very flat stuff surface to alleviate any distortion. Also pay very close attention the instructions. Particularly, that only the center image is directly facing the camera. All other captures should have the image on the same plane as the first, but not facing the camera. Meaning don’t turn the image toward the camera at those other positions. If lightning is not good, see what you can do to improve it so it’s bright and even.
I think I can get it better than 2-4mm, I believe it’s the lens calibration, rather than alignment. It fought me a lot to get the 1.0 score, the minimum it will allow you to use. Weirdly, I think I had the lens calibration better during the first attempt weeks prior. It fought me MORE then, giving insanely warped, compressed, or simply mirrored screens while looking for the polka dot sheet. It took forever to make that one converge on a solution and a lot of tinkering with the lighting, because I couldn’t cover all the honeycomb
One thing you could try is to do the actual calibration portion (not the alignment) away from the laser where you can get good lighting. It needn’t be done where you expect to use it.
Do those of you with what you feel are well calibrated machines feel it would work well for a Print and Cut technique on a large object and using the pass throughs?
What IS it doing for calibrating the lens, anyhow? I understand the goal is compensating for “barrel distortion” so the image becomes an accurate linear mm scale after remapping.
I feel like this lens cal process could be more accurate and even quicker with manually clicked fiducials, like in the camera alignment phase. I spent so long time trying to get it to find polka dots, this would be a shortcut.
Yes, the focus during calibration is to work out the nuances of the camera/lens itself. As you say, barrel distortion, lens distortion in general, perspective distortion I assume. This is how they get vertical and horizontal lines to look square.
Apparently if you buy a LightBurn camera you can actually skip calibration and use the pre-configured calibration settings.
I would definitely go with red dot if aiming for targets while using Print and Cut (Dumb name btw, should be Pass & Cut, or Passthru or something like that). Just chg your speed to less than 10, and then Set 1st and 2nd Target)
I hear people talk about CloudRay combiner all the time, CR_Combiner, but I hated it, esp the small nuts in all 4 corners to adjust it. I see they have a newer one, with round clamp, but doesn’t look much better in design and replaces M1. CR_M1_Combiner
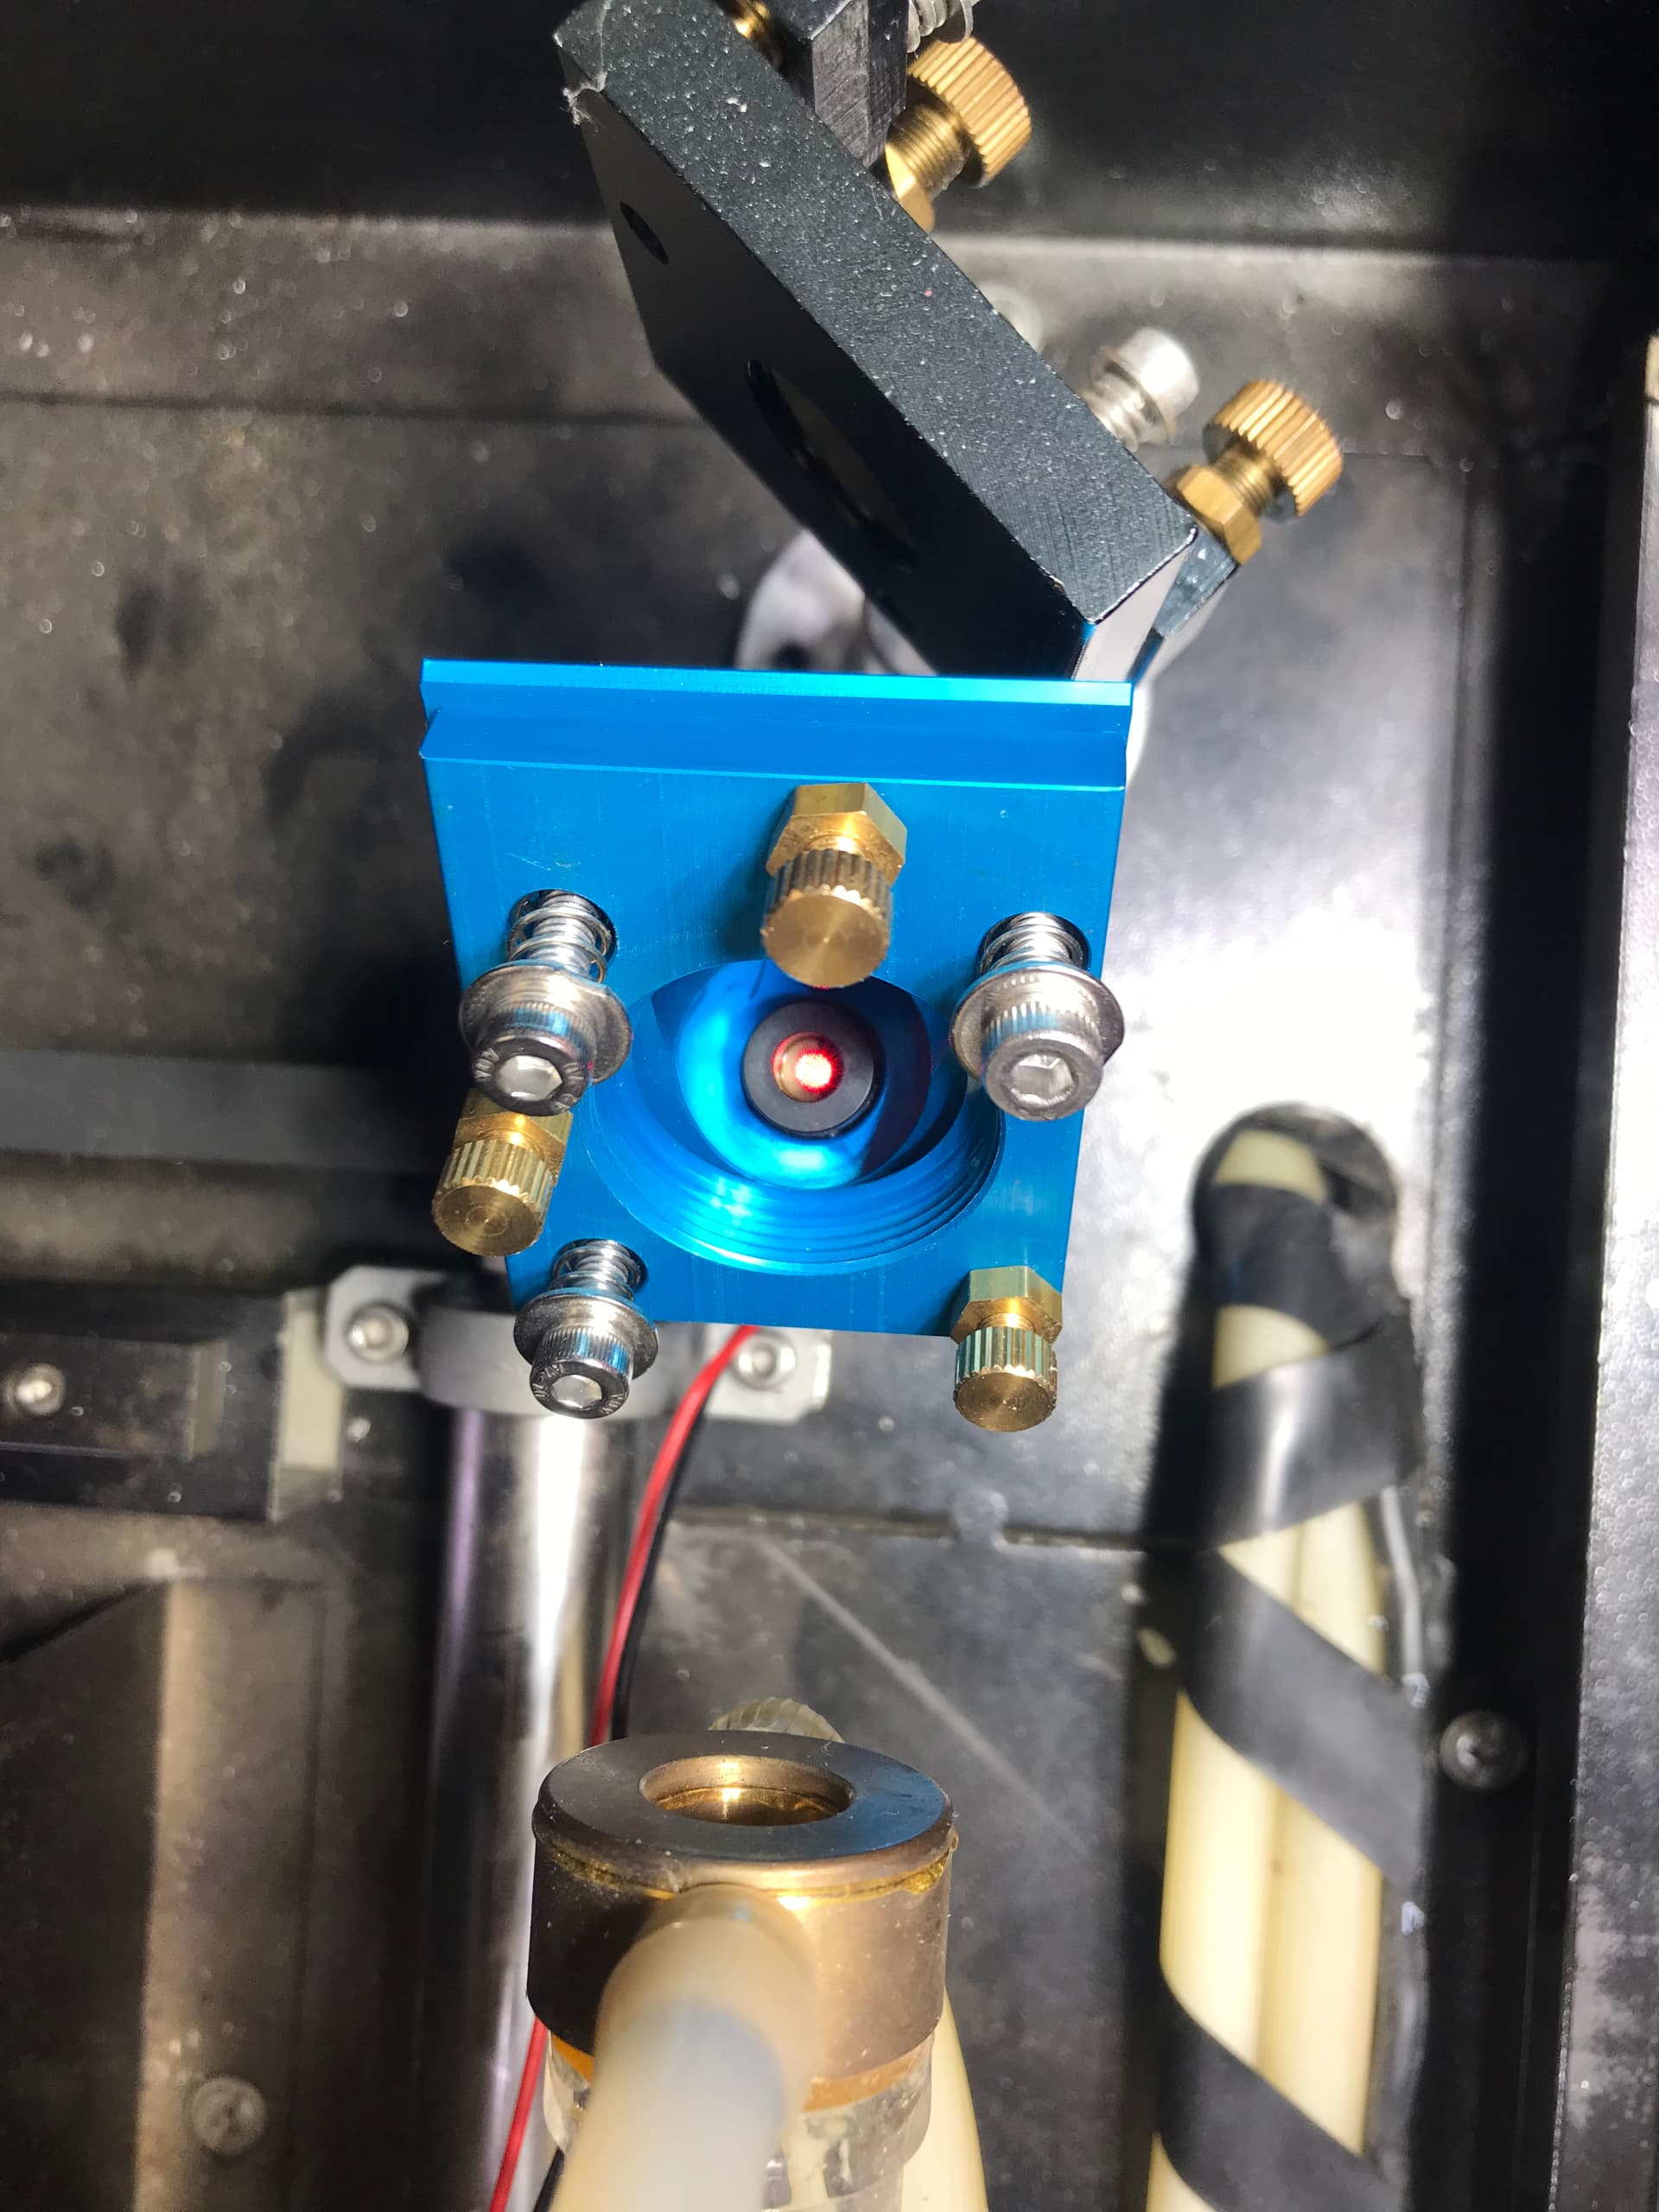
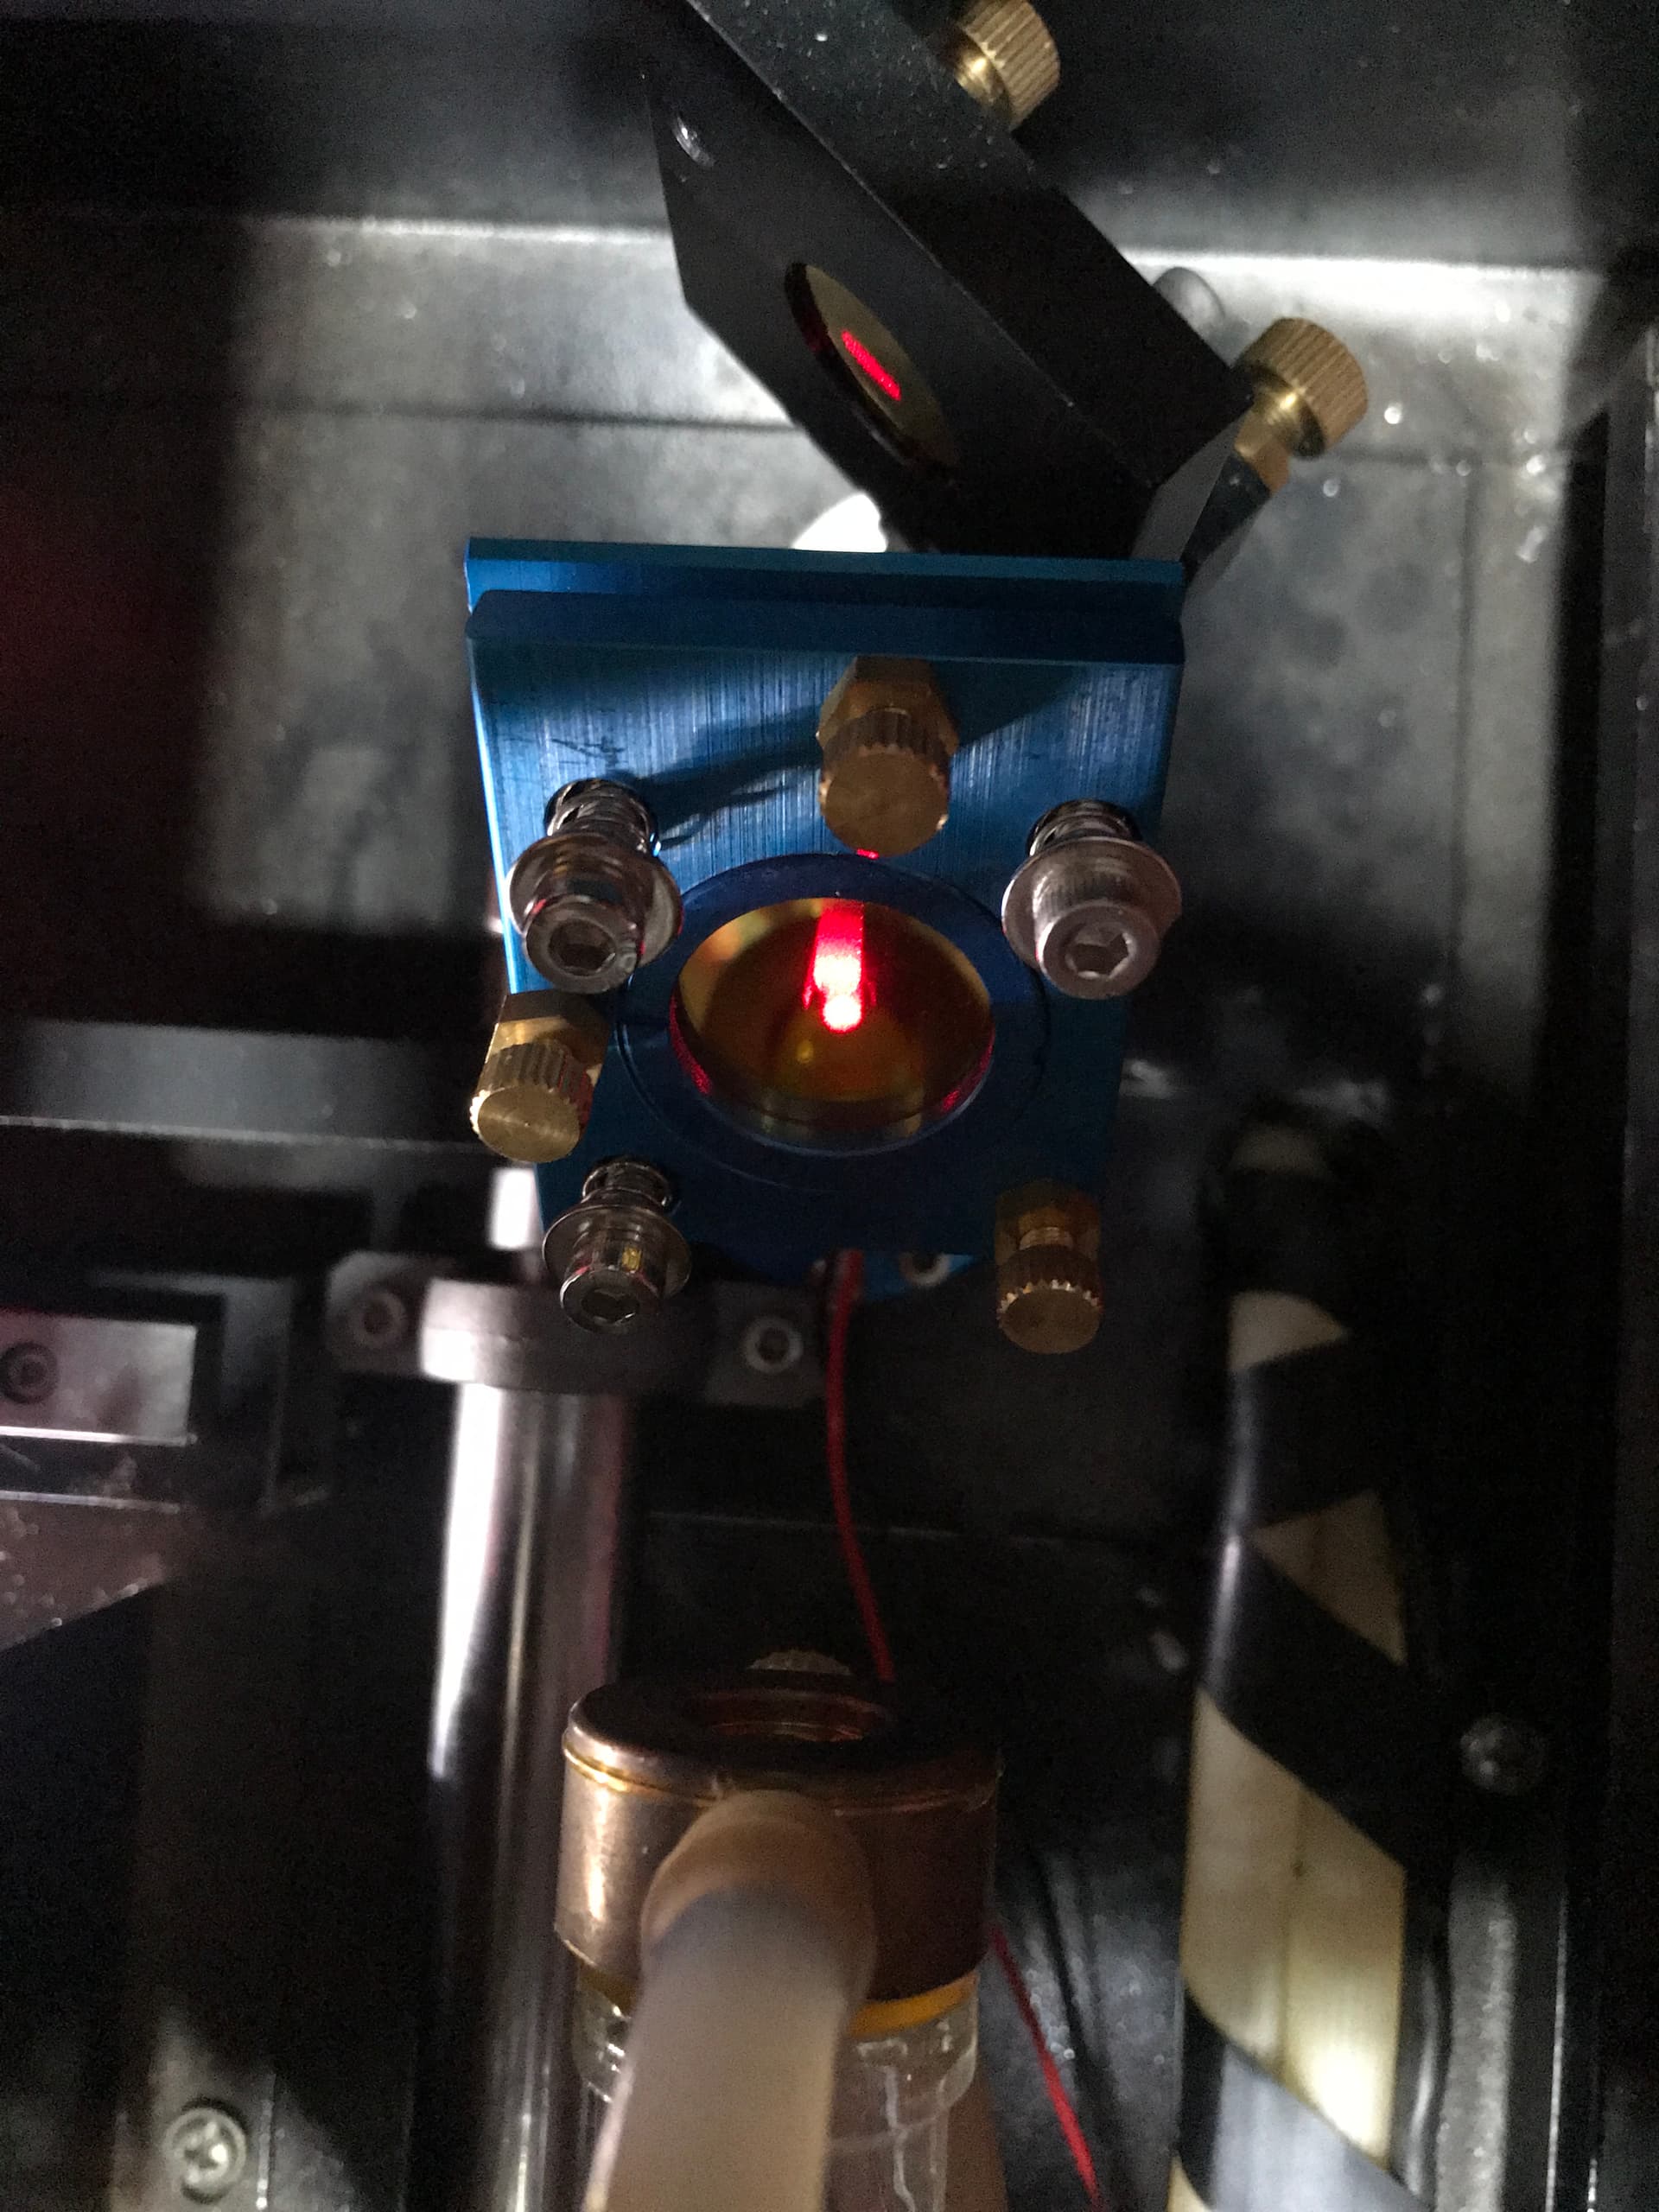
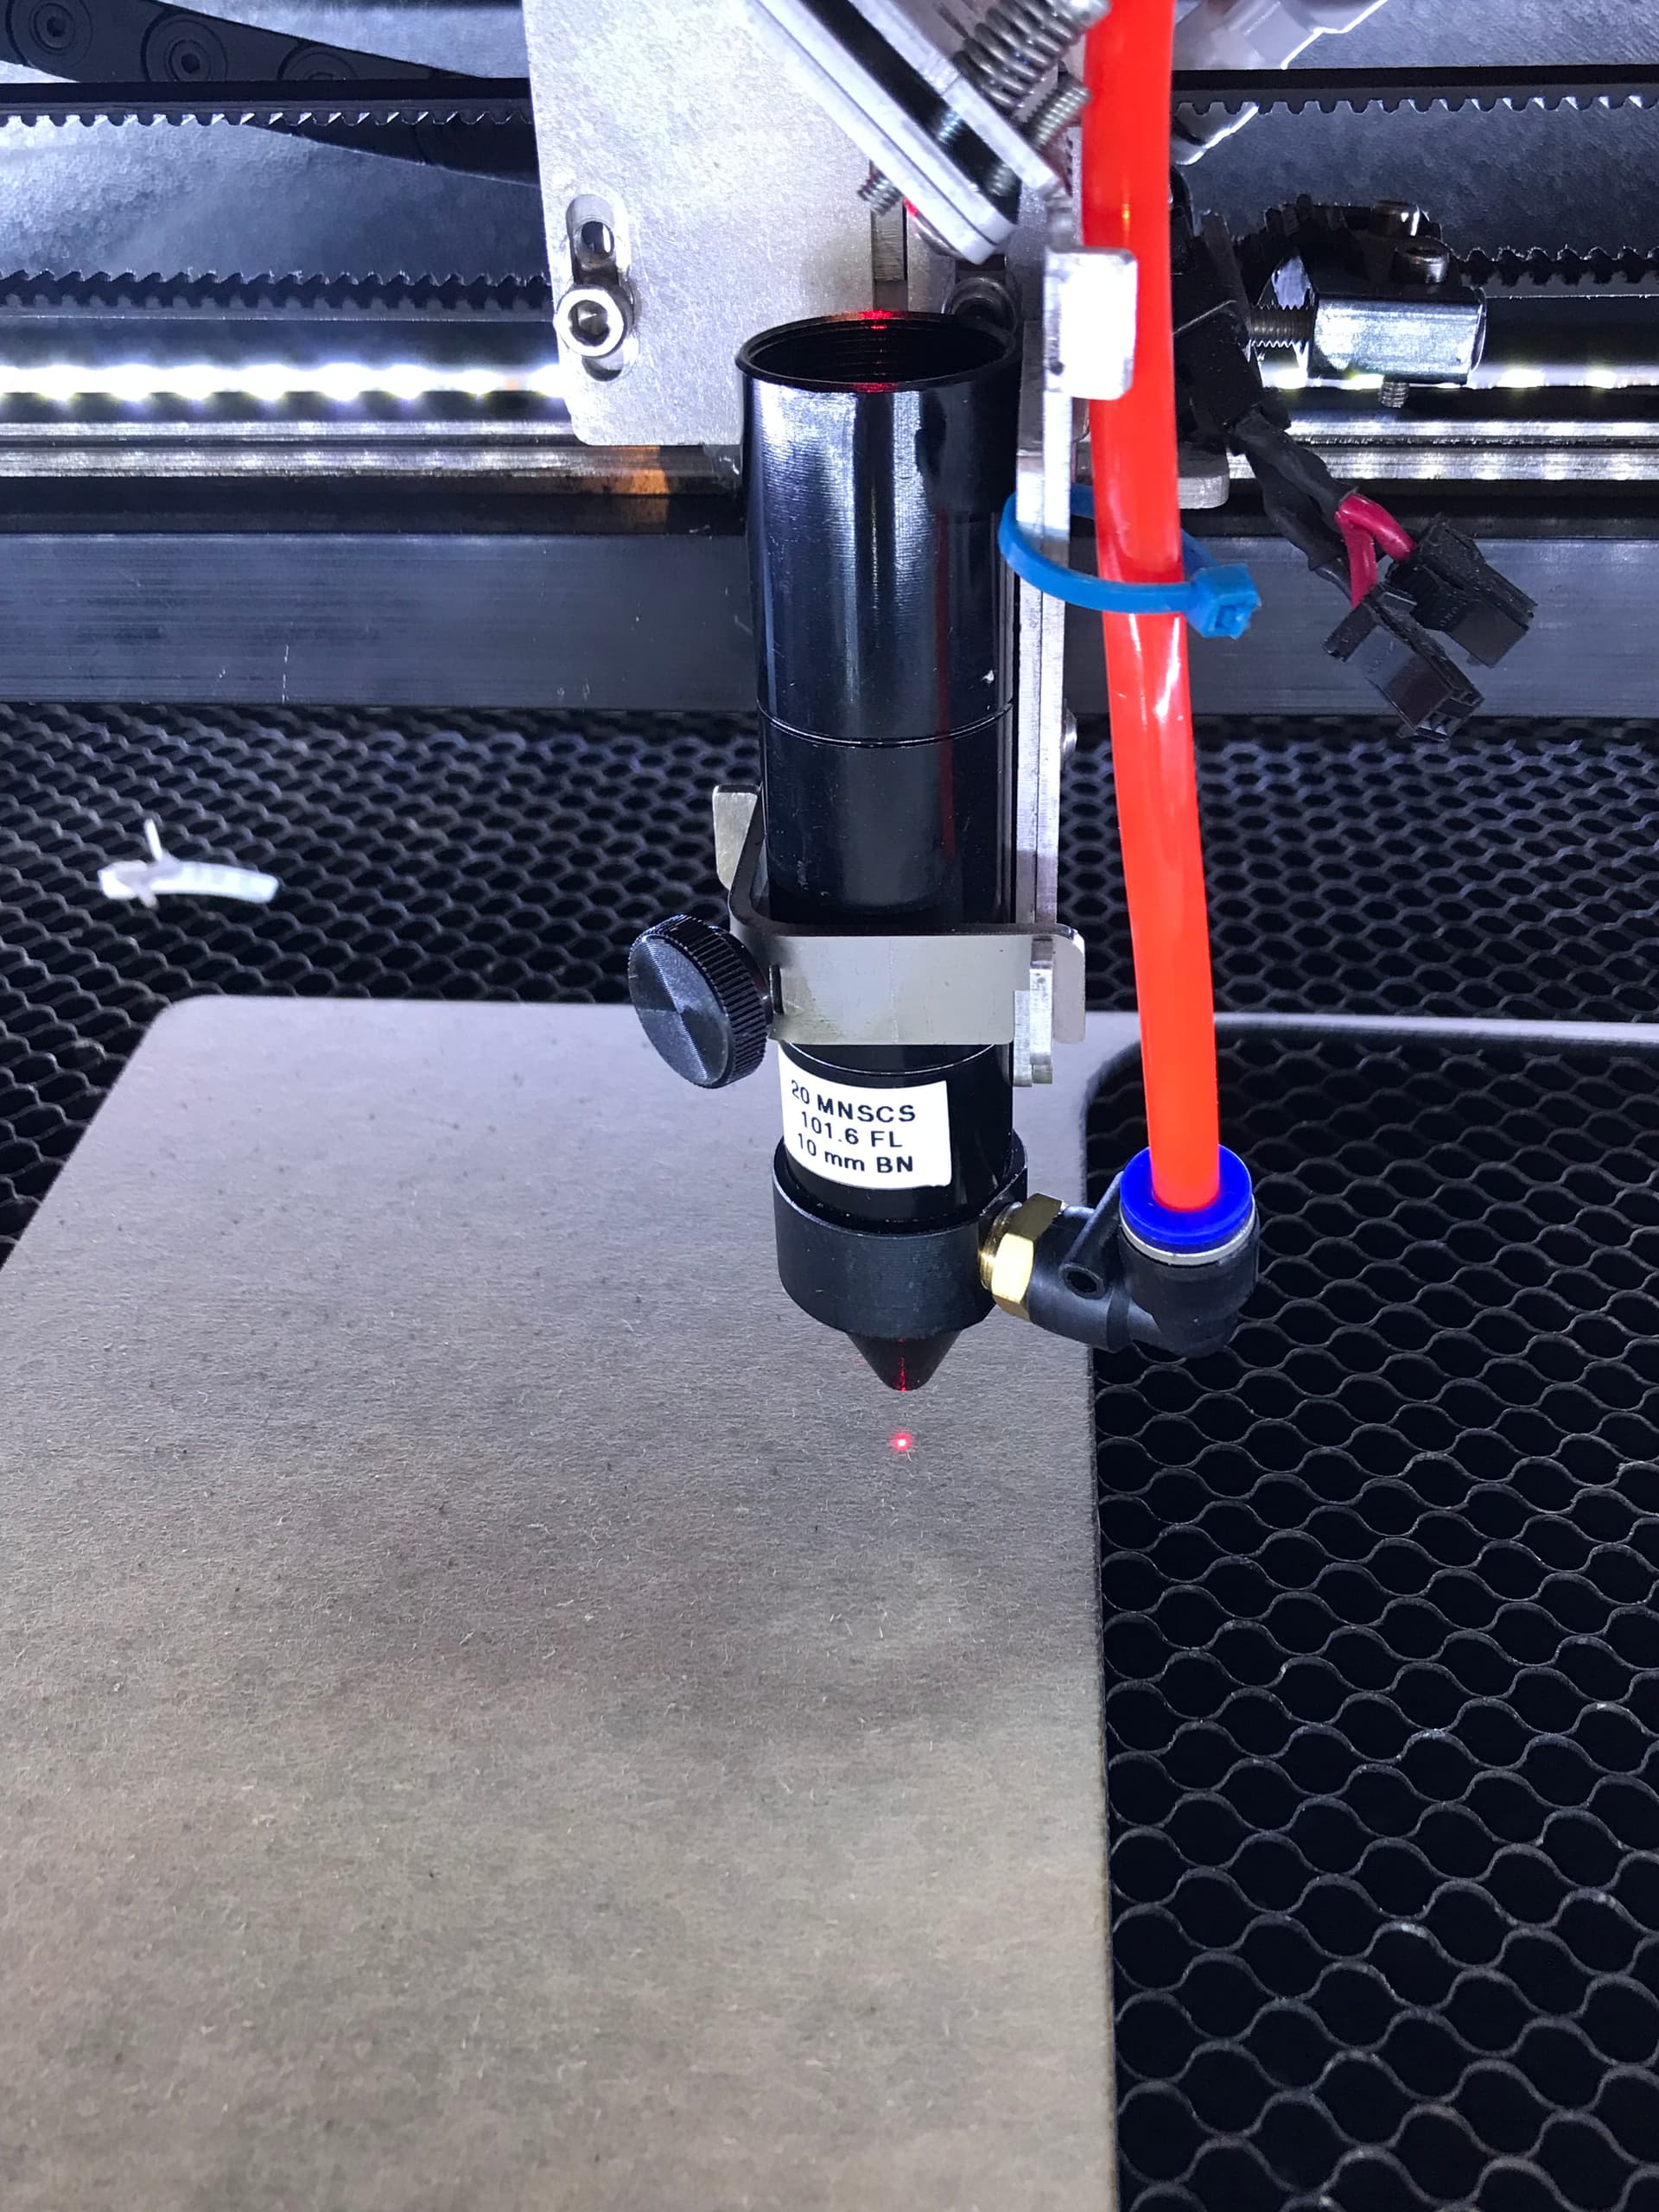
So, I installed the one from LightObject. Much better design in my opinion, and WAY easier to install and tweak the Red Dot Pointer. I literally had a red dot thru my 2mm nozzle in 30 secs.
When I pulse, they are one in the same, regardless of focus, and I rarely burn anything in focus. I’m either high for engraving, or low for cutting.
Here’s some pics of the LightObject option. LO_Combiner