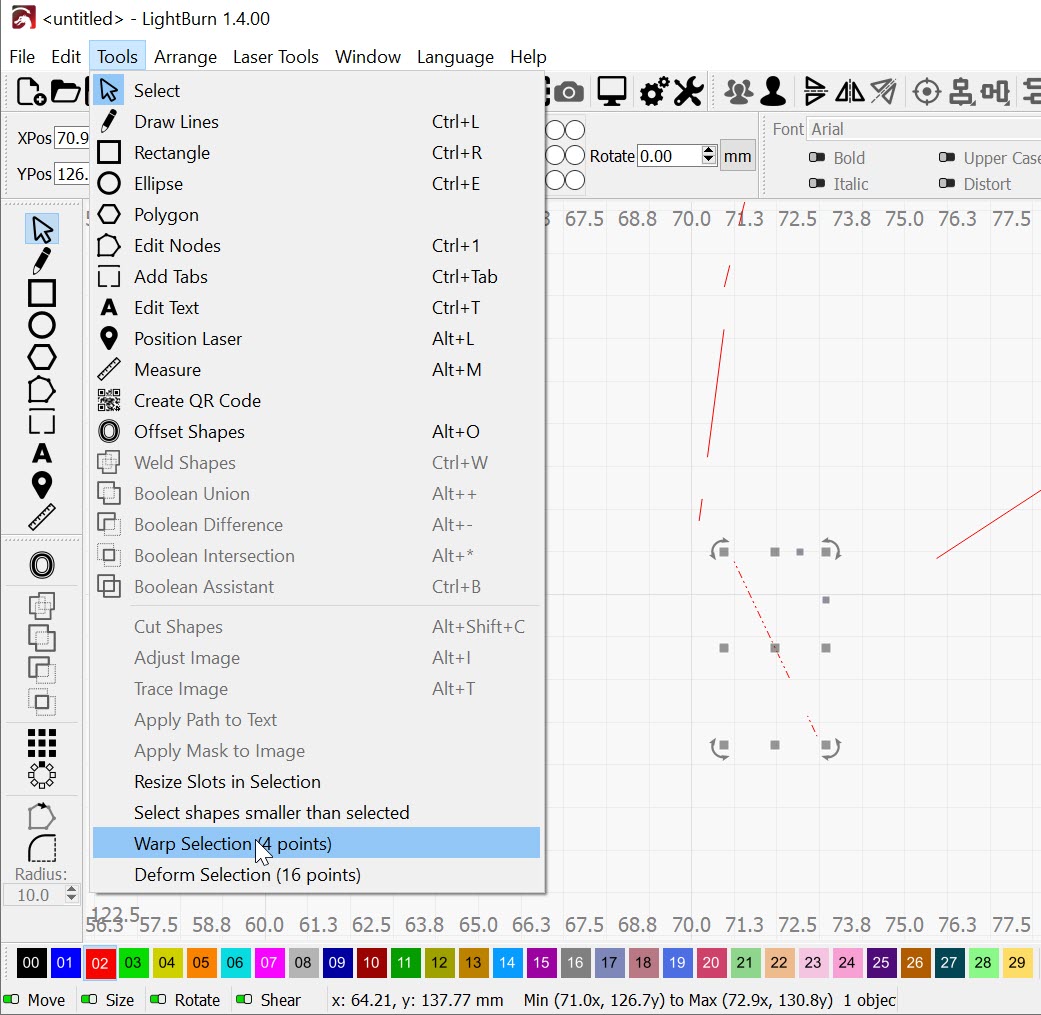
I am trying to find an easy way of creating custom dotted/dashed lines in Lightburn. These will be engrave into Acrylic.
I am aware of Perforation mode, this works great when you have a simple line pattern that alternates between two forms - a line(engrave), then no line(dont engrave). Of course these two values can be set.
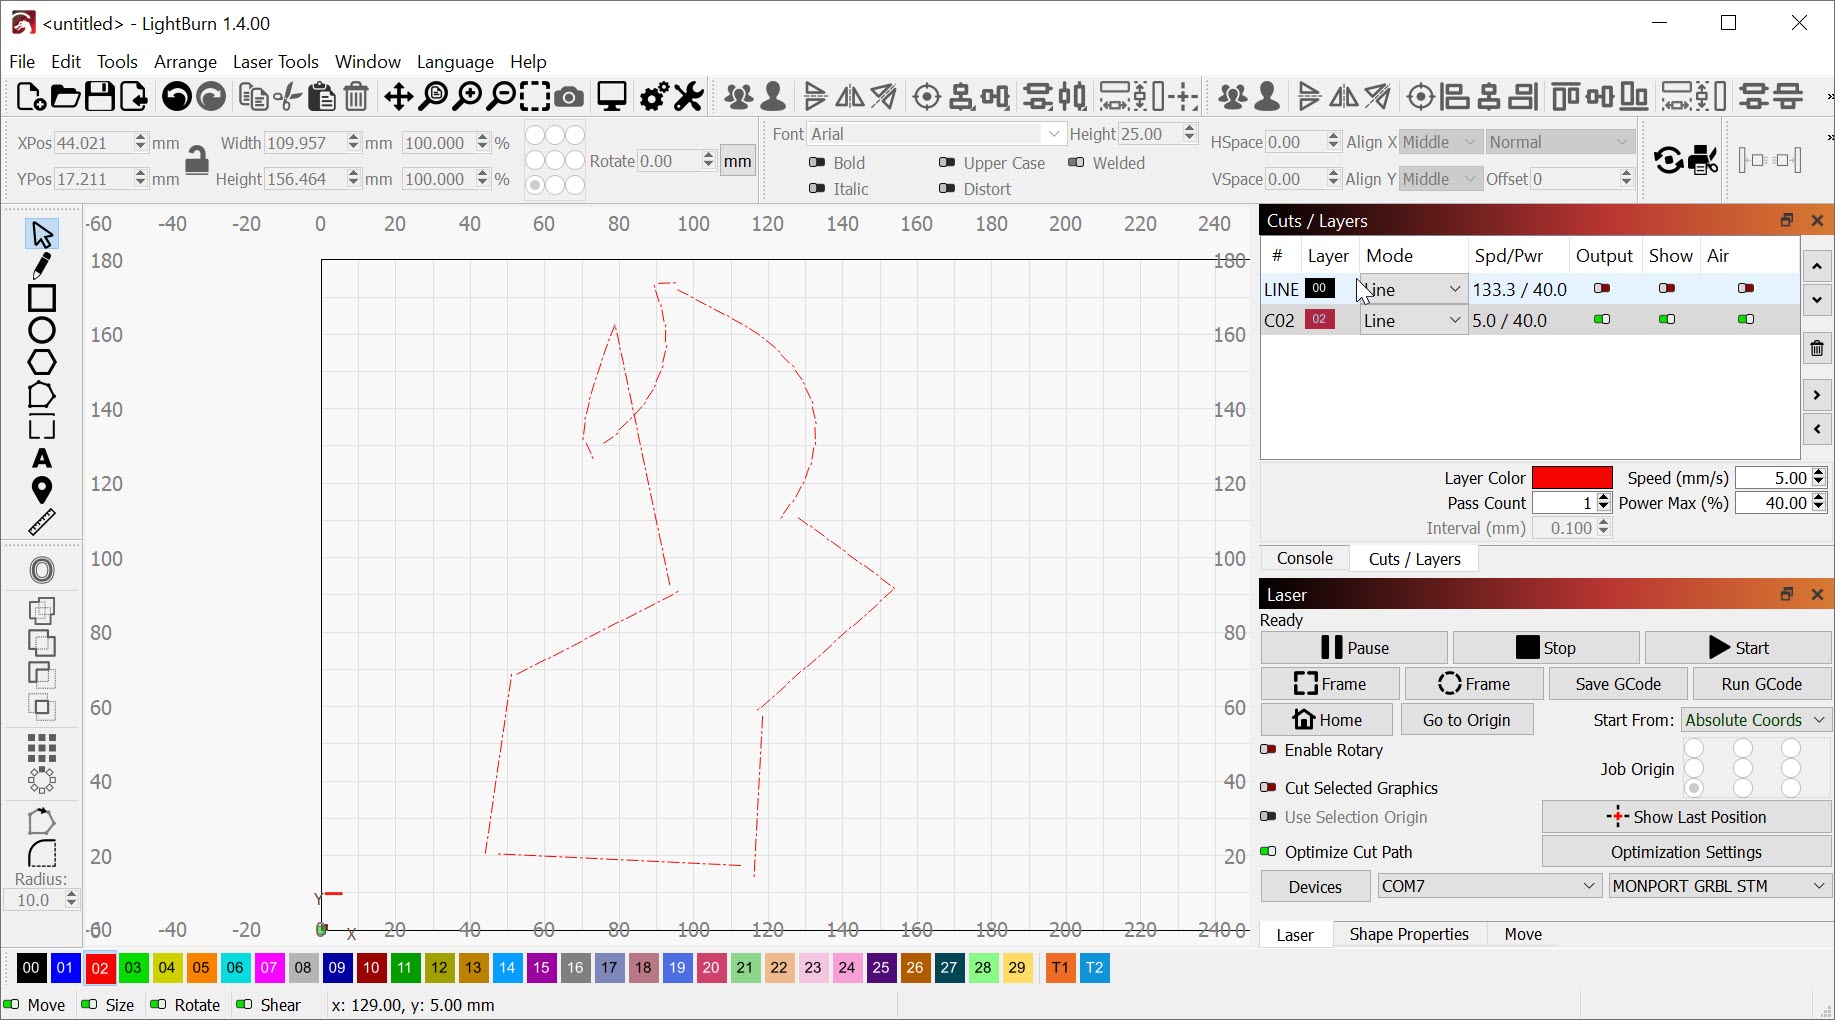
I am trying to create a line that goes [engrave 3mm(DASH] - [dont engrave 1mm] - [engrave 0.5mm(DOT)] - [dont engrave 1mm]. Image attached for clarity.
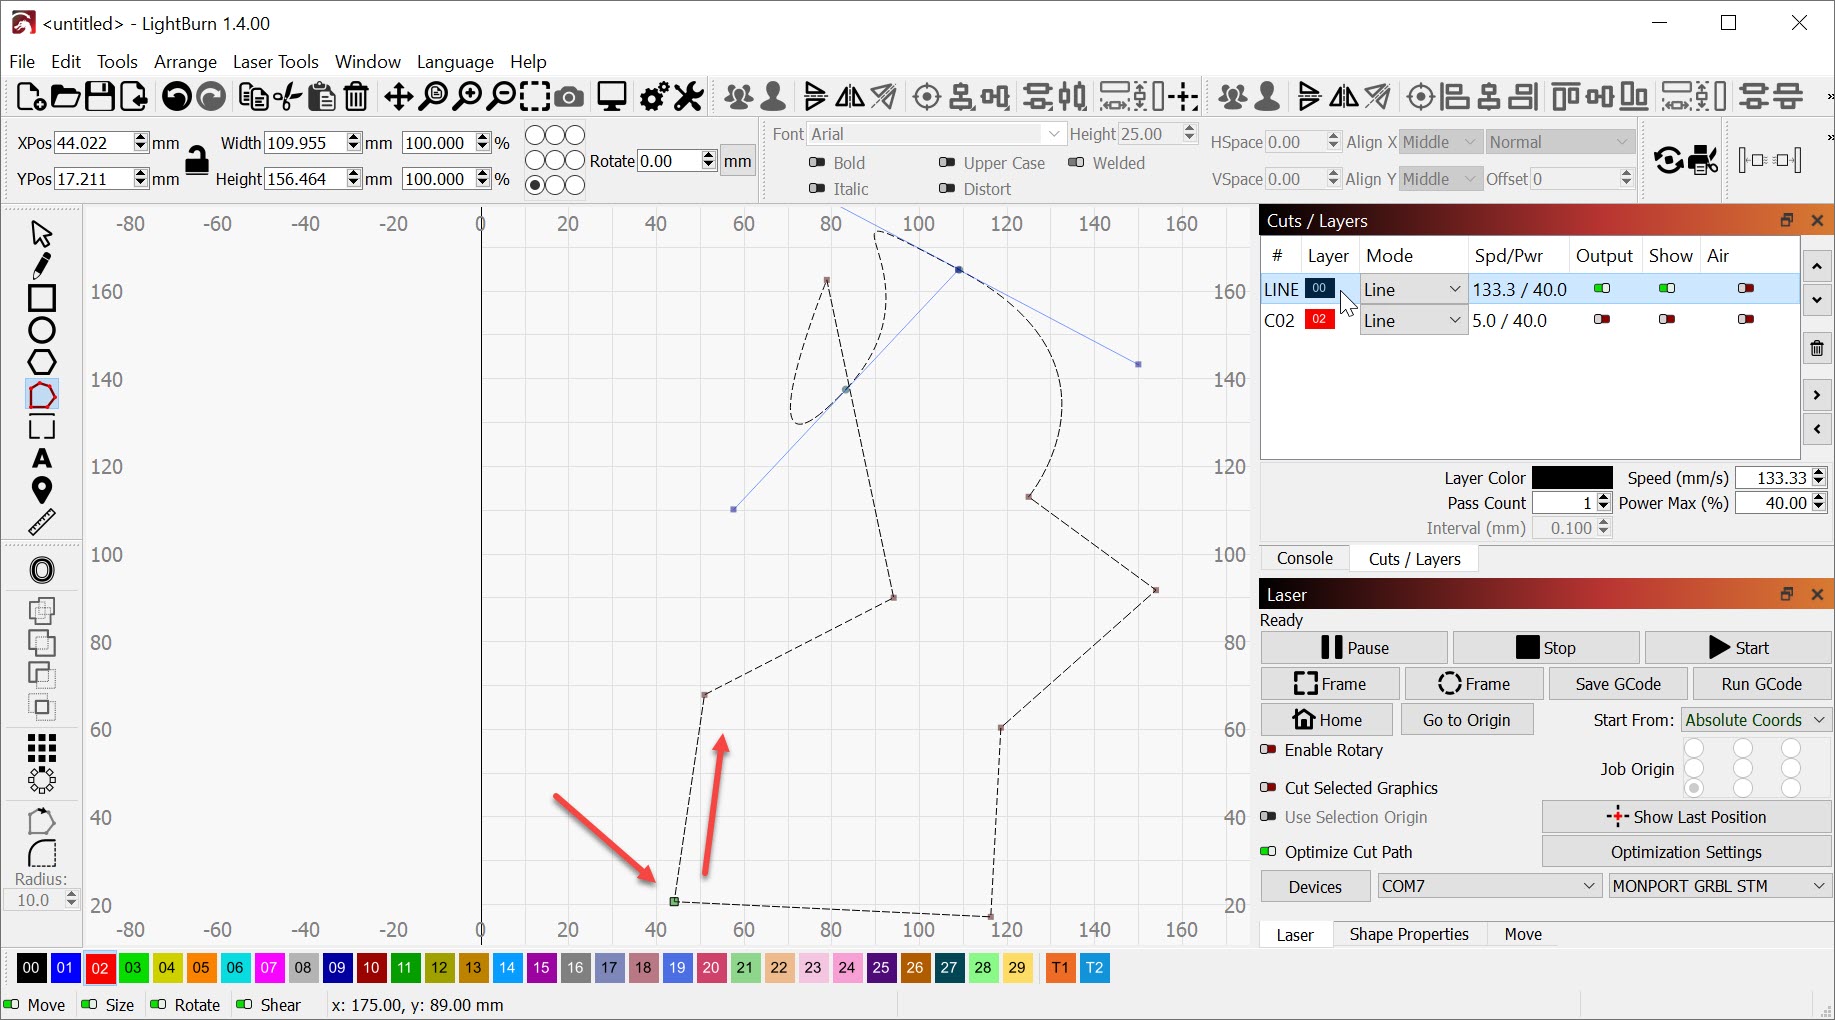
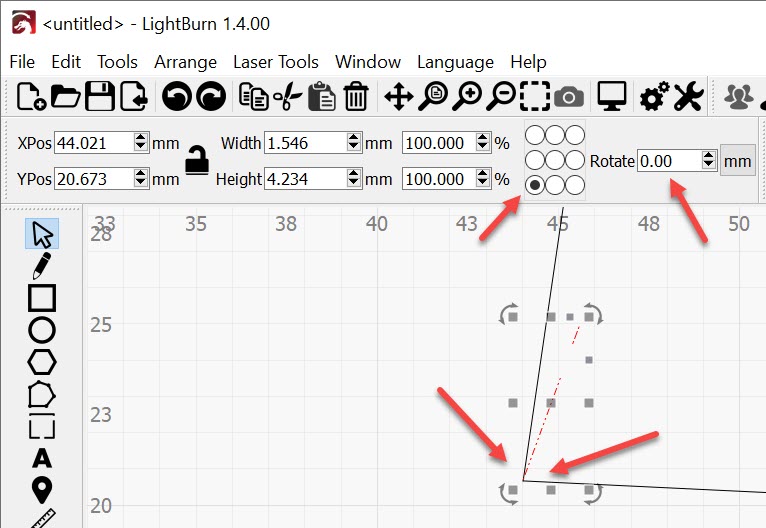
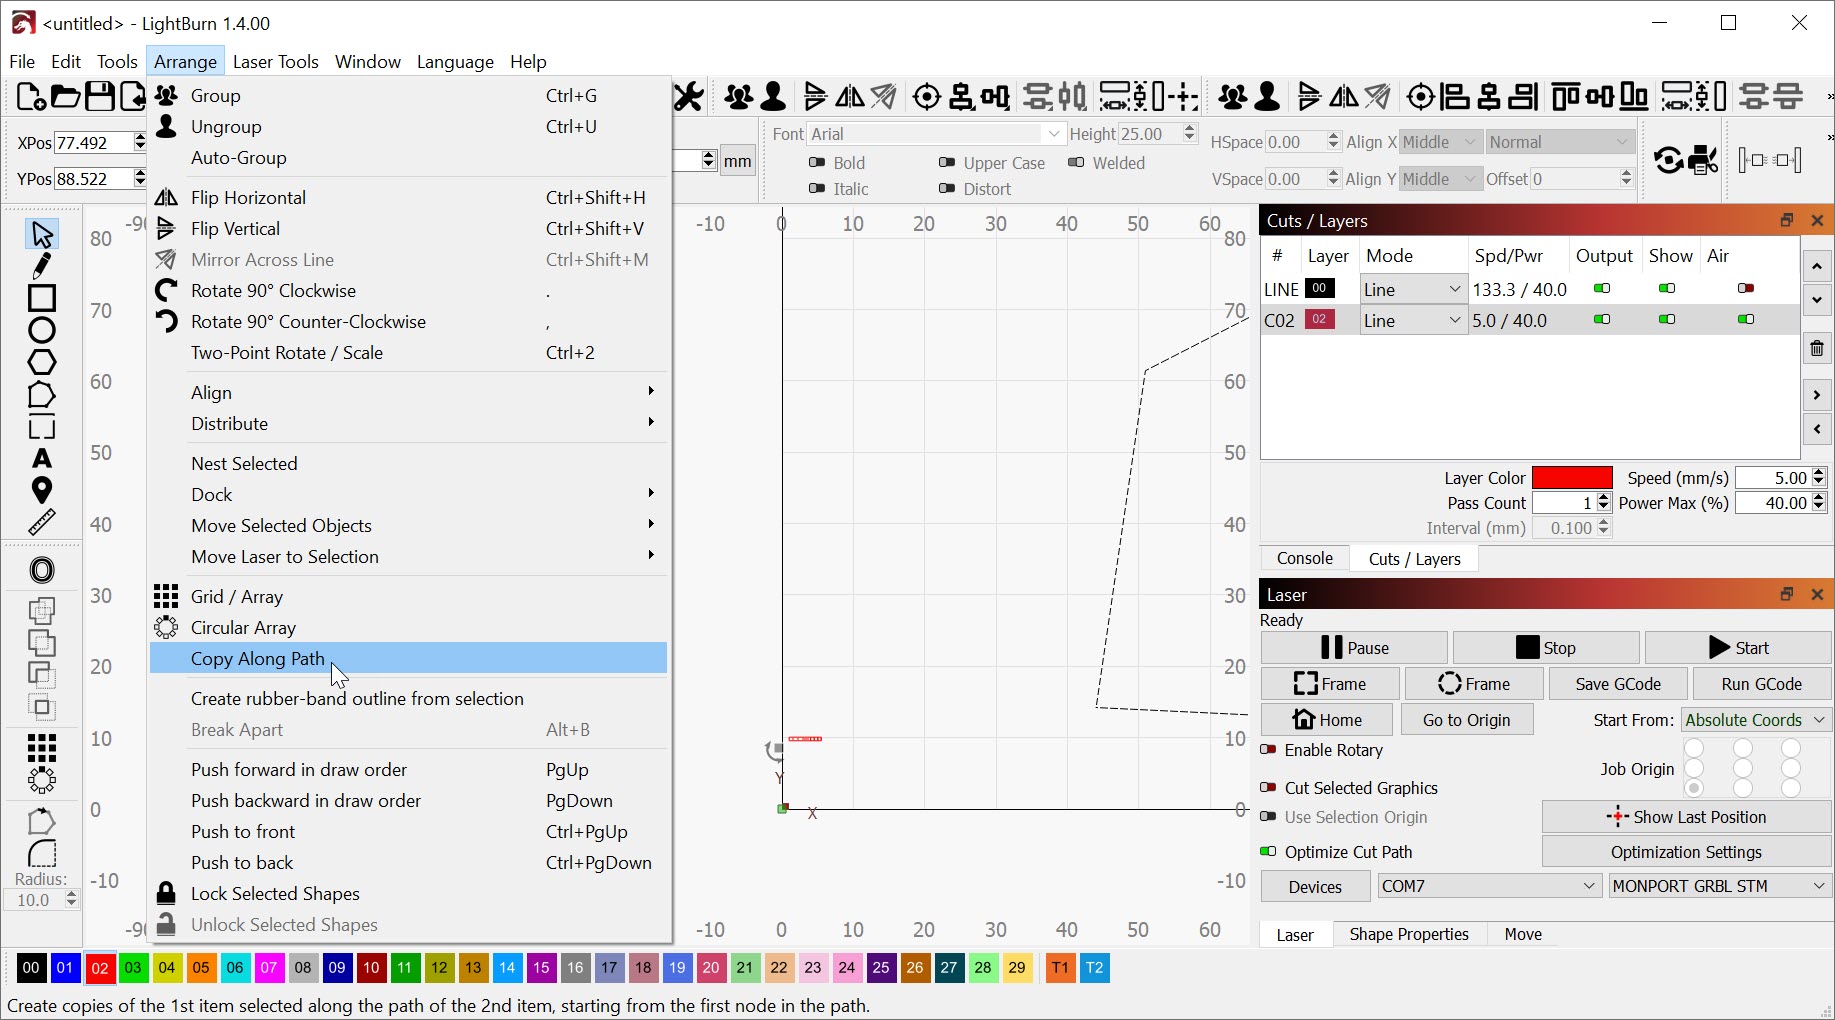
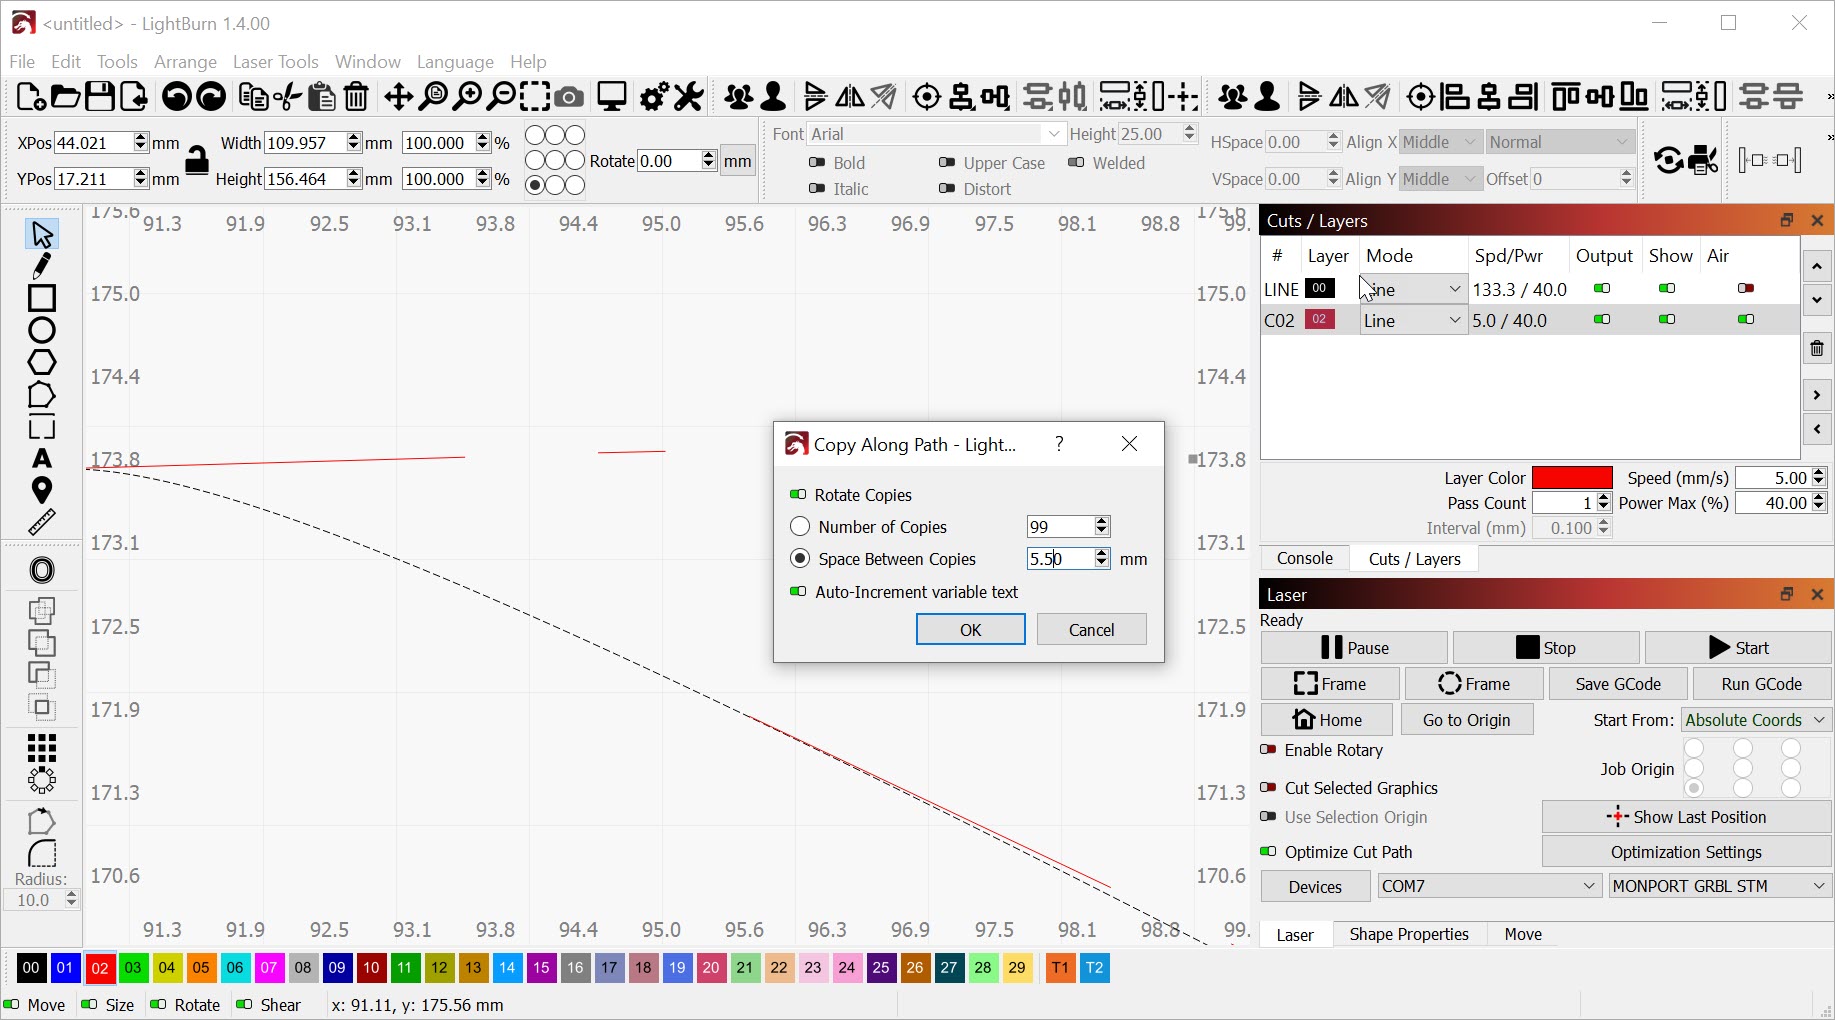
It may not be easy, but you can manually generate the basic unit by drawing lines at the proper intervals, then use the Array Tool to repeat that unit at multiples of its length.
In your case, draw a dash and a dot to make a 4.5 mm unit, group them, and duplicate that units at 5.5 mm intervals. The path planner might not traverse them in a single neat pass, but ya get what ya get.
The same idea would work for small rectangles to be engraved, again with the caveat that you may need optimization tweakage to get a reasonable path.
Overall, though, generating complex patterns with a vector graphics program (perhaps Inkscape) may be less awful.
Thanks, I’ll give it a go. Historically I’ve done it in Corel using a similar method to what you described - step and repeat, then export as required. The theory is not a bad one, but it quickly can get difficult once you need to start rotating the finished ‘line’ to differing angles and removing sections. I was very impressed with the sinplicity of the perforation feature in Lightburn and hoped this could help.
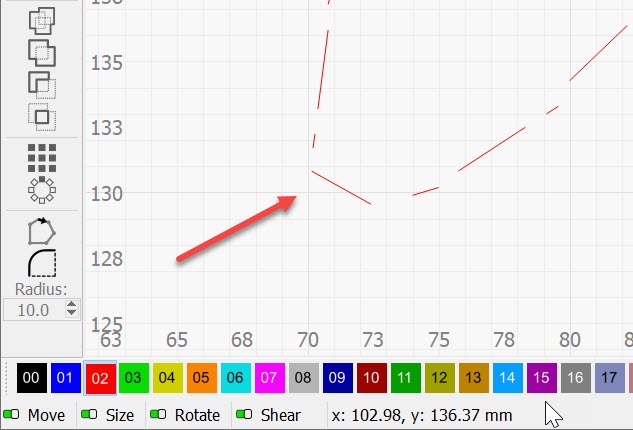
Think of it as 2 separate perforation patterns on top of each other?
Pattern 1 = 3mm + 2.5 gap (gap+GapForSmallDot+gap)
Pattern 2 = 0.5mm + 5mm gap
Duplicate the line onto the 2 layers with the 2 different perforation patterns.
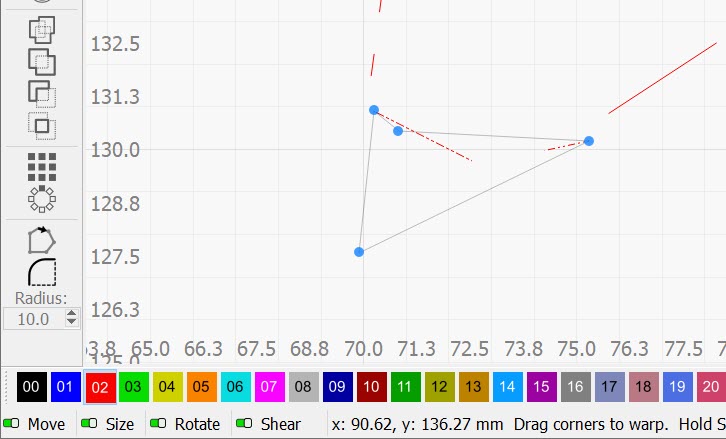
Big caveat - then nudge one of the lines so that one pattern falls in the gap of the other.
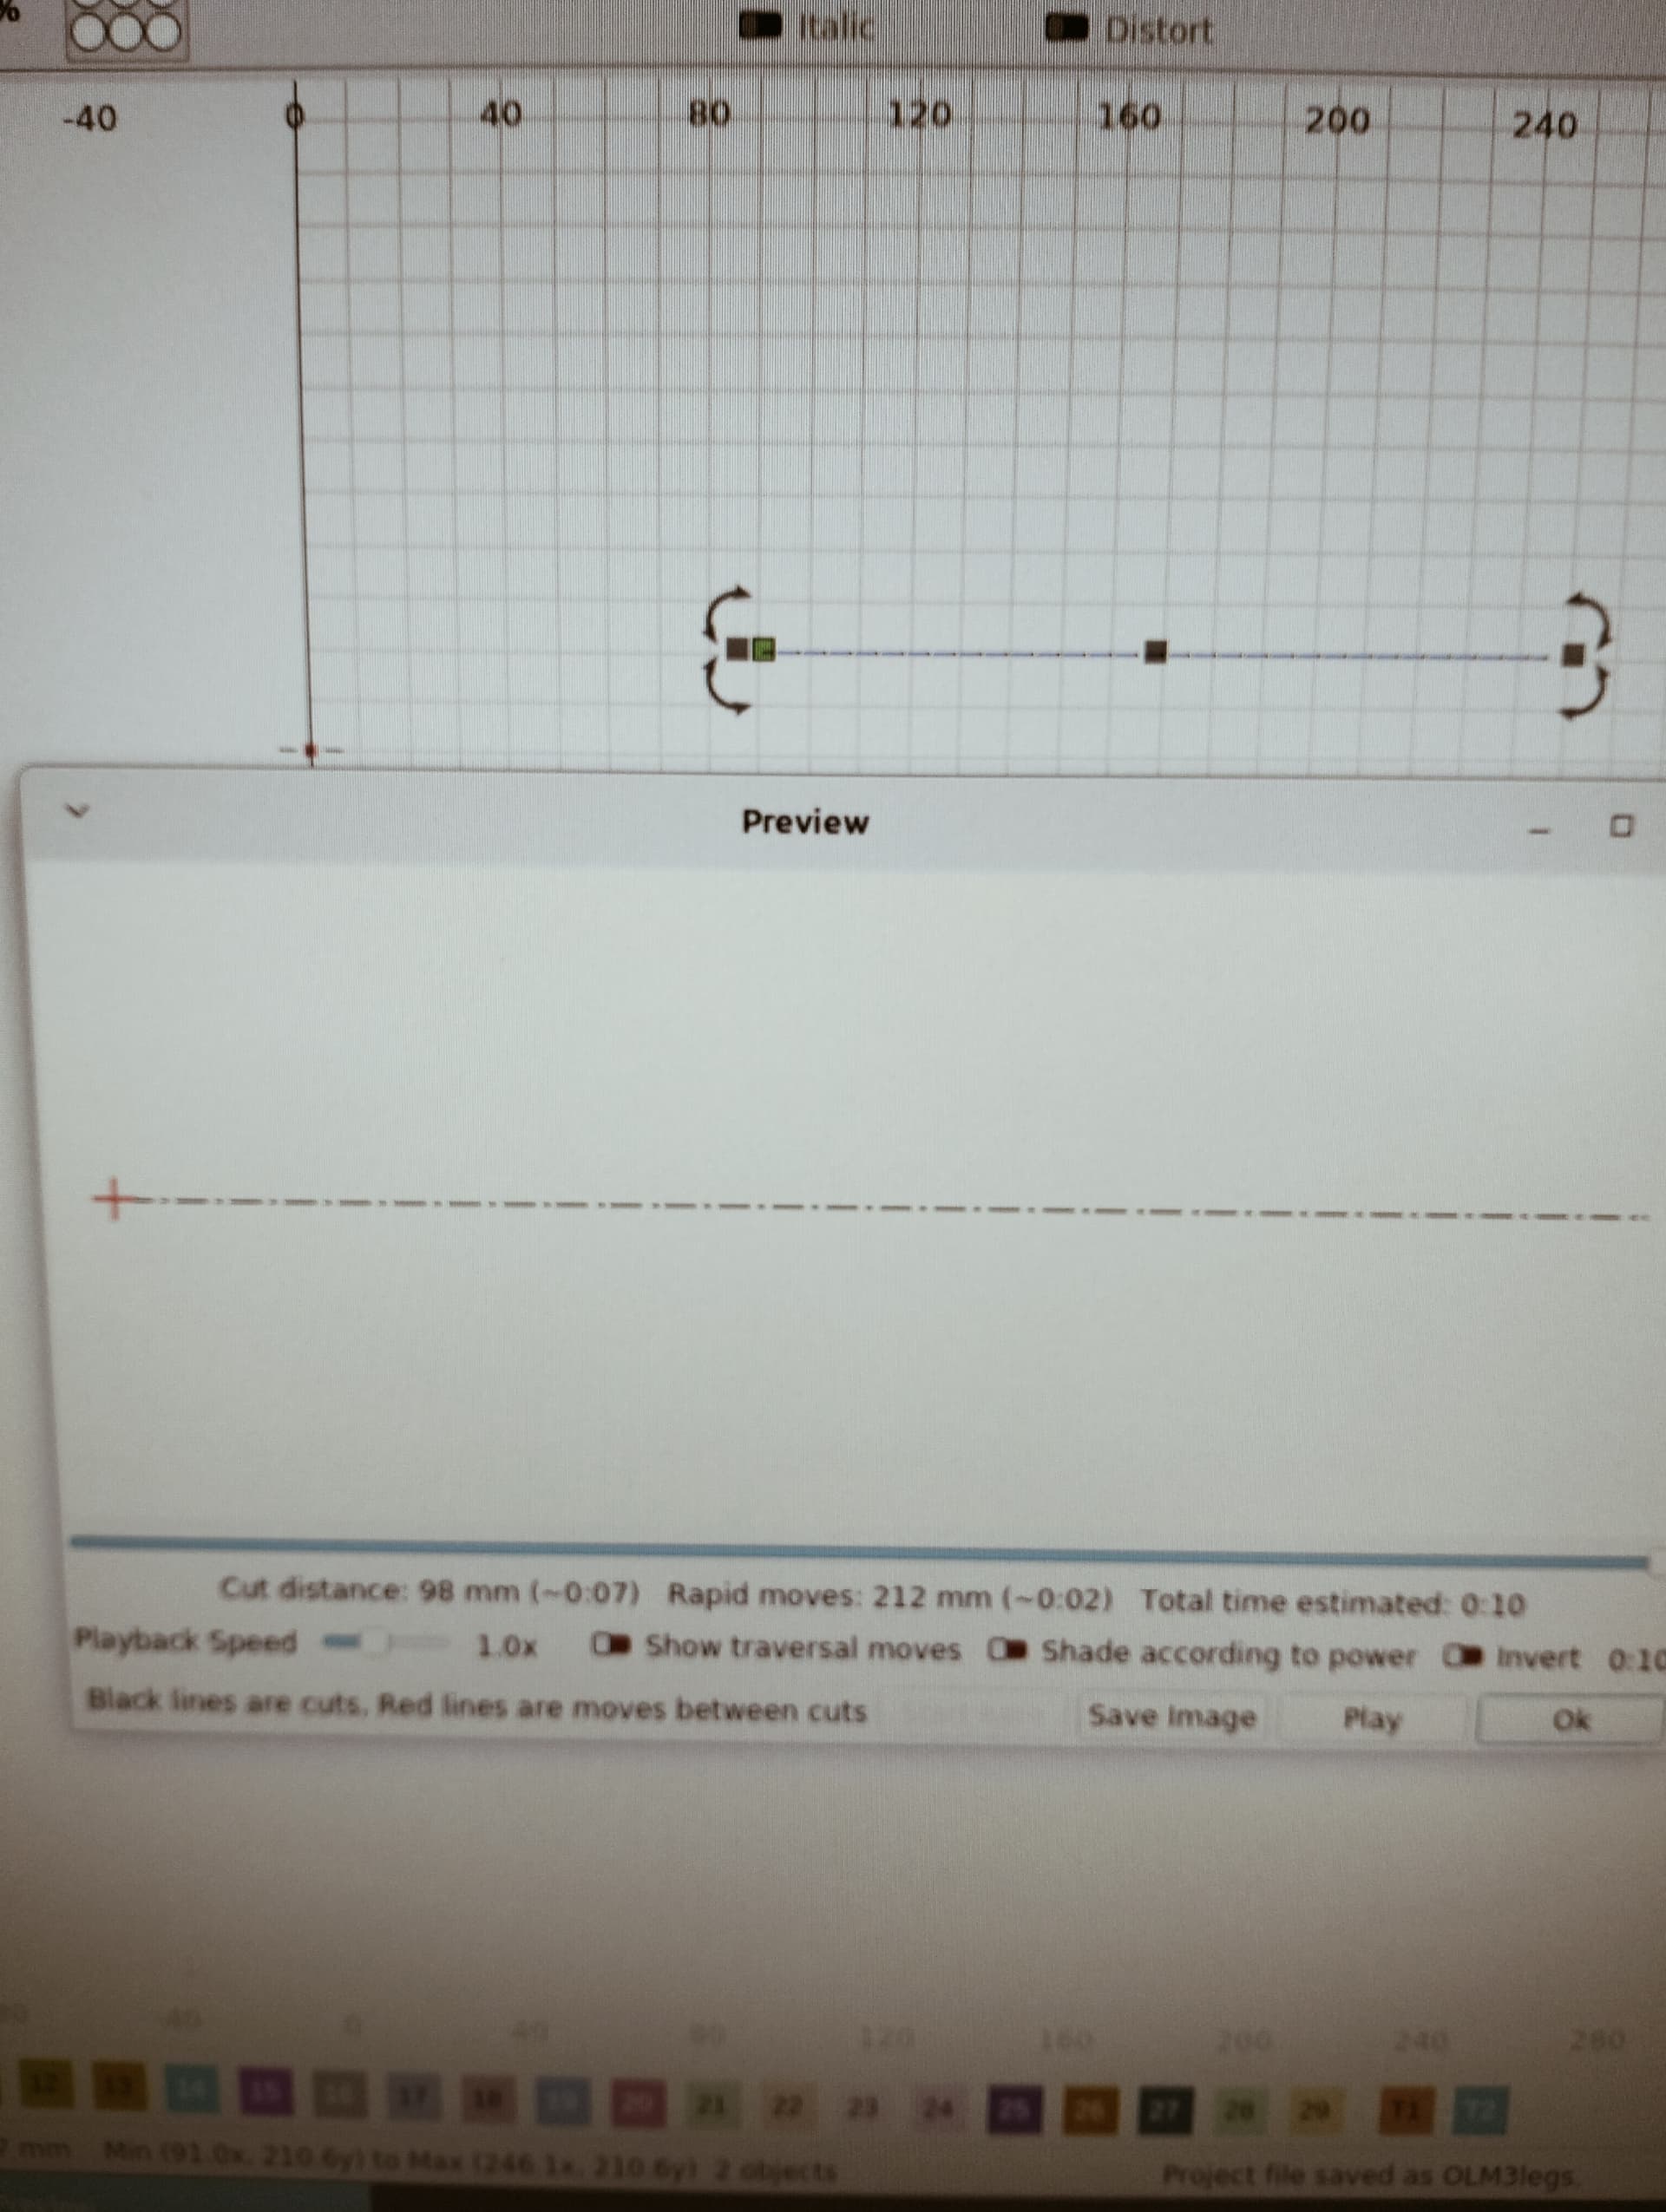
I haven’t tried this for curves or anything complicated, but as a quick & dirty straight lines technique it works.