Is there an easy way to cut/etch text over a solid object?

Imagine, if you will…

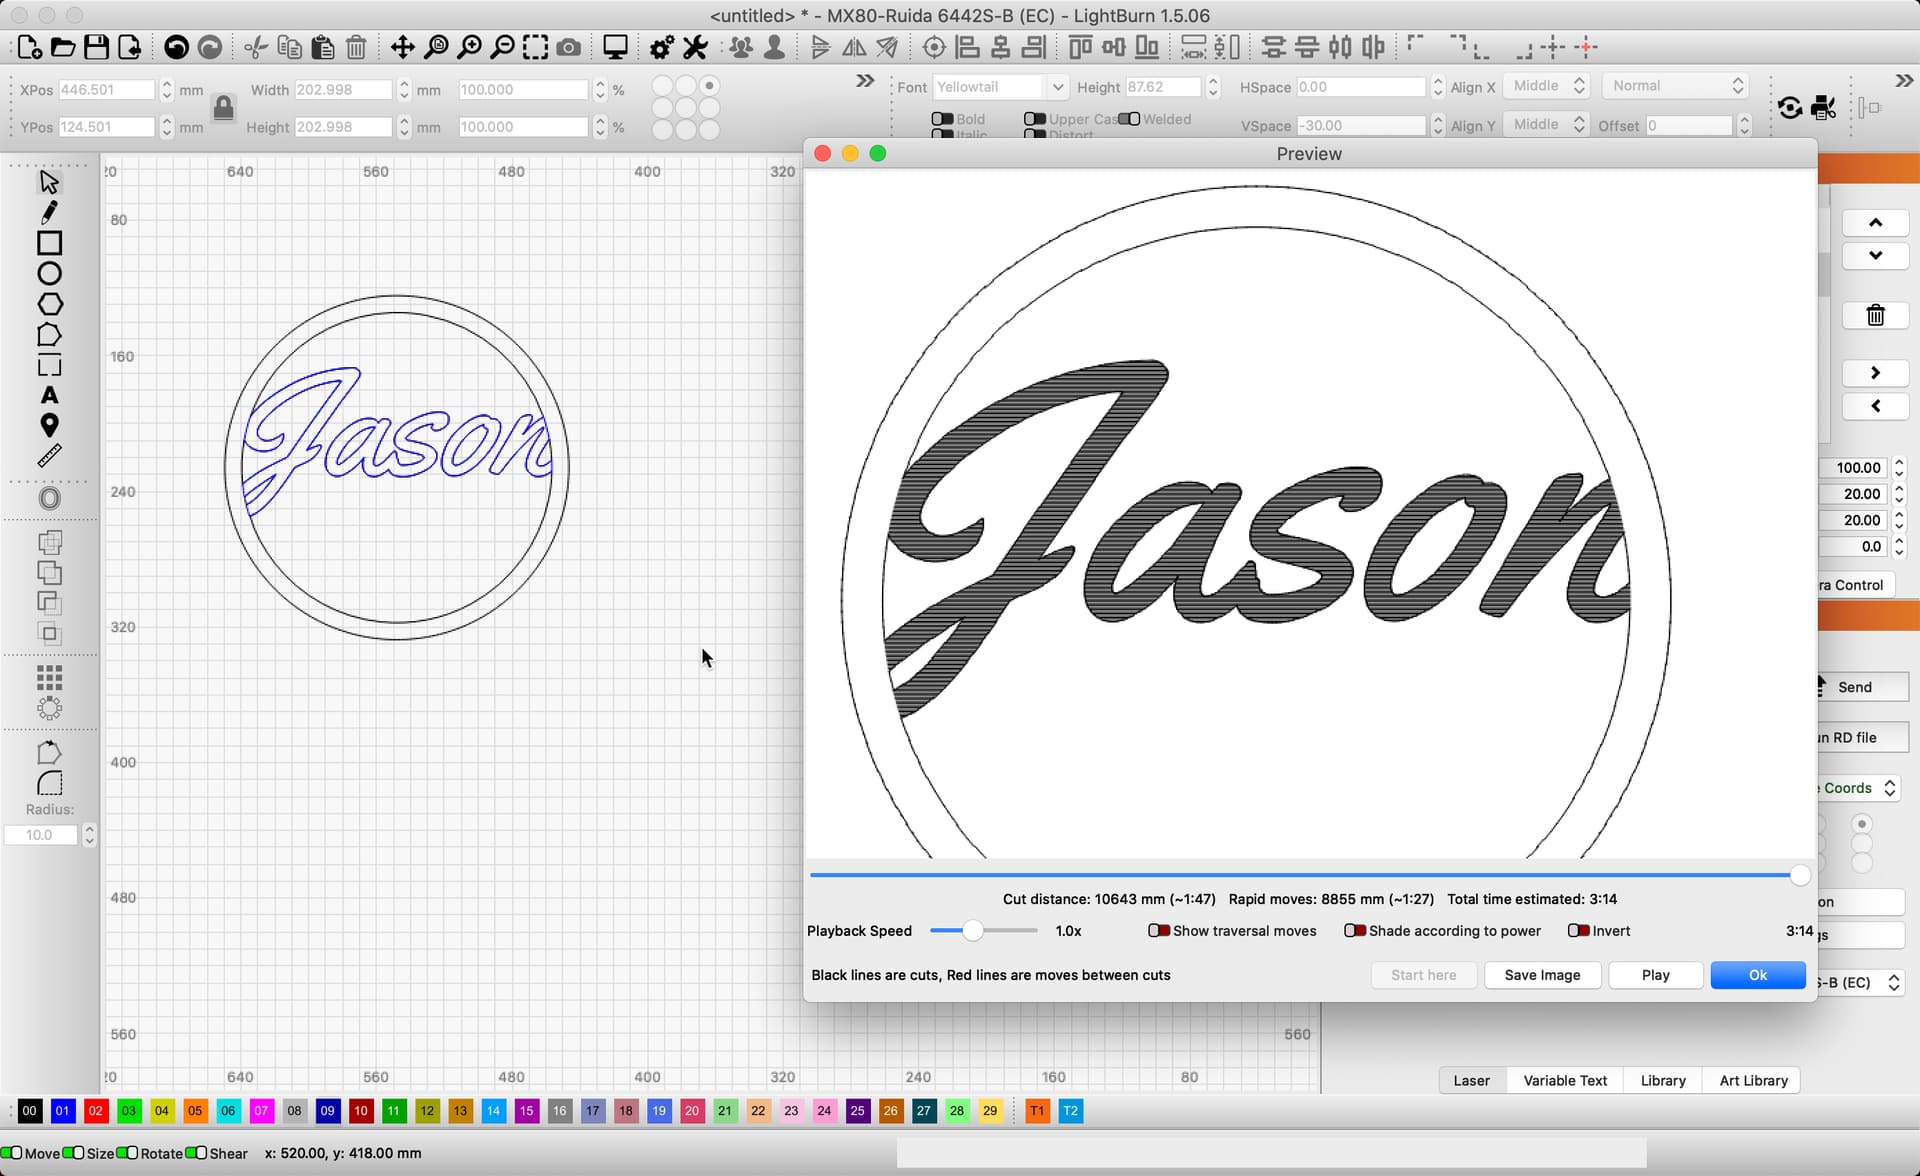
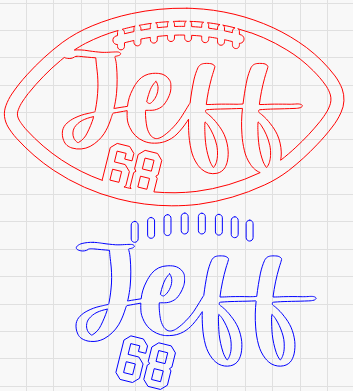
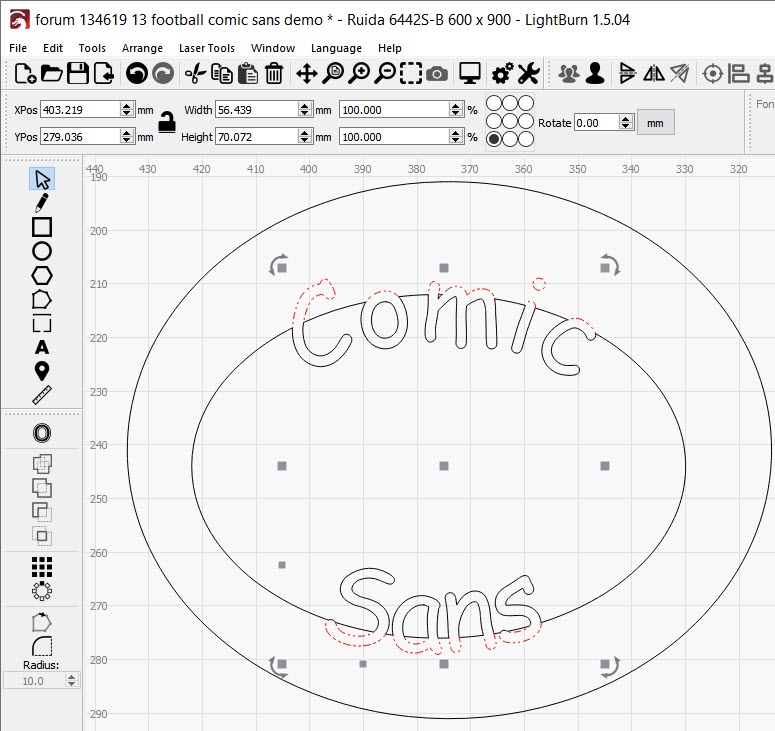
A circle with a half inch offset. Select the original circle and the offset and merge them. This creates a donut-shaped object.

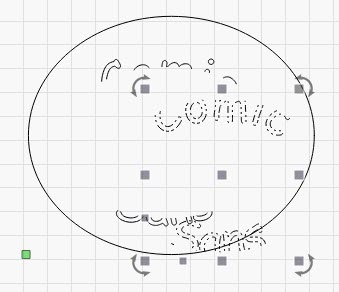
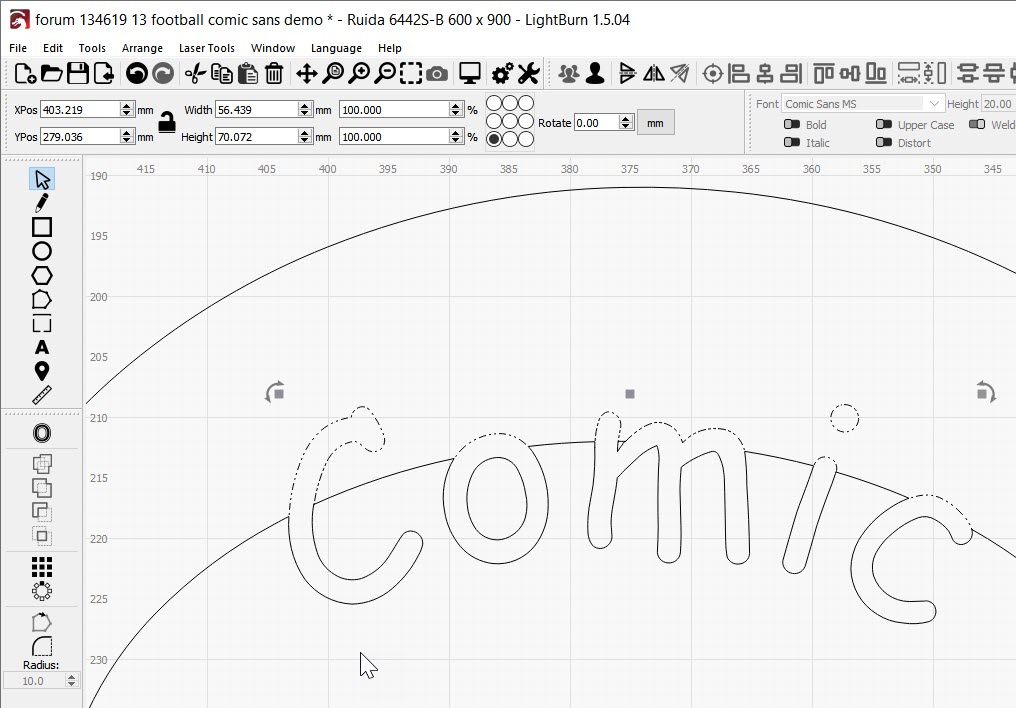
Next, create some script text where all the letters are touching, then move the text over the donut so that the beginning and ends of the text are roughly half way across the donut.

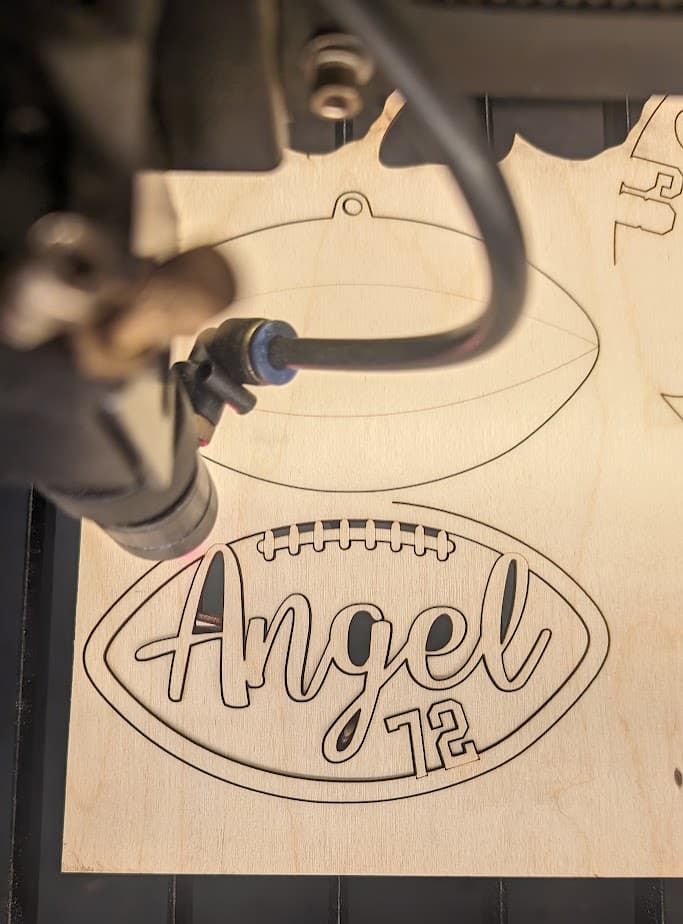
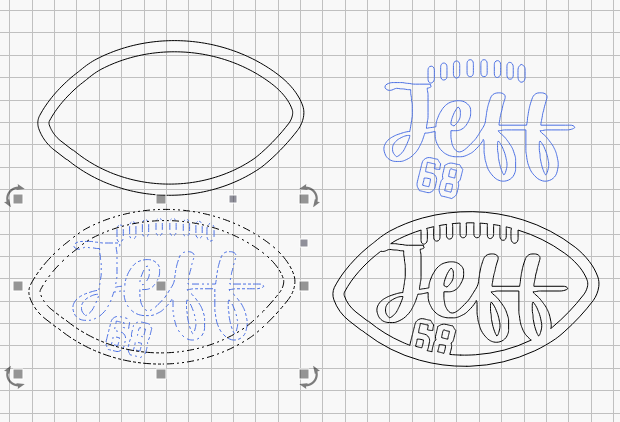
My current process is to duplicate the text, then merge one of them with the donut. Set that new text/donut object to cut through. Next, select the duplicated text and set that to just etch.

This gives me a text cut-out, but over the donut, an etch of the letters to keep everything attached. Exactly the final outcome that I want. However…

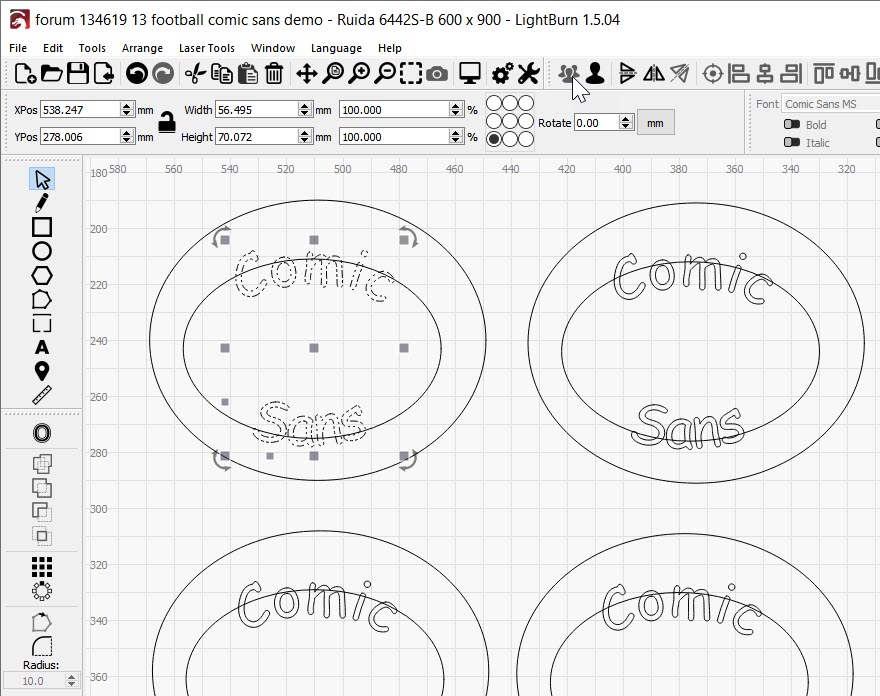
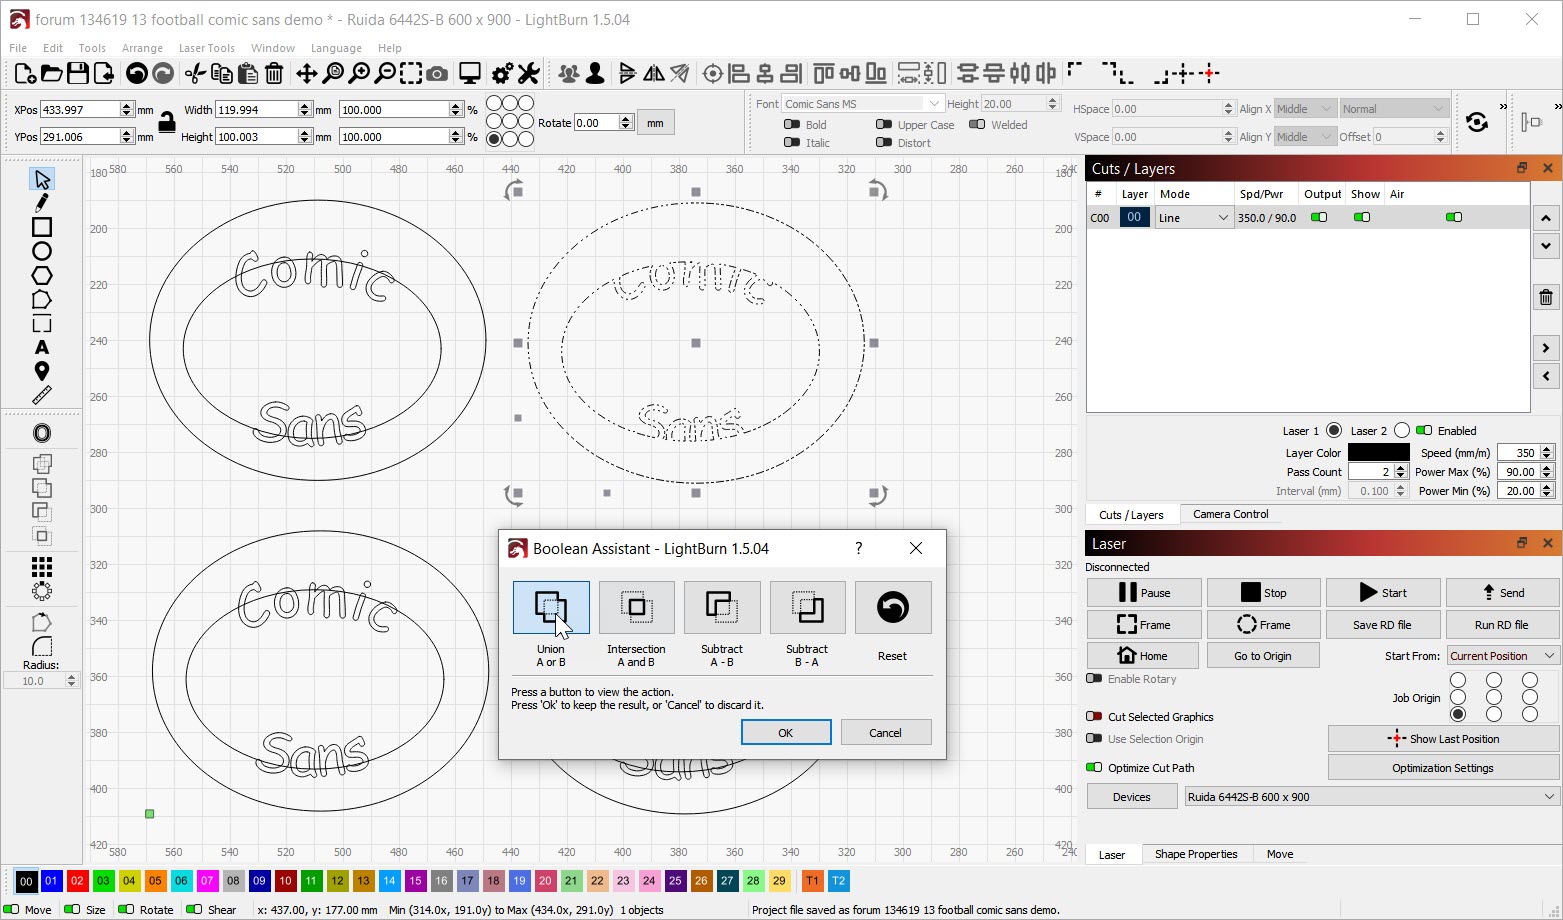
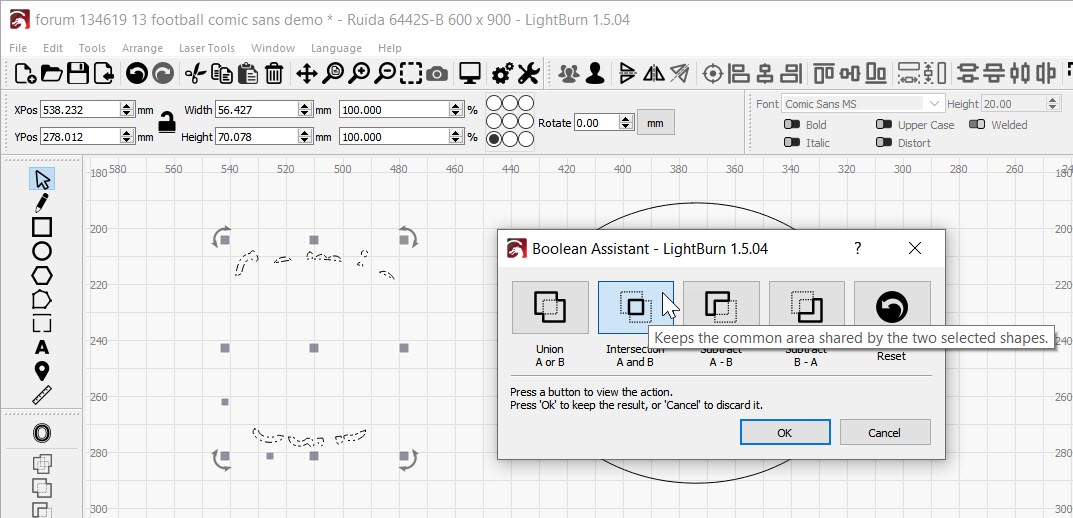
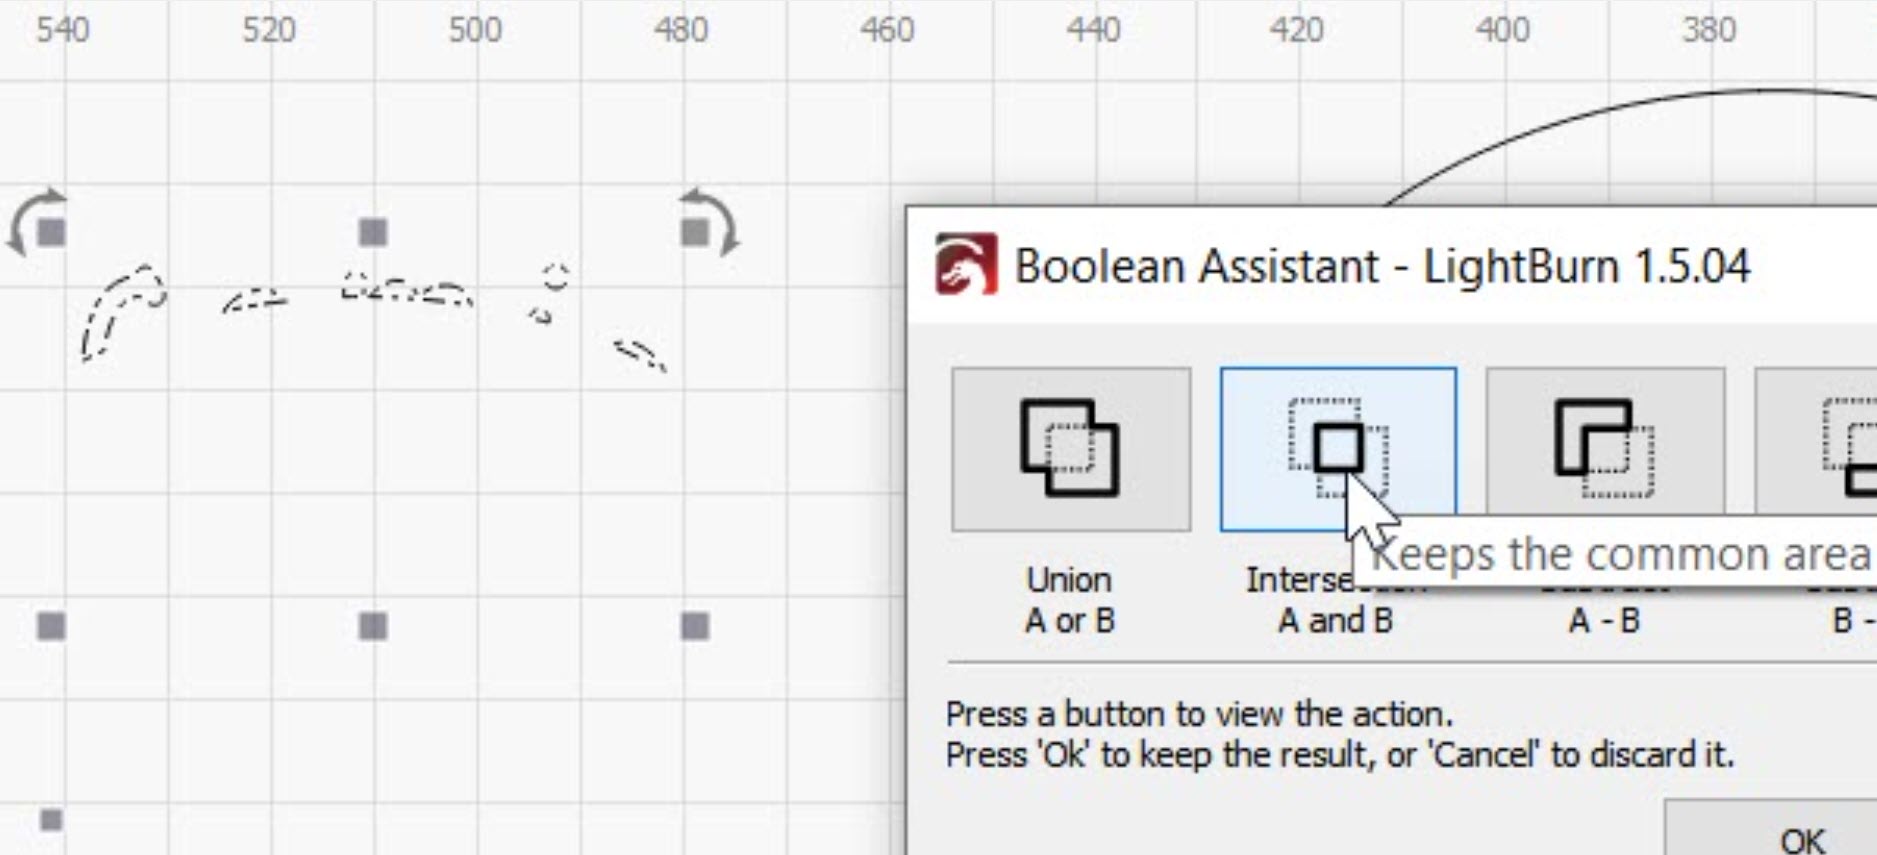
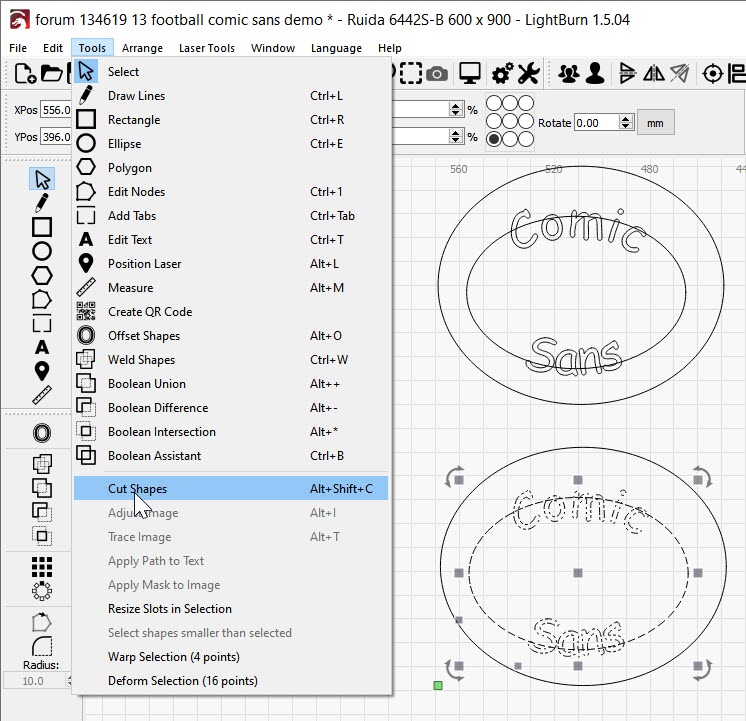
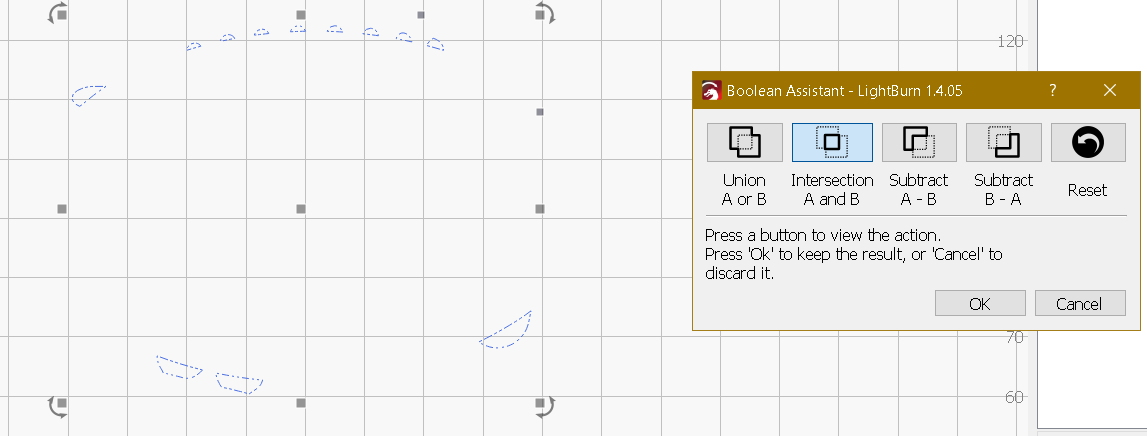
What I’m trying to solve is the unnecessary etching over the majority of the text that I’ve already cut-out. I tried using the Boolean tool to remove the etching over the cut text - no luck. I tried using “cut shapes” with no luck.

Any ideas?

Please post some screenshots so we can see what’s going on.

Yes, screenshots as @soniclab suggests will help clarify. I took a cut at what I think you are describing and a potential solution, but please let us know if we are not understanding what you are after. :slight_smile:

I produced these shapes using the ‘Boolean Assistant’ tool, so I could visualize the results, before committing the changes.

Edit: Apologies. I just noticed I do not have the layer order correct for production, if I understand correctly. Switch the order so that the ‘Fill’ is done first, then proceed to cutting it out using the ‘Line’ layer.

Sorry for the lack of screen shots. I posted from a computer where I don’t have LightBurn installed. Here’s what I’m after below. I only want the etching of where the letters overlap with the “donut”. The bottom part of 68, the tiny bit of the second f at the bottom and the top left of the J. I have the same issue with the laces. I have an etching layer surrounding each lace, but it really only needs to etch the tiny bits that it touches the donut at the top, and the left and right edges of the vertical part of each lace.

image

The white is one large solid part. There are no loose small parts here:

Thank you for posting the images. Is this representative of the final output you are after? I am not seeing any etching in this project. The places you identify look like a “score” line, marking but not cutting through entirely. Am I seeing this correctly? Share your lbrn file, if willing.

This might not be what you are interested in, but I use Cuttle software. They just came out with a football ornament that is very similar to yours.
https://cuttle.xyz/@cuttle/Football-Bag-Tag-kV81DBgrfBQA

1 Like

I got the idea from Cuttle. I want to reproduce that etching, which I’ve done with my final product above.

@Rick, as I said in the post - ALL the white is a single piece of wood. There are no loose parts. The bits that look like cuts are etches.

I want to be able to make these with different names, but my process is VERY wasteful with etching the same areas that I have cuts, just to etch the tiny bits that are left.

I’m going to explode my Lightburn project so that you can see the etching layer and the cut layer separately.

I need a few mins…

1 Like

Here are the etches and cuts combined:

Here they are separated. Red are cuts, blue are etches:
image

I was hoping that “Optimization Settings” would remove overlapping lines, but it only does that for lines that are on the same layer.

For the blue etches on the “laces” of the football, you can sketch the line segments in so they don’t overlap like you have shown.

For the name and the number, it is a bit trickier. Basically, make a duplicate of the name, number, and inner ring of football and place on the blue layer. Then with node editing, trim out and delete what you don’t need.

Then go back to the red layer and do the same thing.

Much easier to do in Cuttle :slight_smile:

Sure, it’s easier with Cuttle, but I’ve already paid for Lightburn and I can’t customize the Cuttle design any more than the tool will allow - like moving the numbers around:

If there’s no EASY way to do this in Lightburn, then I’ll just leave the extra “etching in space”. I’d rather do that then bust-out the node editor. It all comes down to shop/laser time. I’ll spend 20 times more time with the node editor than etching thin air. It would be neat if the boolean “difference” could leave those etch lines behind.

Cuttle is a parametric program. You don’t have to rely on the templates that Cuttle provides. If you spend the time learning how to create parametric designs in Cuttle, you can recreate exactly how you want to do it.

I have spend the last 18 months creating parametric designs in Cuttle. Your design is pretty easy to recreate parametrically in Cuttle. But, it takes time to learn. If you are interested in creating a parametric ornament in Cuttle, I documented the process here

1 Like

I didn’t know that Cuttle is extensible like that. Amazing!

1 Like

As I was working through a demo, I think I see where the pain-point is. The Boolean Assistant and all the Boolean tools will generate closed shapes. If you want open shapes for your etch lines, then i think you’re on the right track with Cut Shapes.

I grouped both text objects and grouped the ovals to make a doughnut:

Boolean ‘Union’ a copy. This makes the Cut lines.

The ‘feature’ (seen here as a problem, arises when you use Boolean ‘Intersection’ to get the etch lines. The Boolean tools make Closed Shapes, which you’d have to node-edit.


Close up… :slight_smile:

So… Instead of Boolean Assistant, you need Cut Shapes.

With the doughnut ungrouped, select the inner oval and the group of text as your shape, then apply Cut Shapes.

Now that the shape is cut, you’ll have two groups of lines that won’t be forced-closed. The oval cutting tool has been consumed.
2024-03-28 result from cut shapes

You can see your ideal Etch Lines left behind. DeSelect the group shown, select the other part from the Cut Shapes and move it to the results from Boolean Union (your cut lines).
2024-03-28 drag apart cut shapes

Drag your ideal Etch Lines over to your Cut Line made by Boolean Union and line them up.

After this is in place, this is a good time to move these to your ‘Etch Layer’.
With the Etch Line group selected, click the layer (Color / number) square along the bottom of the screen to move it to the appropriate layer.

If this is problematic, please let us know where.

I don’t understand what’s causing the Fill behavior on the "Angel’ file above. The football and the ‘72’ seem to have different line weights which may mean that there is more overlapping than one might be expecting.

If you’re willing to share the Angel file, I’d like to see if any of the shapes are open.

1 Like

How many of these (identical) are you making? You’re going to spend several minutes to save probably less than a minute on the job. If it’s a “feel good” thing or to save wear on the machine/tube, go for it, but if it’s literally a time-saver, I think you’ll be upside down unless you’re running several of each name.

You are on the right track, Duplicate text,and convert to path, put it on a seperate layer to engrave then node edit to remove all that is not wanted just keeping the sections that overlap the donut.

I think I have a quicker and easier way…

    1. With your original closed shapes separate designs do a duplicate of both
    1. Select blue and black

jeff

    1. Select _ Boolean assistant _ Intersection A and B

    • Ungroup
    • Break Apart
    • Zoom in a little
    • Remove segments not needed
    • Zoom in more
    • Check results and remove more if needed
    • Group
    • Change your move increment value
    • Put everything in place in a crude way
    • Refine placement with ctrl + arrows
    1. Done

1 Like

Thank you all for your input. Sorry for being late to respond - some real life got in the way.

These are great solutions!

1 Like