I bought the TTS-20PRO as a birthday gift to myself back in November along with the expansion kit that makes it go from the 418x418 work area to a 600x600. I received the expansion kit way late so I’d been working within the original size just fine. Over the last week or so I made the physical framing change and I edited the dimensions in the Device Settings area of Lightburn as well as changed $130 and $131 in the console prompt to reflect the 600 size. Now I cant get it to do anything really. Sometimes it homes properly sometimes it gets to the lower corner and just keeps grinding. Sometimes it frames fine, sometimes it goes way up near the top 3rd of the engraving area and starts framing there instead of near the 0,0 mark like it shows the graphics on the Lightburn grid. Ive always used absolute coords. I’ve tried listing a new GRBL machine, changing the original that had been working, deleting both and starting from scratch…nothing stays working. I’m at wits end and I want to get back to playing…HELP!!
Hi Scott,
In the times when it homes fine - does it frame fine also?
Because if you always use absolute coordinates and the homing does not complete properly then your origin and framing will not work either.
Do you see any error or alarm messages in the Console Window?
If so, please copy and paste them back to us.
Check if your homing limit switches are still working correctly:
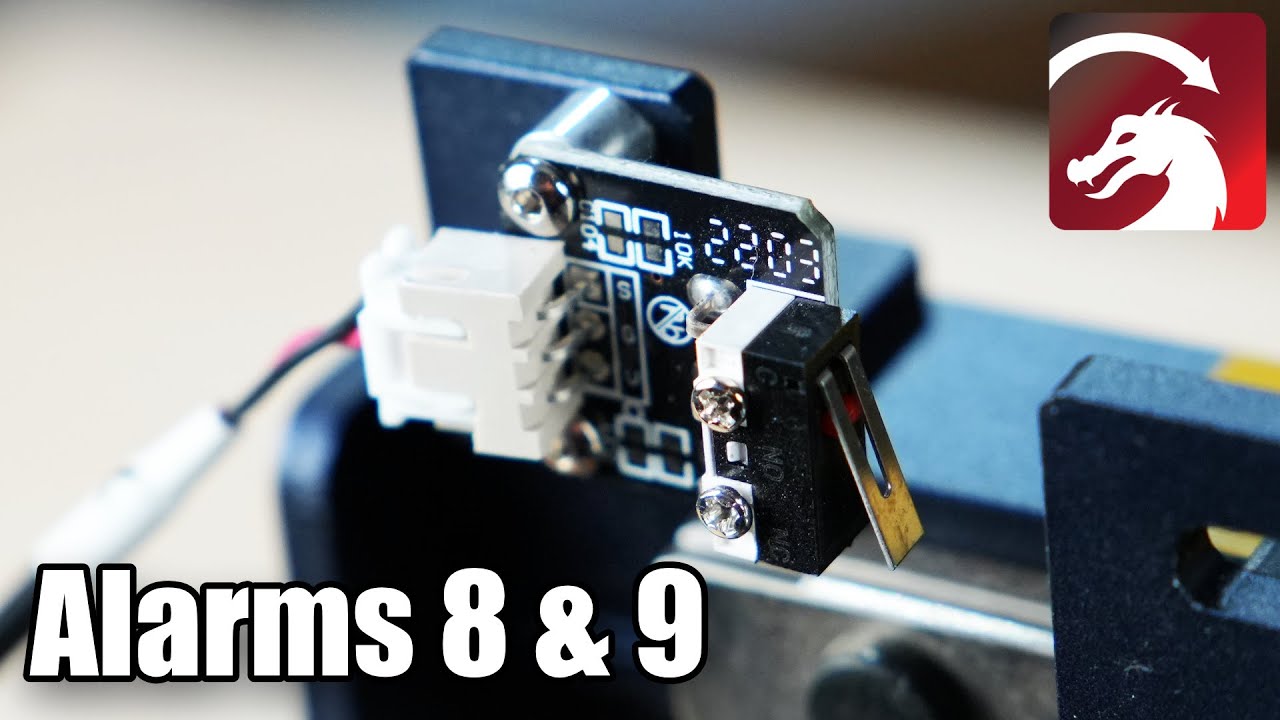
If you go to the Console Window, and enter ? you should notice these values changing if you are holding down one of the limit switches:
?<Idle|MPos:0.000,0.000,0.000|Bf:35,7680|FS:0,0|Pn:PY|CL:0,100|PS:2,1|ER:0,0>
?
?<Idle|MPos:0.000,0.000,0.000|Bf:35,7680|FS:0,0|Pn:PX|CL:0,100|PS:2,1|ER:0,0>
I was getting some errors, yes. 8 and 9. I went through and found a couple things that i believe were a factor. I reset the belts along the two side frame bars (y axis) and the wiring harnesses were rather flimsy and seem to get in the way between the laser and the frame becoming an obstacle between the switch and the laser harness.
Now after tweaking those things I have what hopefully is also a minor issue. I’ve done a series of circle and square tests and at this point not sure what to tweak. My squares are a tiny off at the corners ans the circles are not quite smooth.
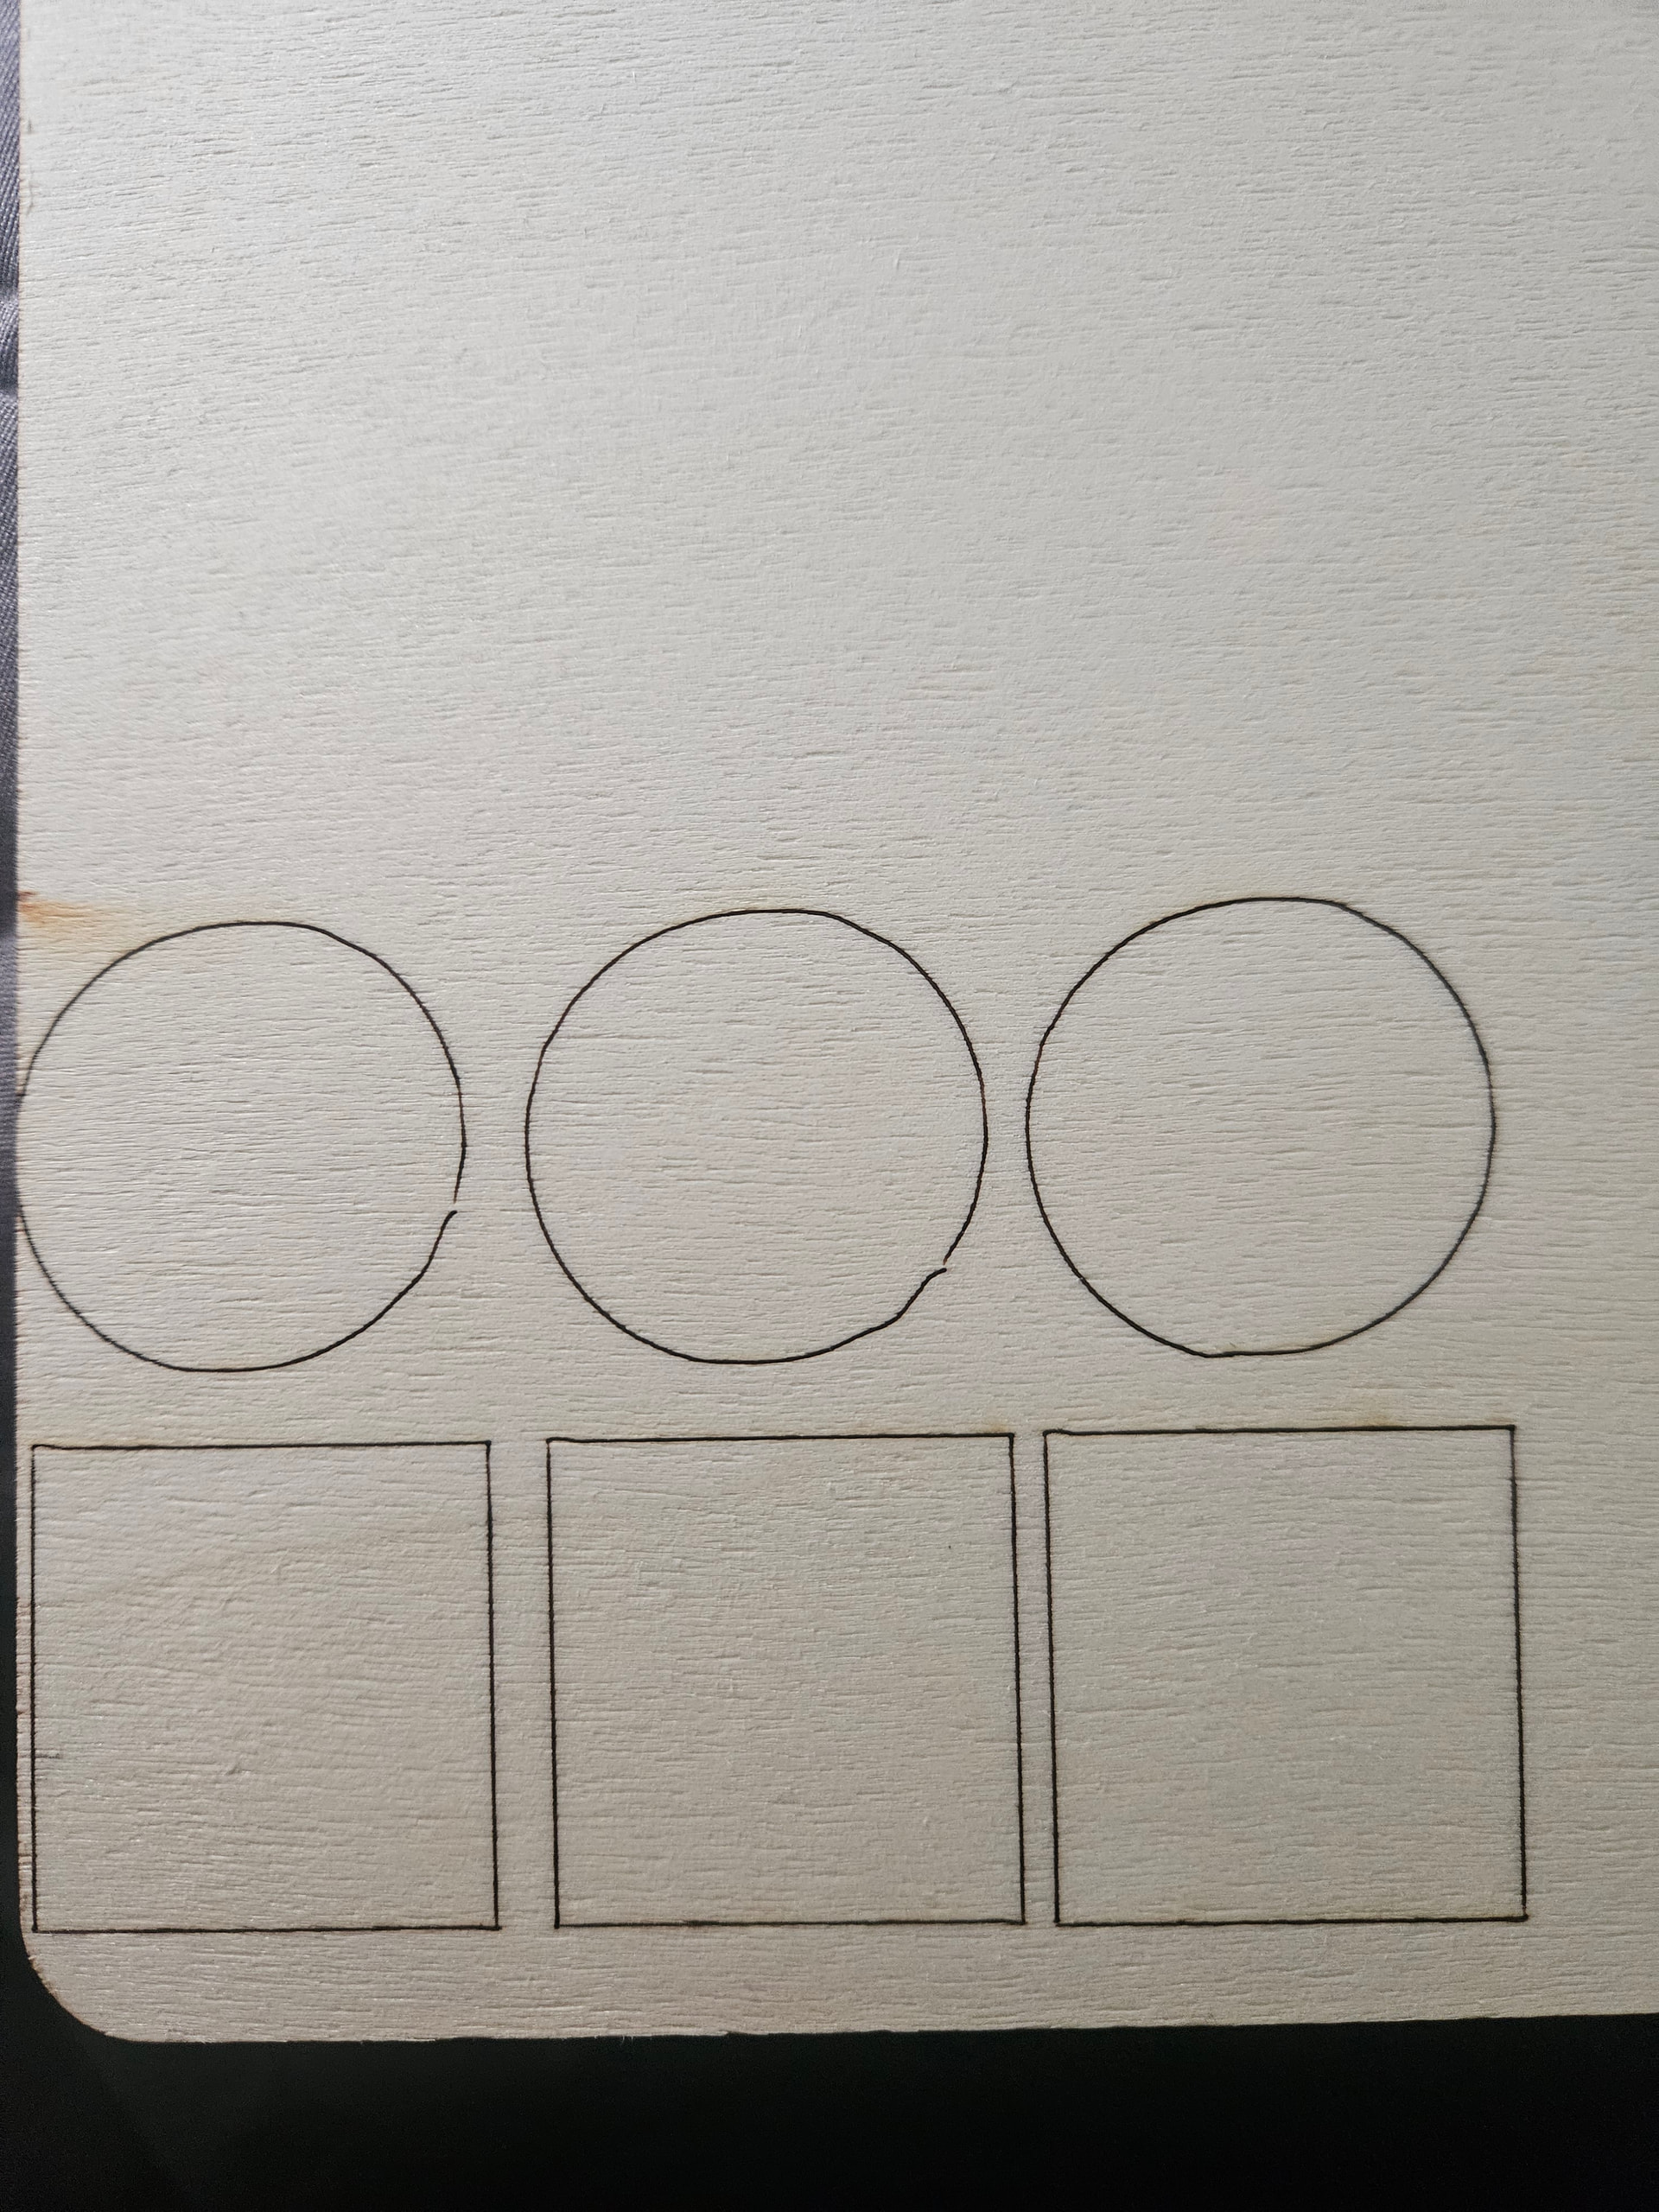
Am I looking at solely a belt issue and if so how do i know which to adjust?
Thanks!!
Hi Scott,
If you recall the diameter/size of the circles and squares you cut, measure them with a pair of calipers. Generally a loose belt will make a cut smaller than the intended size on the affected axis. So if an X axis belt was loose, and you etched a 1" x 1" square, you would measure less than an inch on the X axis.
Your image suggests a backlash issue. Check all the pulley and coupling set screws.
Does backlash suggest being too tight? And by set screws, where specifically? At the wheels? belts? Sorry I’m still learning my way around it.
I added an image to show what I’m experiencing not. Corners not crisp on squares and circles not crisp on the circumference with more of a wobbly line than a oblonged shape
Backlash is when you have a reversal of direction, but due to looseness the pulley has to rotate slightly before it grabs the shaft. Google “what is mechanical backlash”.
Thank you for the wiki link on this, it is chock full of info that I didn’t even know I needed to know!
I recommend you run this attached ‘BacklashCheck’ before you make any mechanical adjustments so you can track how those adjustments affect the results.
BacklashCheck.lbrn2 (77.8 KB)
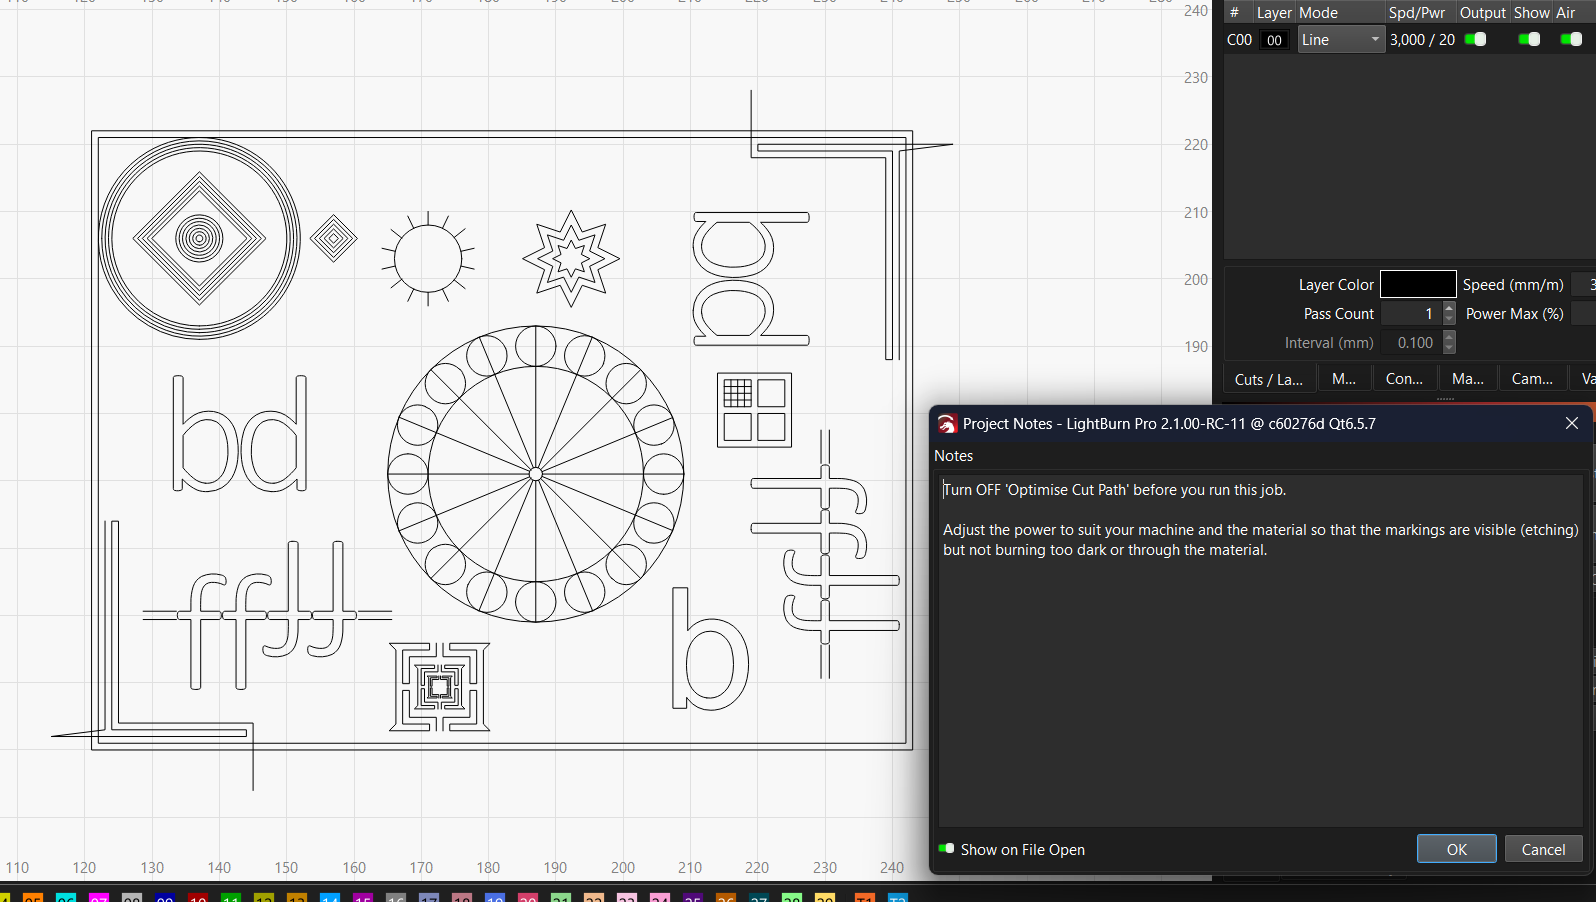
Thank you for that attachment and photo, I will definitely do that!