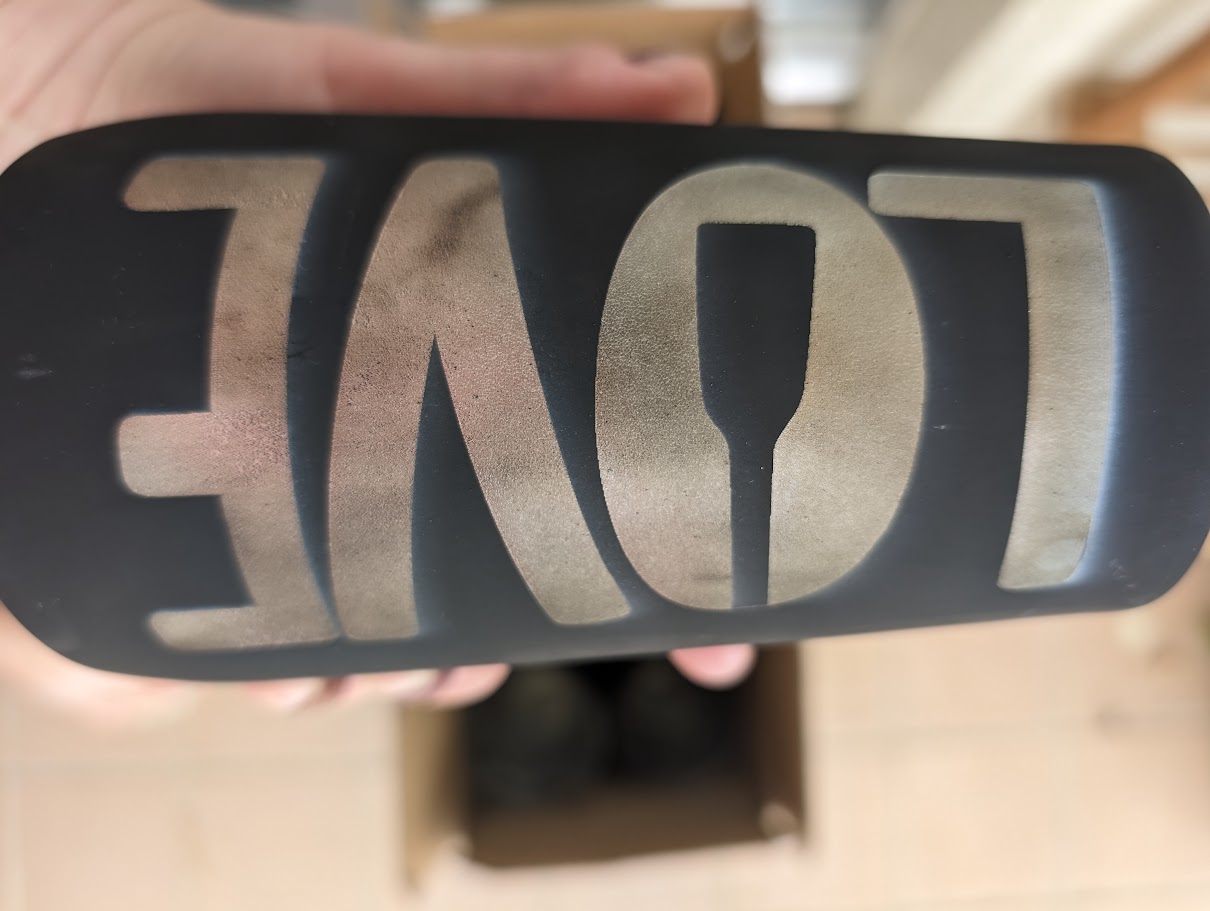
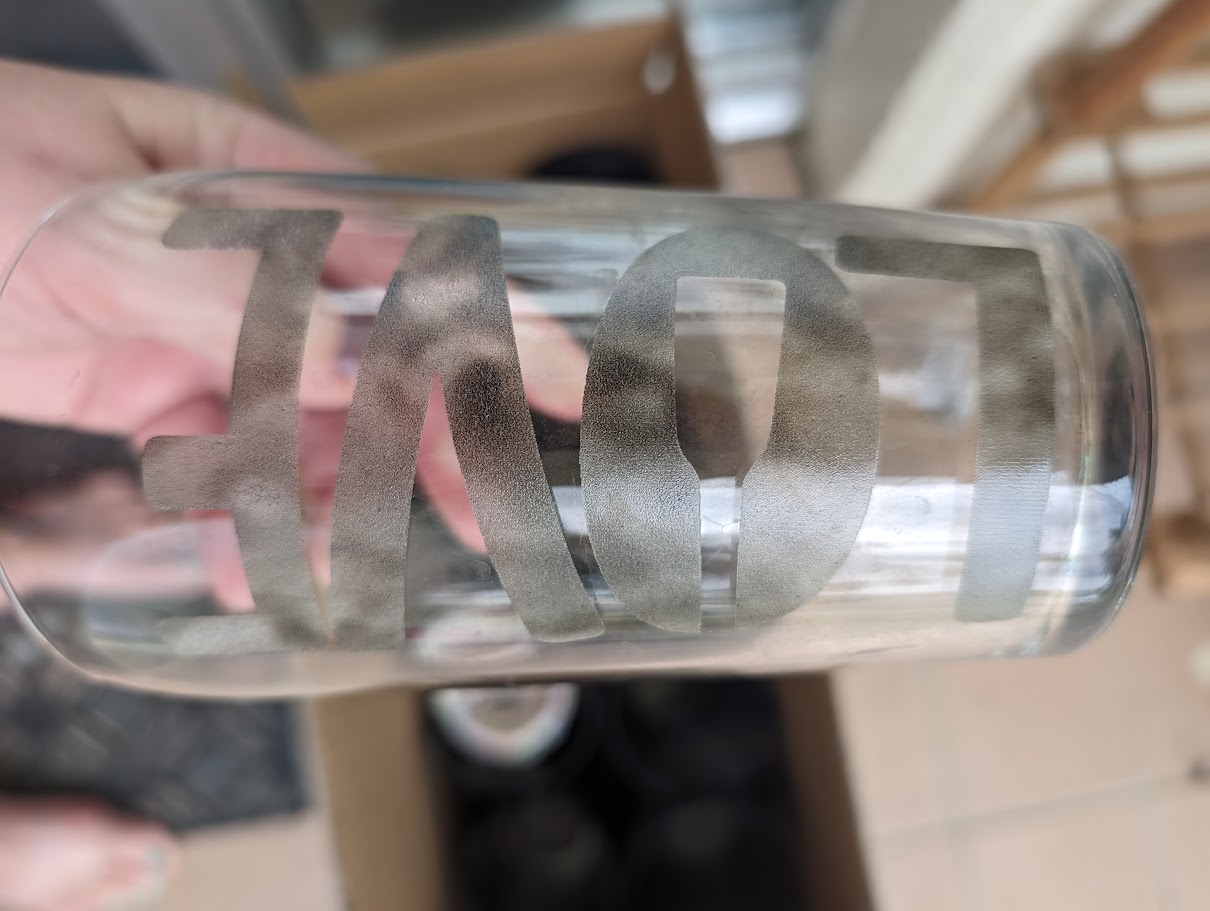
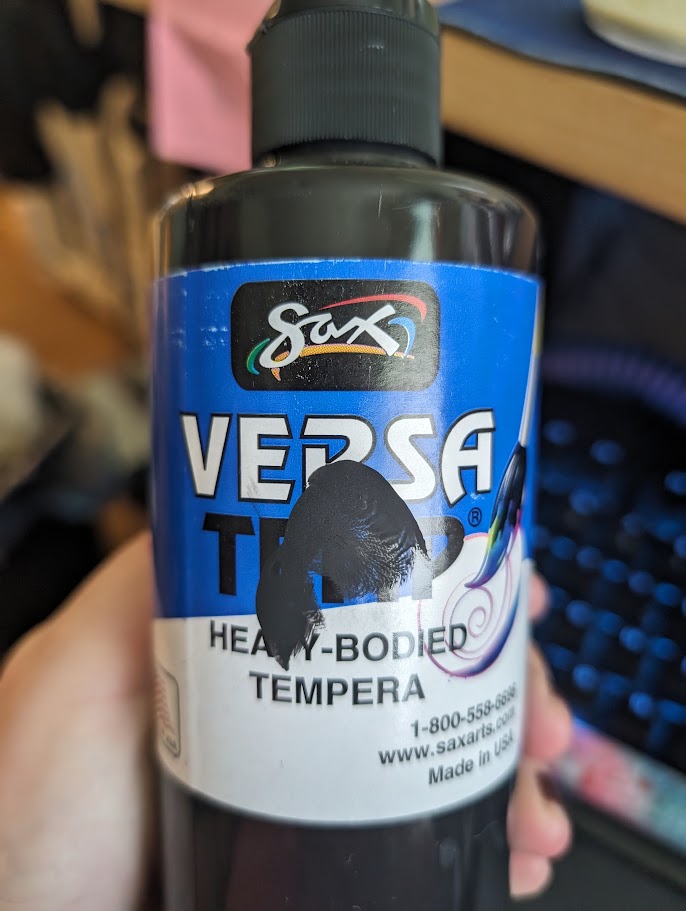
I am trying to etch some glasses using black tempera paint (Sax Versa Temp, Heavy-Bodied Tempera. I have my 10w XTool D1 pro set at 90% power and 50 mm/s, running with low air assist. For some reason the etching almost looks burnt or patchy with black in it. I cannot scrub it out regardless of what I try (water, acetone, dish soap, alcohol, soaking overnight, magic eraser, etc.). Any thoughts on what is causing this? Could the cheap glass itself be an issue (impurities, etc.)? Is the paint too thick? I watered it down (with water on some and rubbing alcohol on the others) and rolled it for two even coats. I’m very new to the hobby, so any input is appreciated! Thank you!
I’ve had good luck with Omtech Laser Marking Spray. A little pricey but it goes a long way and washes off with water. You could also try mixing your own Titanium Dioxide with 90% Alcohol. Problem i’ve had with that is finding a sprayer to spray it on that doesn’t clog up. I finally gave up and just use the Omtech. You could also try the Cold Galvanized Spray if your on a budget. It washes off easily with water and a brillo pad. I’m sure other folks will chime in on this.
https://www.amazon.com/dp/B09L4GDCN9?psc=1&ref=product_details
1 Like
I believe that both of the methods Loren suggested will result in dark engraving. I think you are looking for light. Try a different brand of Tempura paint.
1 Like
Yes, aiming for light! Any paint you recommend? Thank you!
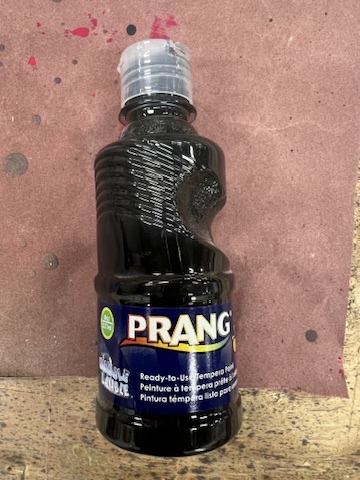
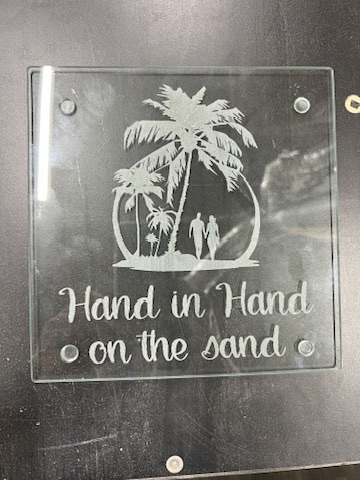
I have been using Prand brand from Dollar Tree. I just did this trivet this morning using it. 10watt 4,500 mm/m @100%. the discoloration is from flashback of my honeycomb bed. I haven’t done glass in quite a while and forgot about this problem.
1 Like
I just ordered that exact paint not an hour ago! Fingers crossed it works well for me too! Thank you!
And did you mean the honeycomb bed caused permanent discoloration? Sorry for my confusion! That’s extremely interesting!
Yes, you can’t really see it in the photo, but in person there is a dark outline that won’t come out. At first I thought it was a design element in the file, but it wasn’t and I realized it matches the honeycomb bed exactly.
Obviously that won’t be a problem for a glass on the rotary, but I’ll have to remember to space it off the bed for any flat glass. The previous flat glass I’ve done was a plate and the engrave area wasn’t down on the honeycomb.
The glasses i’ve done using Omtech came out fine, not dark at all.
When your engraving glass your not really engraving the glass. The laser beam is simply reacting with the coating and bonding it to the glass. That’s why you will get different results with different coatings. To truly etch glass it needs to be etched with an acid paste.
1 Like
My recent experience with glass…
I tried using black Dry Erase on plastic bottles and it worked very well. Then I tried it on glass and it worked very well there (see exception below) too.
To clean the marker off the glass, I used the foam Magic Eraser and a little water. It also cleaned out the pores of the etching pretty good too.
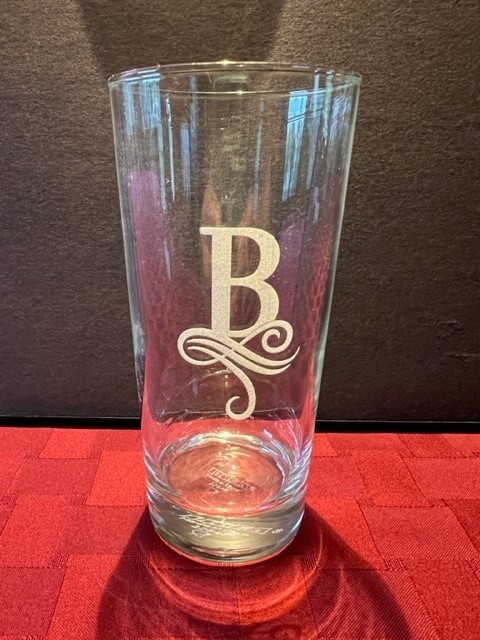
When I tries etching shot glasses with a logo, and later small glass bottles, the Dry Erase did not work do well. Apparently the glass is much harder and not enough heat remained to fracture the glass. So I tried white and black acrylic paint spray. Cleaning was done with a no-scratch Scotch-Brite pad. Both seemed to work equally well, but the black left some residual black spots in the etching.
I was working towards a clean frost look, so I did a dozen glasses with white. I was later told, “It is not visible enough. Can you make it darker?” My solution was to wipe the frost with a black Sharpie Permanent Marker, then Magic Eraser clean it. The darkening remained after a dishwasher cycle, so I went with that.
Glass bottles are harder glass too, but this time I used Dry Erase to etch because it was only text, and followed that with a Sharpie + Magic Eraser treatment to make the text a bit more visible, but not so much to obscure the bottle contents of sand and water.
Tools:
Mr. Clean Magic Eraser
Sanford EXPO Dry Erase Marker, black
Sharpie Permanent Marker, chisel tip, black
Ironlak Gloss Acrylic Spray Paint, black (sourced at Michael’s, MATT BLACK)
Ironlak Gloss Acrylic Spray Paint, white (sourced at Michael’s, FRAISER)
3M Scotch-Brite Non-Scratch Scour Pads
And glass stuff to etch.
1 Like
I just went back and inspected the trivet closer. The burn marks from the honeycomb weren’t in the etching, they were on the other side of the glass. It just took a few seconds with a magic eraser to clean it up.
2 Likes
Wow good to know! Thank you!
Thank you so much for this!
I just stumbled across this today and it happens to be perfectly timed for this topic.

1 Like
@cggorman, thanks for finding this. Learning what was not critical was good. He did a good job of explaining the settings too.