Looking to build out my kit for holding work while lasering. As this is a common issue I’m sure many of you have some go to products that you love. I’m curious what those are!
This is pretty slick thinking of getting afew of them.
Looking to build out my kit for holding work while lasering. As this is a common issue I’m sure many of you have some go to products that you love. I’m curious what those are!
This is pretty slick thinking of getting afew of them.
Those look nice, but you take a hit in your back pocket. I have a socket based on that principle.
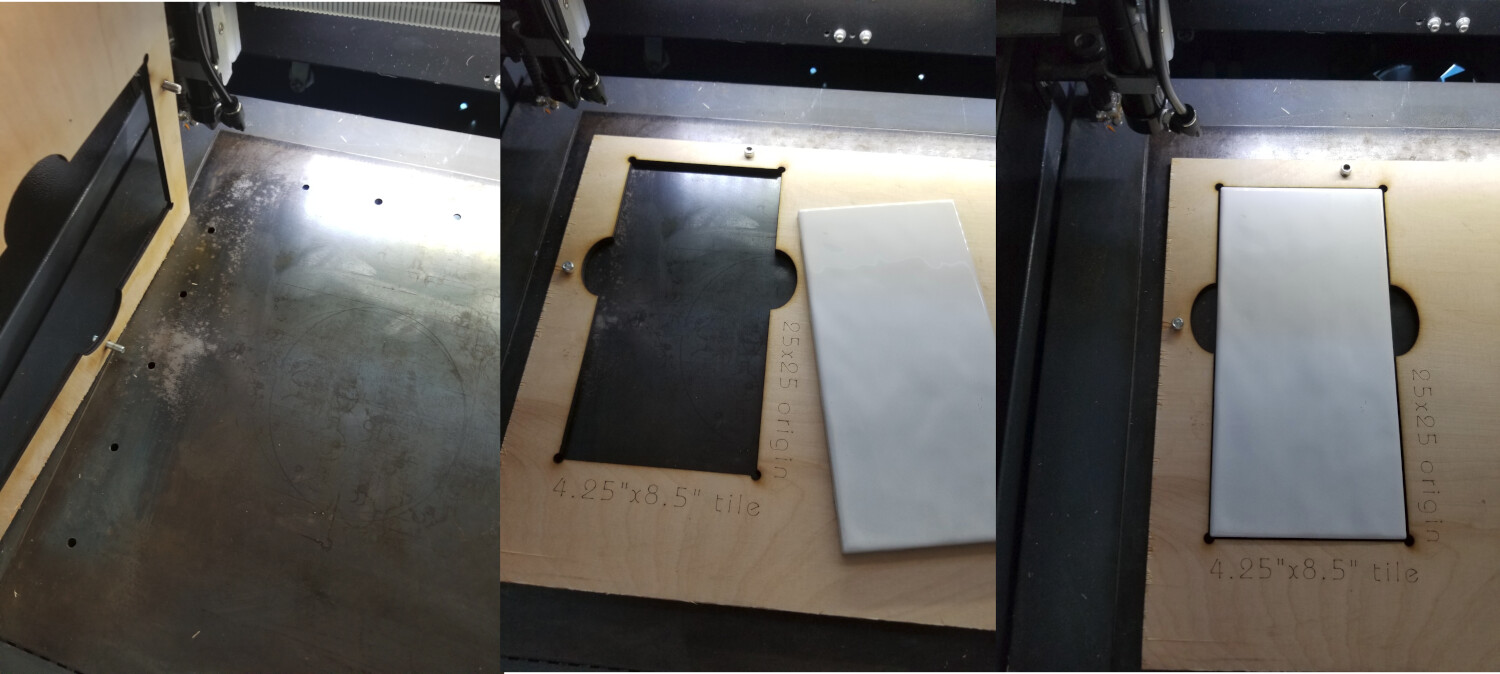
I have replaced my honeycomb with a steel sheet. Drilled holes into it that were marked with the laser. These align the jigs.
![]()
I have a piece of particle board I use as sacrificial, and the use sheetrock screws at edges to hold it down or spacers if I’m cutting. But then I’m just a cheap sob.
I also use underlayment for my projects.
Really simple. I jam a piece of wood right into the front left corner, cut out an L shape from it at the 0 vertical, 9 horizontal. Every thing to cut goes in against that corner. Everything is always exactly where it is supposed to be.
Quick, easy, consistent
It looks awfully threatening to a delicate laser head. ![]()
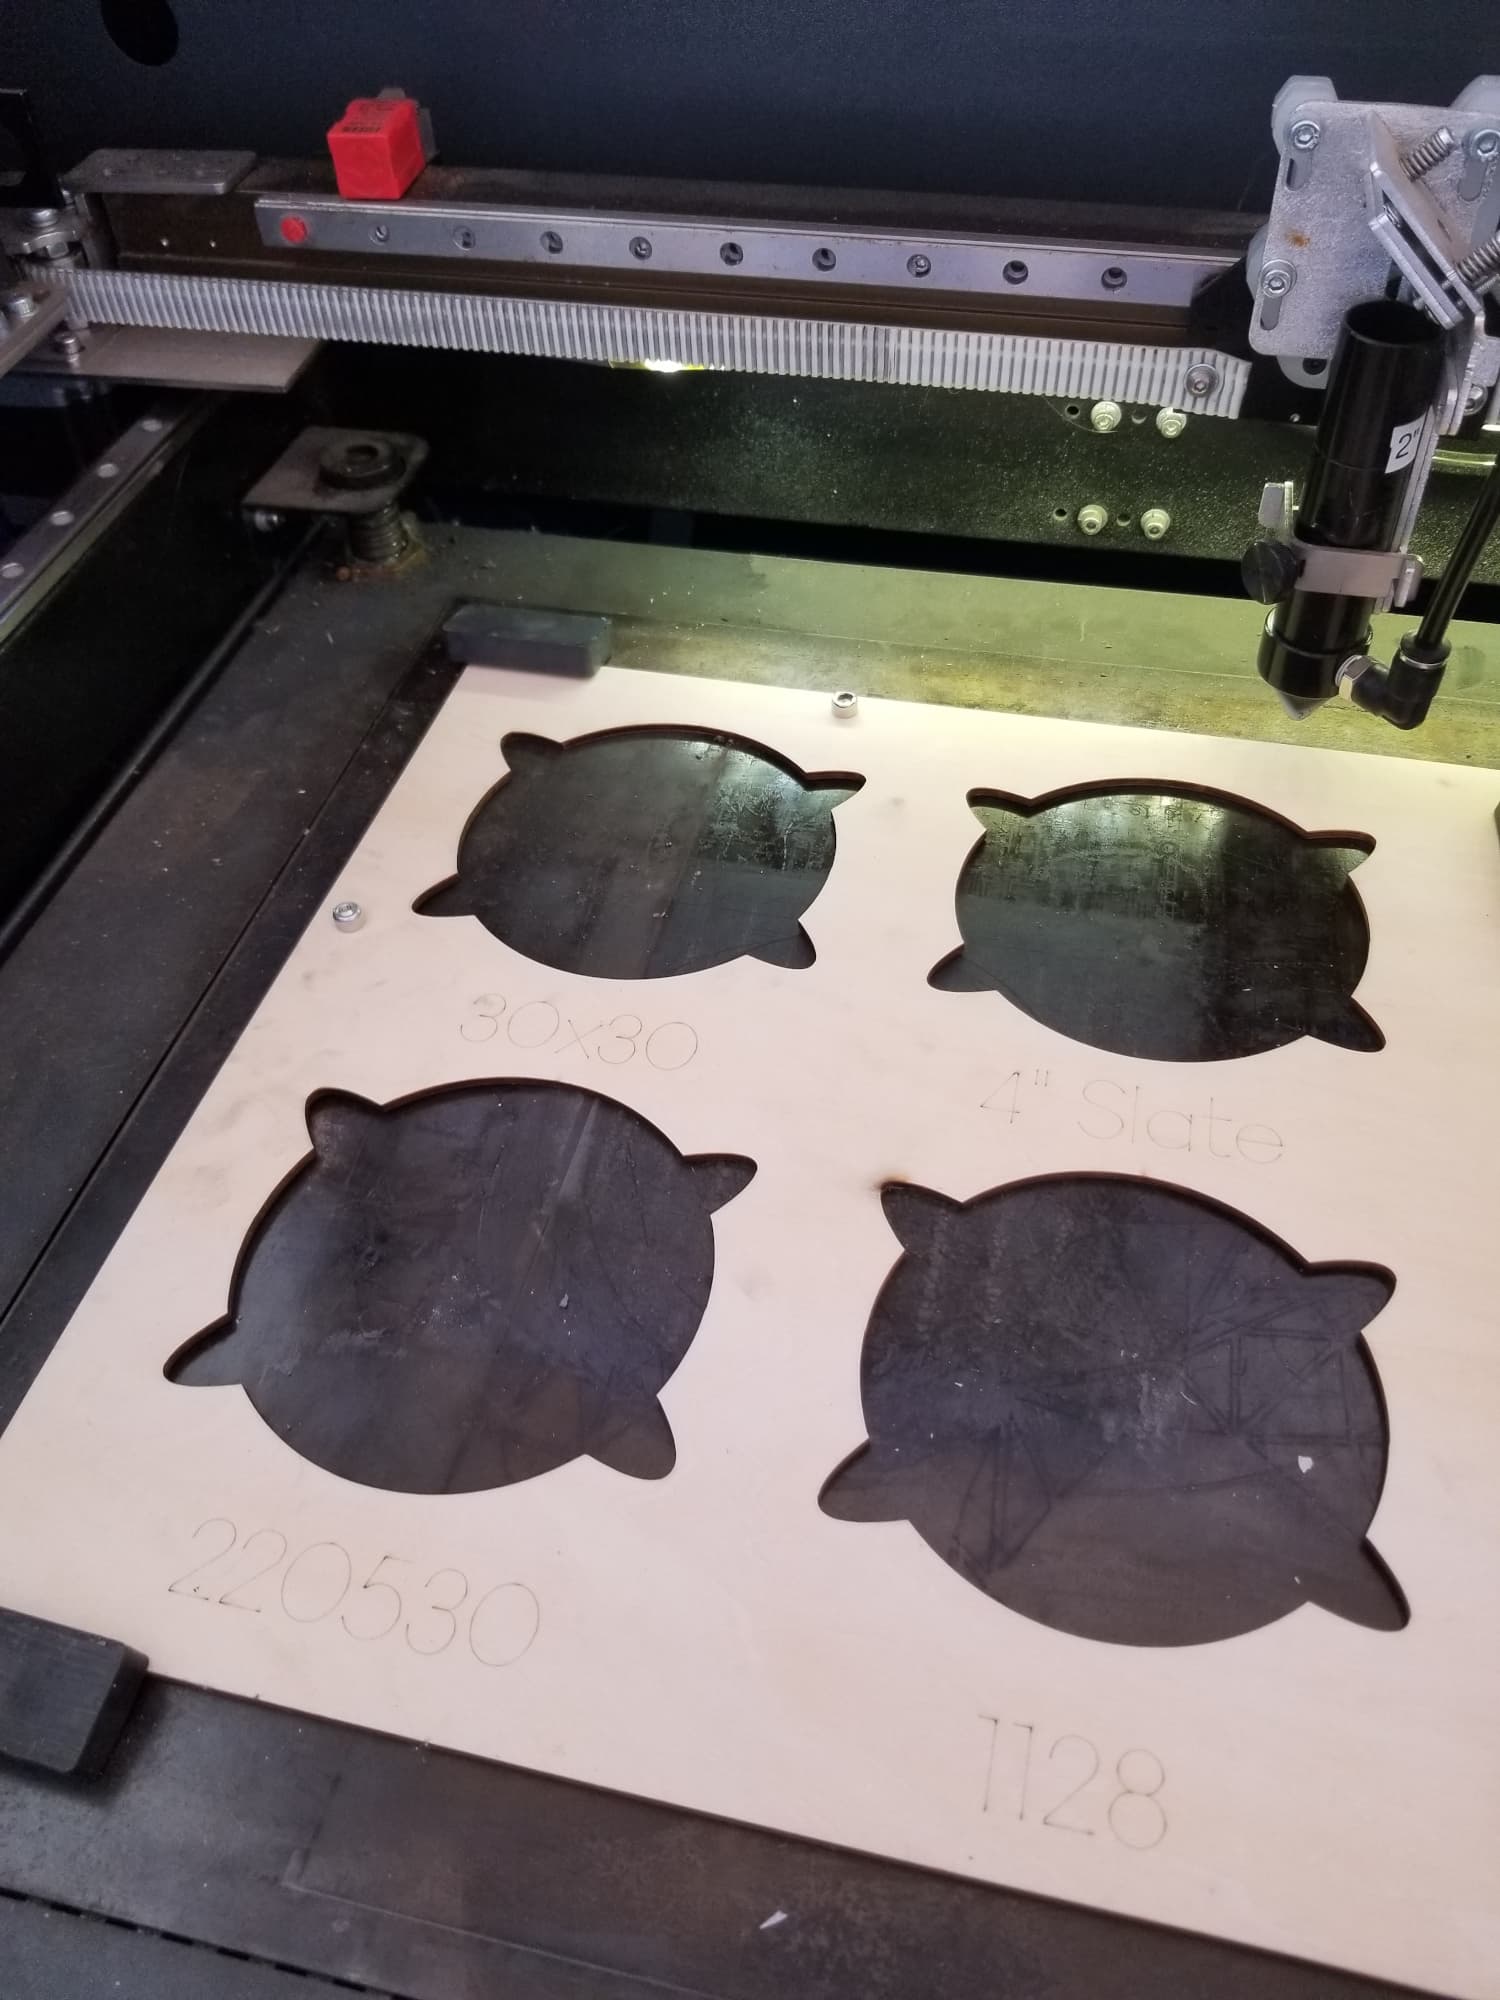
For holding 3D things while machining, I favor a 3D printed block with the shape of the thing subtracted from it:
Most of my laser projects are firmly 2D, so laser-cut fixtures work fine:
I have 3D printed some laser fixtures, though:
Maybe I just scare easily? ![]()
Yeah ive made some jigs like that as well but im trying to avoid making jigs all the time. The work i need to hold varys a lot so was looking for a few solutions that would cover many bases.
ED! Whats up man hope all is well. Been a little bit. Yes I agree this method is best. However a lot of the work ive been getting is all over the place in regards to form factor. To make matters worse most of it is fairly low volume so its hard to justify making a new jig everytime. Wanted some products that would offer a more rounded solution.
Back in the day, before 3D printing was a thing, I used machinable wax: melt it, pour it into a tray to make a custom fixture for a recalcitrant part, melt it again for the next part:
I’d still favor wax over cold steel on the laser platform, if only to make collisions more survivable.
Nowadays, it’s either “carving wax” or BDSM-adjacent, but Amazon will drop a couple bags of scented wax and a cute melter on your doorstep for thirty bucks.
My machine has a 16.1"x16.1" work area. I fix the machine to a 5mm plywood base (underlayment), and cut a 16"x16" square at the origin. I then use a cheap steel 16"x16" pegboard from Homedepot. That gives me a very accurate 1"x1" matrix for placement and alignment. Super accurate, super repeatable, and super cheap
I use magnetic spikes on the steel combined with laser cut edge guides for accurate placement of templates. I cut post markers that could set up alignment at any hole, but in practice I only ever use the edge guides.
Hmm ok thats an interesting approach, will keep that in my back pocket.