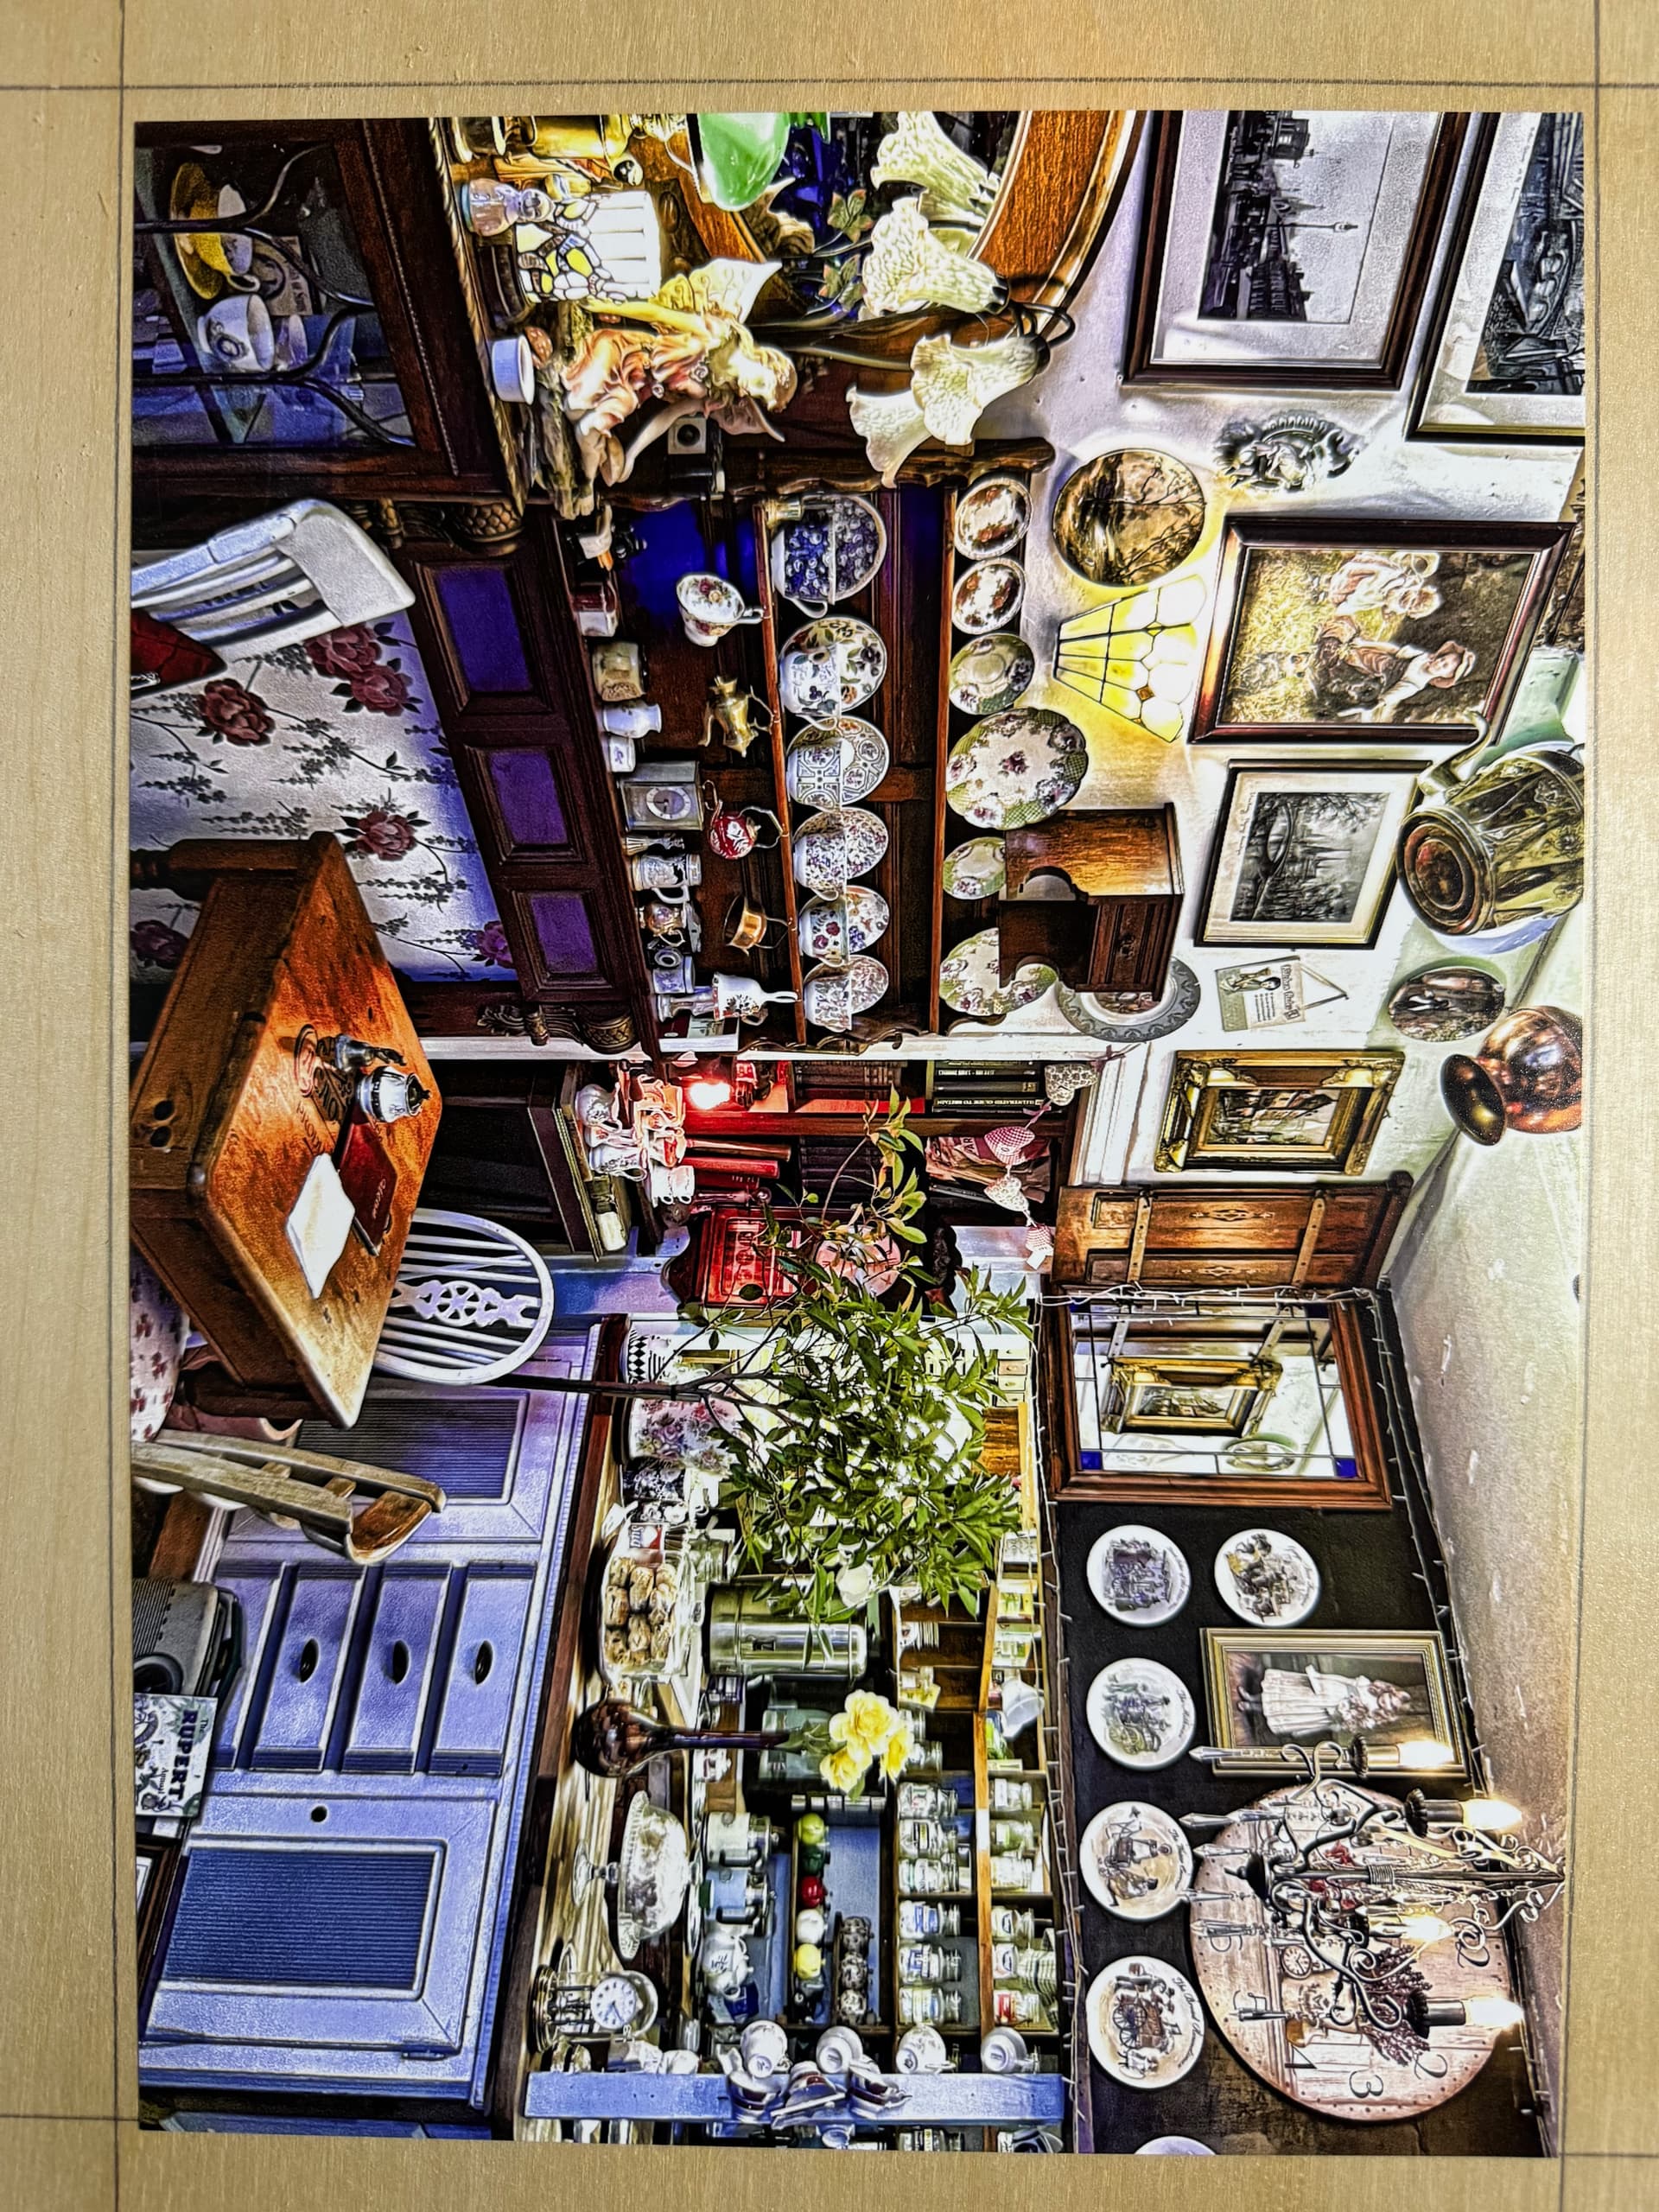
I bought the Atomstack A5 M50 Pro a couple of weeks ago after I got an idea to create jigsaw puzzles from my photographs. Since then I have been reading these forums, articles elsewhere and watching YouTube movies to understand how things work etc.
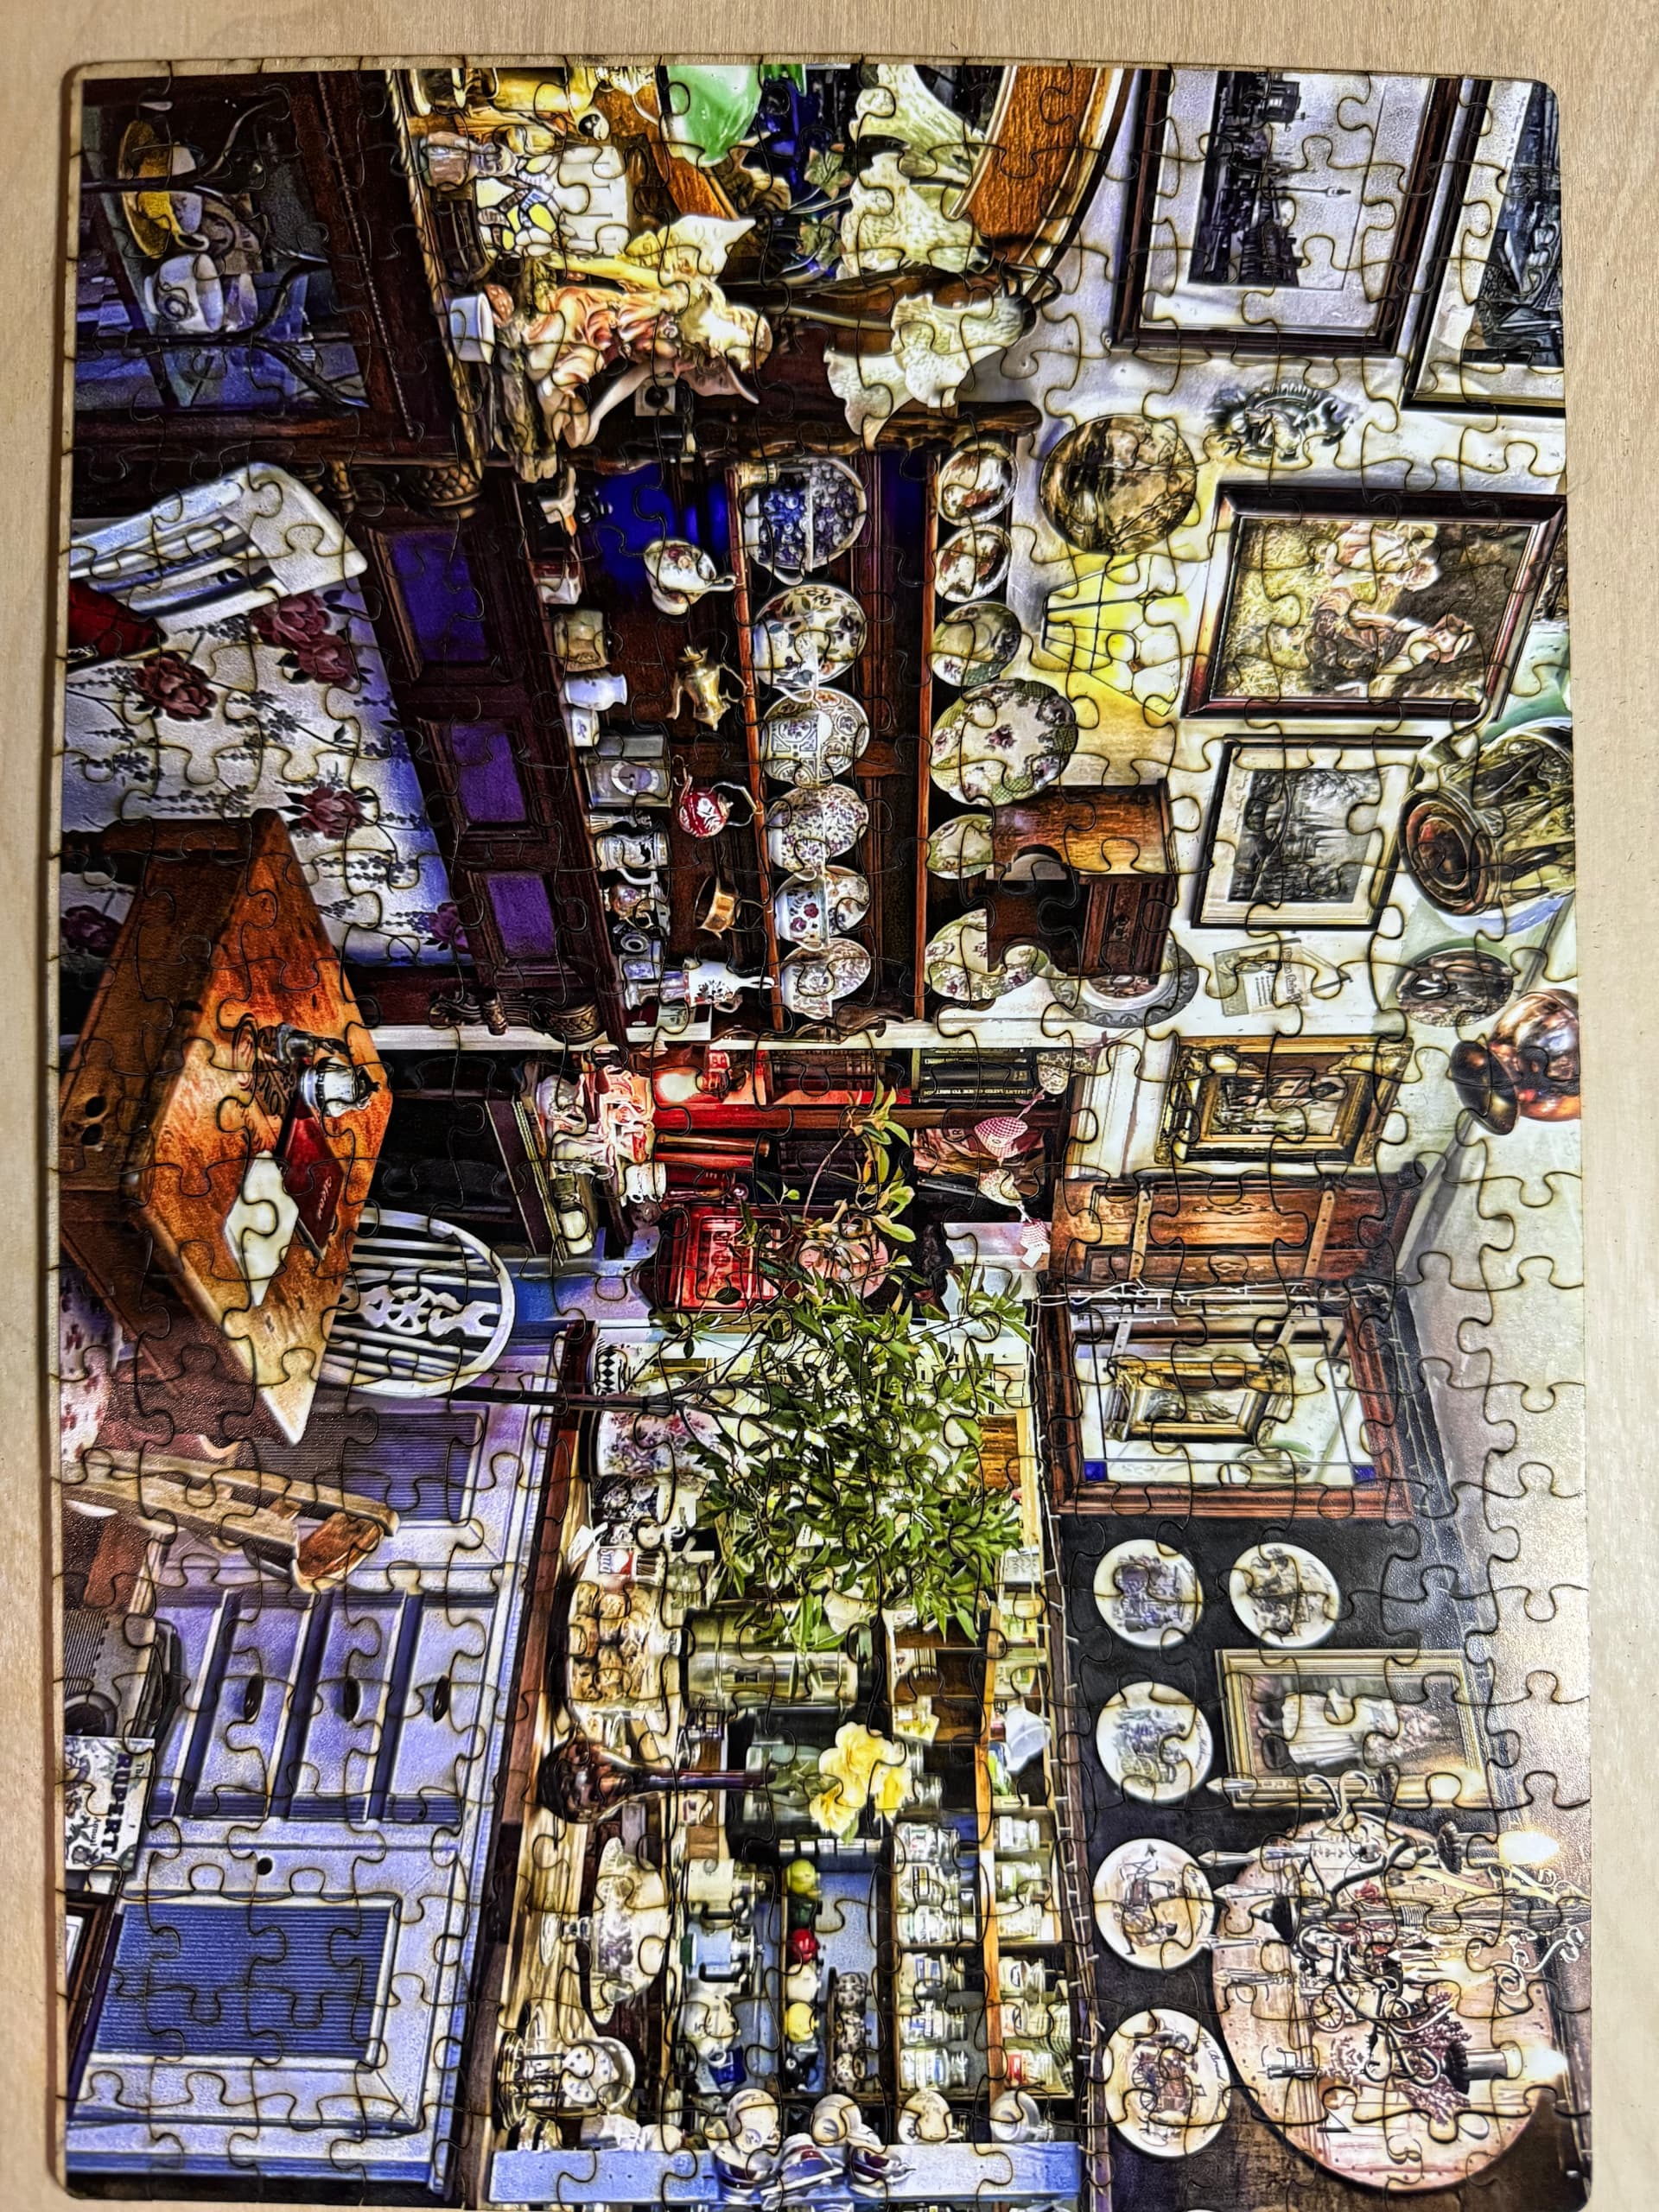
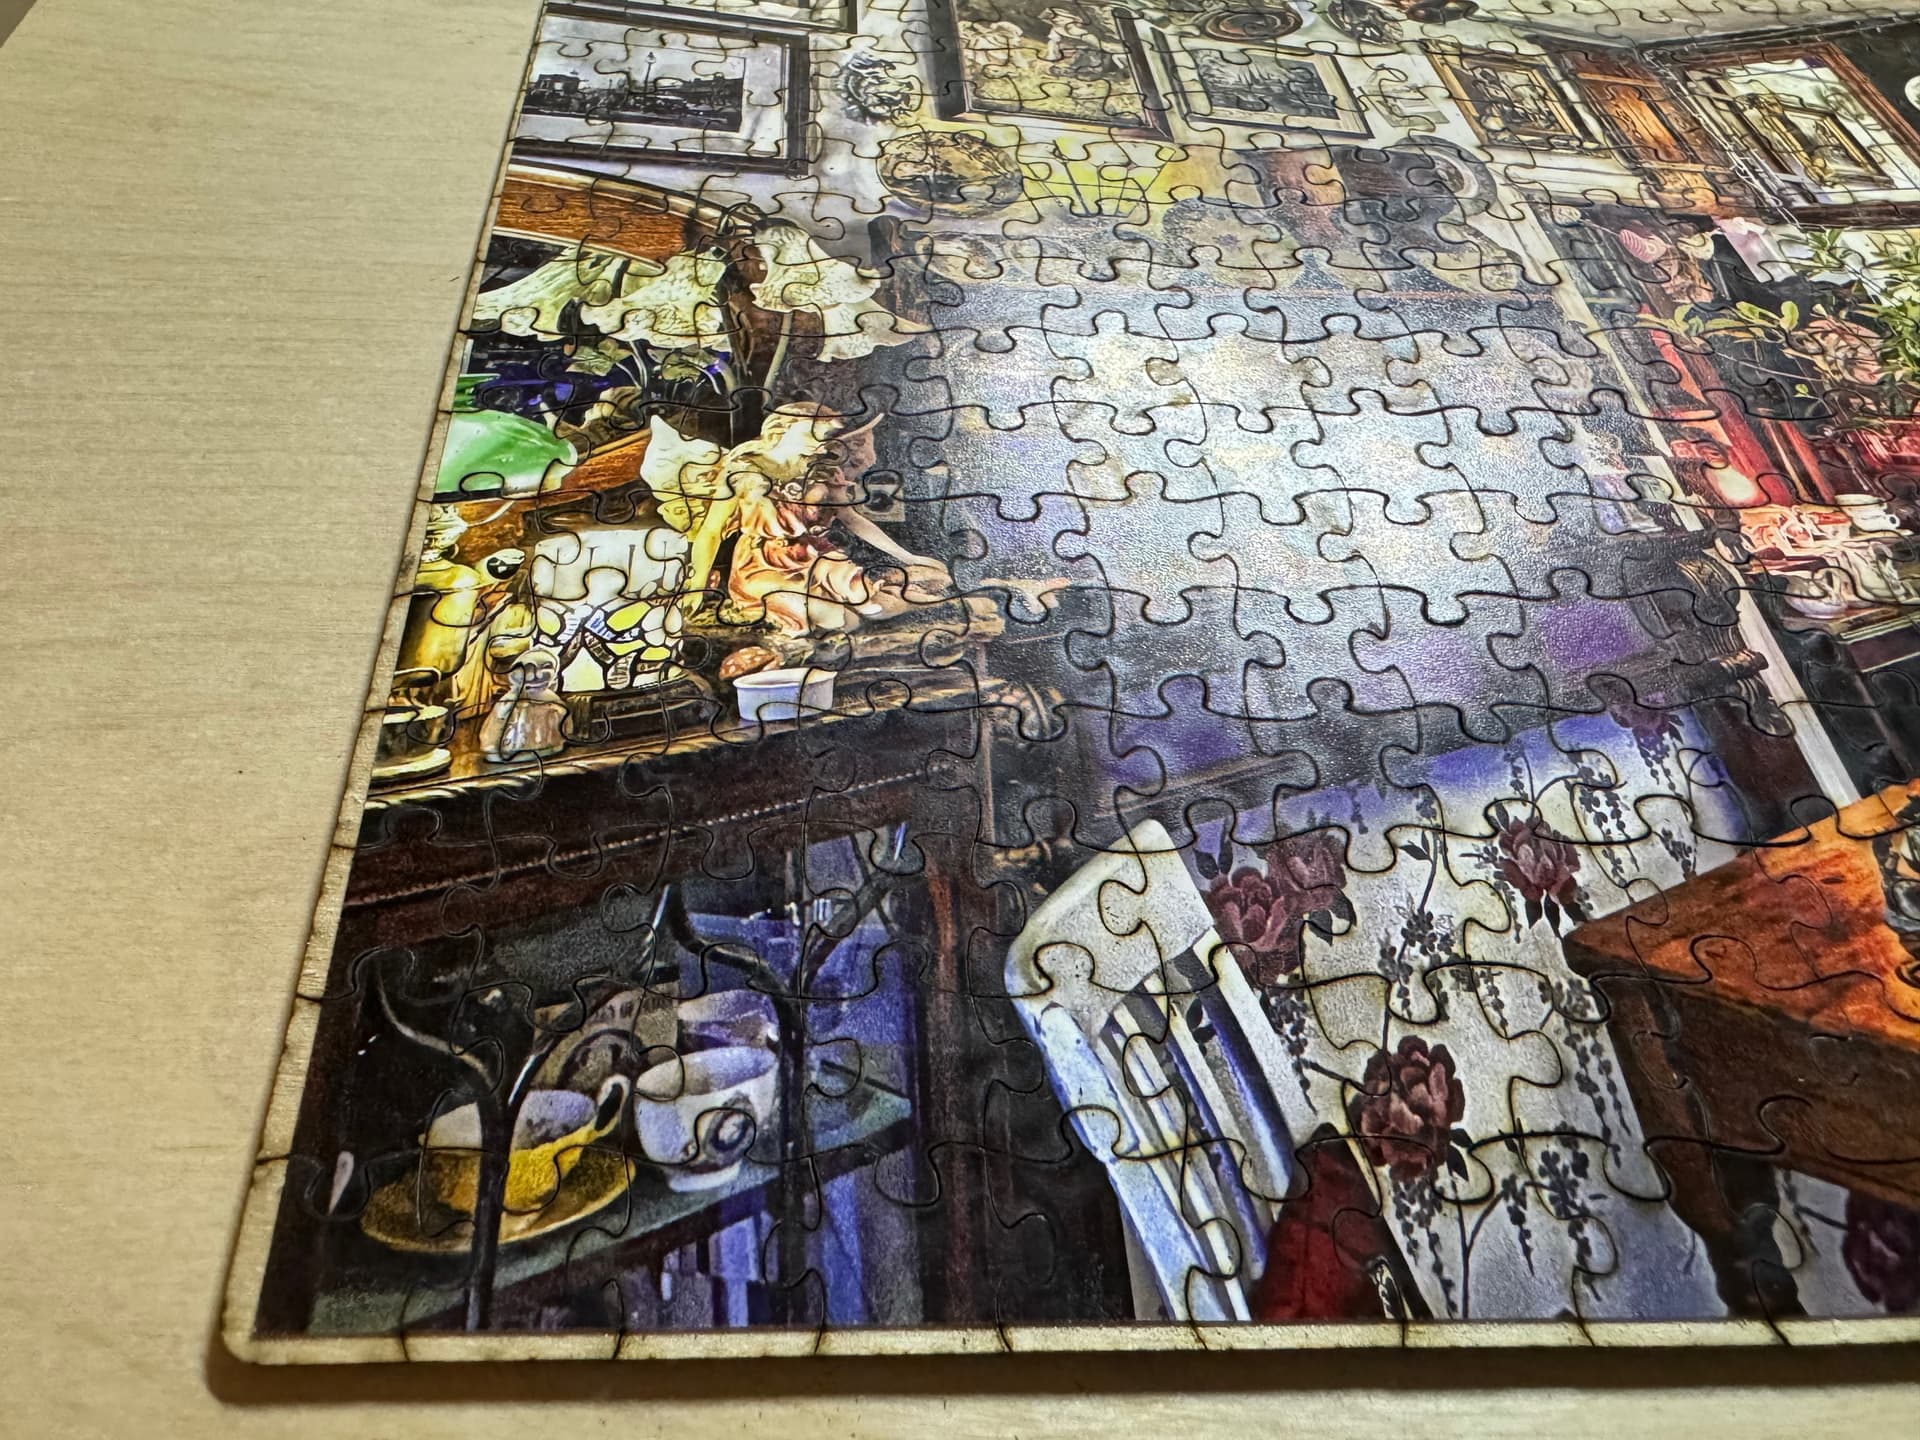
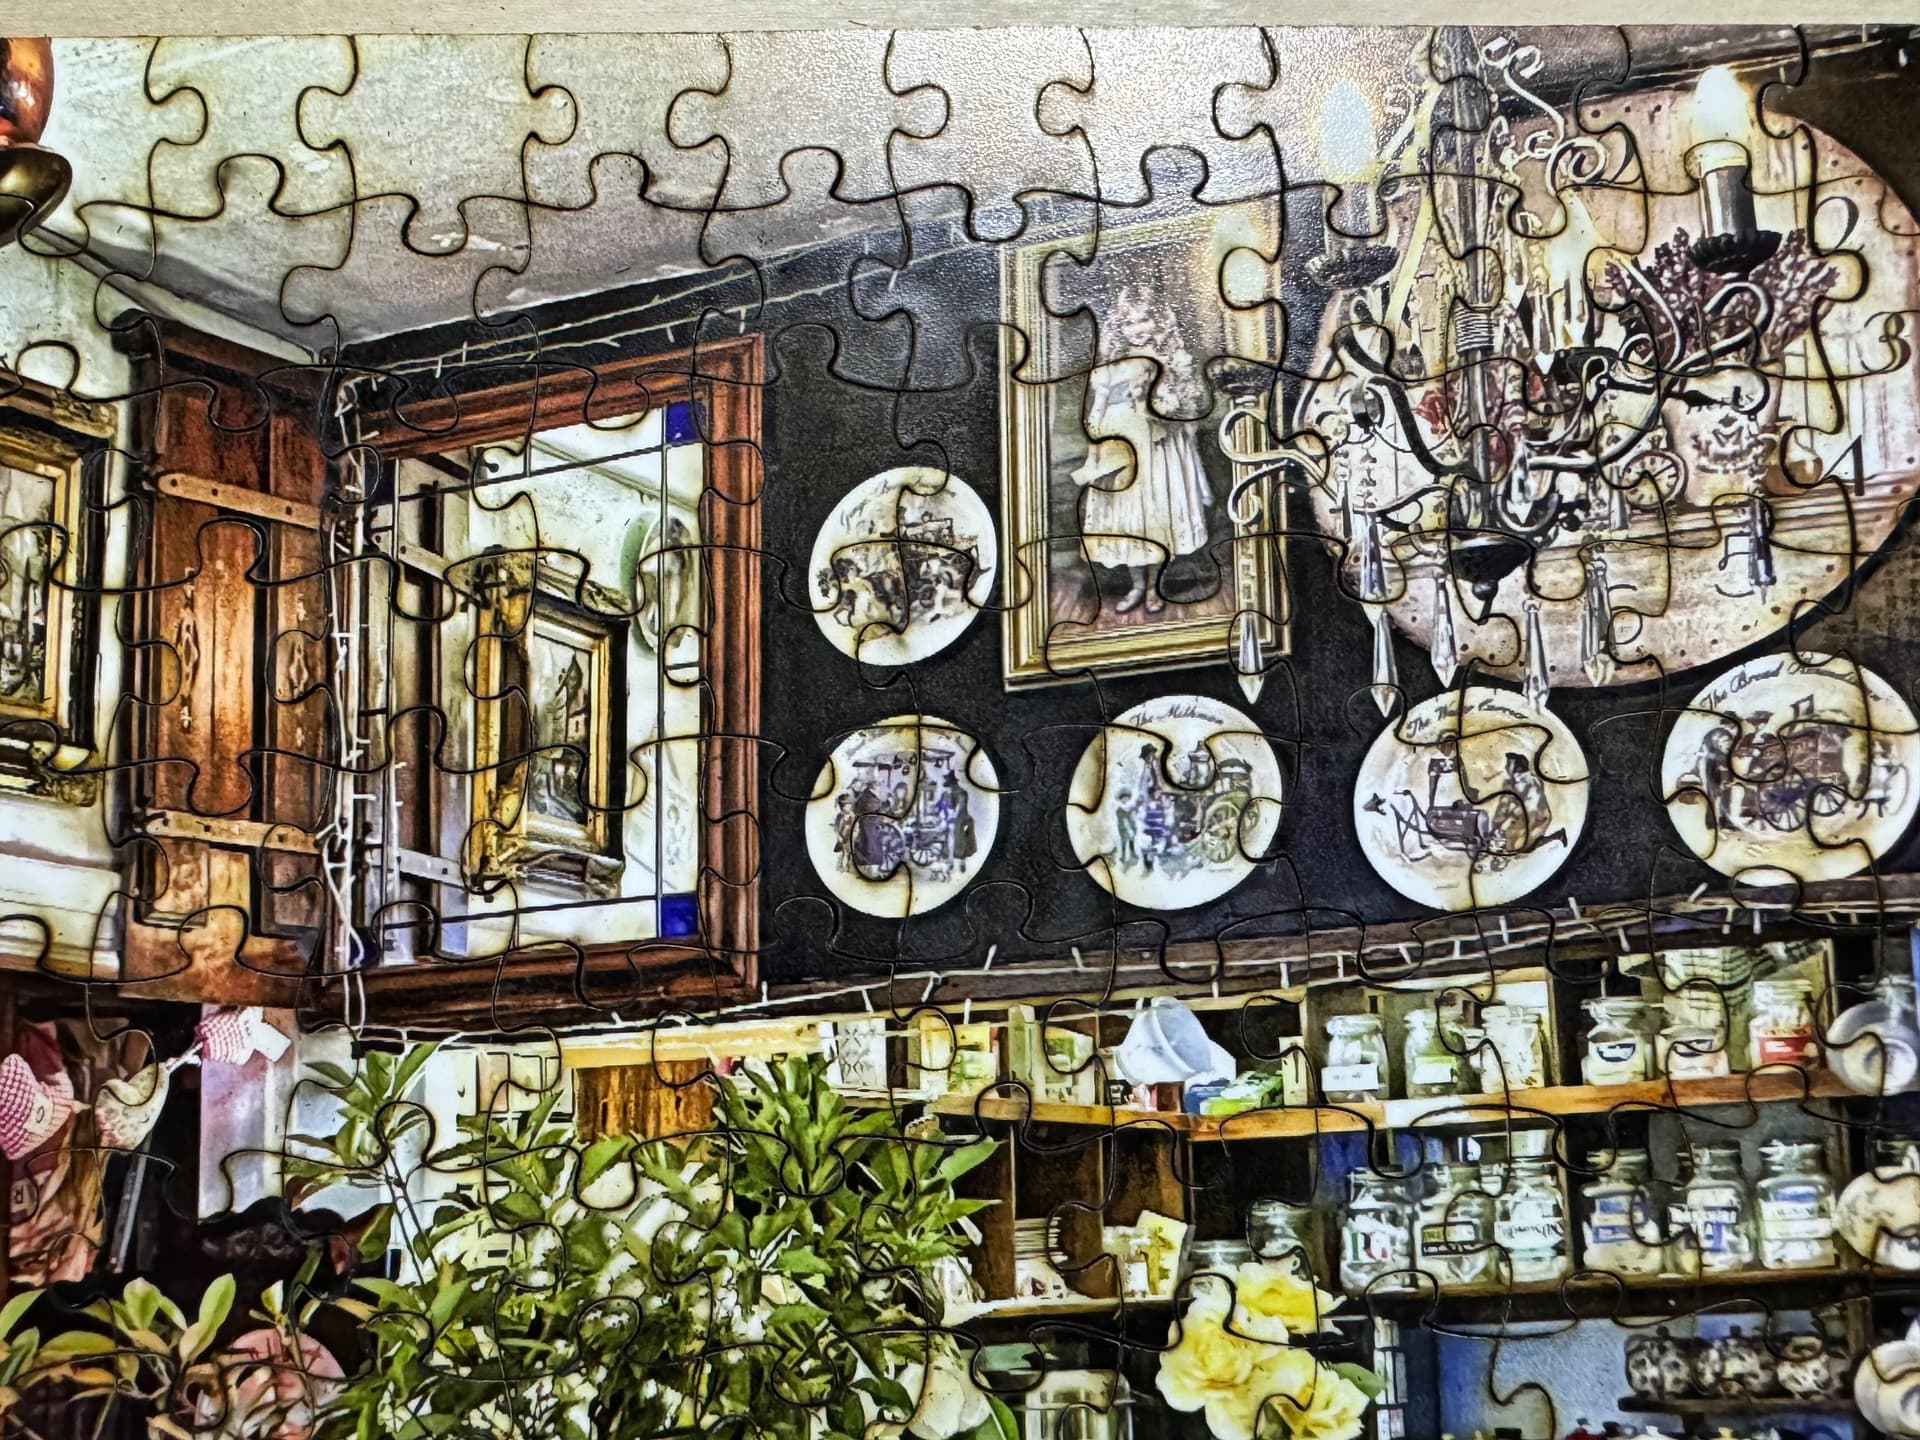
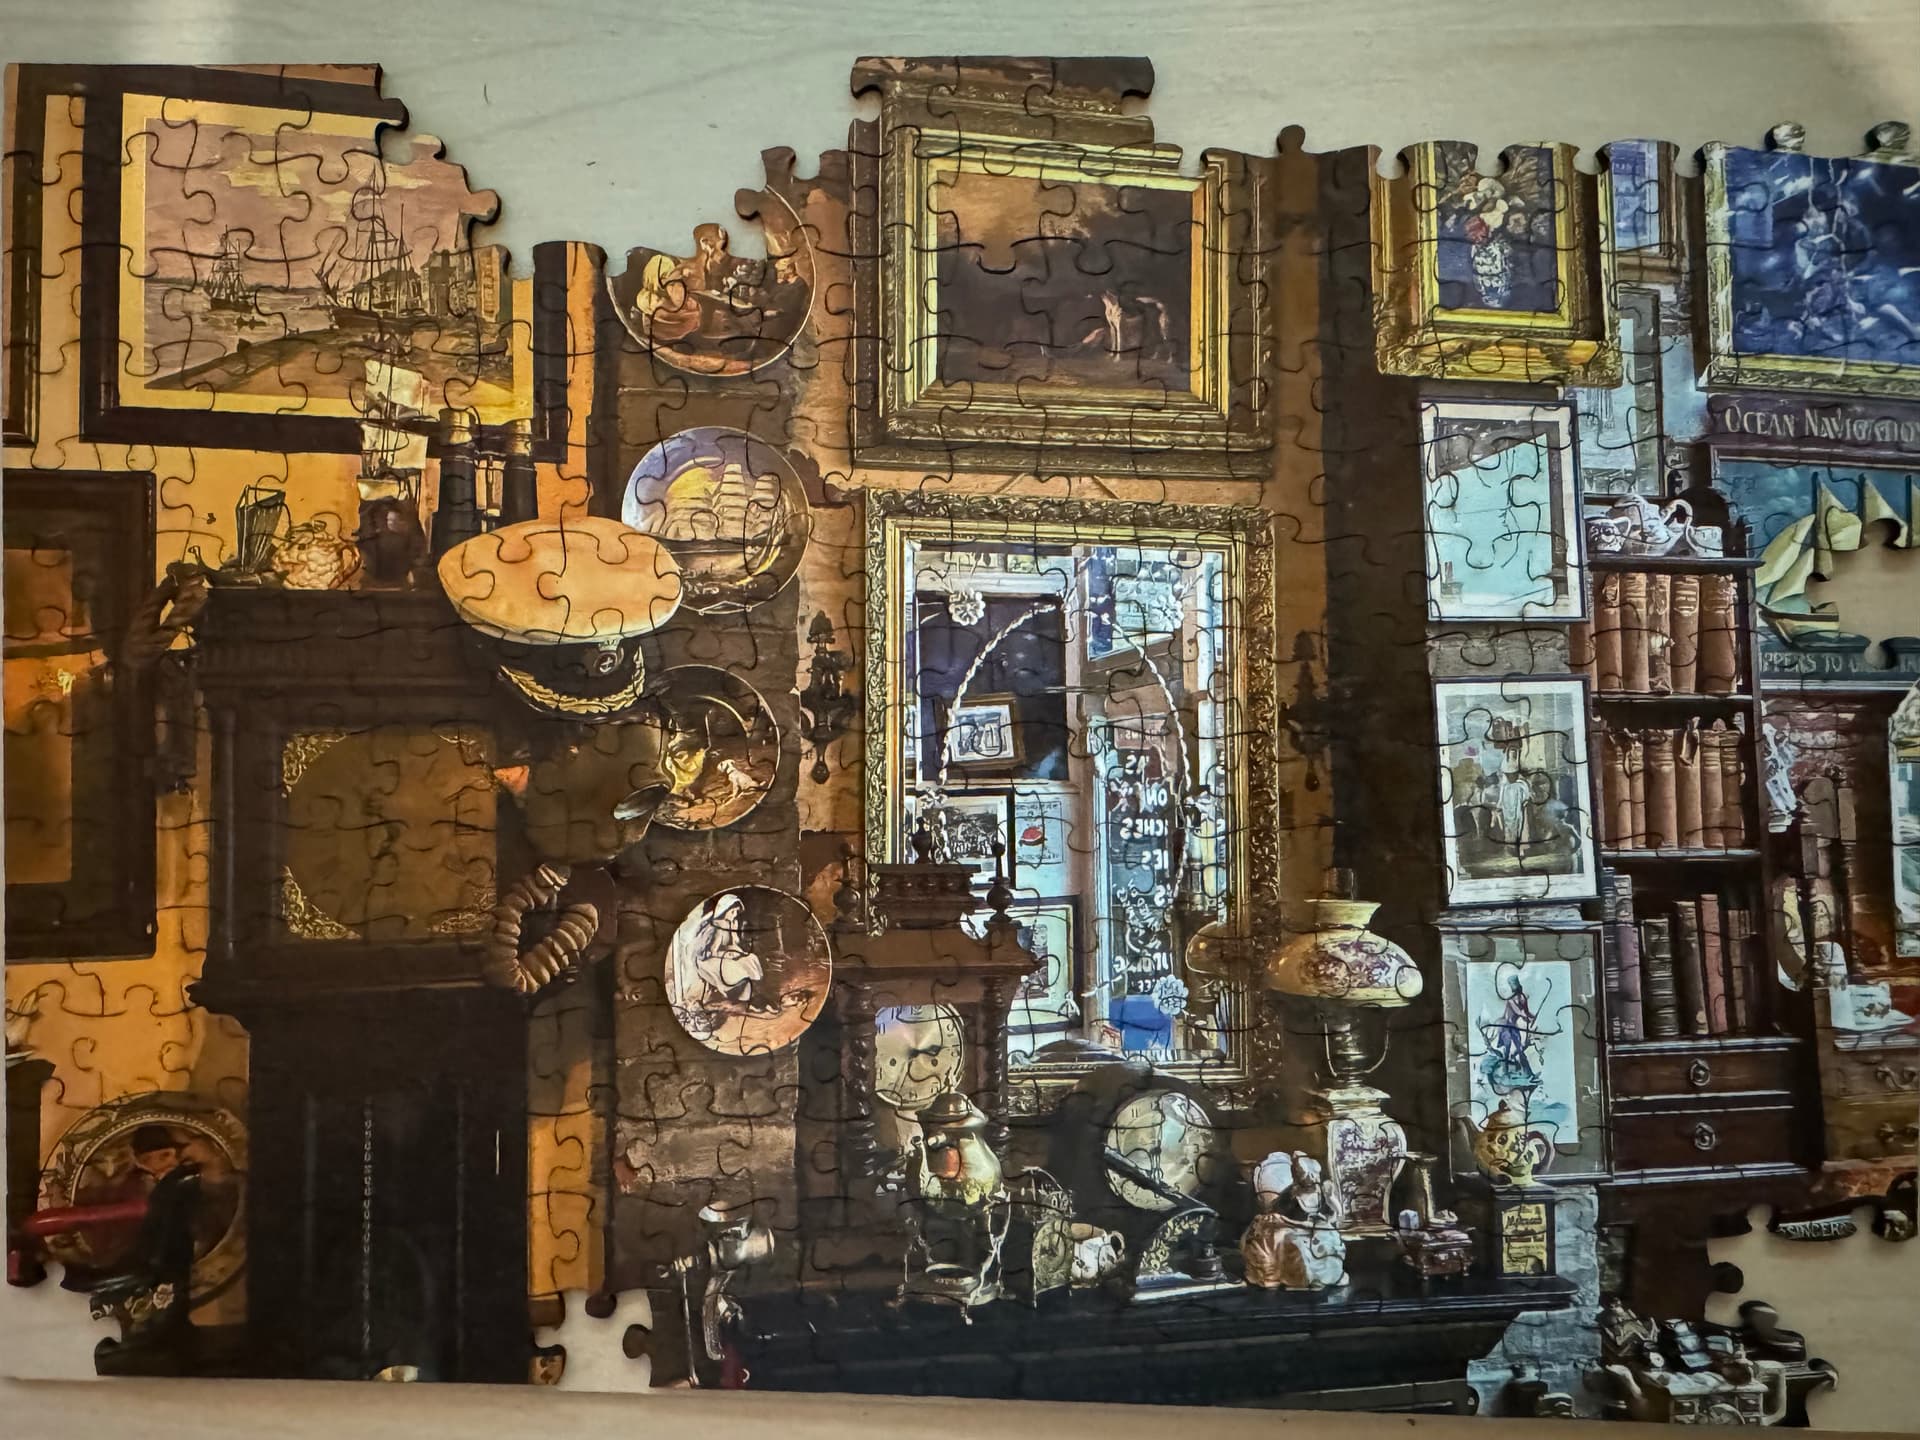
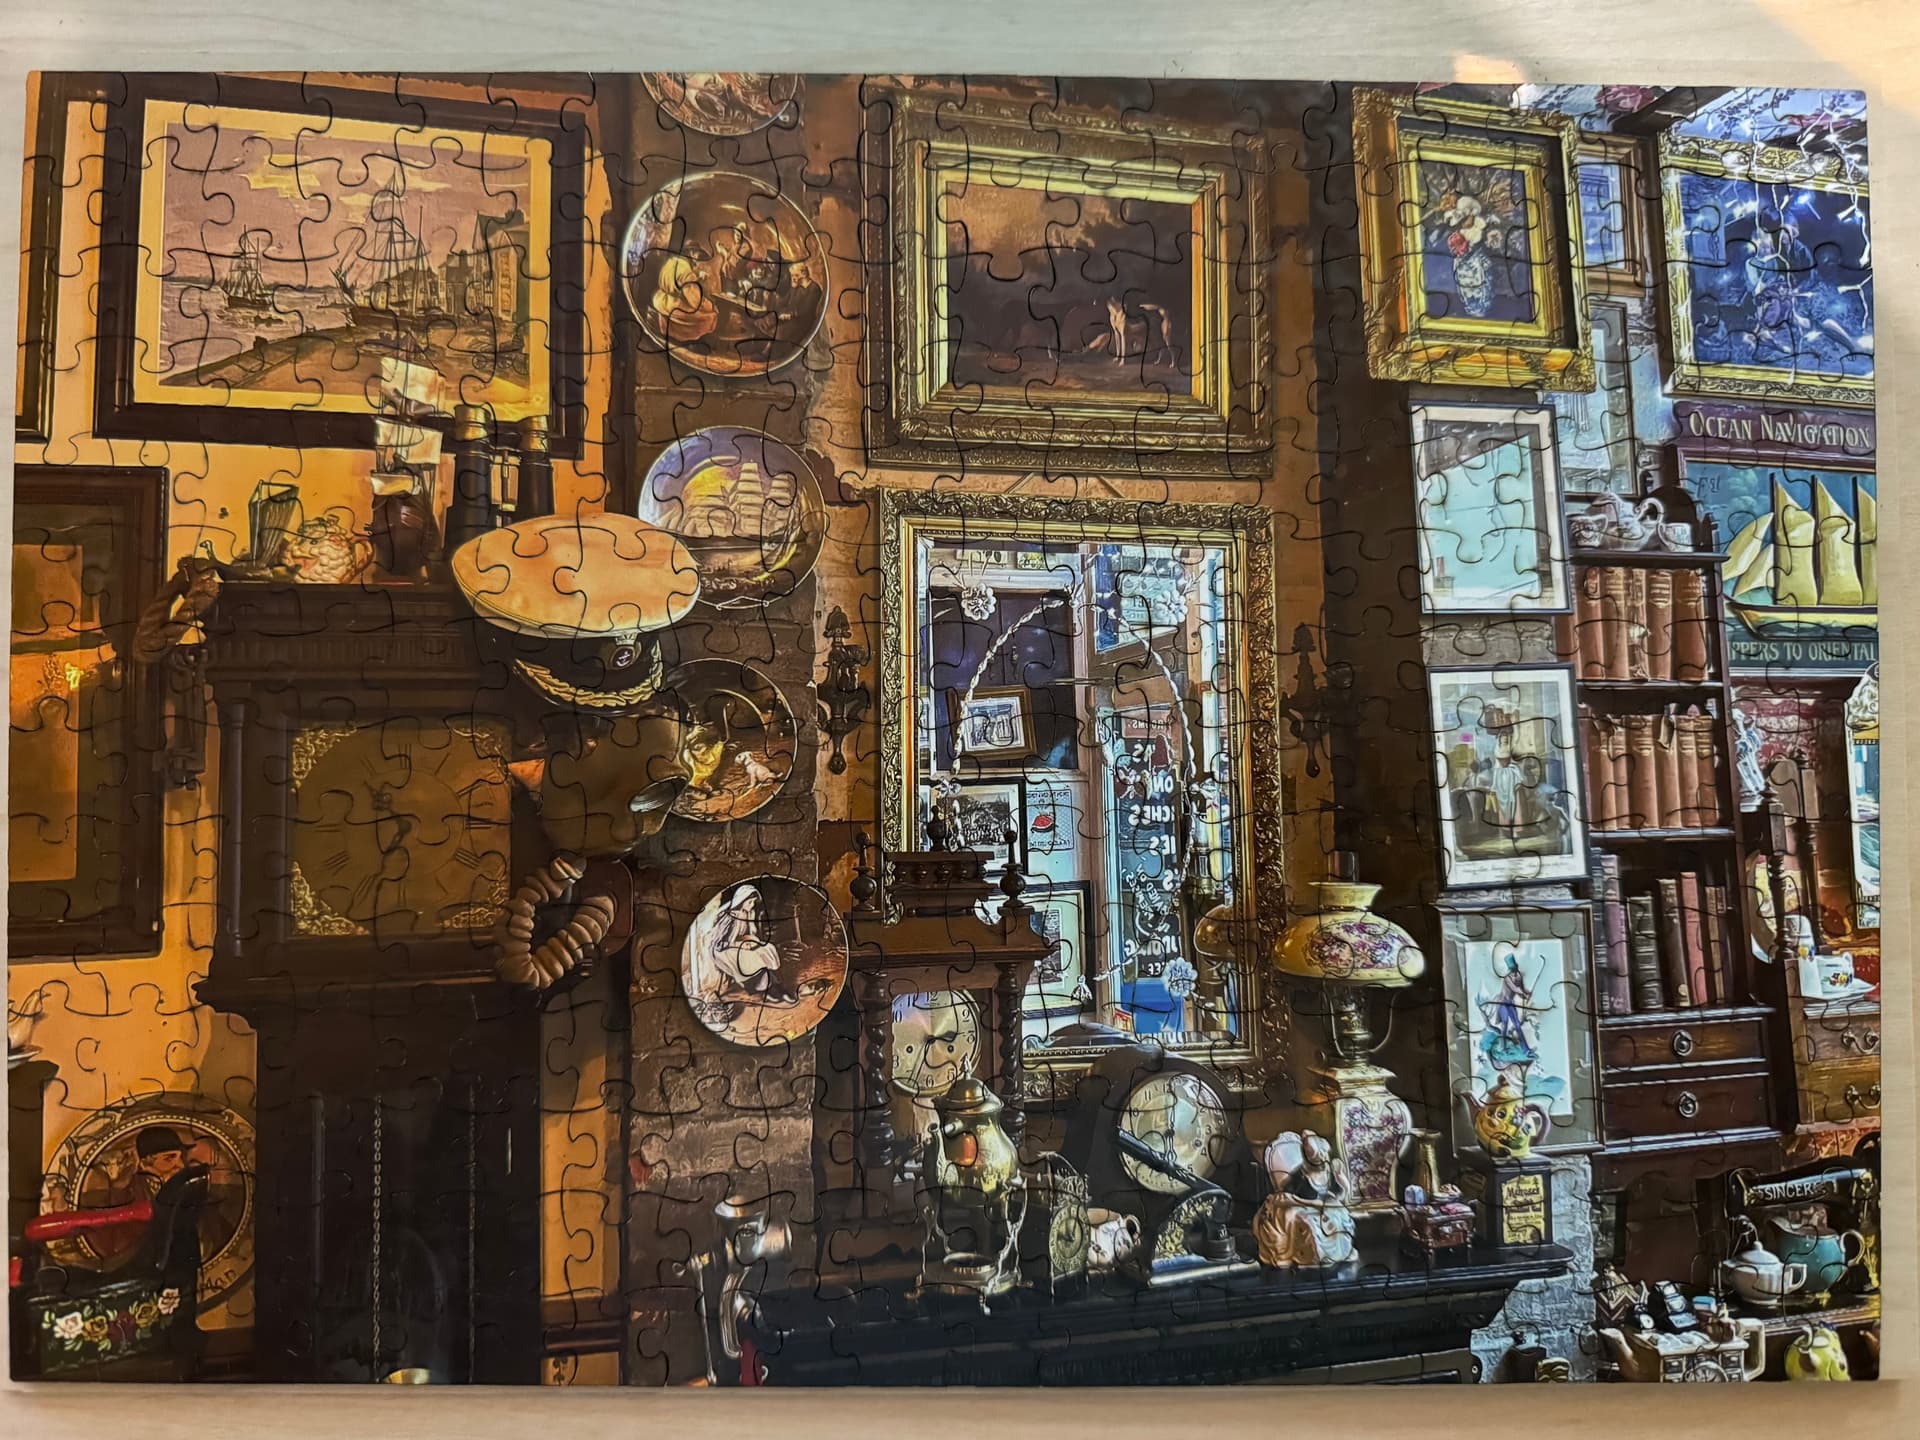
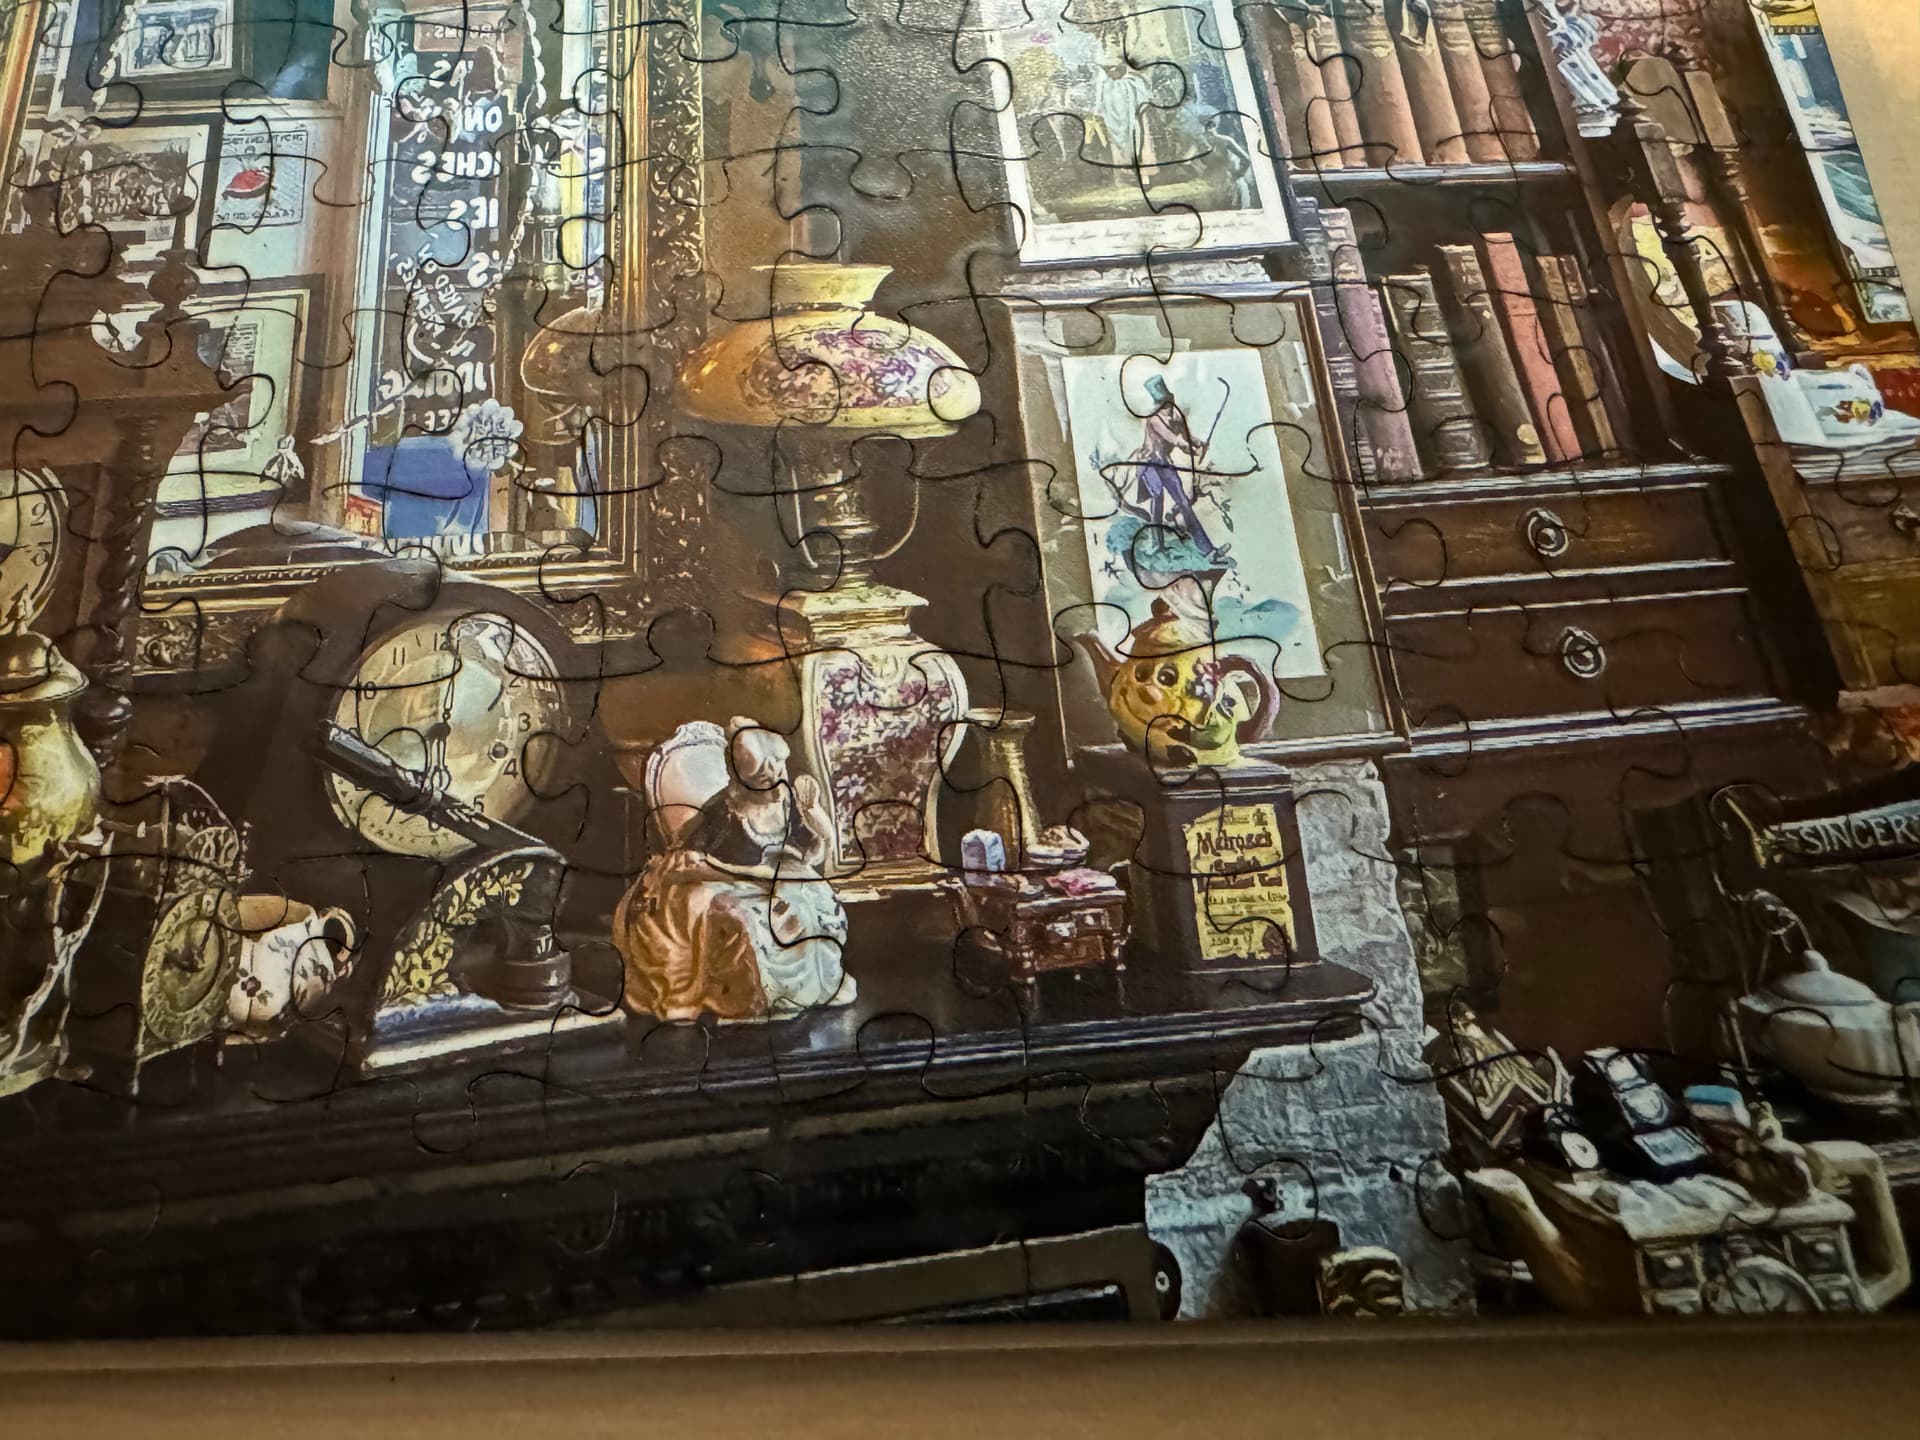
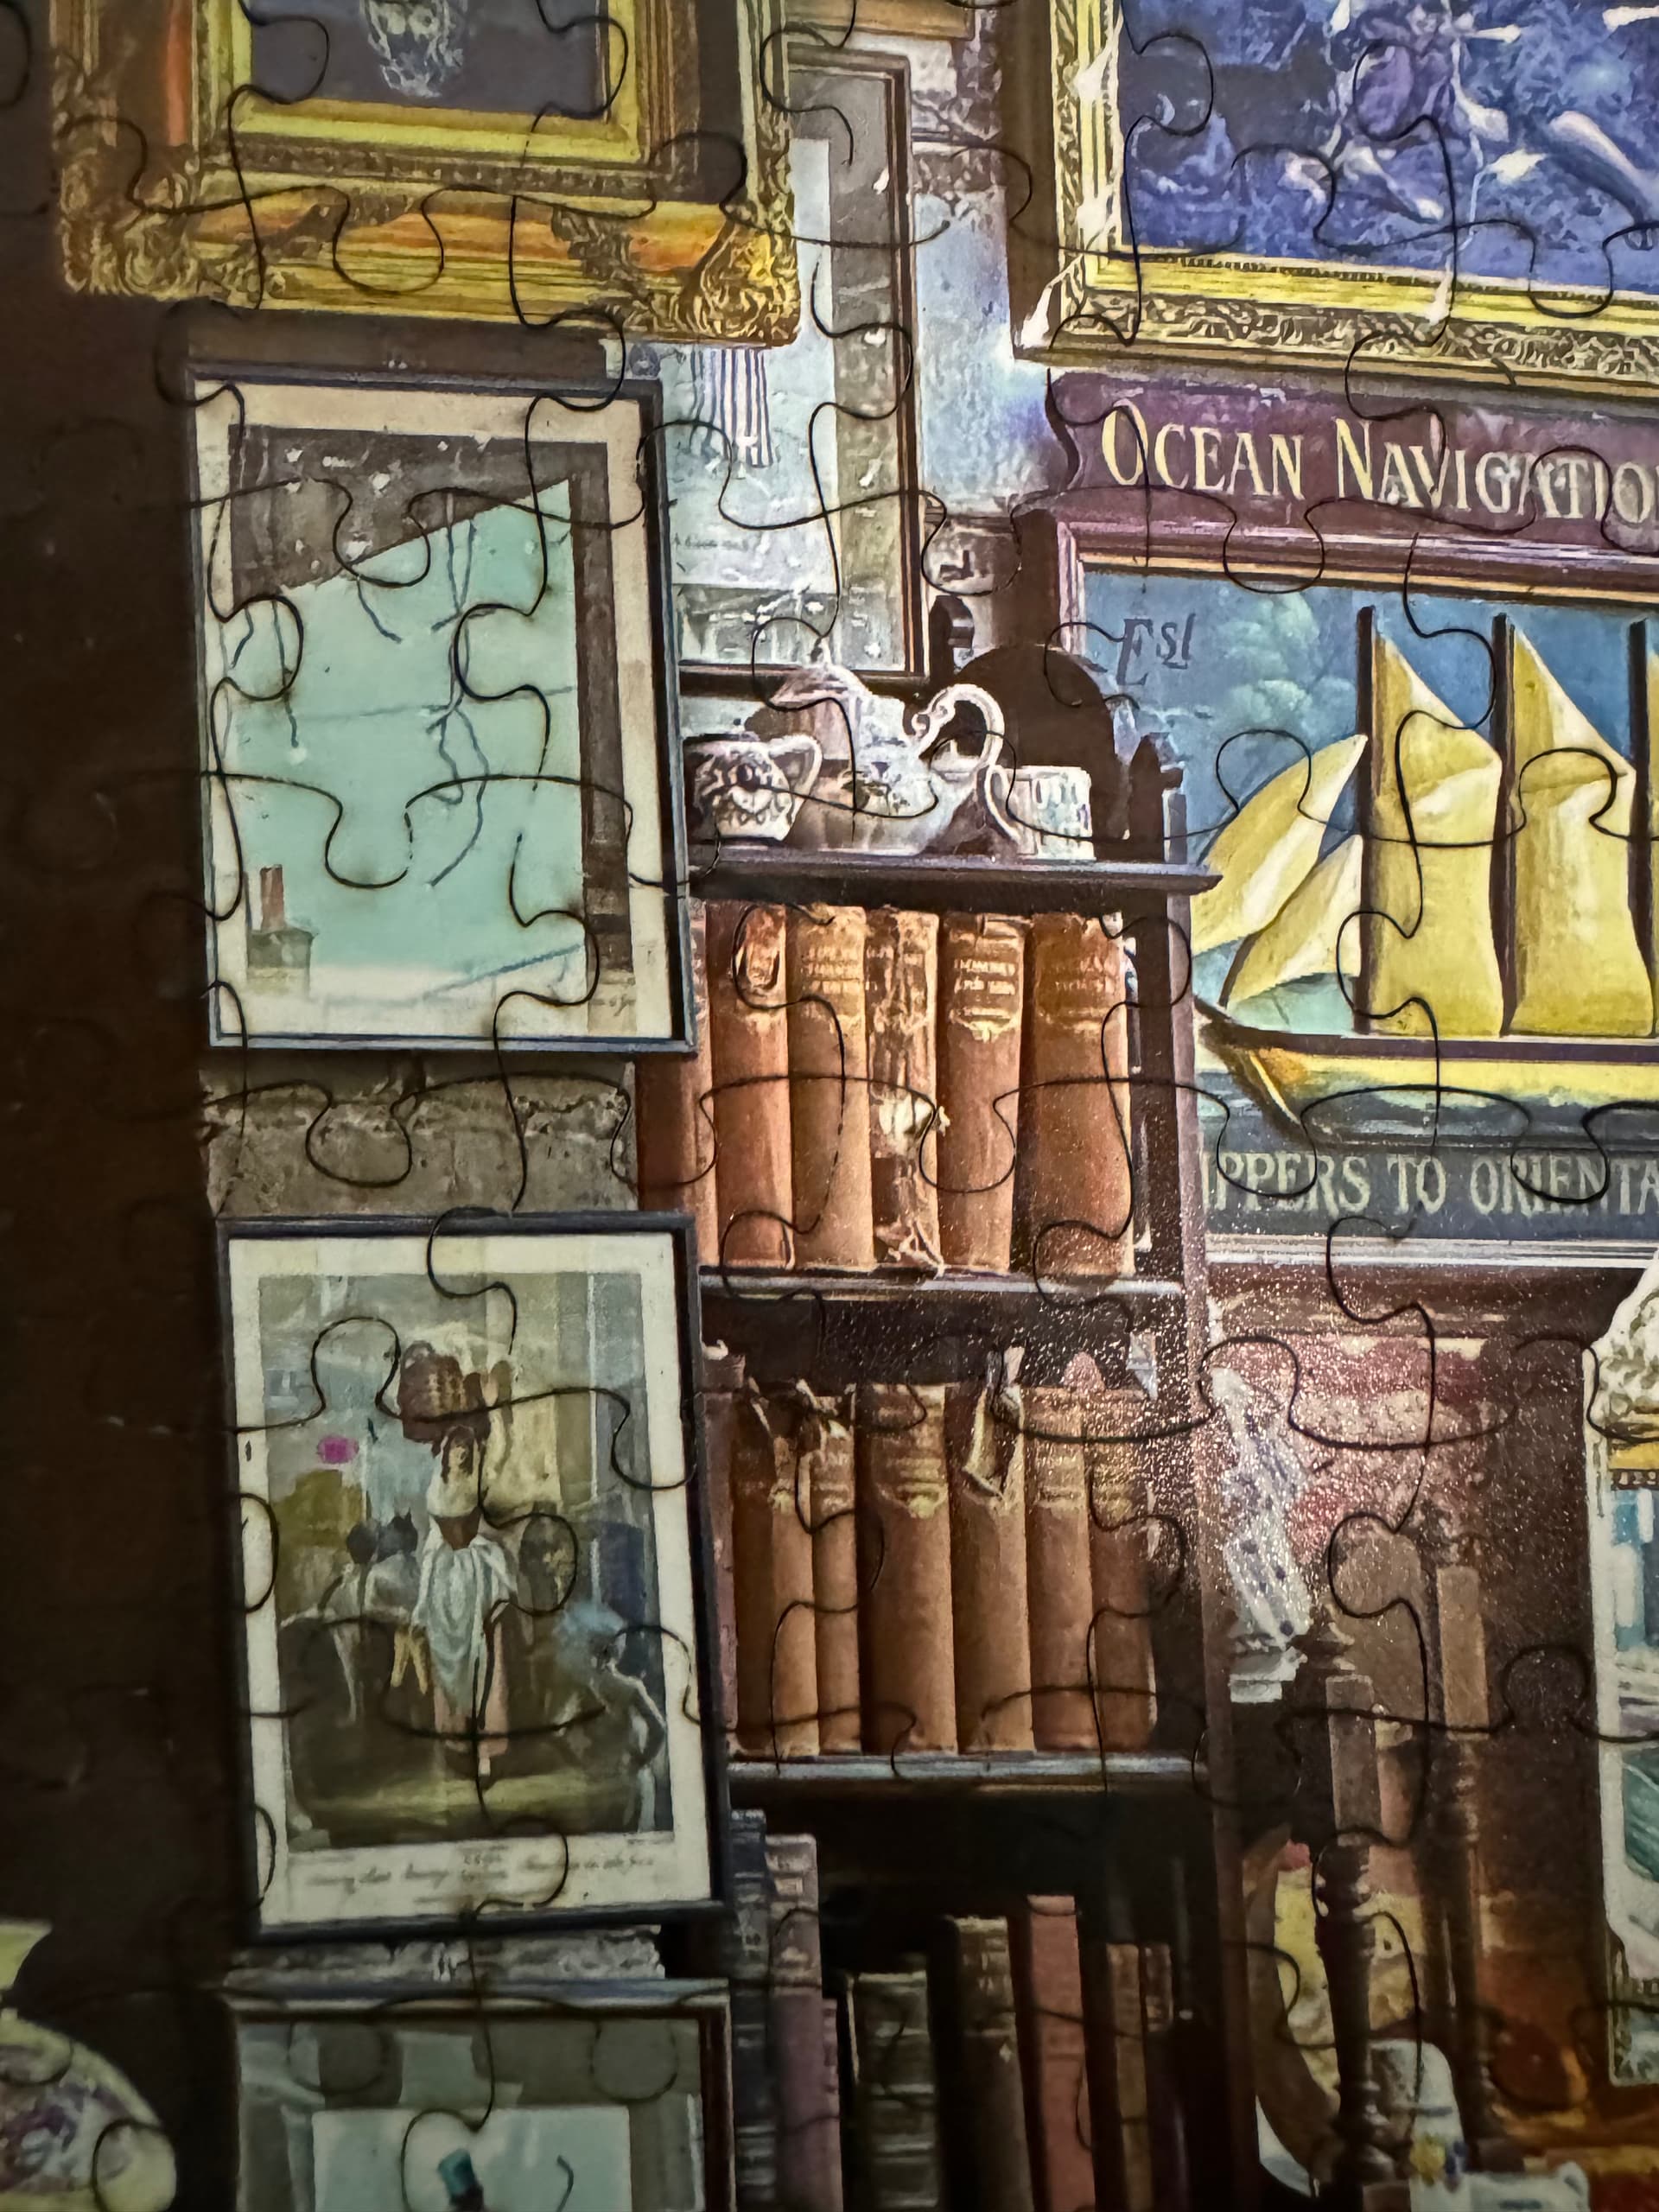
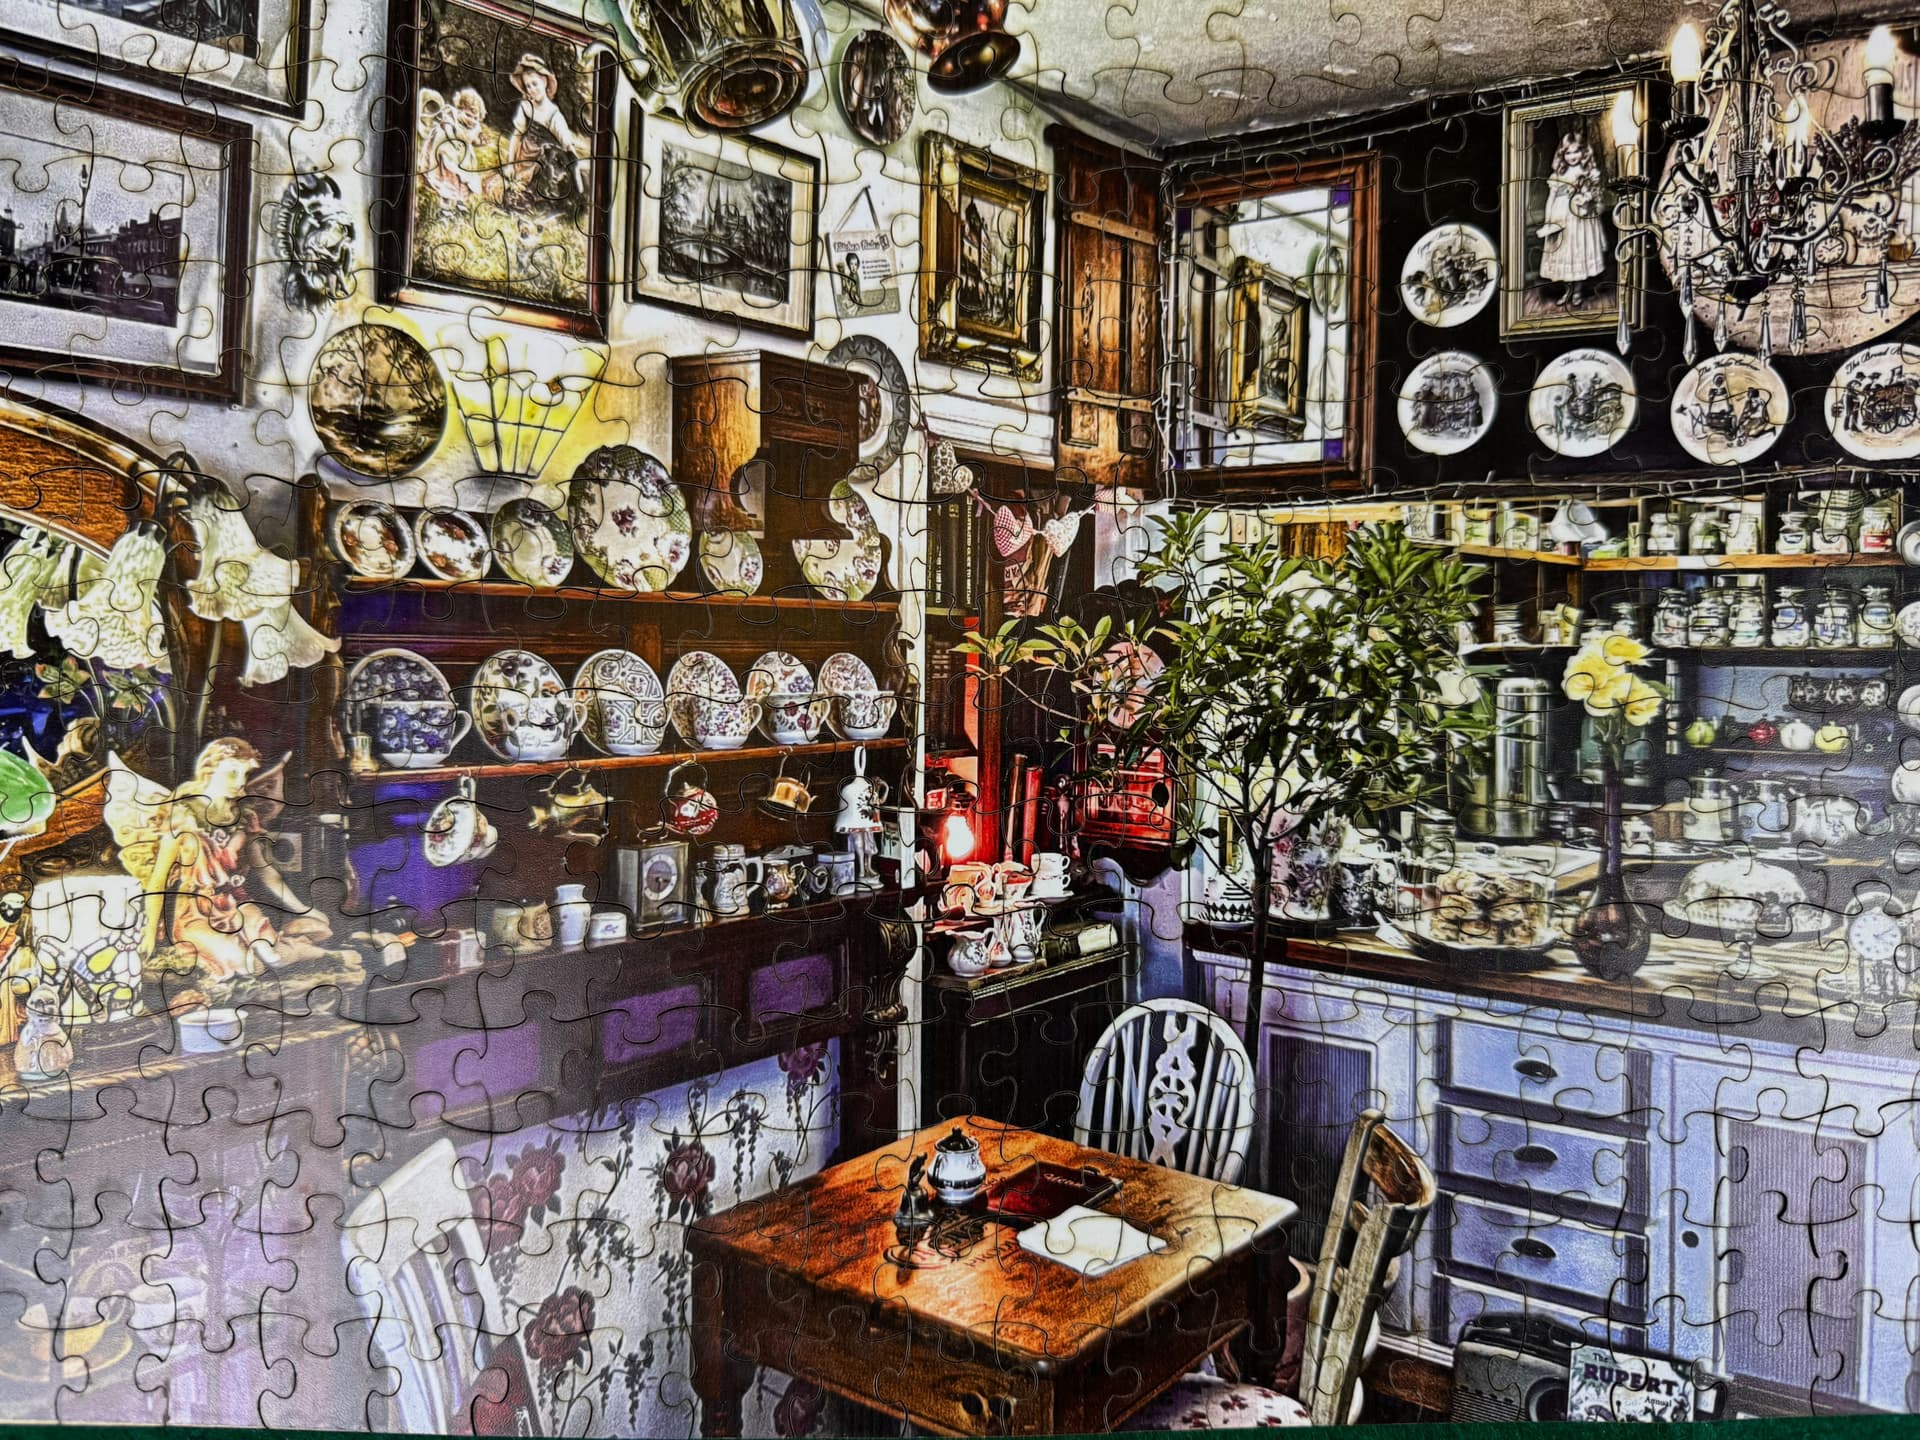
Today I finished the first puzzle, and although the cut is slightly off, I’m pretty pleased with the end result! I am getting an air assist and camera shortly, should improve the cut quality and make the item placement easier.
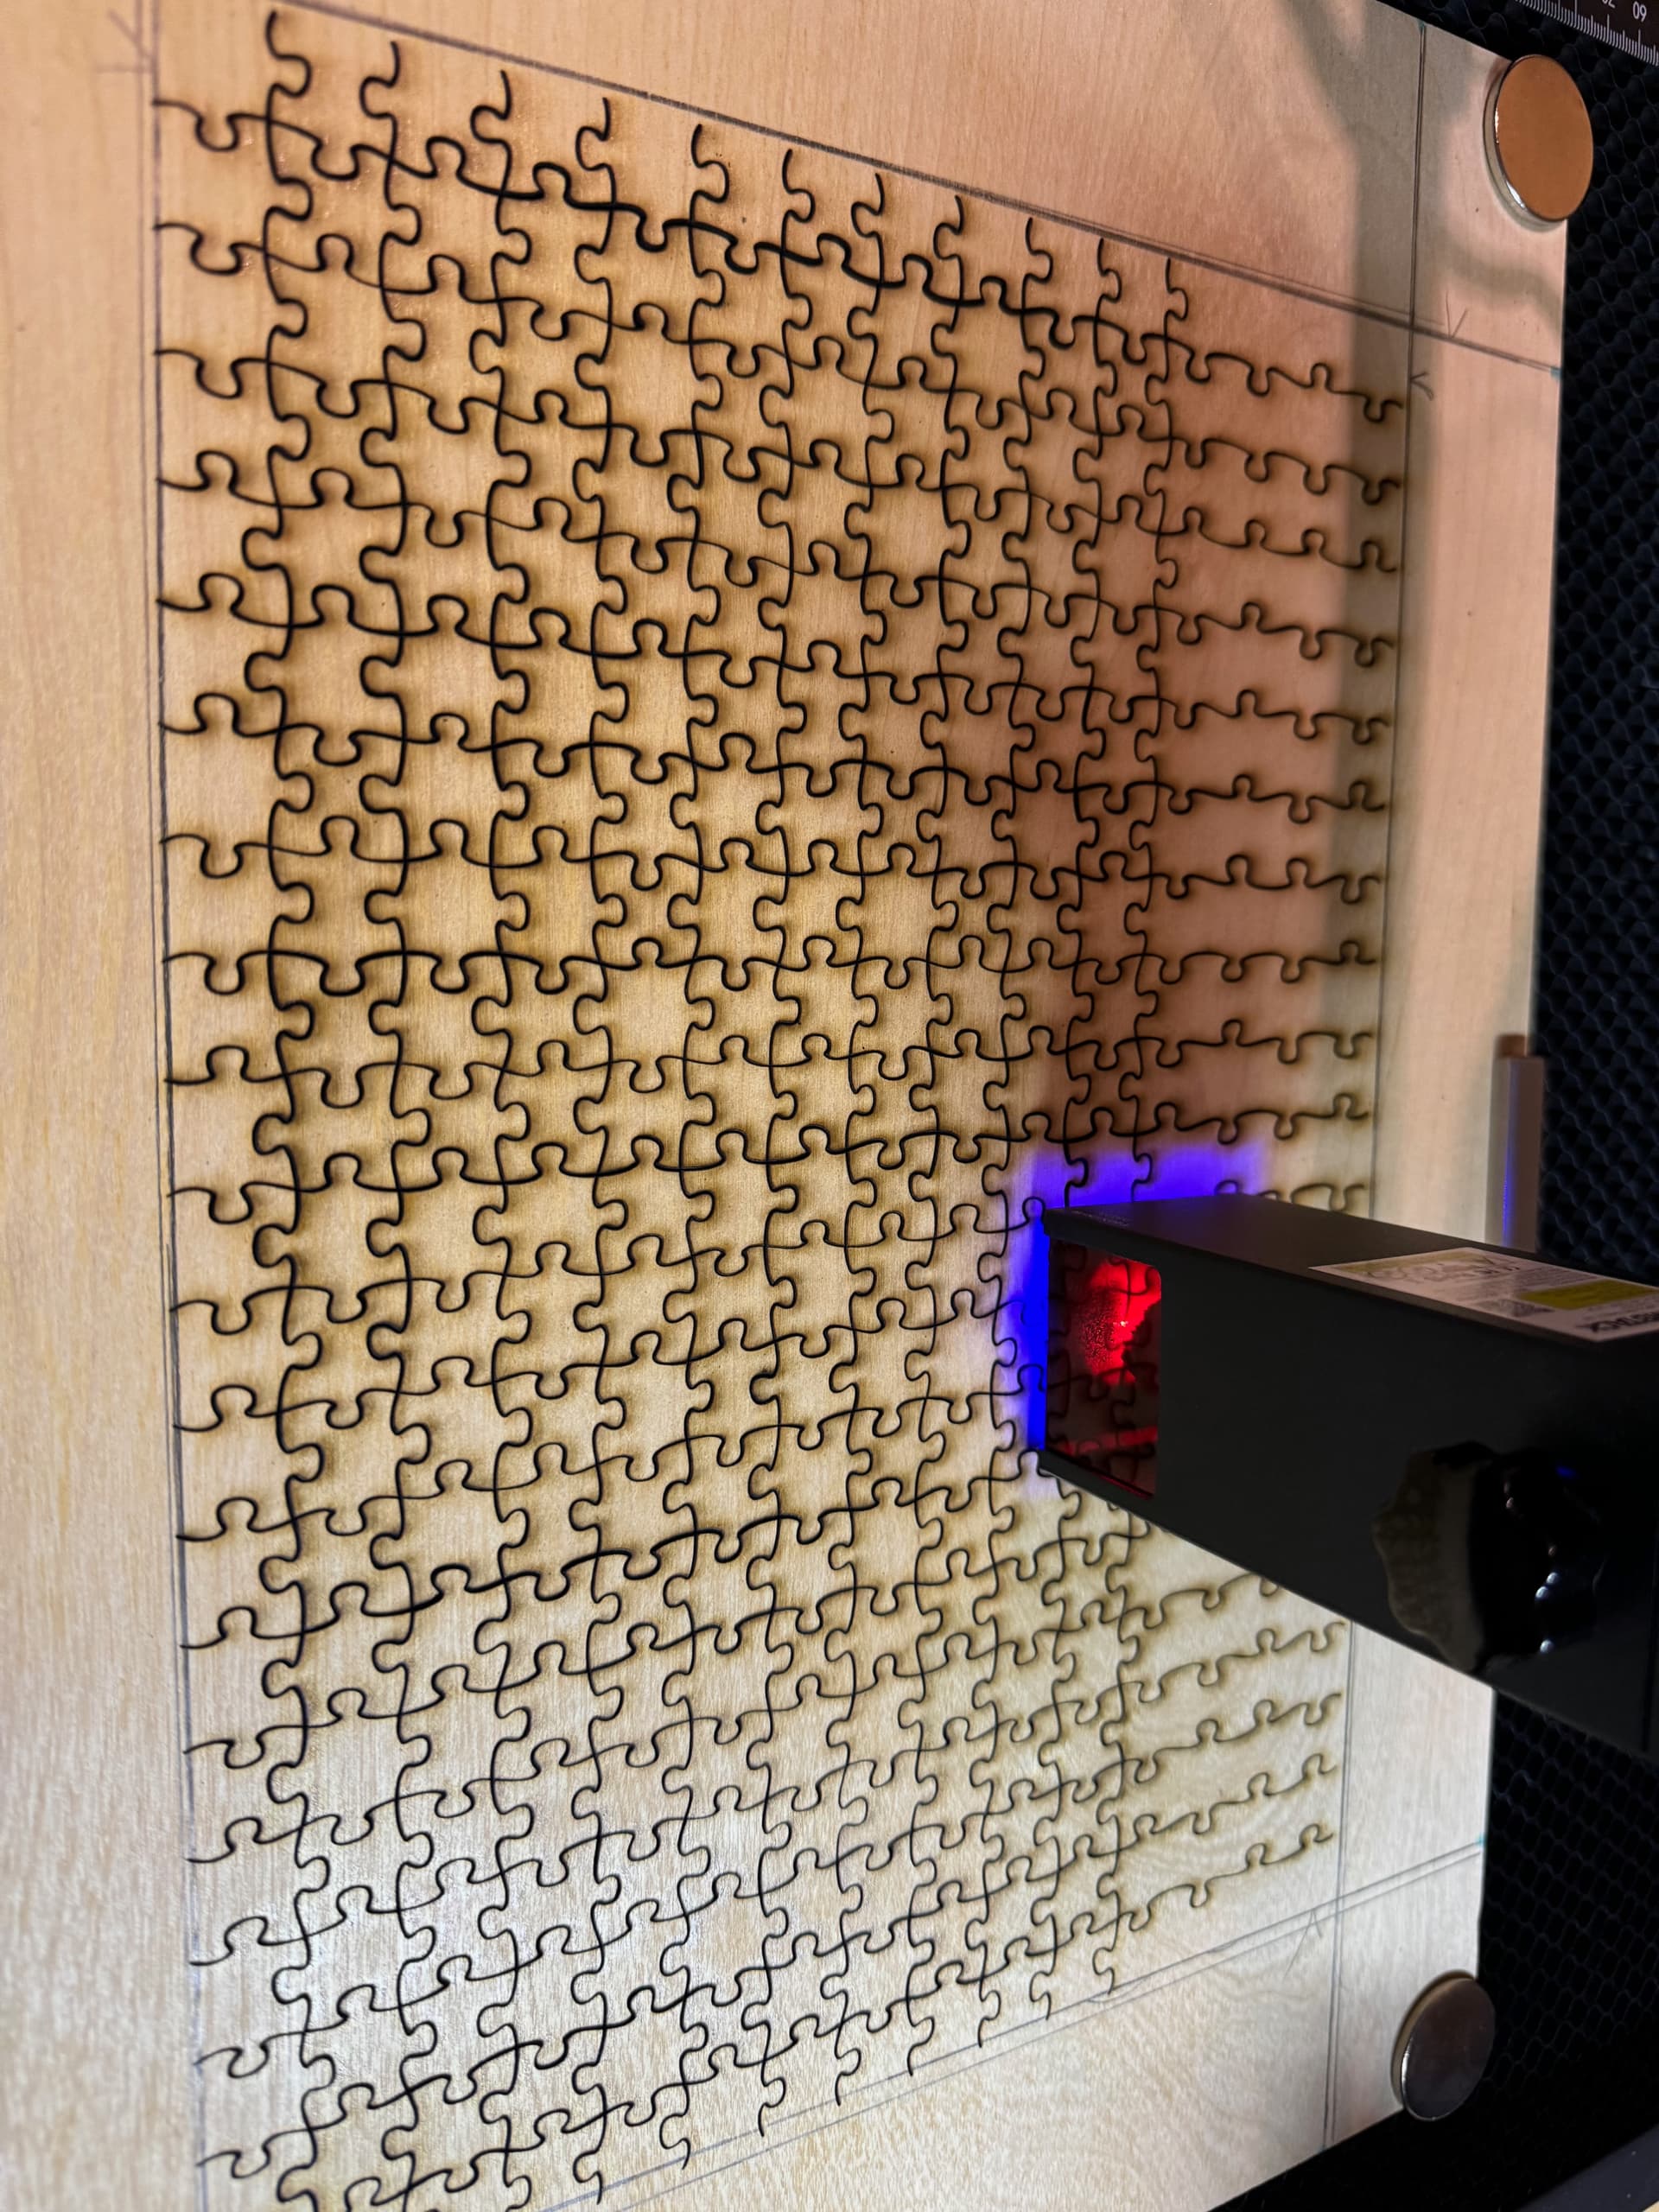
The cut is done at 250@80% and four passes (this was the cleanest cut I achieved after the tests).
The process is short:
Glue the photo onto the board (I used 3M Photo Mount, sprayed on both the photo & wood)
Put the board in a press for 12 - 24 hours to ensure the glue dries
Spray the photo and back of the board with laquer (I used Winsor & Newton Professional Fixative) to protect the photo and the board from stains and direct sunlight
Let rest for another 12 - 24 hours to ensure the lacquer is dry
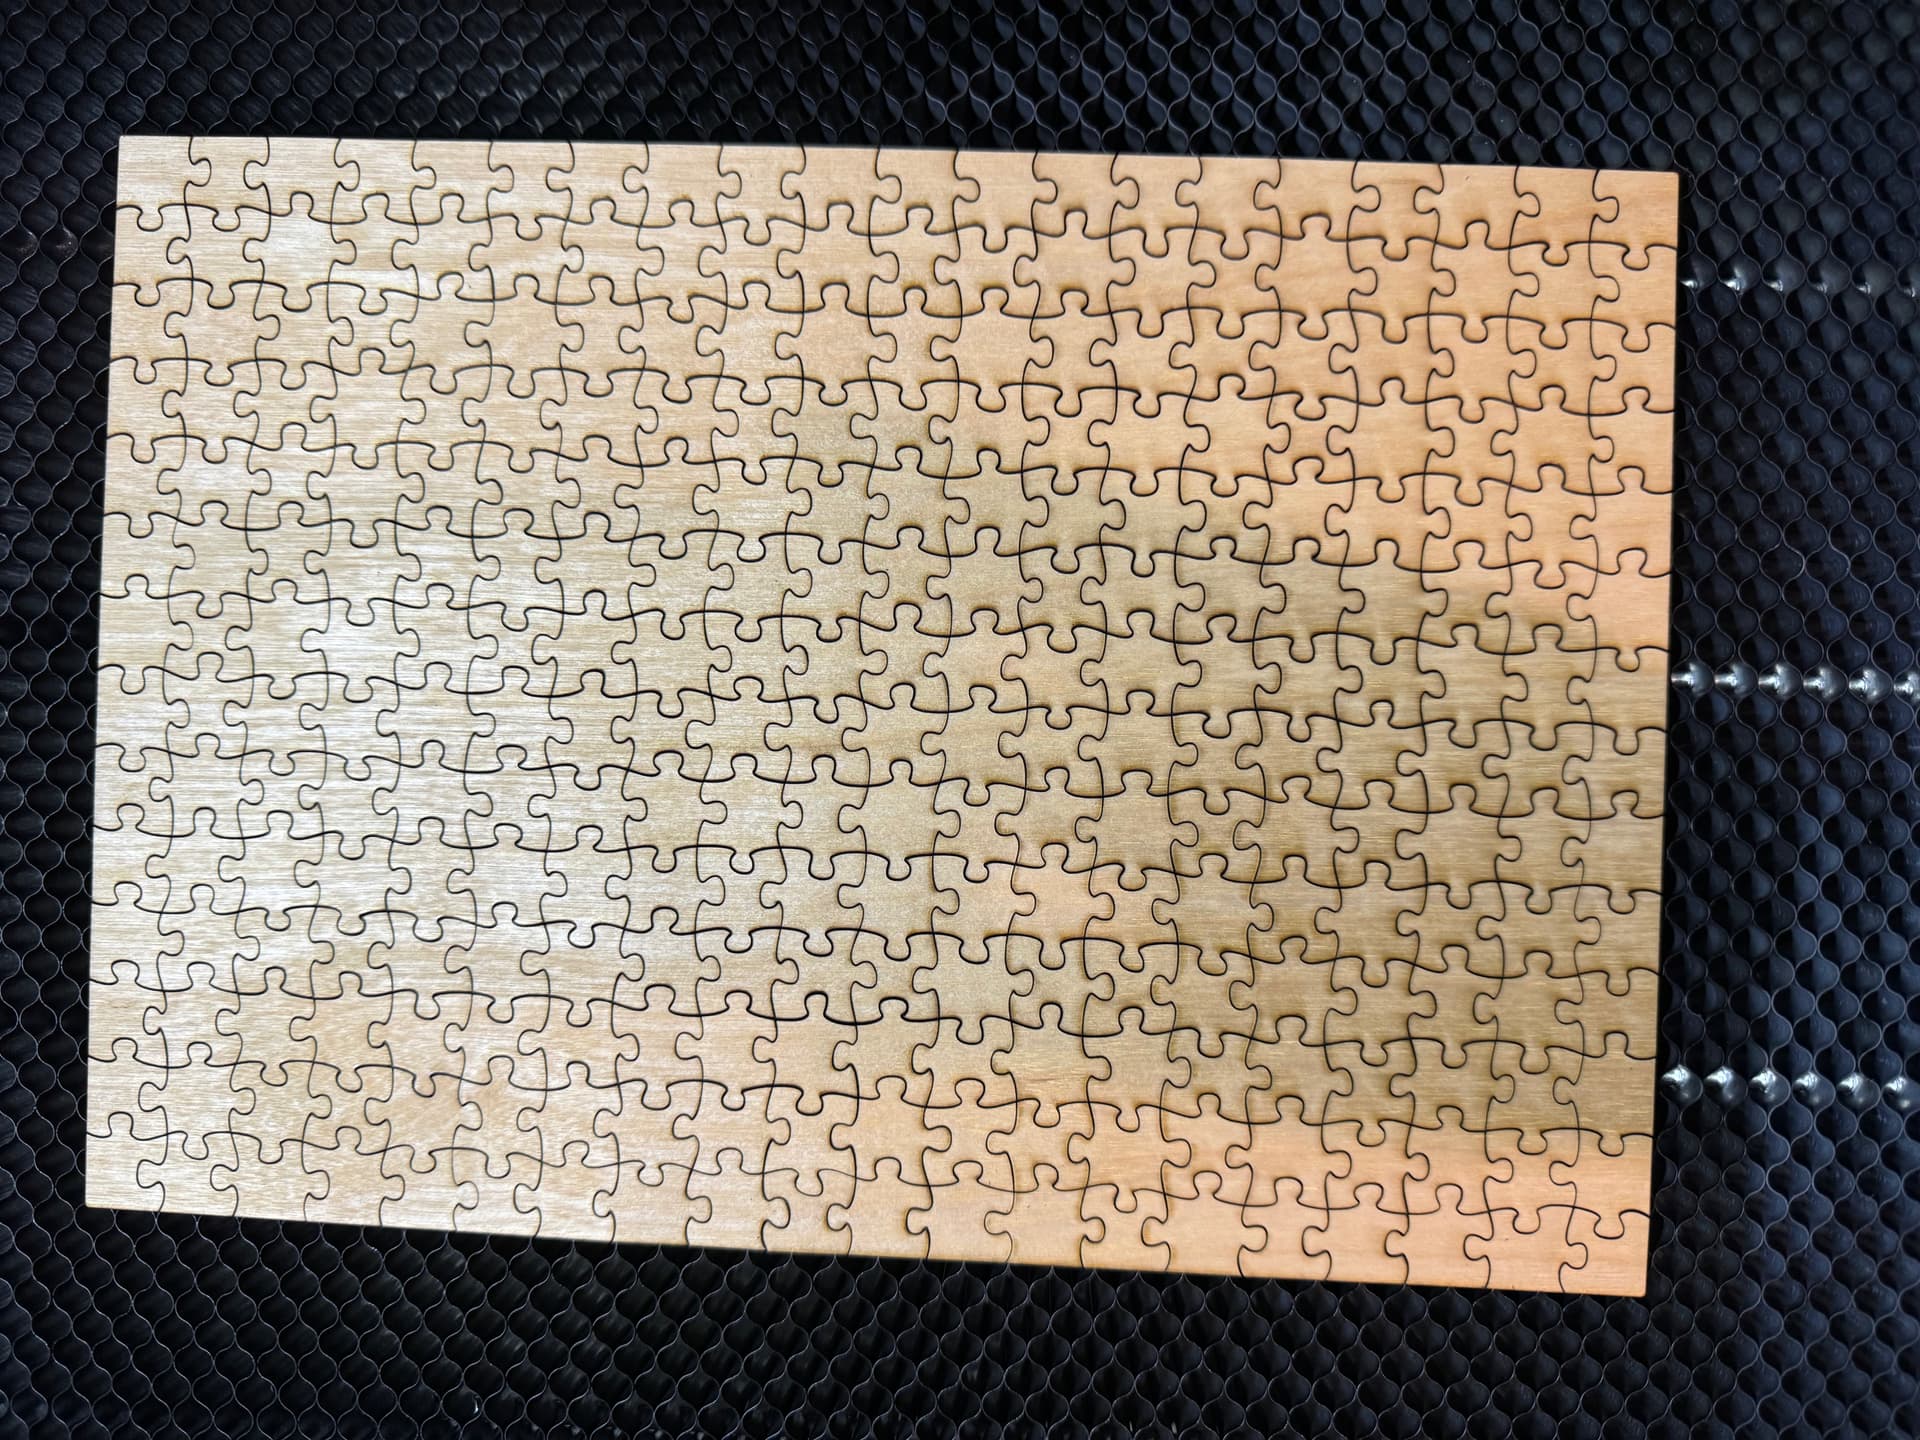
Place the board backside up on the laser bed (prevents the photo from burining/ staining)
Cut and enjoy the result
The hard parts are to align the photo on the board when you glue it, and then to make sure the cut is on the photo (because you can’t see it). I just used a square ruler to draw the lines from the photo’s edges and used those to draw the box on the back side.
The puzzle is A4 size and has 315 pieces. Funnily enough, I sent a picture of this to a friend, and he said he’ll buy the first one. When I told him that is the first one, he bought it!
That came out really good! Air assist will make a big difference, as will the amount of ventilation you can get underneath the puzzle. So you’re using laquer as a mask, and wiping away residue after?
Thanks. I was somewhat apprehensive and expecting it to fail, lucky me it didn’t.
The lacquer is protective lacquer intended for pictures. It reduces smudging and dusting and is non-removable. I should have used something else on the back side of the board, but since this was just a full-scale test, I am not too worried.
In any case, I suggest you use photo lacquer such as Hahnemühle’s (Protective Spray | 400 ml | 10640702) on the picture to protect it when people play with the pieces. The back isn’t that important if you are not concerned about the presentation.