Anyone successful at controlling the power level of a K40 with a DSP Controller?
I tried many variations i researched online.
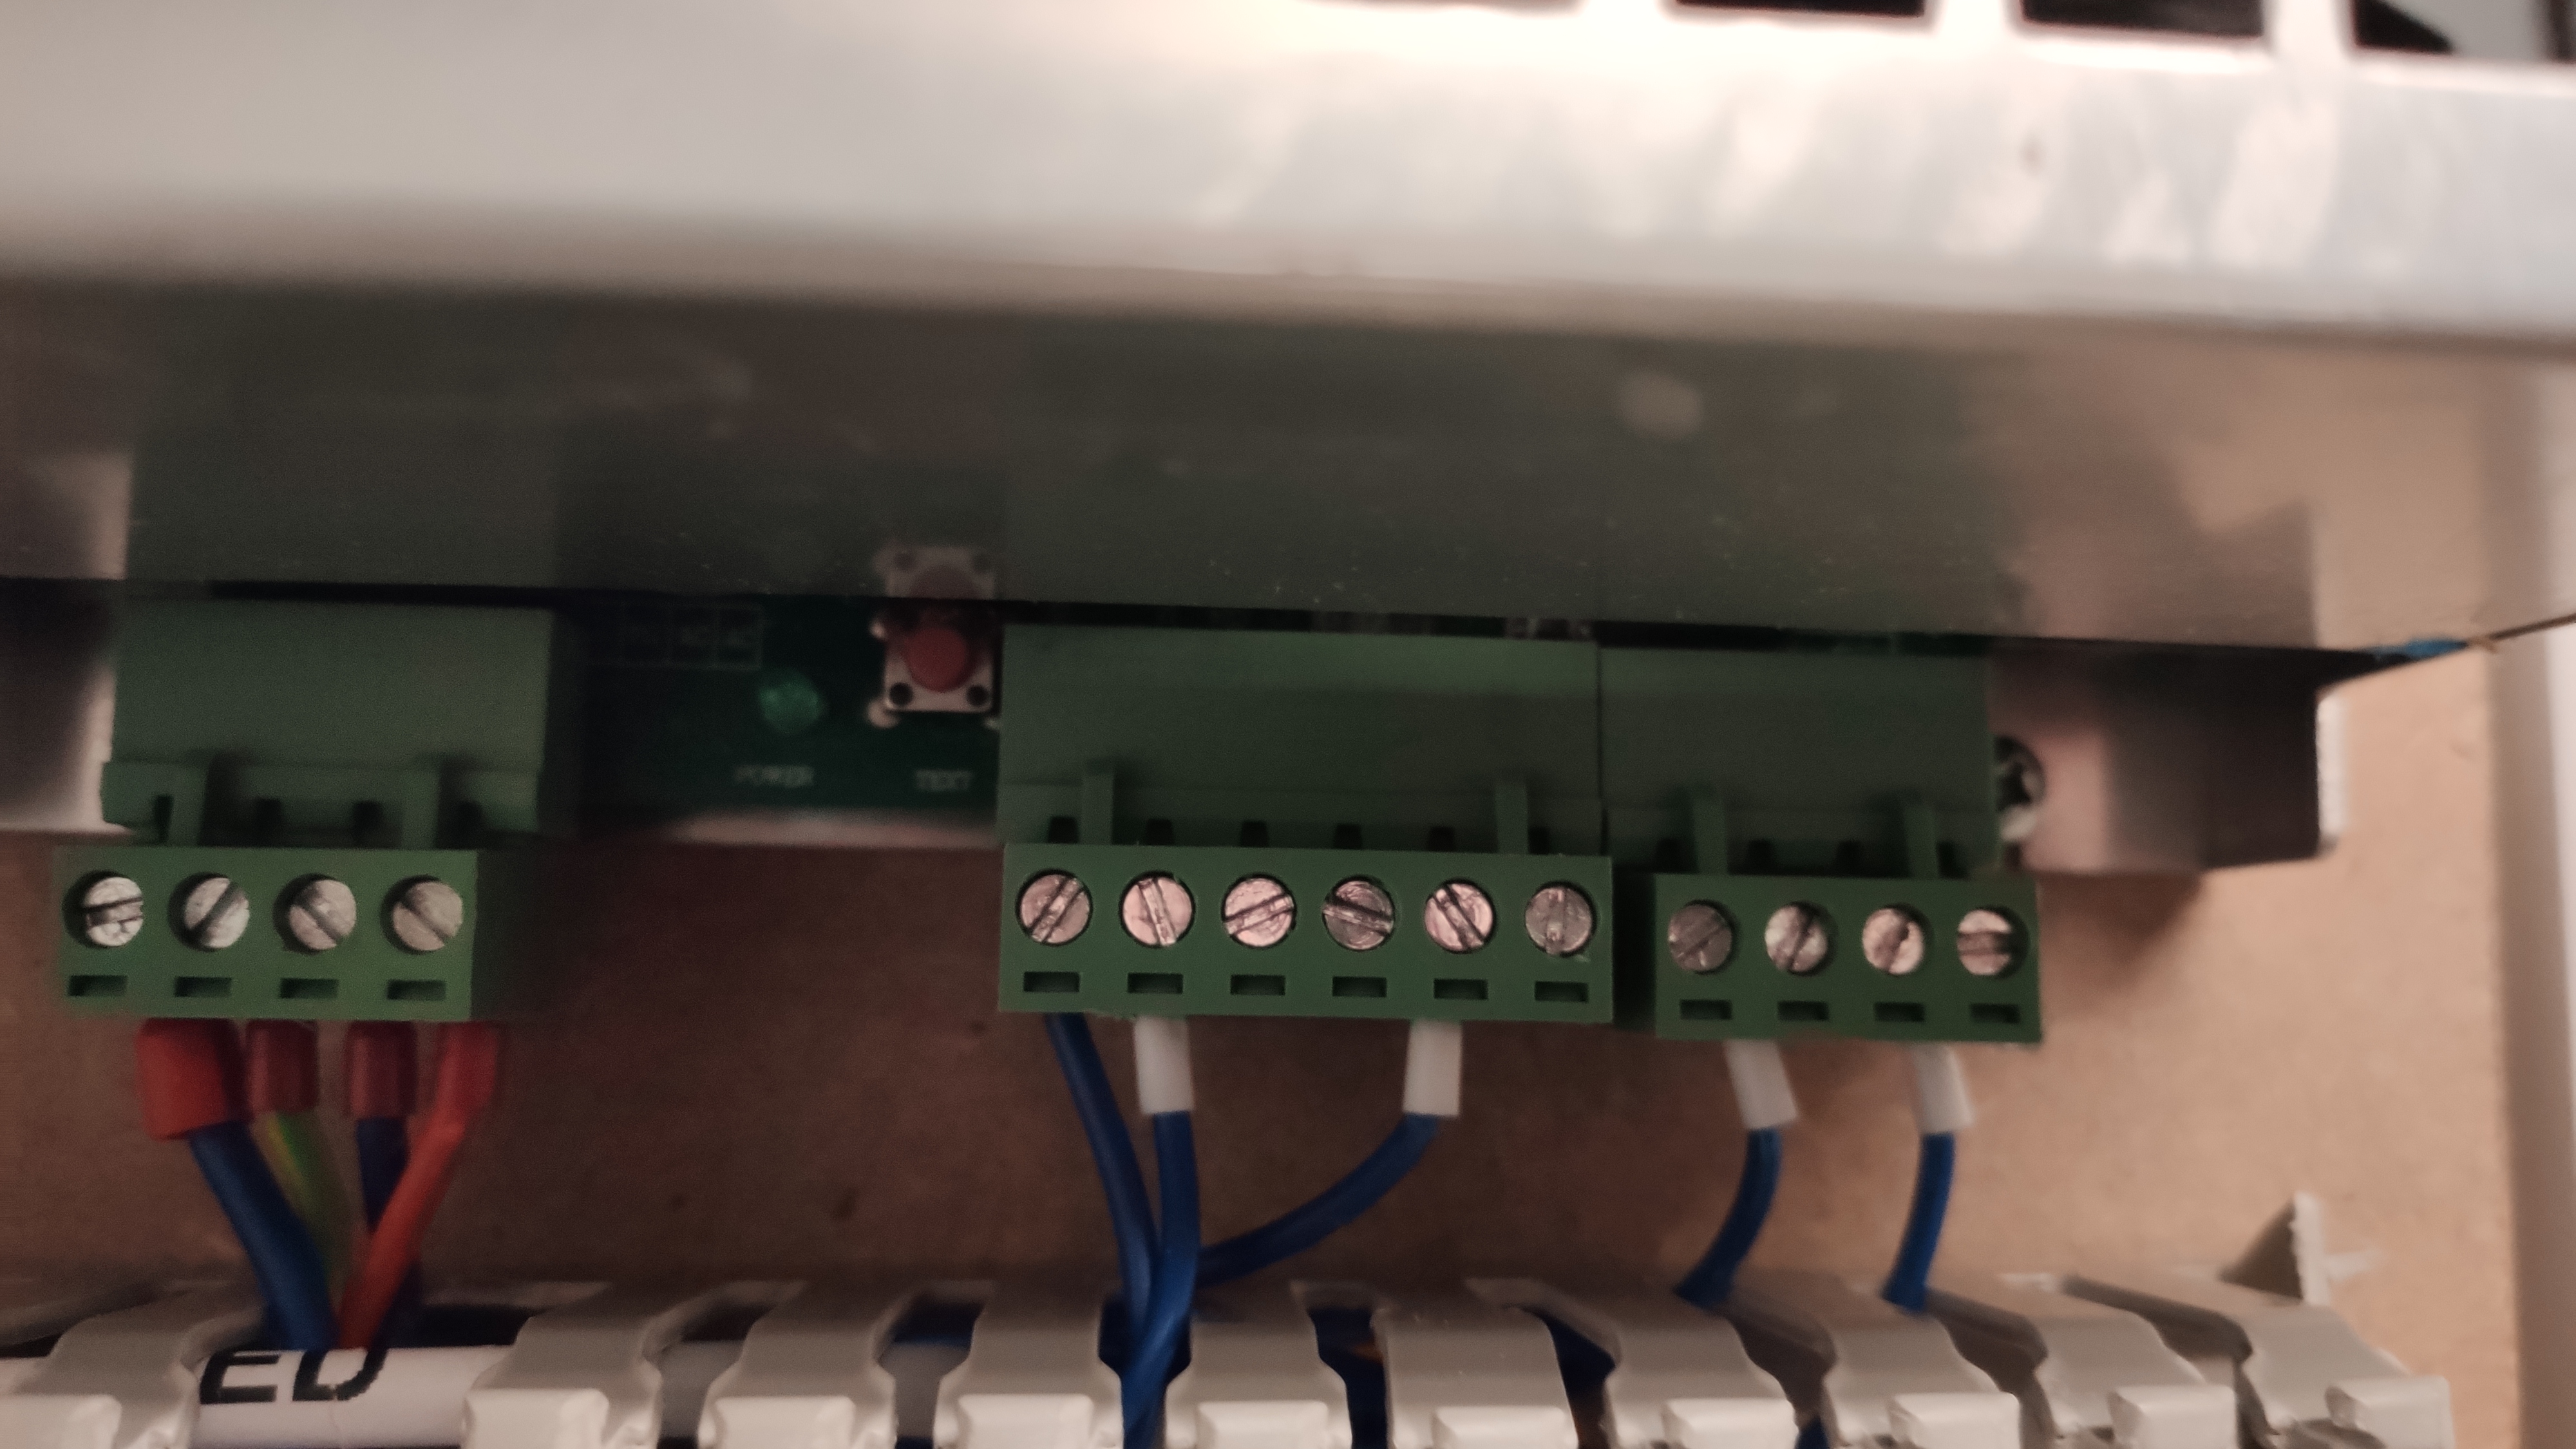
I’m using a TopWisdom 410C. I got the steppers to work, homing is a bit erratic, however.
the Gnd,5V, and LPWM1 from the 410C to the power supply, Gnd, LPWM1 to IN or L, does not seem to laser power. I purchased a few PWM to 0-5volt converters, tied them to Gnd and IN (potentiometer removed), but no success.
i would greatly appreciate any input or suggestions.
very respectfully,
Doyle
Yes, I do the same on my DIY machine. I took the laser tube and the laser power supply of a K40 laser and installed it on a DIY machine.
I connected it as follows:
RUIDA GND -> Ground
RUIDA LPWM1 -> In (PWM)
RUIDA L-On1 -> L -4V
Take this image as reference for the K40 power supply pins I mention above:

I have added this information as a double check for you and for future users.
I am not 100% sure if your wiring matches this. Please double check.
One thing you did not mention is the following:
Make sure you do not forget to bridge the “laser switch” ports. This is for a door sensor/switch. If this is not bridged, the power supply thinks it is not safe and will not fire.
Hope this helps. Please let me know if it does 
Do you still have the pot connected along with the DSP PWM?
if so, this suggests that the pot is fully clock-wise (max power) and the DSP controls the PWM.
correct?
thank you!
Doyle
No you need to get rid of the potentiometer, since your DSP is in charge of the power level via PWM. I have nothing else connected other than live, neutral, earth and laser minus and the connections mentioned earlier:
RUIDA GND -> Ground
RUIDA LPWM1 -> In (PWM)
RUIDA L-On1 -> L -4V
Bridge laser switch ports
Here you can see my power supply wiring:
Adapted your suggestion this morning!
SUCCESS!!
I think i have to connect all the limits “Lmt_X+”,“Lmt_X-”, “lmt_Y+”,“Lmt_Y-” to the microswitches. This laser all GND tied, and the “+” side. Upon Powerup, the DSP moves to the Home position, touches the contact, then bounces rapidly. I think it is moving off the switch and looking for the “+” (or “-”) microswitch condition. i will have to add these wires to test.
also, it appears that the TL-410C does not accept the STOP command from LB. I have to use the TL-410C “Pause” button. any suggestion on this?
again, thanks so much on the great pictures. I was close, but didn’t consider the “L” to L-On1". I was trying to find a GOOD schematic on this china powersupply.
Happy New Year to you Sir!
Doyle
Everything you need to know about Chinese power supplies.
@Doyle The limit switches are used to home the machine. So in fact if that is all you want you only need one set of limit switches (Lmt_X+ and lmt_Y+ or lmt_X- and lmt_Y-). This depends on how you configure your DSP and axes. You do not need both if you do not care about limiting the maximum travel of an axis.
It is correct that the DSP touches the limit switches, backs up a little and touches them again. This is common way of homing each axis. The first touch is on higher speed to locate the switch and the second touch is done with a very slow speed to get an accurate reading where the switch exactly is.
I am very glad to hear that I was able to help and that you can now use your laser. I hope it will serve you well and always proceed with caution 
@HalfNormal Thanks. That is the exact same site I took the K40 power supply image from which is shown above. That site is really great.
1 Like
Got everything to work! (well…almost…)
LightBurn can send the cut file to the TL-410C, but I not stop the K40 when sending selecting the STOP button. I have to press Stop/Pause then ESC on the TL-410C.
Not sure if LB has finished with all the software integration with this controller.
‘pimping’ out the K40!
let me know if anyone has success with controlling the TL-410C with LB.
thanks again!
Definitely not, but support is coming along nicely. Still very much in beta and in active development, continuing to bring this work forward.
Not entirely true - Cohesion3D, for example, leaves the potentiometer in place so you can set a proper maximum limit, and then 0 to 100% in the software is within that range. If you don’t have this, the power supply is usually capable of considerably overdriving the tube, so you would need to know to stay under some fixed limit in the software.
Correct. I have set these levels on the Ruida to a safe level with a current sensor.
Thanks for the heads up!
Still unable to pause/stop operations on the TL-410C from LB. I have to stop operations from the TL-410C (Pause/ESC).
Any progress?
thank you!!!
Doyle
I was traveling for business for a week to meet a couple manufacturers, and I’m still deep in the guts of the camera system rewrite, so no progress yet on TopWisdom.
This topic was automatically closed 30 days after the last reply. New replies are no longer allowed.