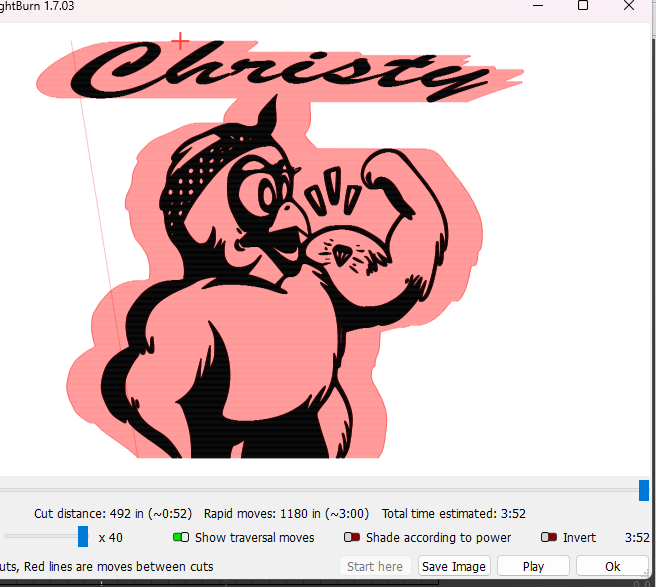
Hi everyone. I have a challenging and super frustrating problem. I have a complex file that has two image layers with different settings. If I set the engraving to very low and slow the job takes just under 2 hours. Obviously, that isn’t sustainable. But when I try to up the speed/power so that it does the same thing but faster, the laser simply won’t fire. It just doesn’t do anything except flash red and shut down. I have a Gweike cloud and one of the things that I absolutely hate about it is when there is an error, the machine will not tell you what it is. Can anyone help me think of a reason why my machine won’t receive the information when I increase power and speed? Or does anyone have another idea about how to bring down the run time of the project? I’ve tried modifying all the lightburn settings. Thank you!
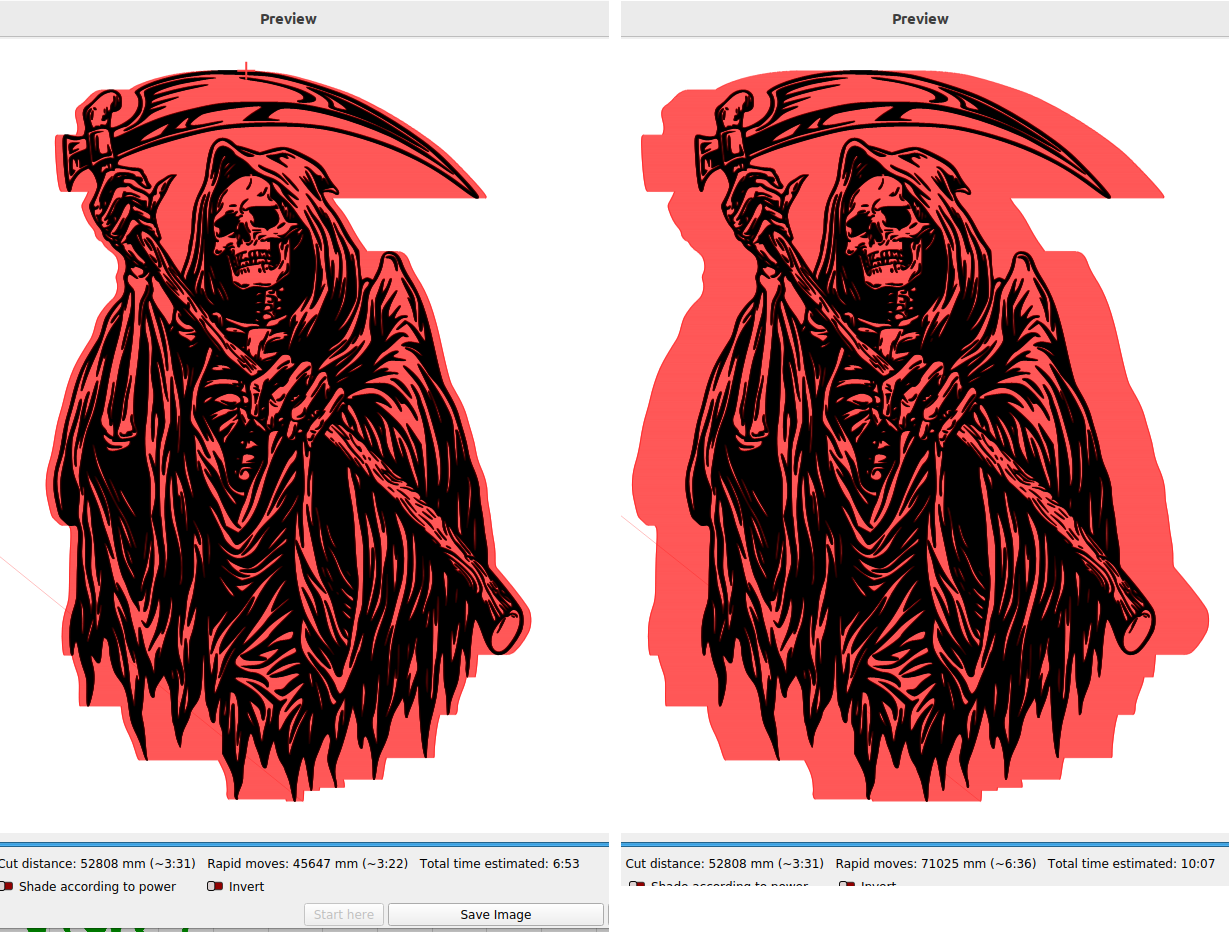
Show us your preview screen. You may have overscan issues with the boundary of your machine. it takes time (and by extension, space) for the laser head to accelerate from zero to high speed, then slow down and stop and reverse direction. On the preview page, click on SHOW TRASVERSAL MOVES.
The red outline shows where the laser head moves at 3000 mm/m

Compare to 15,000 mm/m
If your red zone conflicts with your machine’s physical boundary, it will cause problems.
@JimNM is likely correct in his evaluation of the posted operation. In the end, you can have high speed, but if it can’t reach the speed in a reasonable distance, it’s not much help.
There is also a limit to how fast you can scan and still maintain control the lps, which has a limited, or specified response time. Most machines can usually outrun the lps anyway.
The hardware in the Ruida is detecting that some of this is going outside of the defined work area giving you an error. On mine with a machine console, it says something like slop error.
I’ve never messed with the Gweike but most of these machines have the acceleration set very conservatively, so you might be able to increase the acceleration and reduce the overscan amount, giving you a bit more room for overscan. If you increase the acceleration too much, it makes a terrible racket, but it doesn’t hurt the machine. It’s only moving the fields in the motor faster than the motor can respond. It’s loosing steps or it’s location, so you don’t want it making noise when you’re doing a job.
You can increment it until it starts to fail, then back off a bit. These are in the machine settings and only the X axes acceleration values are used, you should be scanning with the X axes anyway.
This is the mapped overscan with a 40,000mm/s^2 and a 6,000mm/s^2 acceleration value. Notice the difference in job time one takes over the other. This is where you get the most bang for the buck, so to speak.
This is where I change mine… Yours won’t have these kind of values, as I have a very lightweight head, no drag chain to add mass to the X axes.
The green is the upper speed limit and the red is the acceleration. Before you change anything, use the save button to keep the factory settings, you may need them.

Additionally you can modify the interval for a faster job… If you’re interval is 0.10mm and you increase it to 0.20mm, then it will take half the time to run the job. Most of these have a spot around 0.20mm anyway, so if your interval is smaller, you’re likely covering the same area multiple times. A good thing to check in any evaluation of job time.
Good luck
![]()
This topic was automatically closed 30 days after the last reply. New replies are no longer allowed.