Hi, this topic was raised in May 2020, I am in the same boat re trying to focus test laser 2. Is there any capability within lightburn Dec 2021 for this or back to ramp testing?
Thanks
I am new to co2 laser but with lightburn it has made my forward movement very easy.
I don’t understand what you want lightburn to do to aid in the focus?
Do you have both the 180 and the 50 watt in a single box?
I don’t even know what a “Auto follow Metal hybrid head” is, can you post a link and elaborate?
Thanks…

Thanks Jack for your reply, I may have posted this to you unwittingly, intention however is to get some advice on using the focus test sequence under “Tool” such that laser 2 fires.
Laser 1 Focus test works but no matter what I have tried in software check boxes laser 2 does not fire under this command.
A previous post by a user was not resolved but the issue may be resolved, I just do not see it or able to activate it .
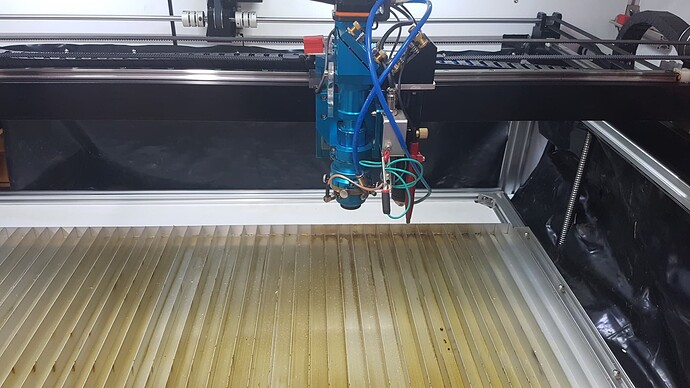
I have two tubes, each firing down opposing sides of machine, 180w to the hybrid and 50w to the standard head.
Thanks to any and all for assistance.
Hybrid head - my laser #2
To all
Under the tools section of Lightburn menu is the “Focus” test function.
This function works for laser 1, meaning it engraved distance measurements and you can then see your best focus distance solution.
I cannot trigger my “laser 2” to give any such measurement distances or even fire the the laser. Is there a software solution or a work around other than ramp testing laser 2.
Thanks to all for your patience. I am not sure how I can better phrase this request.
W
I think the issue is you are running something that is exotic to most of us.
I understand the issue, I believe, however I am also relatively clueless on what would cause that to happen.
@LightBurn would better be able to help with this type of interface to the controller. Hope he will chime in…
Thanks for the link to the head that you are using, it’s the cost of my whole machine…
It is quite interesting… Is your 180 watt a hv or rf excited tube?

Both Tubes are HV, the 180w is is reci w8.
I will try to contact LB direct as you suggest, as I see it I am left with either ramp test or incorporating a switching between laser 1 and laser 2, ie swap them over for the test sequence.
Other than that I have no problems driving one or both with LB, this software is easy to learn and coming from Aspire I found no difficulties in setting up my system from scratch. Generally speaking the lack of specific wiring data from Ruida was my biggest hurdle.
Cheers to all
I’m sure there is some solution. Sometimes when you stick there address in there they pop up and assist. I was hoping for that.
There is always support @ lightburnsoftware . com
I would drop them a note… You could also refernce this thread for them to read
Take care… Ensure you inform us on how you fixed it… 

How ‘exactly’ does this focus system work?
Does your ‘expensive’ head have z movement…?
How about the standard head?
I’m not sure where to look to try and assist. I like to know how it works…

Jack
Thanks for staying with me on this and for your interest in seeing how things play out.
Responses below are to Lightburn tech so I have copied them to you.
How does the focus work?
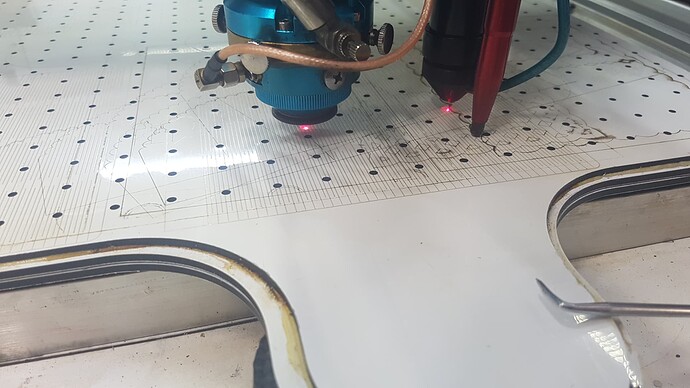
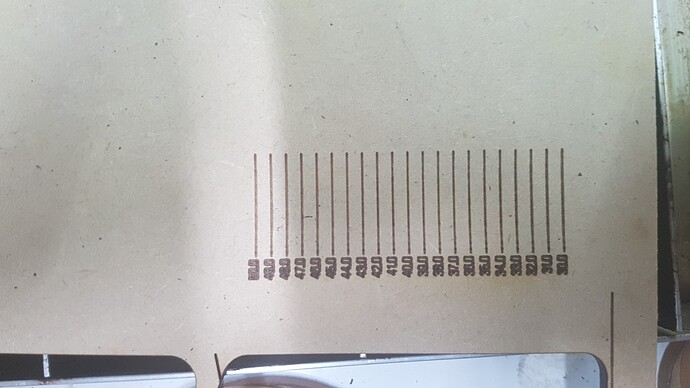
If you trick your software and tell it you have a z axis with parameters, then try “Tools” then select " Focus test". Drive in any parameters to suit and watch the pattern of measurements be engraved. This then tells you what height to have your head set at. Below is a part engrave to show you under head 1. Zoom in on the straight lines between circles.
The Hybrid head has its own motor when cutting metal. It is capacitance sensory and the motor is activated by selecting “follow” mode. it follows the bent metal surface up and down, maintaining the right focal distance. If follow mode is not selected then it cuts as normal and uses the standard table motors. My table has a 386mm rise and fall. The Hybrid has about 50mm movement when activated. very cool to watch. I cut stainless steel mesh for my bee hives with it.
I do not think at this stage that capability is allowed for in lightburn, it may be a quick fix in firmware at some point.
I think it will require a switching of control wires from L1 to L2 but all three wires to each must be included.
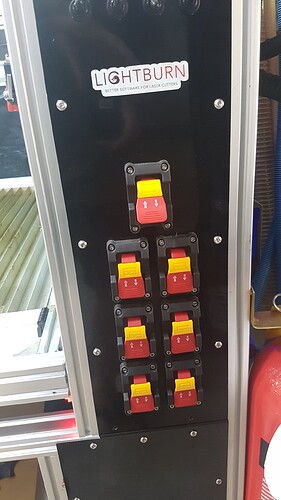
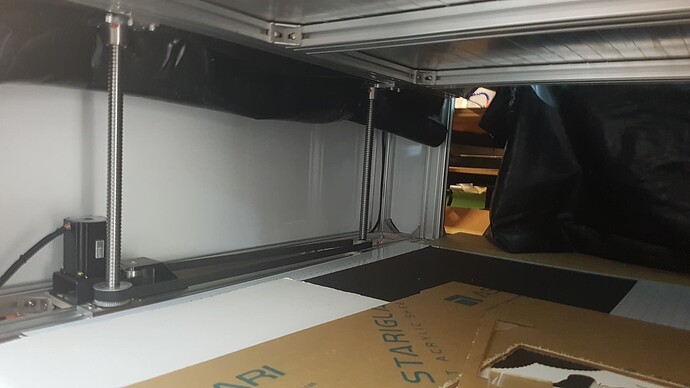
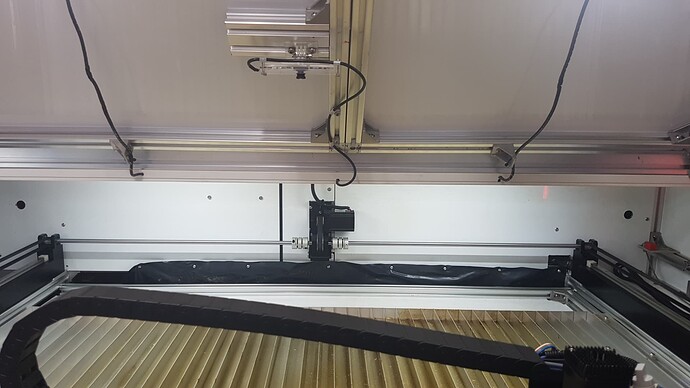
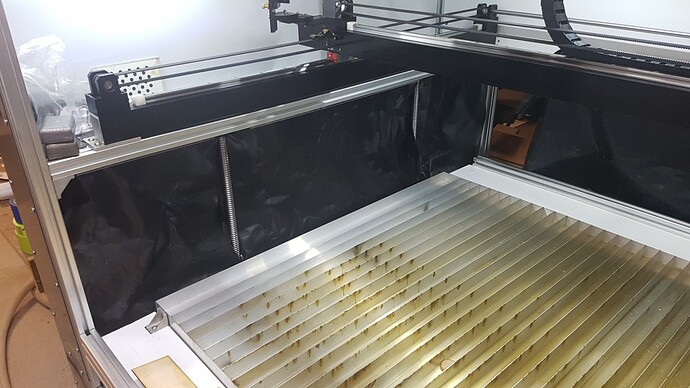
I have attached my May-cad scheme file to give you an idea of the build size, about 2mx2mx2m , you stand in it to wire it up. Goto May-cad and download exe for free framing software.
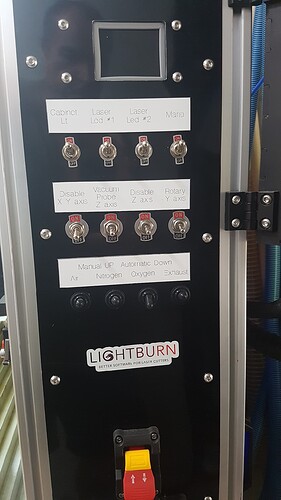
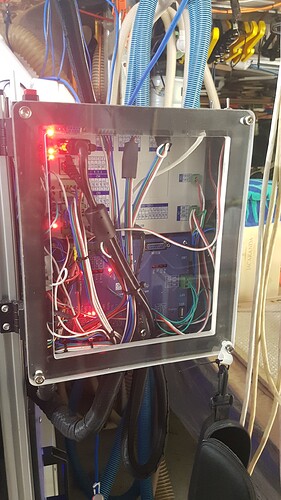
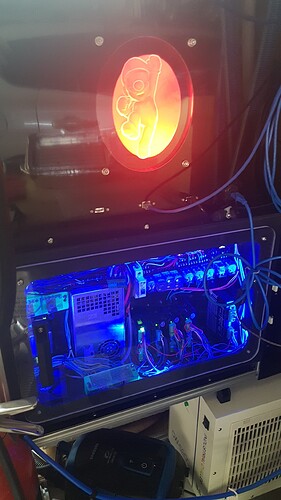
Some other pics attached also, I am going to upgrade to RD6445 shortly from 6332
And YES, my process warning light is SuperMario cut in 10mm acrylic…
Below is a response to Lightburn.
-Both heads are on the same machine.
-Both heads work with lightburn, enable laser 1 or laser 2 for a job.
- Hybrid head(180w) has its own z axis motor in “follow” mode, else it uses the table z motors as usual to Laser 1.(50w)
In fact lightburn has made my custom build pretty much perfect for me, the software has been easy enough to follow. it’s a great product.
With regard to focus test under the tools menu, ONLY laser 1 activates, both lasers with power ON still activates laser 1.
I cannot seem to find a check box to activate laser head 2
** Testing of “follow” mode showed the same results, head z axis moved up and down but not firing. This suggests a check box not selected if available.
So is this ‘enabled’ by a single control line (whatever ‘follow’ enables)?
Unlike where the controller will move the Z axes and sense some type of switch to determine focus…?
The head has it’s own controller to adjust height?
After looking at the pictures…
Do you want the motorized head to be enabled for focus when the 50 watt is running?
I see, what looks like, an autofocus sensor on the ‘50 watt’ head…?
First picture, didn’t quite get uploaded. But the rest… What a nice machine. Thanks…
![]()
So is this ‘enabled’ by a single control line (whatever ‘follow’ enables)?
The Z axis to hybrid head is activated when cutting metal by selecting “follow” on the upper live focus control panel. Else it operates as normal head would. The capacitance when calibrated keeps the head at the required focal distance from material surface. ie it adjusts the head up and down, the closer the metal comes to the head the more capacitance increases and the head moves up accordingly, vice versa.
Unlike where the controller will move the Z axes and sense some type of switch to determine focus…? Focus distance is input into control panel, ie say 5mm , then it will stay 5mm off metal surface.
This ONLY happens in follow mode, else you set live focus to normal.
The anomally here is that I am using 100mm focal lens which needs 33.5mm distance for z table to drop to maintain focus in normal operation(not auto)
The head has it’s own controller to adjust height? as above, set in LFS panel… Live focus
After looking at the pictures…
Do you want the motorized head to be enabled for focus when the 50 watt is running?
NO
This is already taken care of. What I want is to be able to determine using software the best focal distance with a generated measurement system from lightburn, just as it does with the other head on laser1.
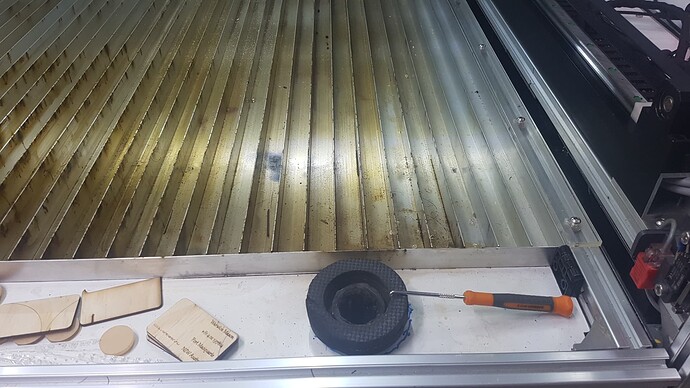
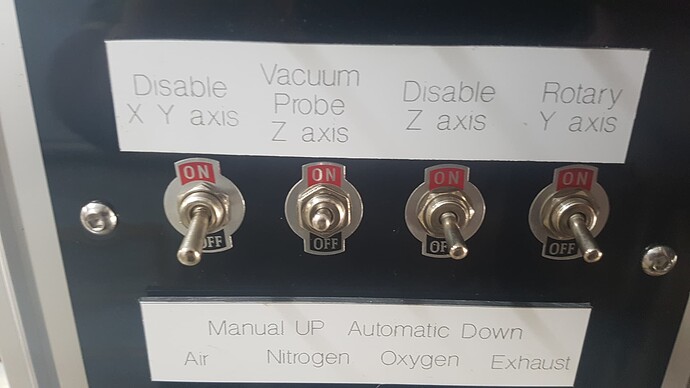
I see, what looks like, an autofocus sensor on the ‘50 watt’ head…? Yes I have a probe which is switched (zoom in on previous photos – “Vacuum probe Z axis”) the sequence i use is to drop my z table enough to get the vacuum table ontop of knife table, throw the switch and it re-homes Z axis once the probe is down.
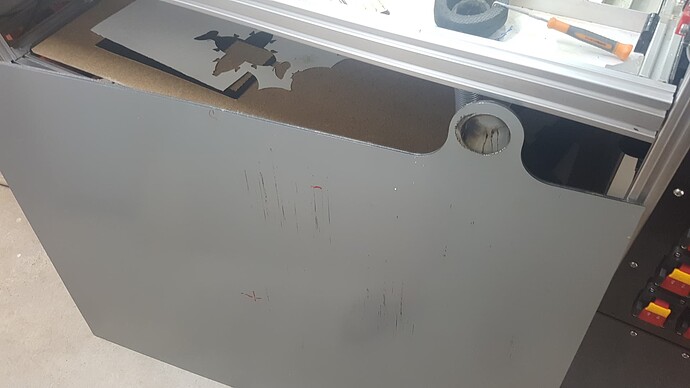
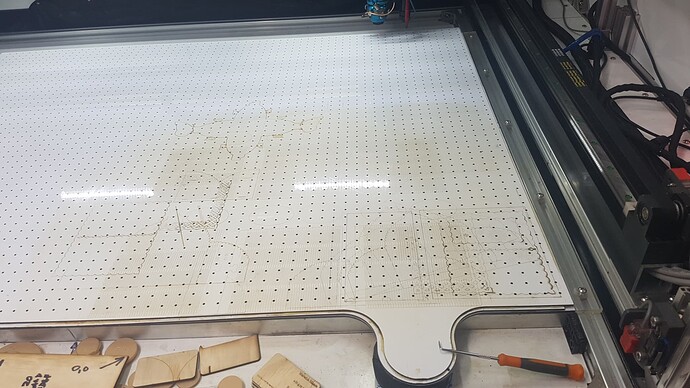
Attached photos show, underside of vacuum table, top side with 3500 x 3mm holes.
Photo showing probe down and switched ready for re-homing.
The section of table protruding lays over a vacuum sponge at the 0,0 home position
Word back from LB is that there is no ability at this stage to trigger L2 in the focus test.
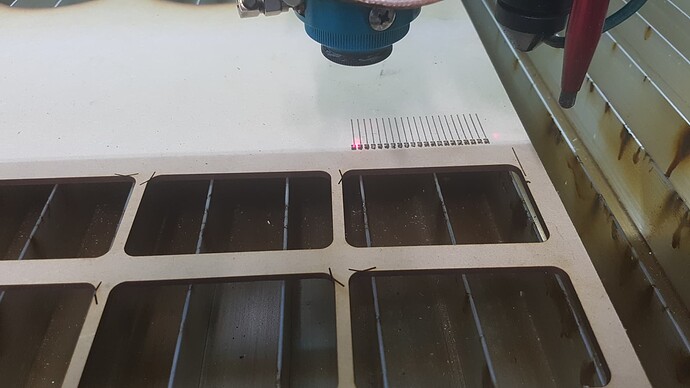
I swapped L2 controls onto L1 terminal in Ruida panel the photos show test results for focal distance 30mm to 50mm
Suggested to LB an ability to enable L1 or L2 in the focus test page.
Cheers
You have an answer, anyway. Sorry it isn’t what you wanted to hear…
That is one slick machine, thanks for sharing it and the explainations.
Please post any advancements you come across…
Take care and Good luck…

Thanks Jack
I will send a screen shot of framing when I get to workshop files as I am unable to send scene file of framing from MayCad.
Frame posts x 4 are 6060 x 1650mm mounted on heavy castors with brakes. The remaining frames are mostly 3060 with doors and draws from 3030. About 1000 10/12mm bolts 4 sheets of 3mm ACM and a sheet of 6mm acrylic.
Build took 6mnths to have parts compiled and 10 weeks full time on build, cnc ali parts with 3D printer doing switch holders etc.
Cheers
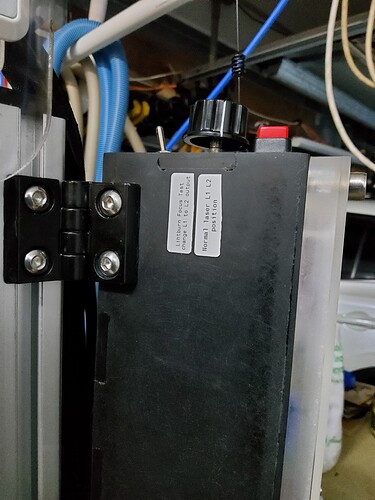
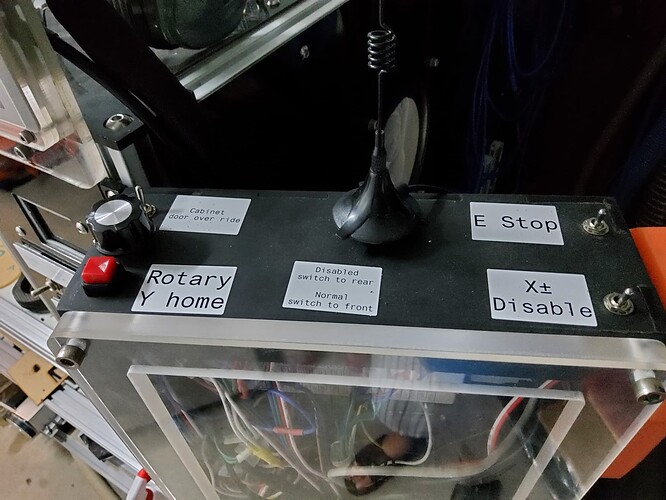
Finally switched up between laser 1 and laser 2.
Normal switch position gives lightburn control to laser1. Switched position now gives focus test output to laser 2.
Whew…
What an effort, seems too bad that isn’t a software item.

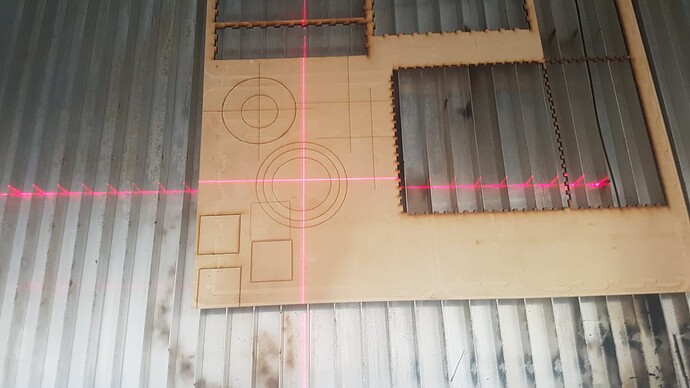
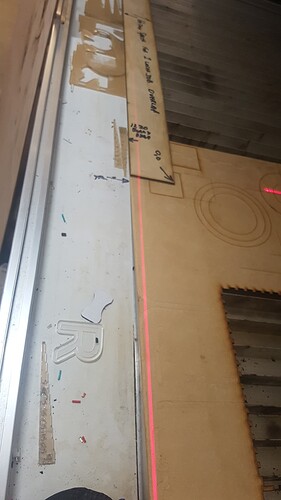
Laser pointer upgrades
X Zero alignment laser line and centre cross alignment laser.
Just to help with cut positions.
Both separately switched in.
This topic was automatically closed 30 days after the last reply. New replies are no longer allowed.
