I have a 100-watt Omtech Turbo laser cutter with a 500x700 mm work bed. I’ve been using it for a year and am very satisfied. However, some time ago, I had an issue with one of the cables leading to the laser head (a short circuit in the autofocus). I managed to fix the problem, but to do so, I had to figure out where it was coming from. I had to go through a lot of cables in the machine to find the damaged one.
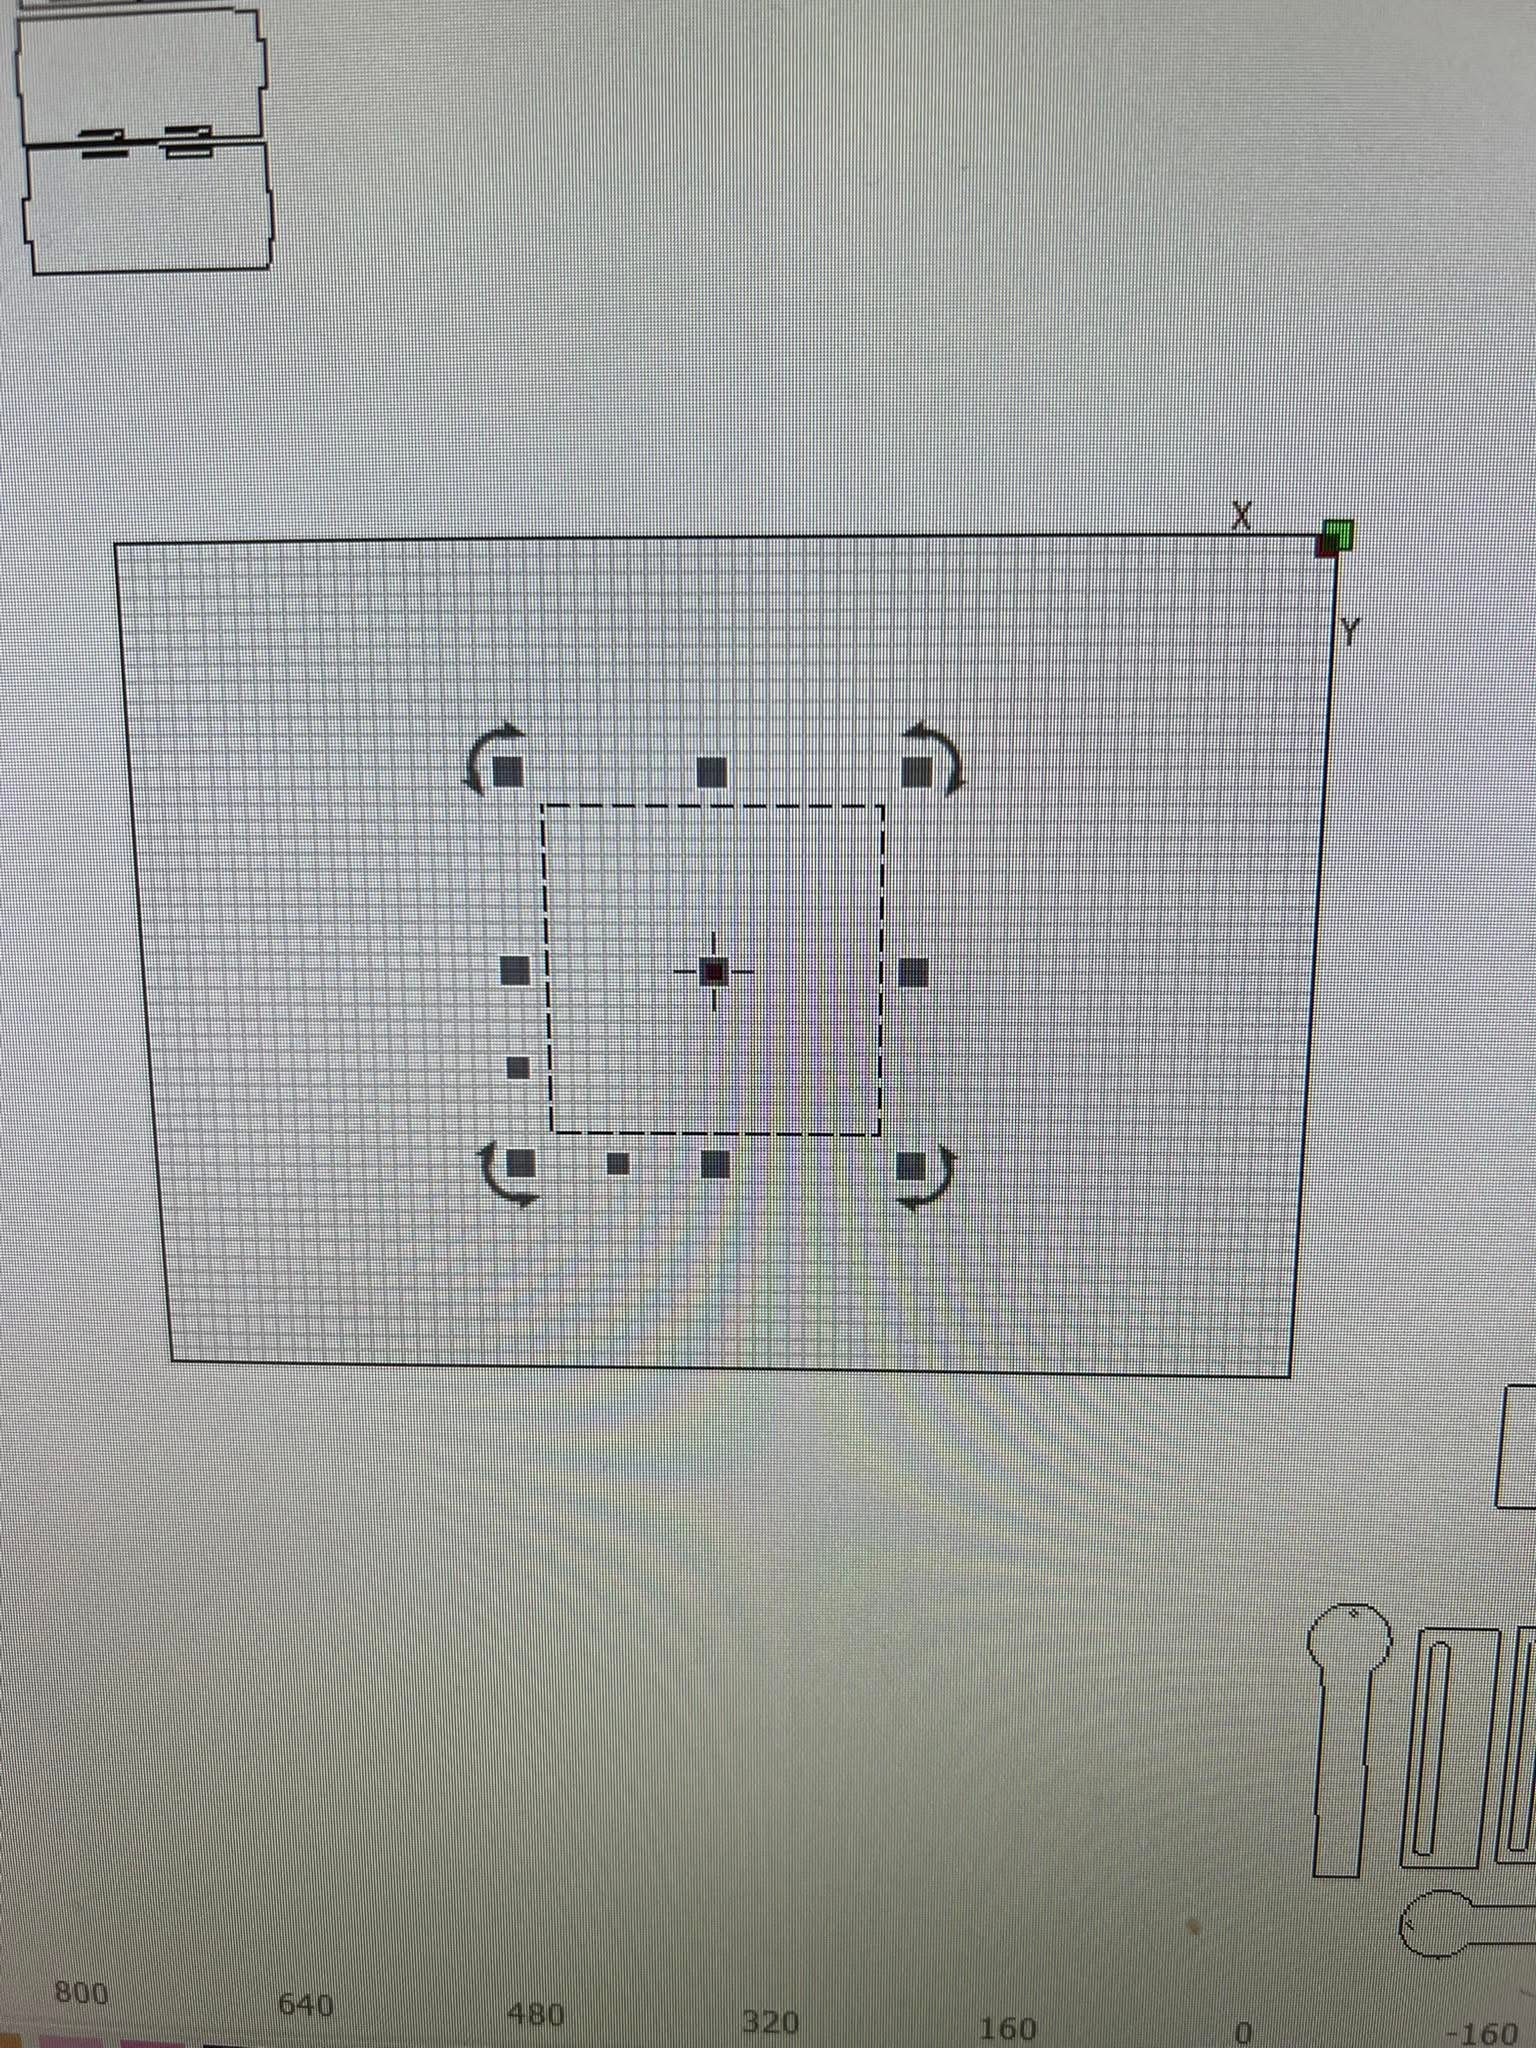
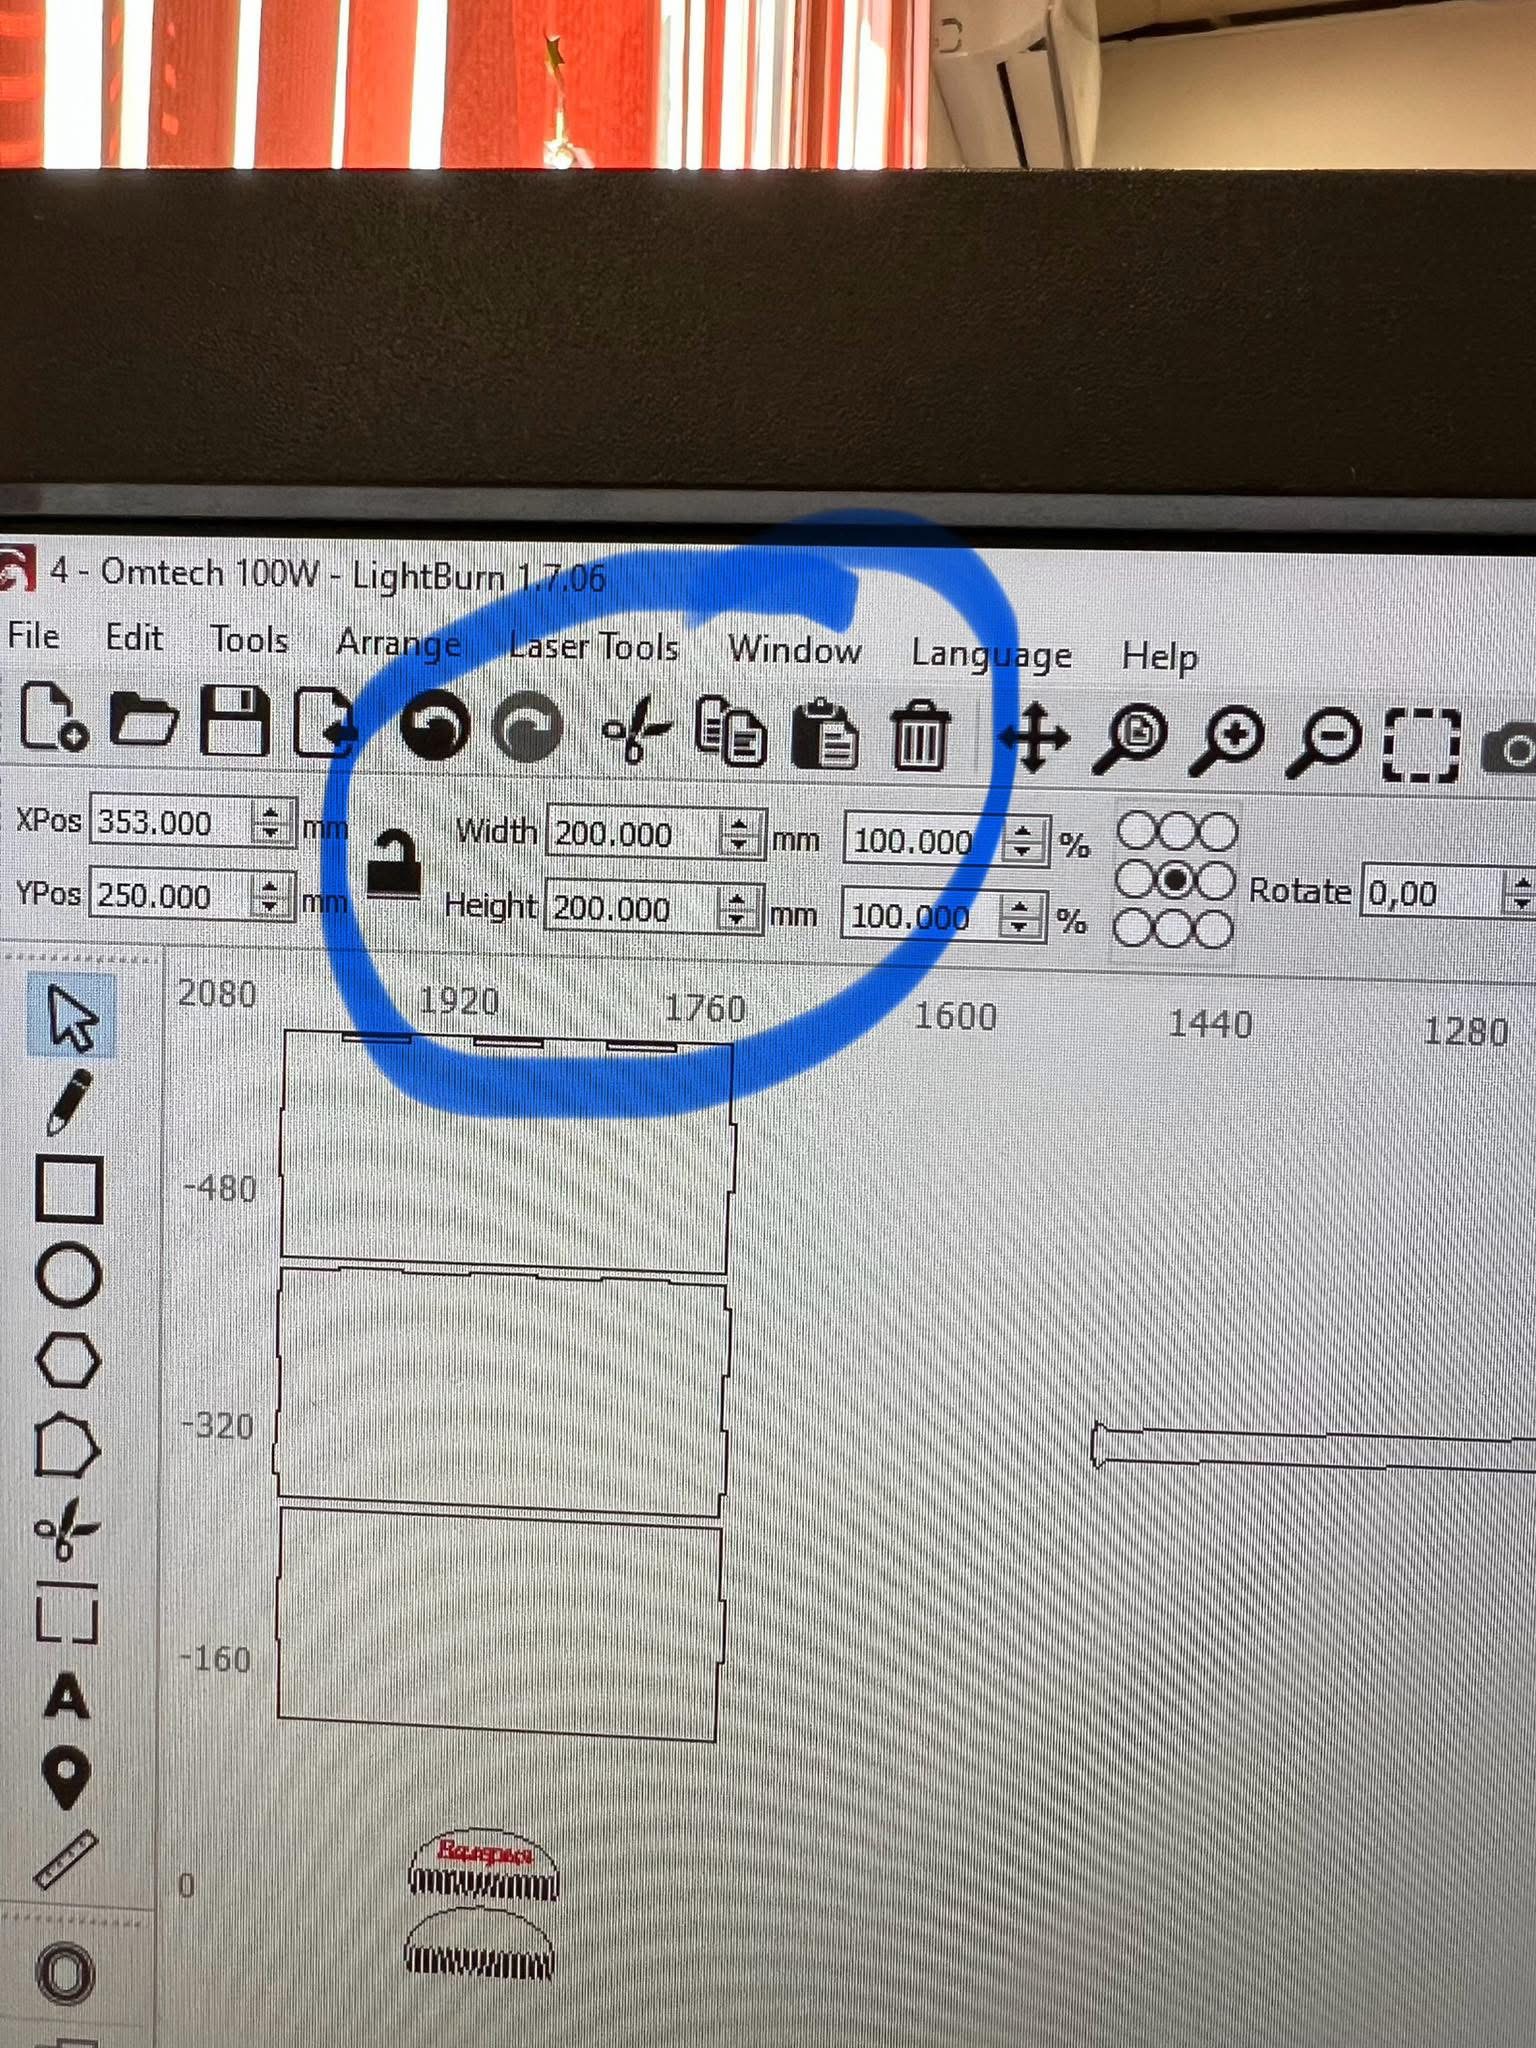
Now everything is working fine, and the laser cuts like new. However, a rather strange problem has appeared. When I set the work area dimensions in the software to 200x200 mm, the laser cuts a square of 225x225 mm.
Does anyone know where I can download the factory settings or how to recalibrate the laser?
I hope I explained this correctly! Any help is greatly appreciated.
That will correct changes to the distance/step values stored in the controller.
If you (inadvertently?) changed the switch settings on both X and Y stepper motor drivers, that could account for the difference. The calibration procedure will also correct for that change, although restoring the switches to their original settings would be better.
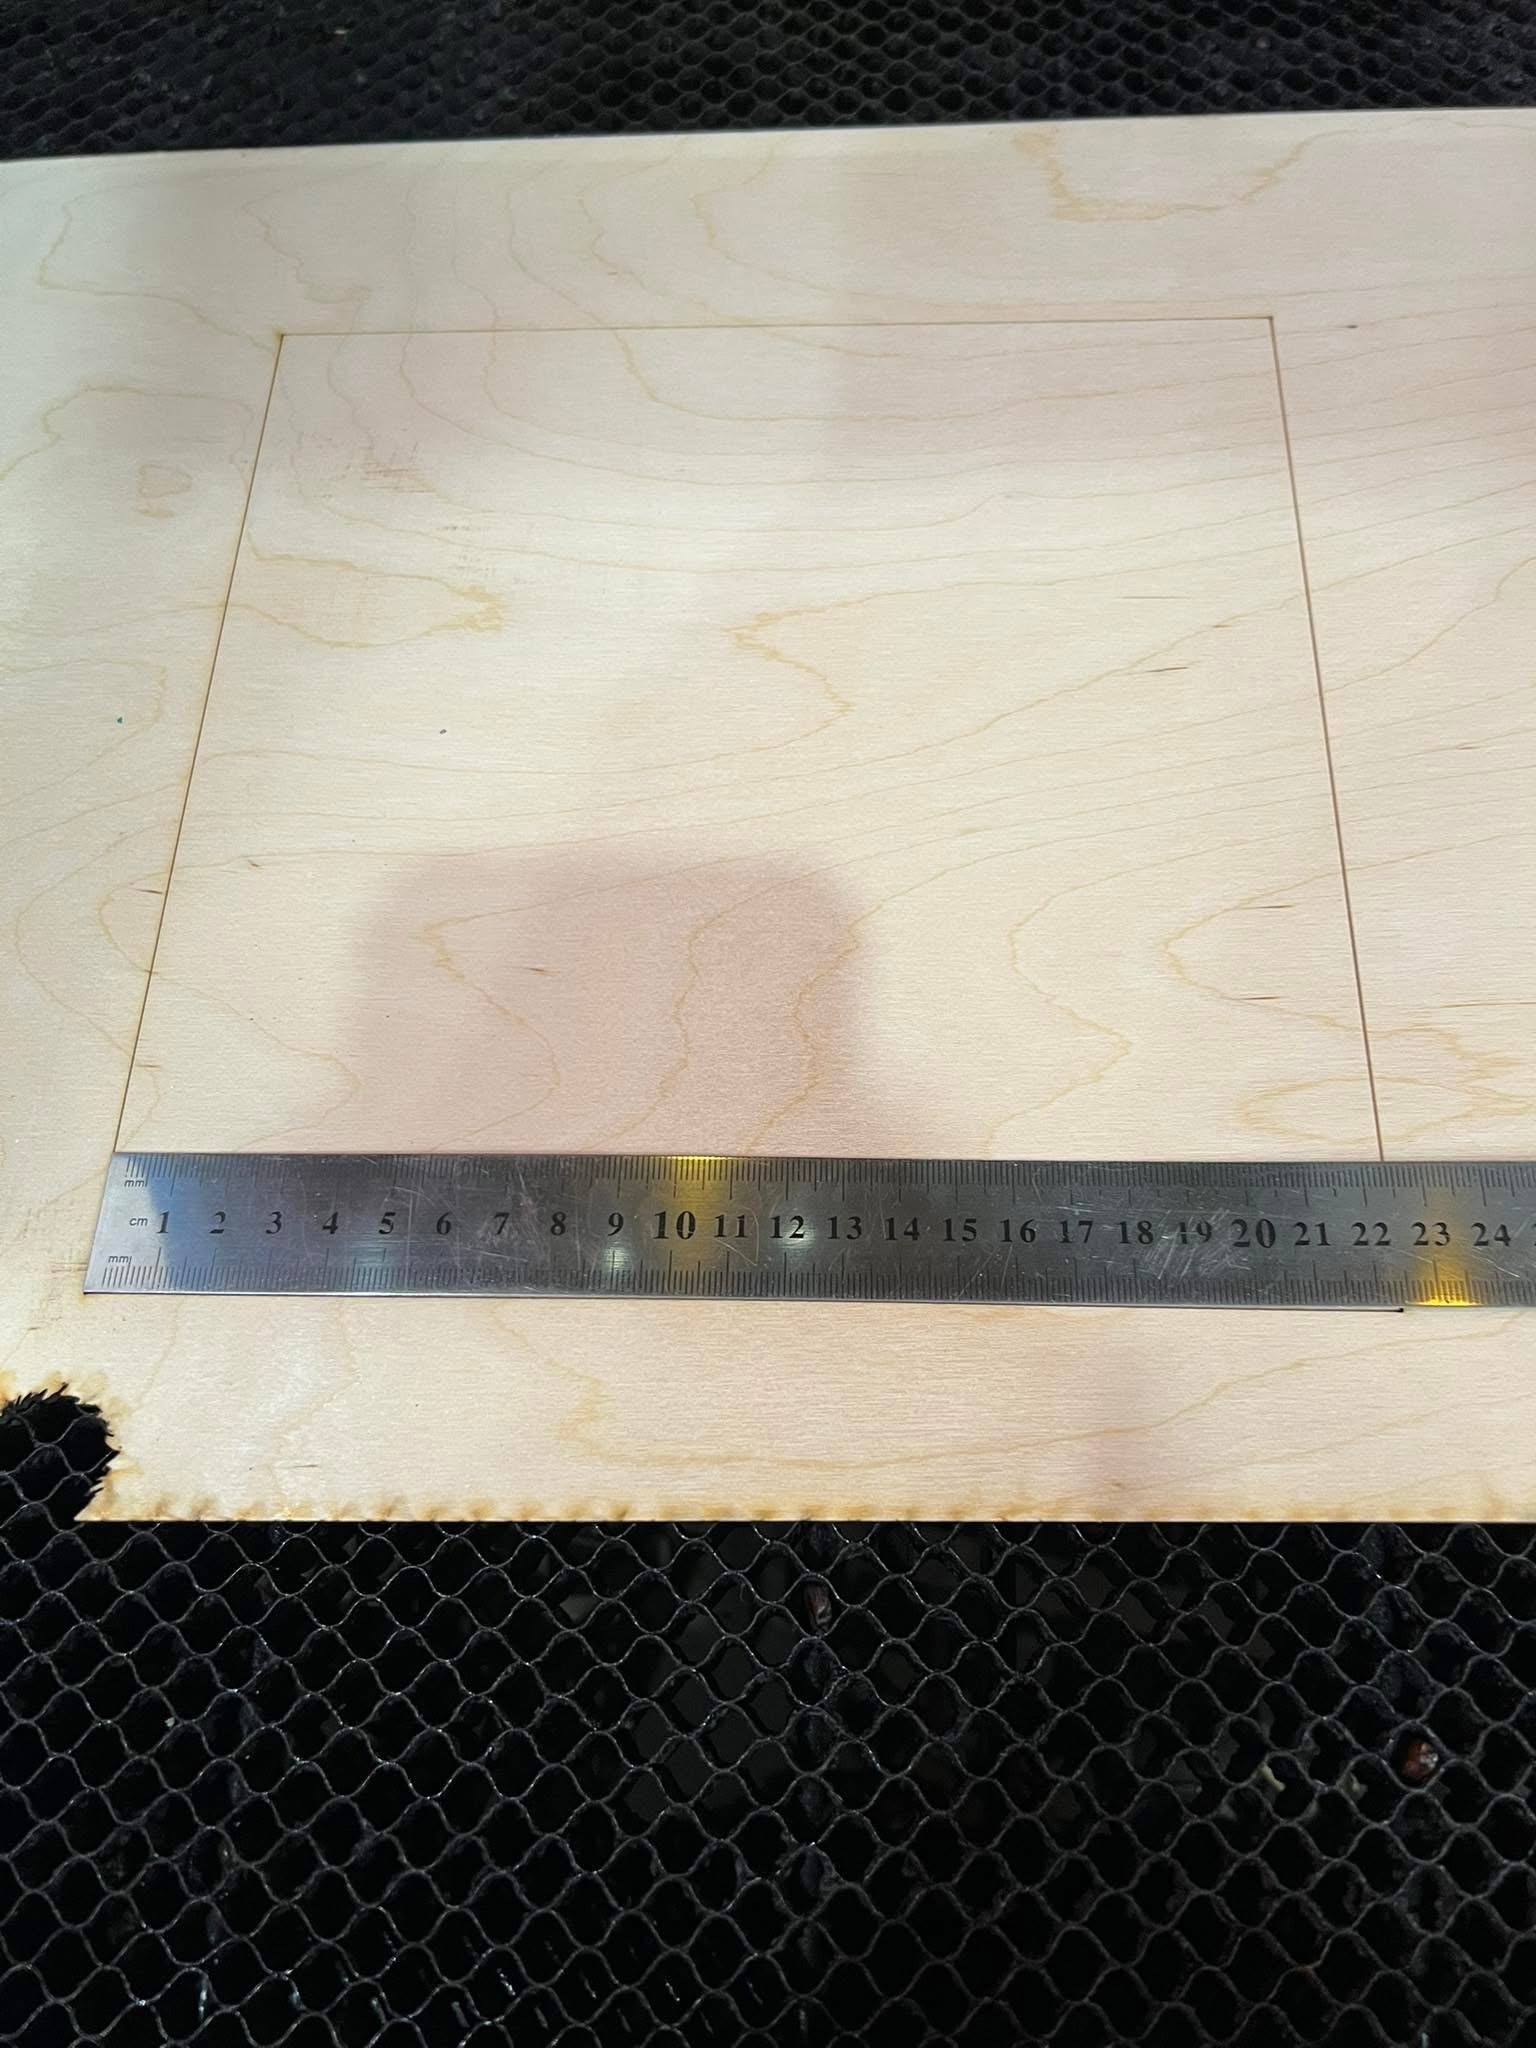
Thank you for your help. I followed your advice and used the axis calibration tool in LightBurn. When I set the value to 200/200 mm, I get an actual burn of 200/200 mm. However, now another problem has appeared. When I set the value to 400/400 mm, I actually get 401/401 mm. Only a 1 mm difference, but as you know, for projects, this can be critical.
I calibrated again for 400/400 mm, and it was perfect, but when I cut 200/200 mm again, I got 199/199 mm. This happens every time with different sizes. I cut a ready-made project that I have done multiple times before, and there were indeed discrepancies. The same happens with engraving—small differences compared to what is in LightBurn.
I would really appreciate your support until the issue is fully resolved. I’m probably missing something small! Thank you.
Most likely, you’re measuring the size of cut parts, so they’re smaller by the kerf = cut width. Your laser also has a slightly rectangular spot, so the kerf will differ along the X and Y axes.
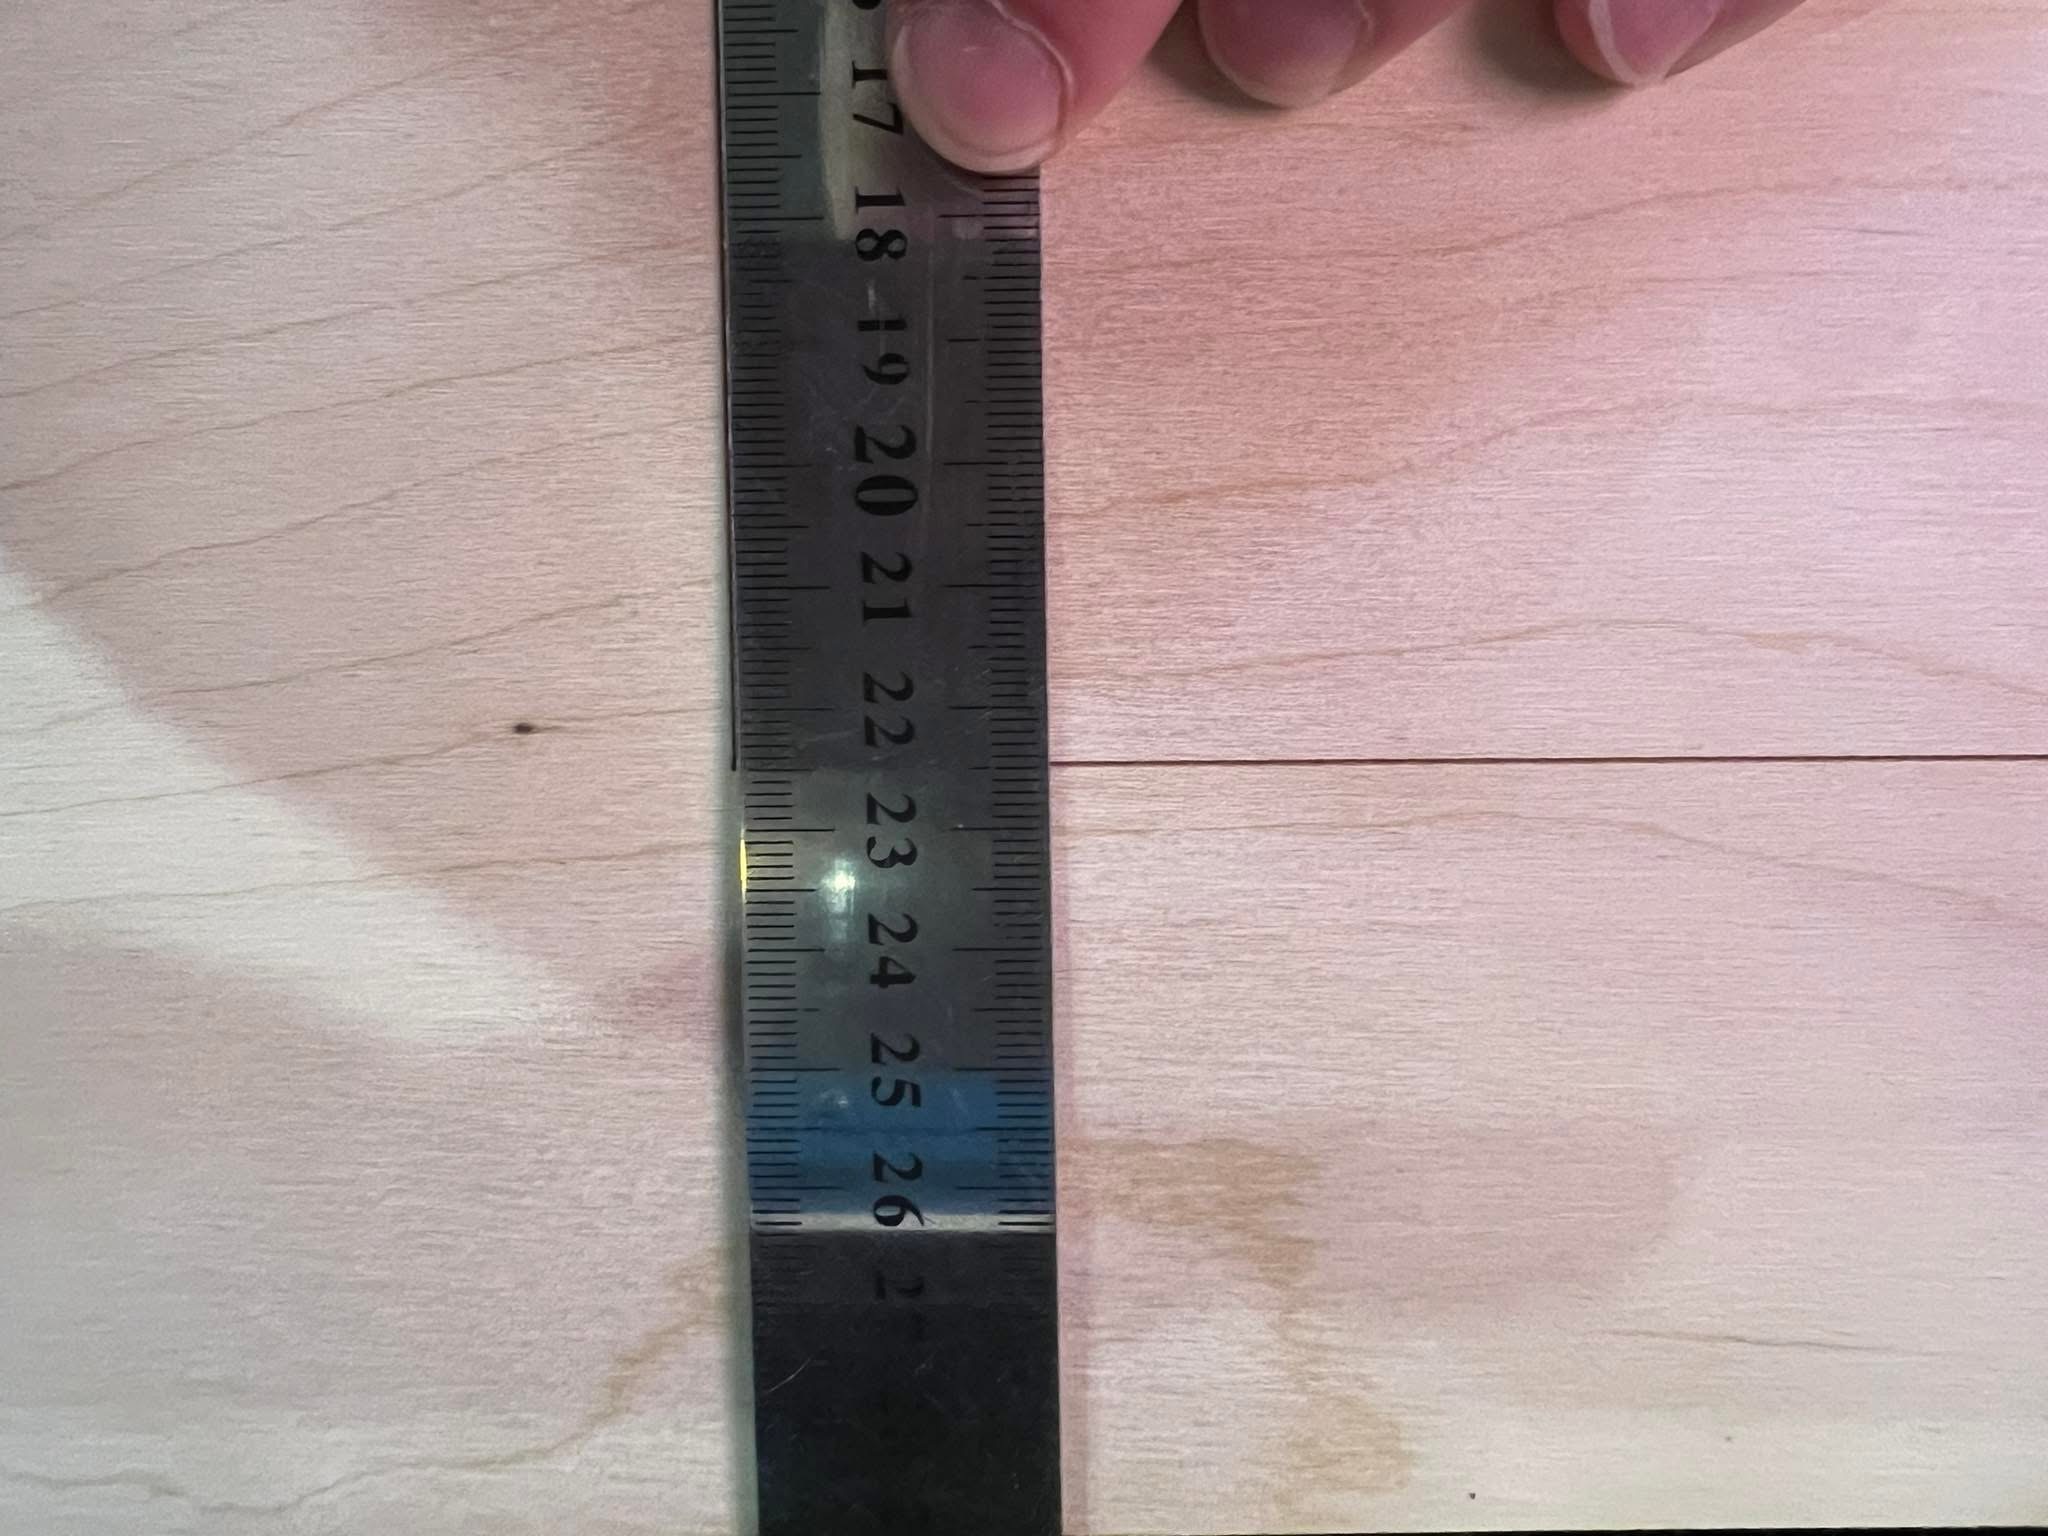
Instead, set the layer power to mark paper / MDF / plywood, scorch the square, then measure the distance from center to center of opposite sides.
Position the center of the focused dot on the center of the scale lines and remember that your laser has a slightly rectangular “dot”.
Then you can compensate for the kerf and make the actual cuts measure very close to the nominal regardless of the part size, within the tolerance of the kerf.