The air assist inlet is now at the back side, was in front. Therefore the vertical nozzle position changed for 1/2 the thread inclination…this should only affect the z laser focus afaik?
First check showed that the laser cut is oval - what happened?
Did I disasjust something…can’t imagine where as the laser beam should be round at all times.
Is it a manufacturing fault? A mirror not plane?
I tried this tiny screw in the nozzle without visible change…what is it for? I assume it holds the optics inside?
Ooookay…beginners mistake, learnt a lot now: it was a manufacturer adjustment mistake.
After some thinking I got to the conclusion that it must be a question of focusing the beam to the lens. Too much out of center will produce a distortion in x or y.
So I fumbled around with a 5.5mm wrench, a pinpointed pliers and some chilling music. On both mirrors.
In the end it’s quite logic: swiveling the beam in y (middle mirror) will produce blurr in y, but it’s the trick to do it at the right mirror. A biiiiit to much and the beam is gone entirely.
You will have gone through that…
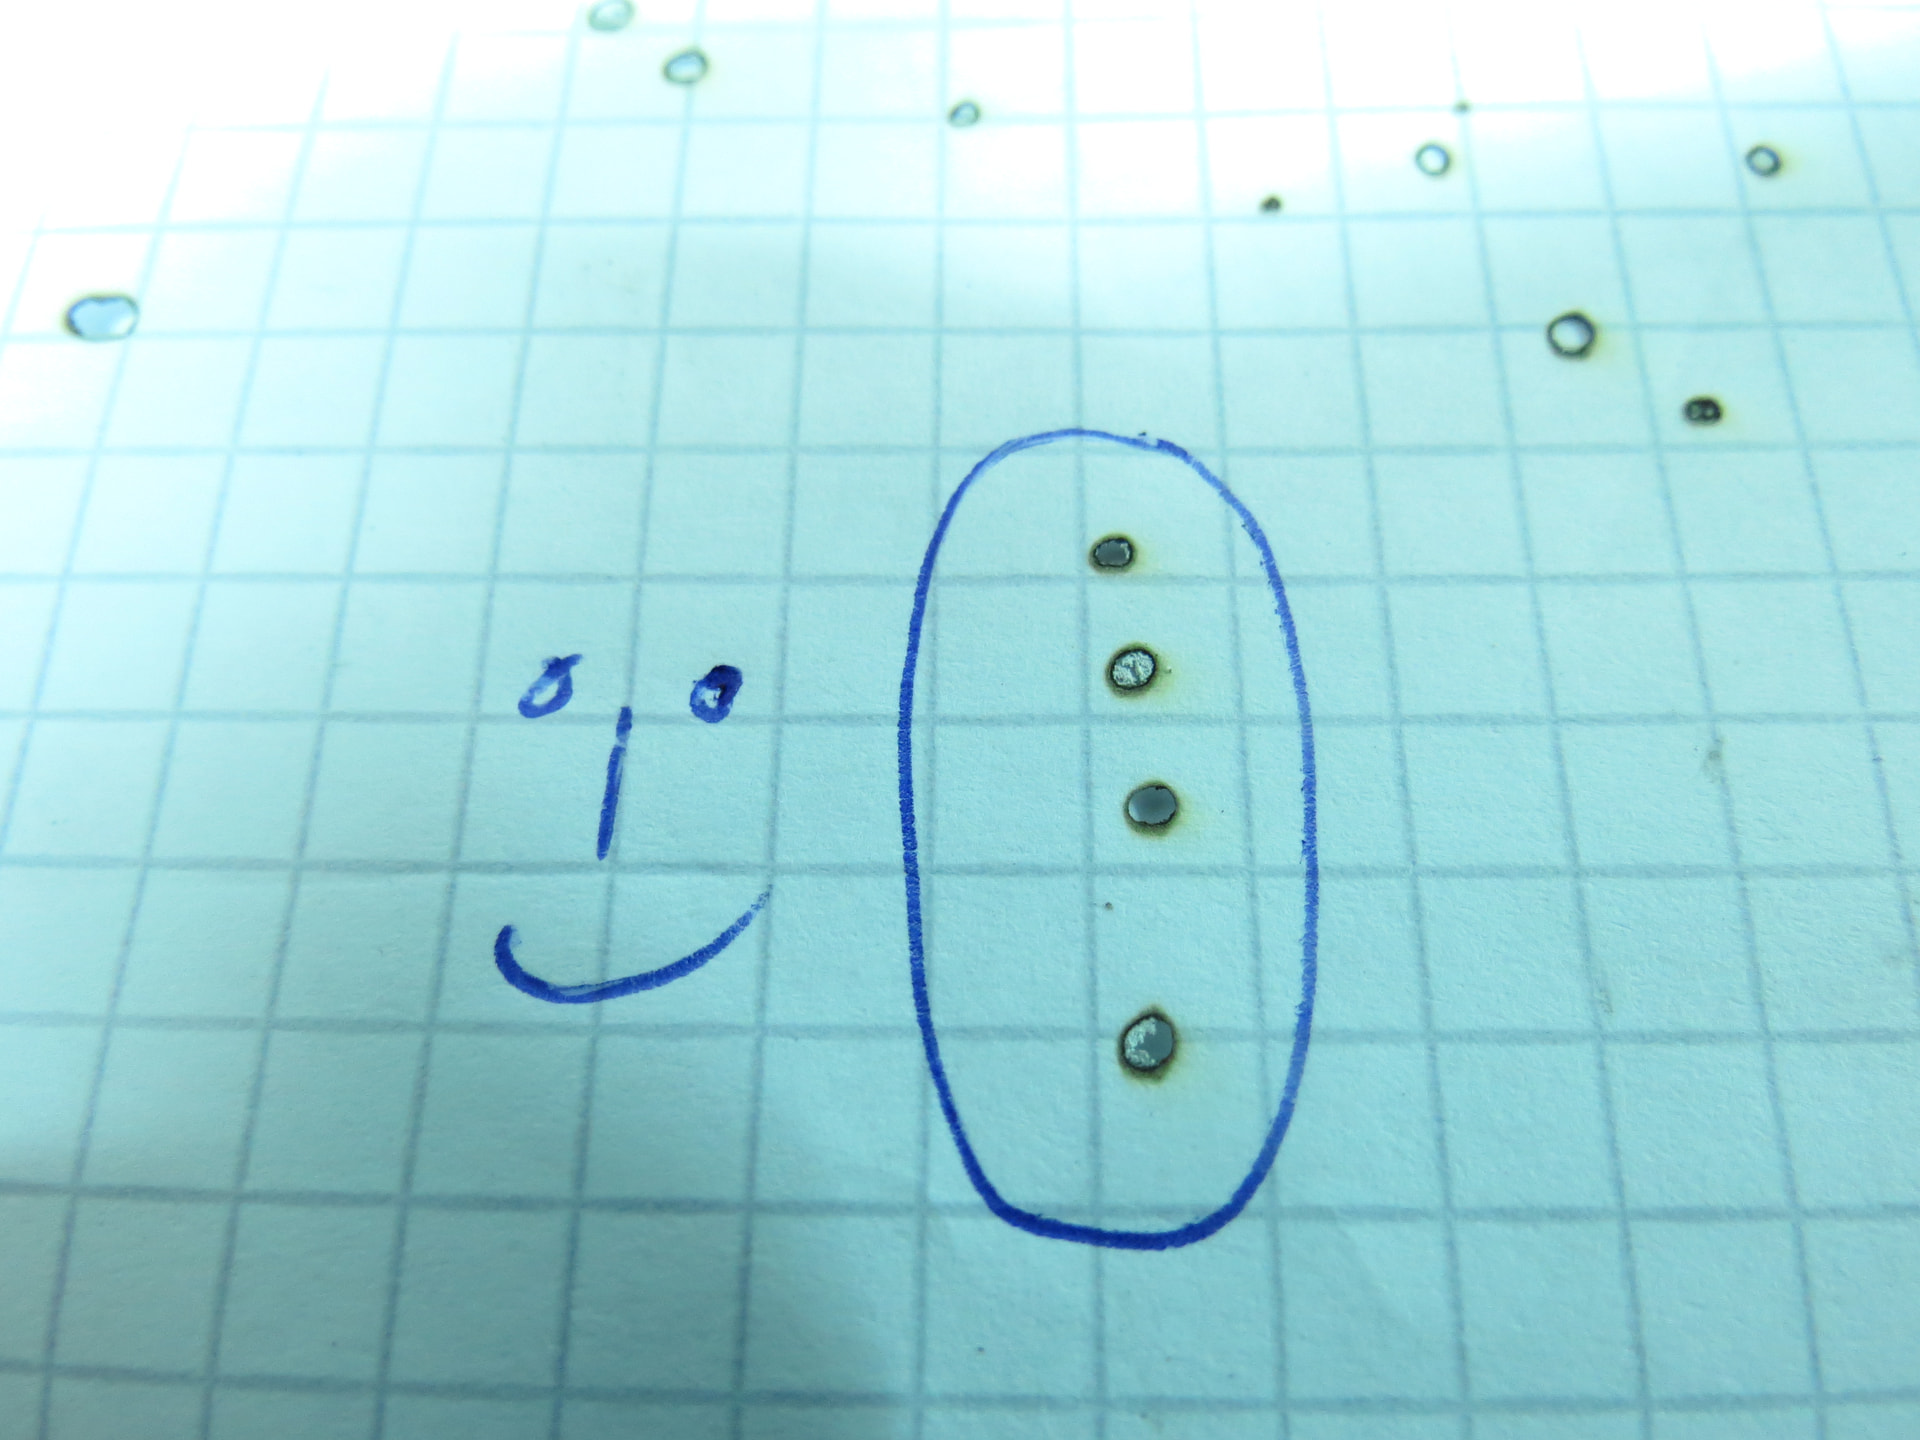
I assume this result is ok, not in focus, just the shape and almost no blurr:
For all pulsed measurements, set a manual power and pulse duration on the Ruida controller, so that you get a mark rather than torching the paper.
For a 6445 controller, I think this works:
The Power button sets the pulse power. I generally use about 20%.
The pulse duration is (probably) at the Menu button, then Functions → Laser Setting:
Laser mode: pick Manual
Laser time: about 20 ms works for me
The values differ depending on the material and purpose; they will definitely be different for your machine. The point is to have a repeatable pulse that doesn’t depend on your (well, my) reflex time.
Ah, ok, didn’t know there is a pulse time. Makes it easier. I’m donwn on 5% (less ist not possible), with a short touch I can avoid burning through.
But I’m not done yet, despite the first successes.
When I move the table down to go deliberately out of focus to check if the laser is vertical (yes, it is) and my crosses still align (works), I see an oval burning in x with some blurrs in x.
So I tried to swivel the middel mirror up and down, but this seems to have no effect on that.
When I swivel the laserhead mirror the beam wanders out of the center and is no longer vertical - quite logical.
I hope I don’t have to fumble around on the first mirror…how do I check if the wide beam is centered to the apertures, looks most important to me? I can’t see the beam on paper, obviously. What’s the trick?
There wil be plenty of videos on YT, I guess? Any recommendations?
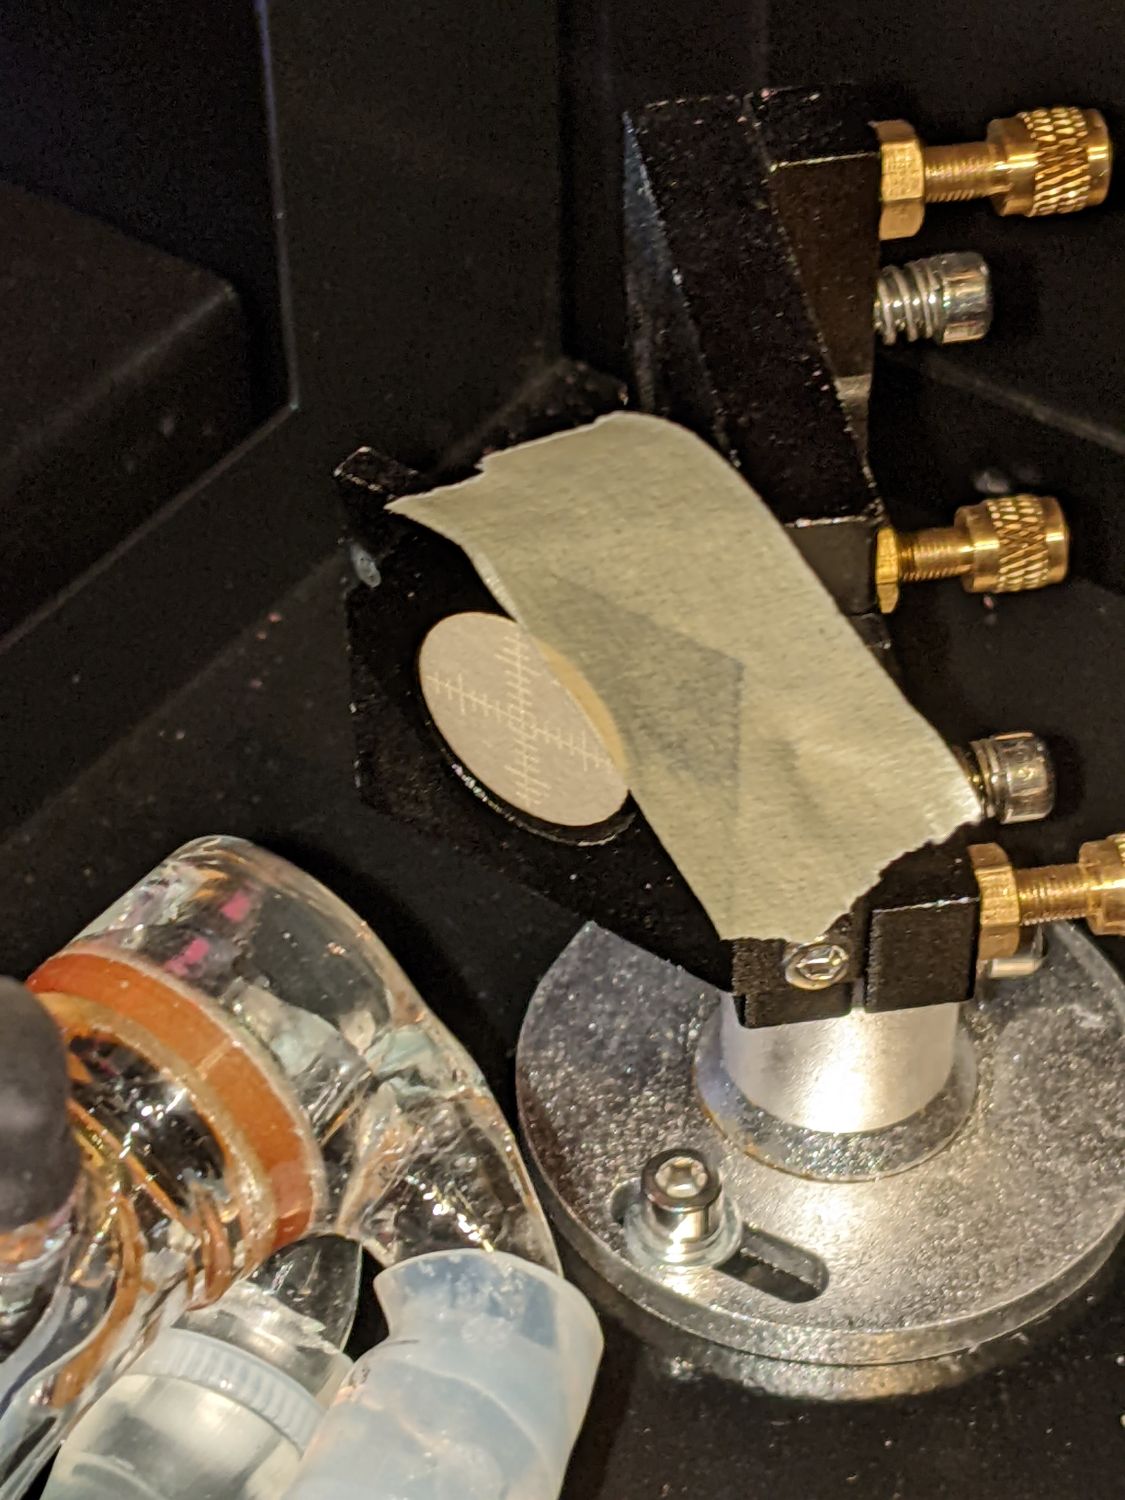
The mirror targets mount flat on the mirror at 45° to the beam, so the scorch is elongated horizontally, but they verify the beam is centered on the mirror. You’ll also want targets mounted perpendicular to the beam to verify its shape at the entry to each mirror:
If it’s not round at Mirror 1, then there’s definitely a problem upstream of all the optics.
Ok, I did all this and it came out that the beam is kind of oval all the way before it hits the last mirror and the focusing lens.
Then I discovered the beam is not in the center of the nozzle which had the effect that the beam wasn’t perpendicular to the material, so moving out of center with z movement.
So I centered the beam everywhere as good as possible.
All this corrected it looks now quite round and cuts nicely through plywood.