Not talking about the beam. I just noticed that the tube itself is in a non-perpendicular alignment from the bed.
I’ve loosened the brackets and have put varying feeler gauge slivers underneath at the back of the bracket to help bring it back into alignment. Still not there yet, but working on it.
This makes me wonder if the rail is twisted though and whether it would be best (harder to fix) than just trying to make the adjustment right at the mount itself.
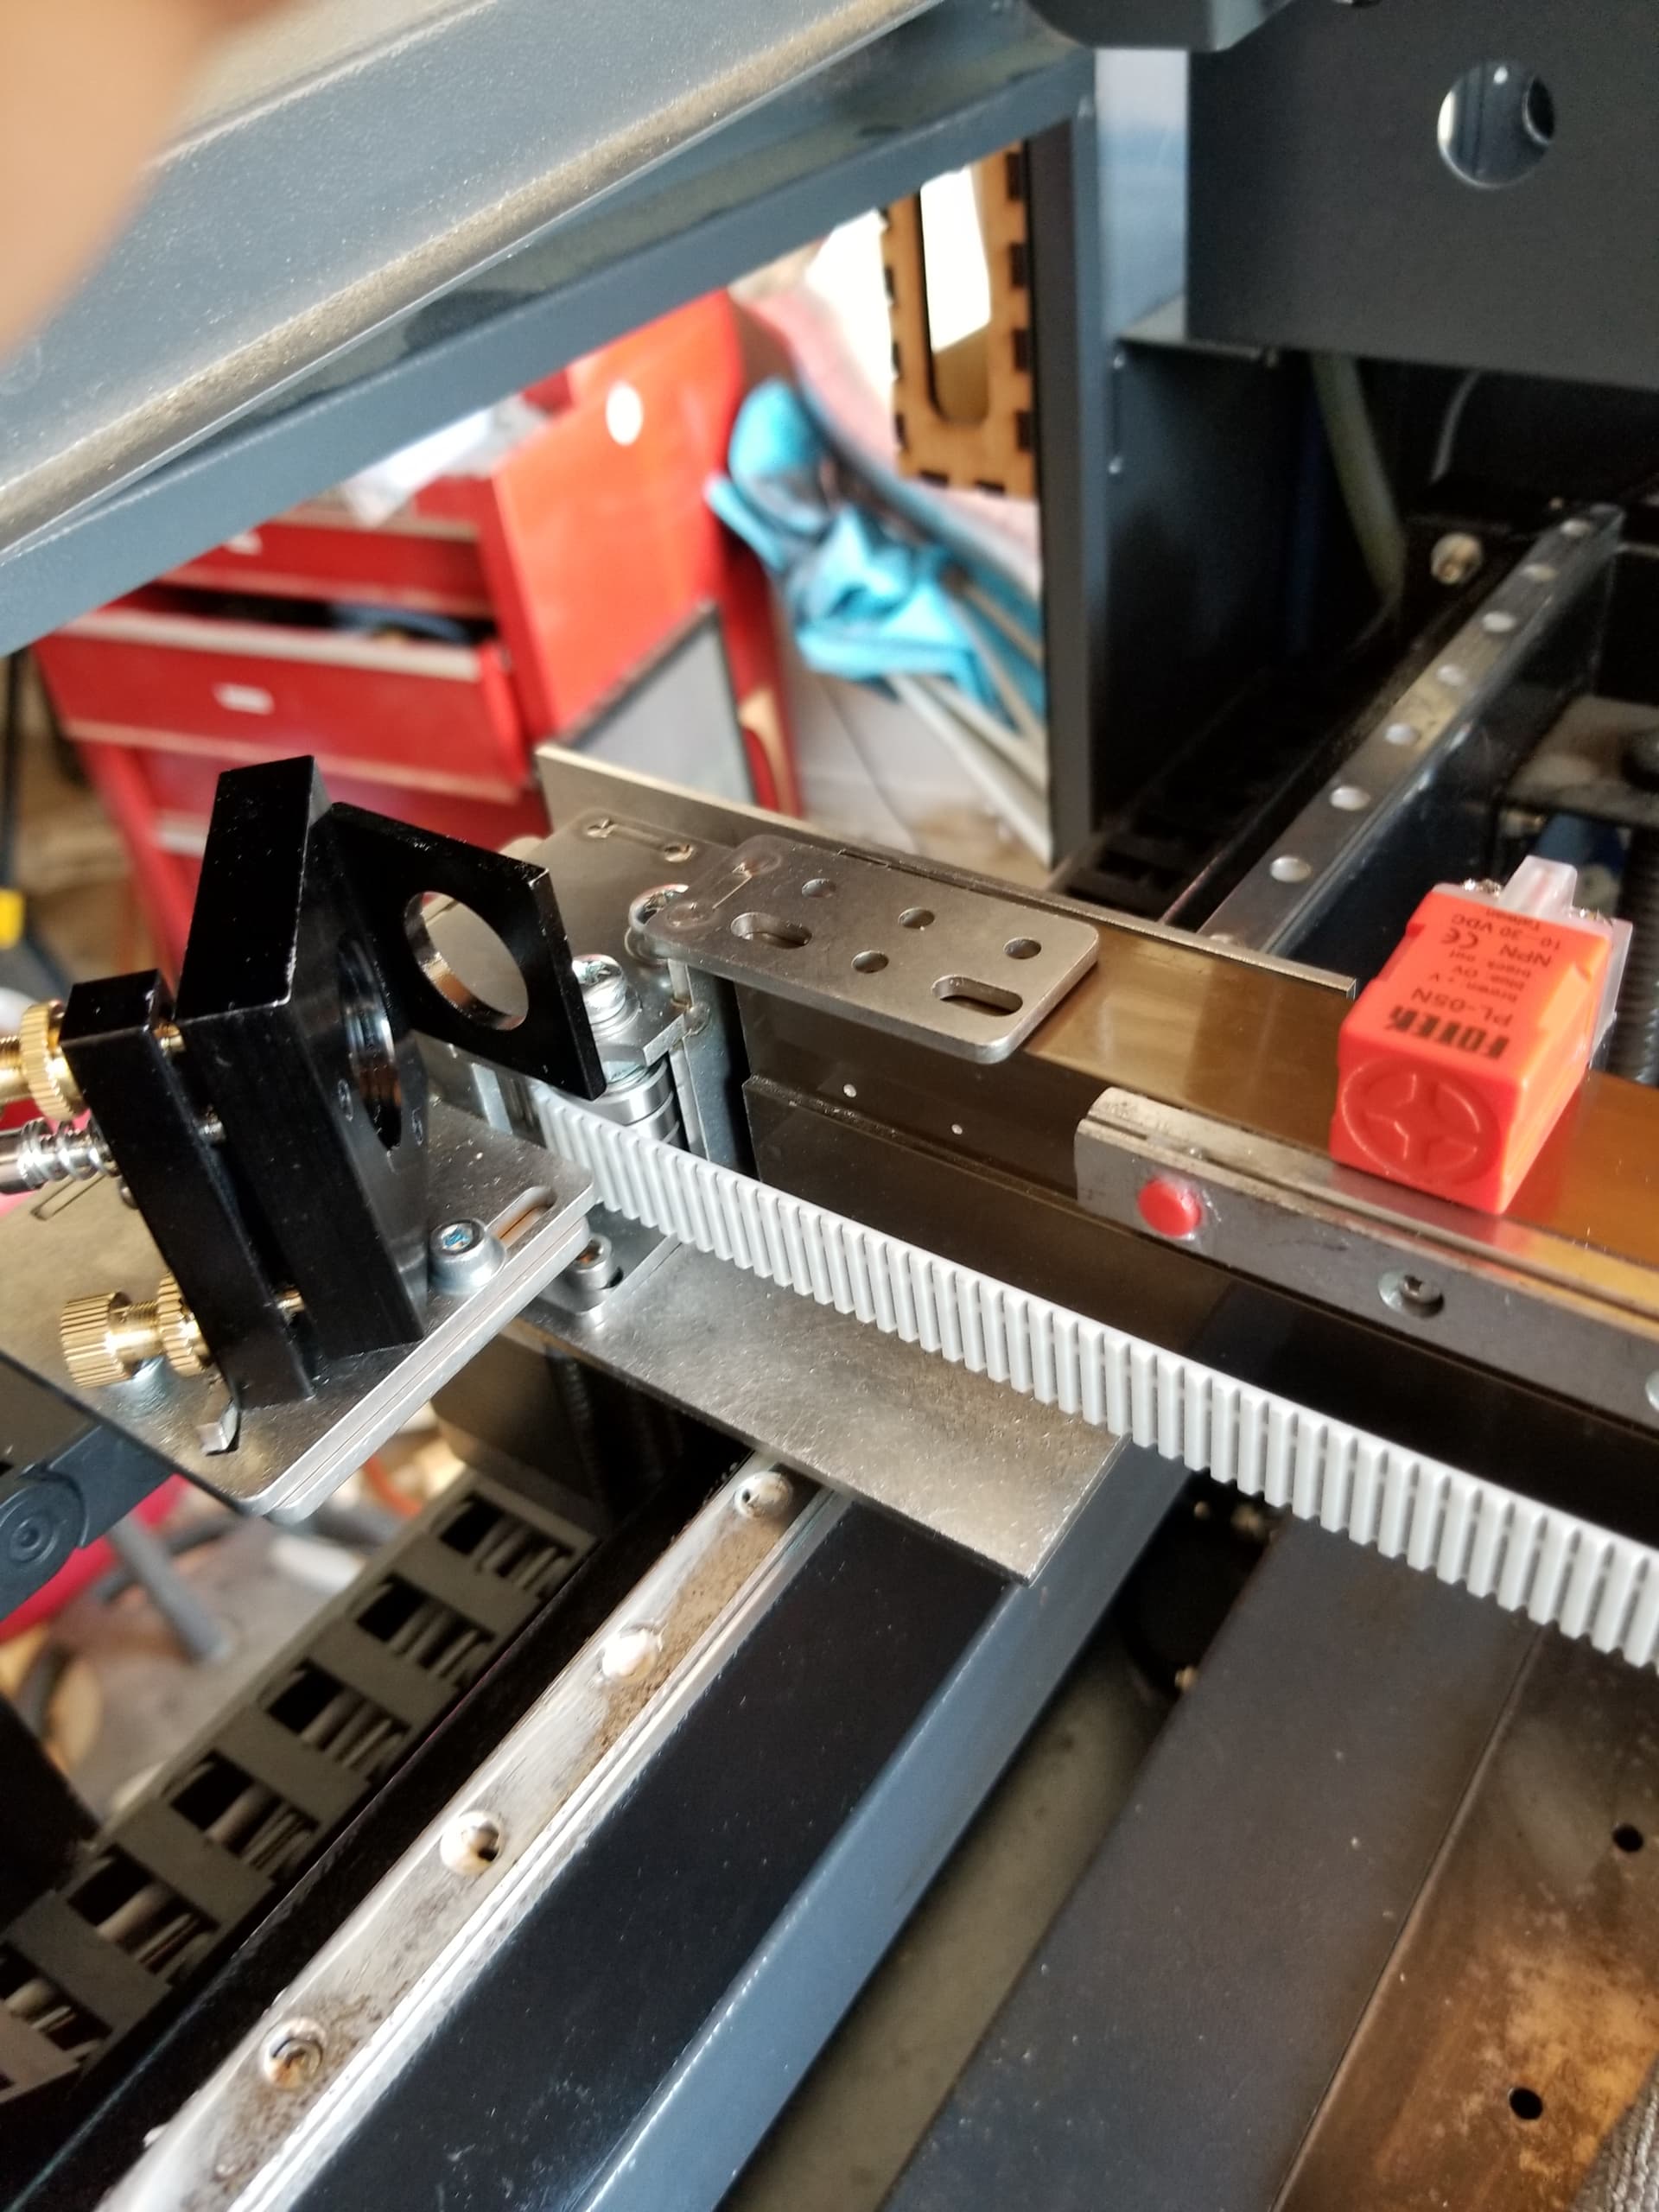
Most of the time the head rail bearing is securely attached to the gantry. The part with the green on it is the head bushing and is tied to the gantry. The bearing is below the red hall switch. It has the red stop button and you can see the mounting screws.
If you can shim the head and it remains perpendicular to the bed/table, then I’d say it will work. If it shifts from perpendicular as it travels, then that would tend to indicate a warped gantry.
If the tube is not square, then the lens is not square. The beam can’t go down the center of the tube and can’t strike the lens in the center. It will come out at an angle and your cuts will not have a 90 deg cut on them…
I think Jack is correct. Even if the mirrors could align the beam perpendicular to the bed, if the tube itself is not, then I’m certain the beam might hit inside of the tube and most likely not come out the center of the orifice (if it’s too bad off).
I want no issues with something I can’t see going on inside of the tube other than how the beam exits.
I’ll continue the shimimg process until the perpendicularity becomes satisfactory. Then
I’ll also check the rail across the length at various places to comfirm there’s no twist.
Thanks for the input!
On several machines I have worked on this was a problem I did not use shims to correct. What I did was bend the bracket to be square ( perpendicular ) to the bed. I used a 12" machinist square set on the bed and slight bent bracket until head is square.
Well, in this case the previous owner had a war between the auto-focus movable bed and the head! Neither of us knew it as it was impossible to see while viewing/looking at the head with the honeycomb bed in the background. (Yeah, they knew there was a crash but simply couldn’t see it).
Once I started the camera alignment step after calibration, of course, I’d put a large white poster board down onto the surface of the bed. Was a fluke that I stepped to the side and looked back into the bed.
Pure happenstance. Anyway, it was out enough to be visible, but again, neither of us saw it.
I used a 1-2-3 block from my milling tools to bring it back into alignment. The process was simply to remove the bracket, put it in a vise and push it back to 90°.
That’s 90° to the bed, not 90° to the surface mount. Was suprised by that tidbit. Had to bend a little past the 90° but by trial and error, check and adjust, etc., it’s all good now.
Bottom line here is if anyone suspects damage from a collision, it should be easy enough to check out.
1-2-3 blocks are relatively inexpensive these days. Worth having around for both wood working tools and general alignment issues.