Is there a way to keep the laser path away from a specific area?
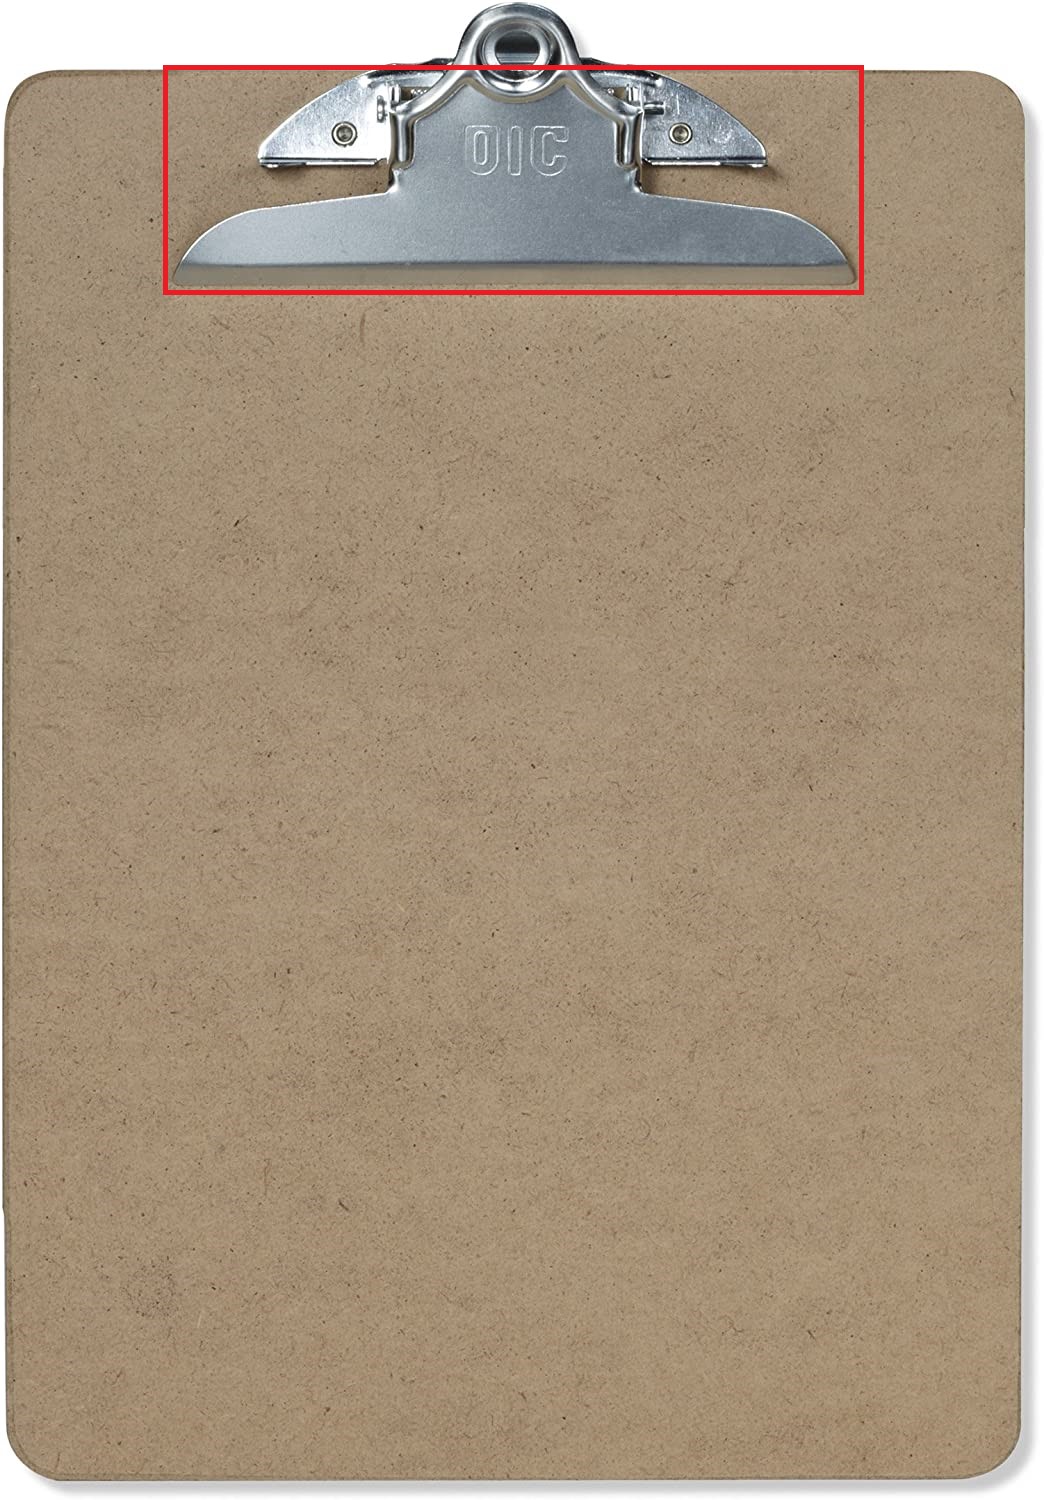
I would like to engrave different areas of a clipboard but when LightBurn preforms the engraving, the laser is hitting the clip on the clipboard, moving it.
This of course ruins the engraving.
The image below should clarify my question.
Any ideas are appreciated.
I would turn the clipboard so the metal part is out of the way (bottom of Y axis closest to door opening) and flip the image accordingly
Thanks for the idea but I don’t think that will help because I want to engrave on either side of the clip so LightBurn wants to move the laser across the clip.
Possible to do it in sections? Maybe use the cut and print alignment some how? That would be a question for Oz. Worst case, drill out the rivets, then rivet it back in place once you are done engraving. I’m doing that for living hinge three ring binders. I get the binders at the dollar store, drill out the rivets, and rivet them into the new living hinge books.
Maybe flipping the clipboard as @Ram48 suggested and then doing the areas on the side of the clip as separate sections where the laser is positioned before engraving will work. I would rather not take it apart but that is an option. Thanks for the ideas!
1 Like
Without knowing what you are engraving, I can’t give any more ideas than breaking it up or removing / replacing the clip. I have had several things to engrave on where a ‘no go’ zone wold have been nice. Just had to work around each one individually.
There is no way at present to specify an area to avoid. Some hardware we support does not allow multiple non-cutting moves in a row, so it might not even be possible depending on the hardware that you have.
I am putting rulers on the sides of the clipboard and then putting text or a small image on either side of the clip.
@LightBurn - Thank you for the clarification. Maybe a future feature? It seems strange to me that some hardware will not support multiple non-cutting moves as is this not the same a manually jogging the laser over the bed?
It is, essentially, but when it is part of a cutting file, DSP controllers are really fussy about the content of the file. They have to be, at least somewhat, to be as fast as they are.
@LightBurn - Thanks again. It must be painful to try to support so many different solutions… I have a Darkly Labs diode laser and forget that there are lots of variations. I appreciate the excellent software sold at a very reasonable price!
Here’s a thought. Set them up as multiple jobs, and flip them as indicated. Set your home / origin in the corner. For your little spots beside the clip, do the job up, but put a single dot in the corner of the clip board as a ‘place holder’. The laser will do that single dot, then go down to do the job on one side of the clip and then return to that home position staying clear of the clip. Do the same for the other side, and then you main page.
It would be a bit of a pain to run multiple jobs in sequence, but it would keep the head clear of the clip.
Another thought. How thick is the clip if you put something in it to make the top piece flat to the work? If you are engraving, you don’t have to have the tip down close to the work like you want for cutting. Put a 2" or a 2.5" lens in your lens tube and leave the nozzle off, just make a temp fastening of your low flow air assist beside the lens tube, and it could pass the clip without hitting it.
You could set 3 distinct parts (or more) and set the order of them explicitly using Cut Priority on the shapes. You could also create shapes that are set to use zero power, and that could work as well.
@Dave01 - I think your ideas to do multiple jobs will be my next attempt. I would rather not mess with the lens but that is a creative solution too.
Let me play with these ideas and see. I appreciate the fast responses.
What about putting the rulers on all of them as a batch, then go back and put the other images on. As long as you have a registration edge you should get pretty good alignment.
For engraving you have a lot more options as long as it’s engraving only. You don’t have the air to worry about. Is your lens in the nozzle or the tube? If it’s in the tube, you might just give it a try without the nozzle and see what happens.
I think if I flip the clipboard and then engrave the rulers will work fine. Then position the laser to the left of the clip and engrave that image and finally position the laser to the right of the clip and engrave that image will work. I’m only making 1 or 2 of these so doing some manual operations is OK.
Yeah, for one or two it’s not worth all that. I’ve got a job coming up to put a small logo on the back of a 2" wooden coin… about 150 of them. Defiantly making a jig for that.
Agreed. Would not want to make 100+ of anything without a jig!
One thing to consider, you might have to rotate 90 and engrave it ‘sideways’. The over scan may hit the clip if you get to close left to right beside it.