I’m extremely new to this and trying to test this machine out. I followed many videos to set up and troubleshoot, updated the software, restarted, tried codes but nothing is working.
The laser WILL frame, fire the test laser etc so I know that it is communicating but when I hit “Start” NOTHING happens.
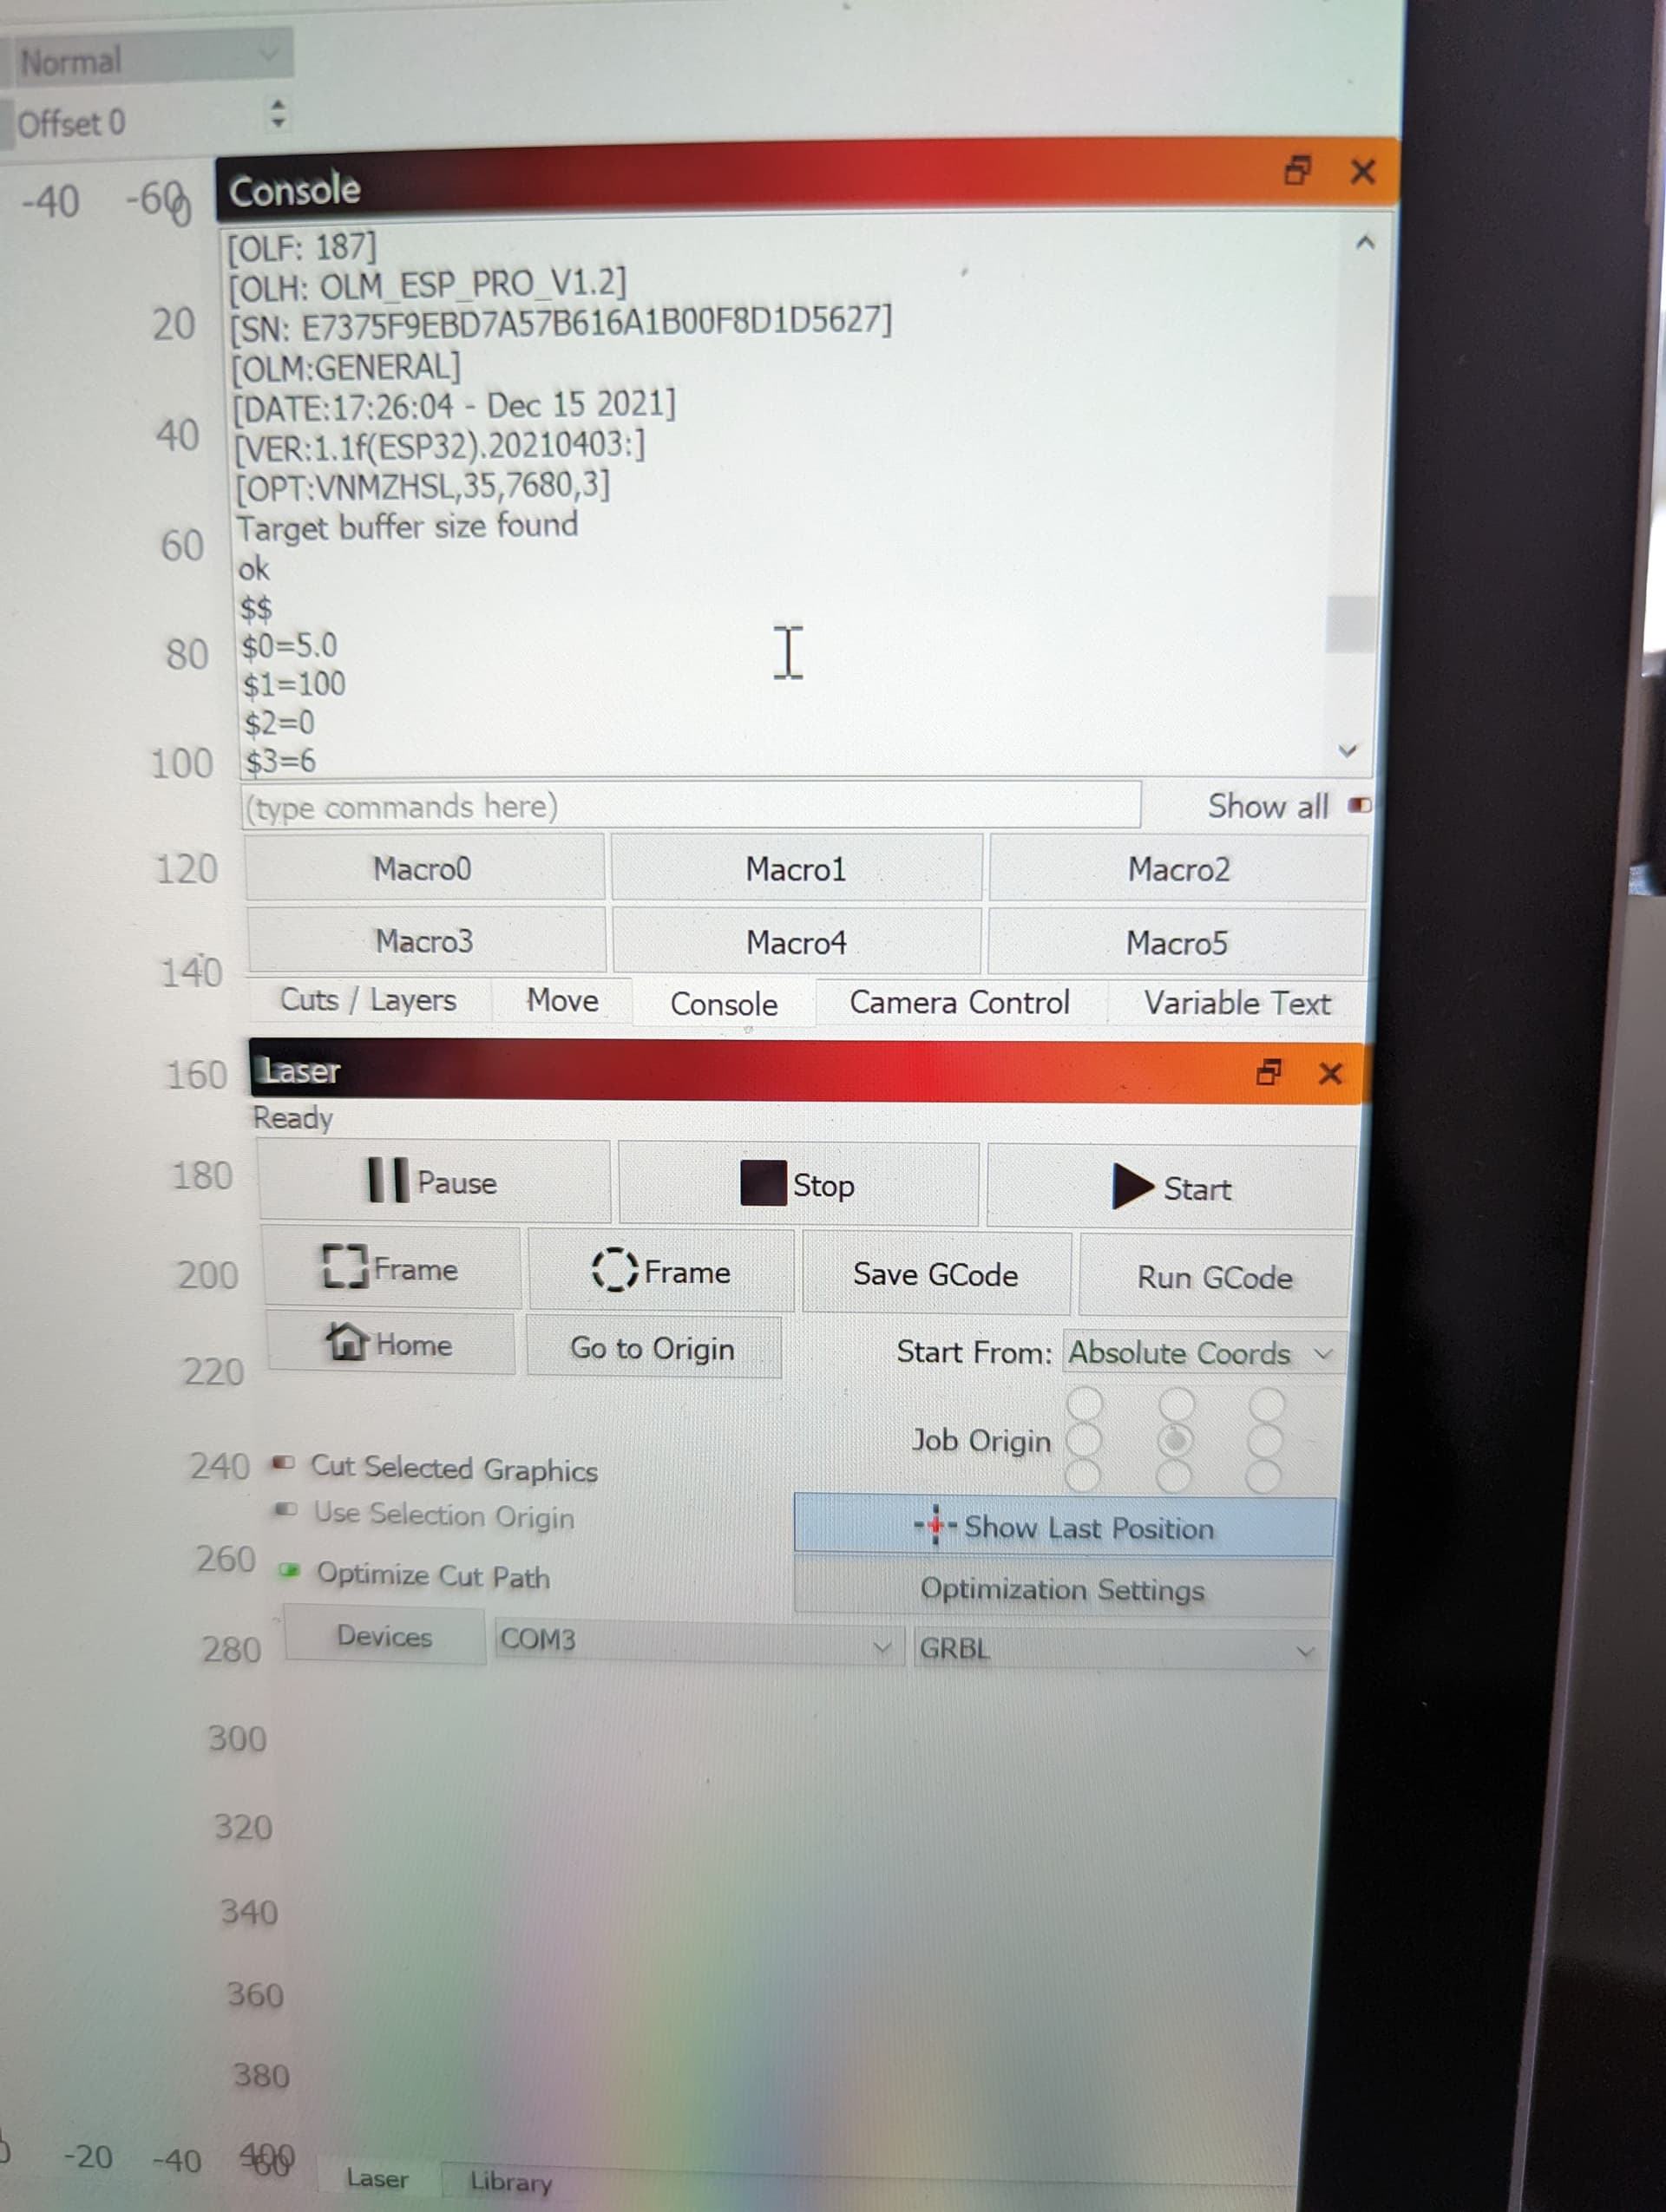
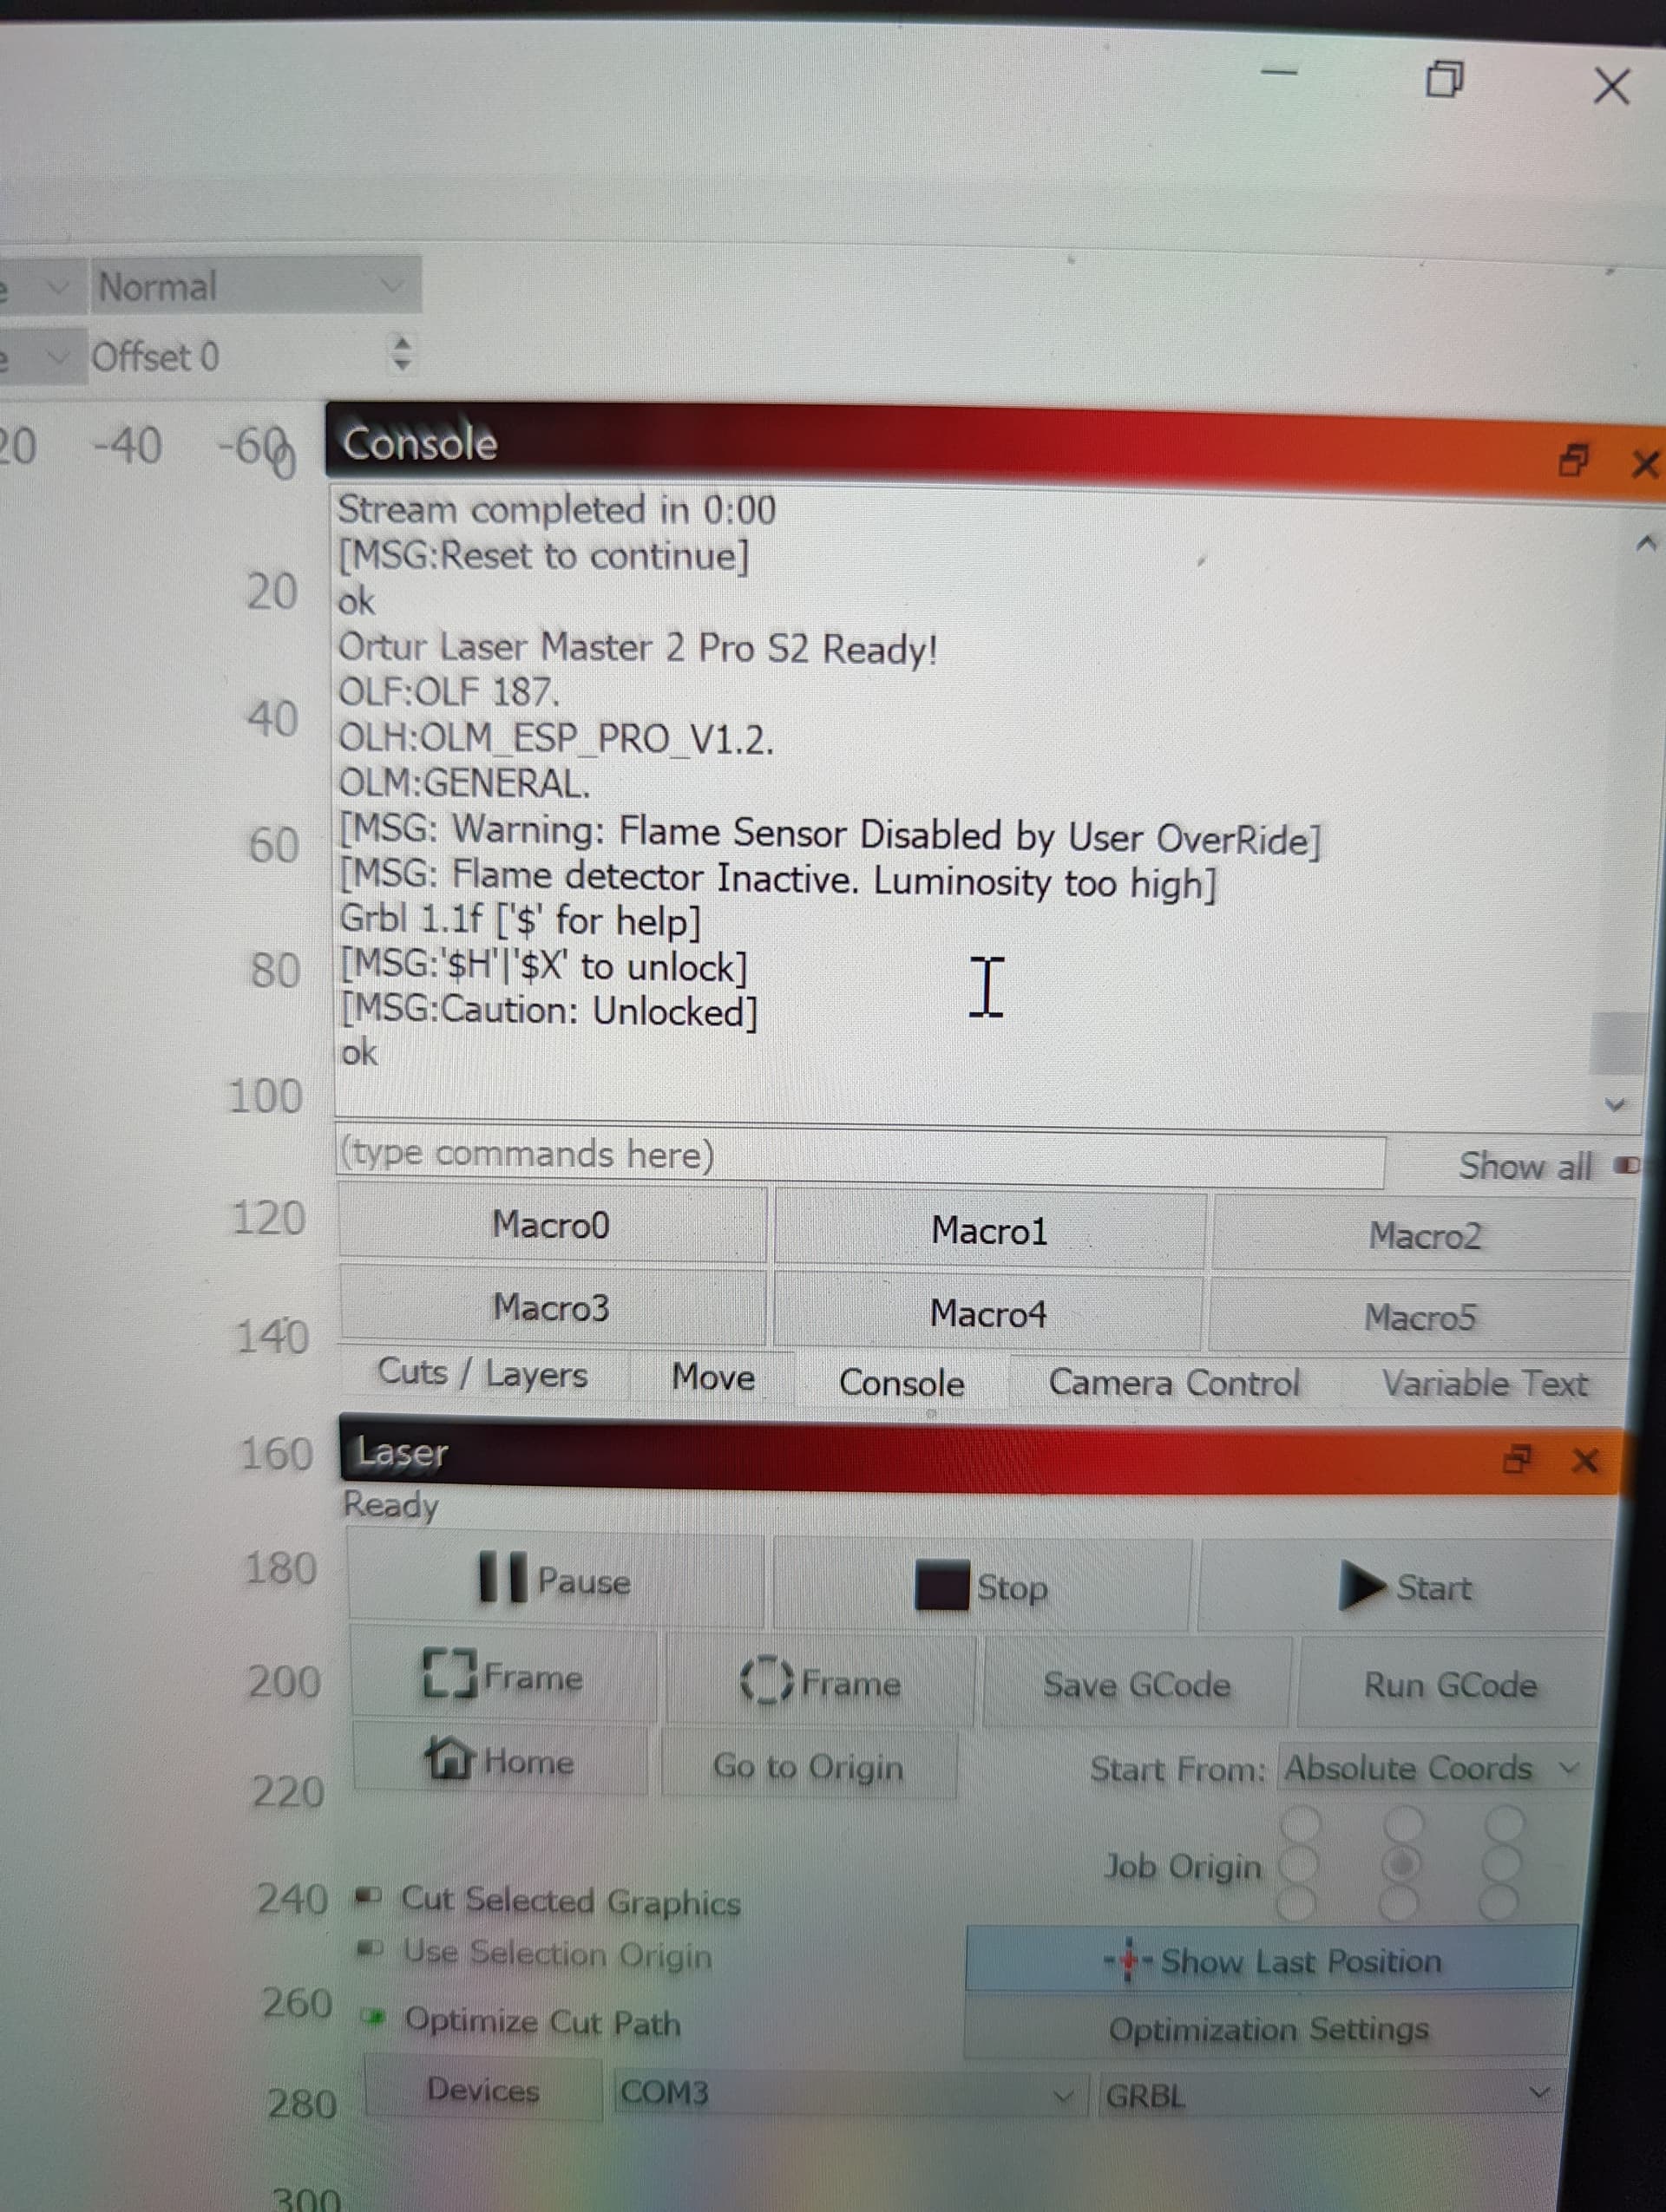
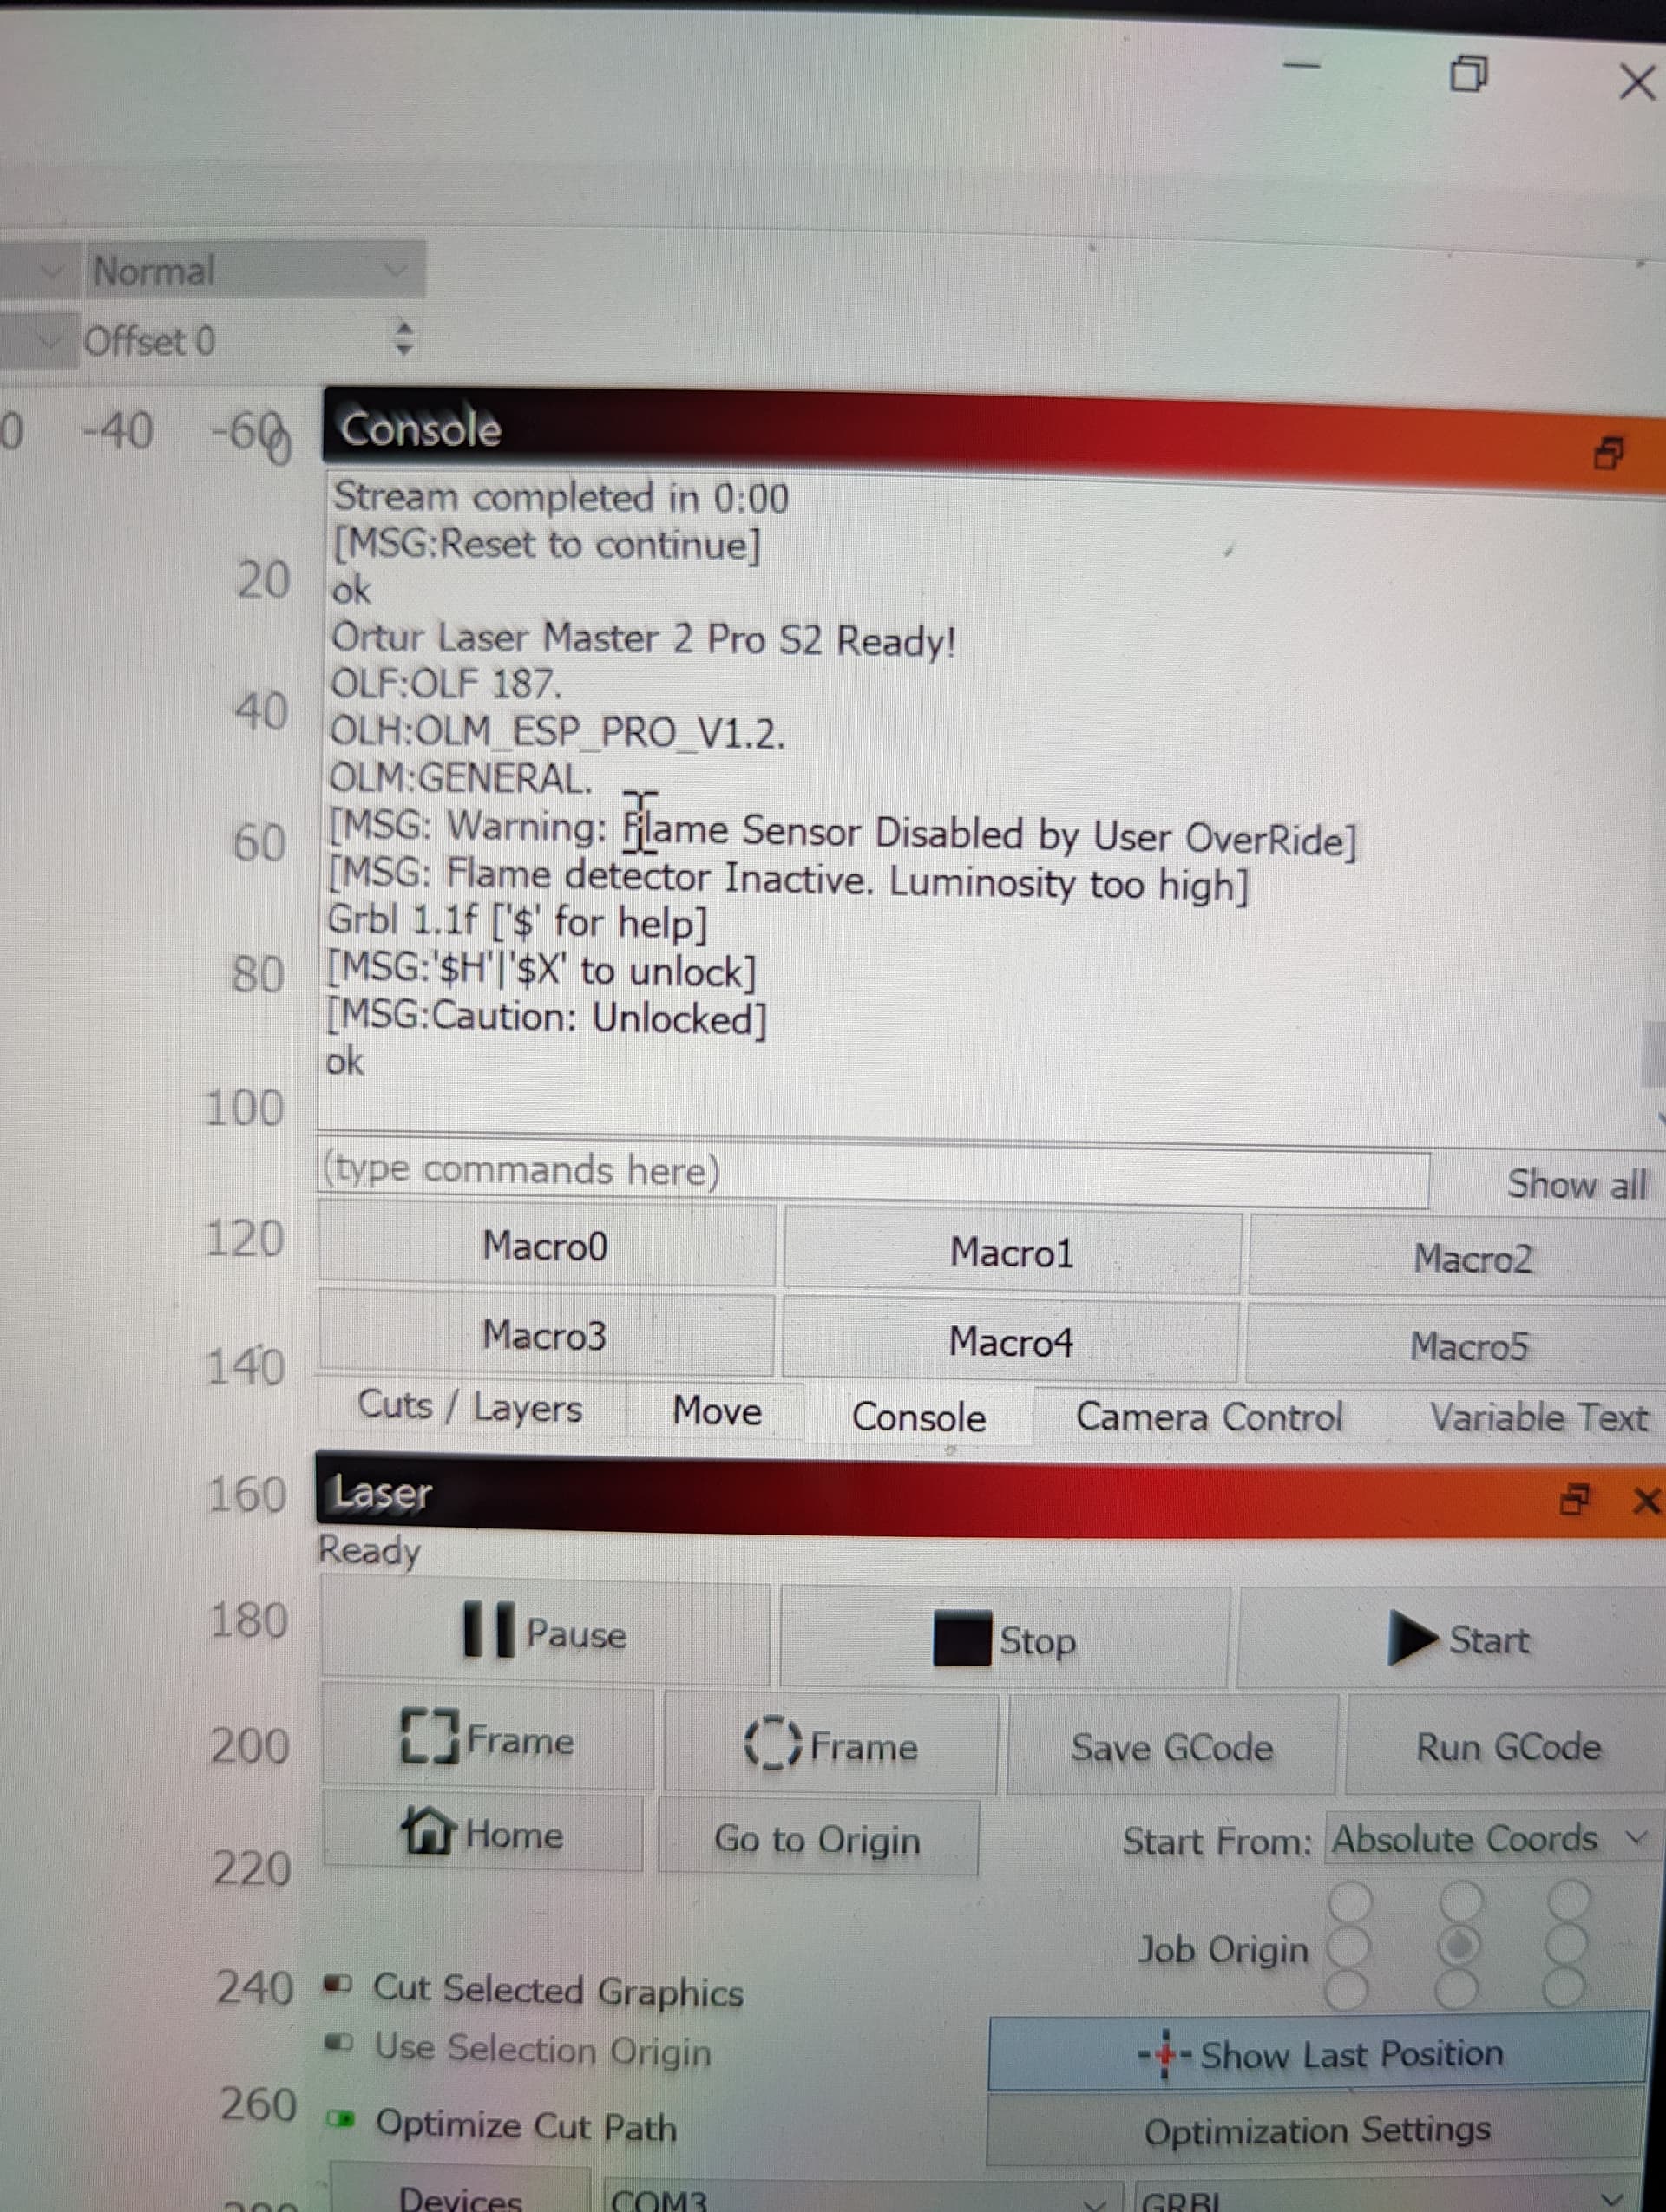
Message in console says:
“Warning: flame sensor disabled by user override”
“Flame detector inactive. Luminosity too high”
So I cover the sensor.
“Luminosity too low”.
I’ve been googling for 3 days now and I’m ready to throw this thing out the window.
Additionally, can you take a full screenshot of LightBurn as you’re about to start a job? Make sure that you have the Cut/Layer window visible when you do this. Please take a screenshot instead of a photo. Much easier to make sense of. You can do this with Snipping Tool or by pressing the “PrtSc” key on your keyboard.
So to make sure I understand what exactly the problem is… When you “NOTHING happens” when you push “Start” are you saying that there’s no movement at all? Or that you’re not getting the engraving to happen?
If nothing at all, is there a message on the Console output?
Absolutely nothing happens. It moves when I hit “frame”. There is a light when I do a “test fire” but when I press “start” it just stops. Here is the console message:
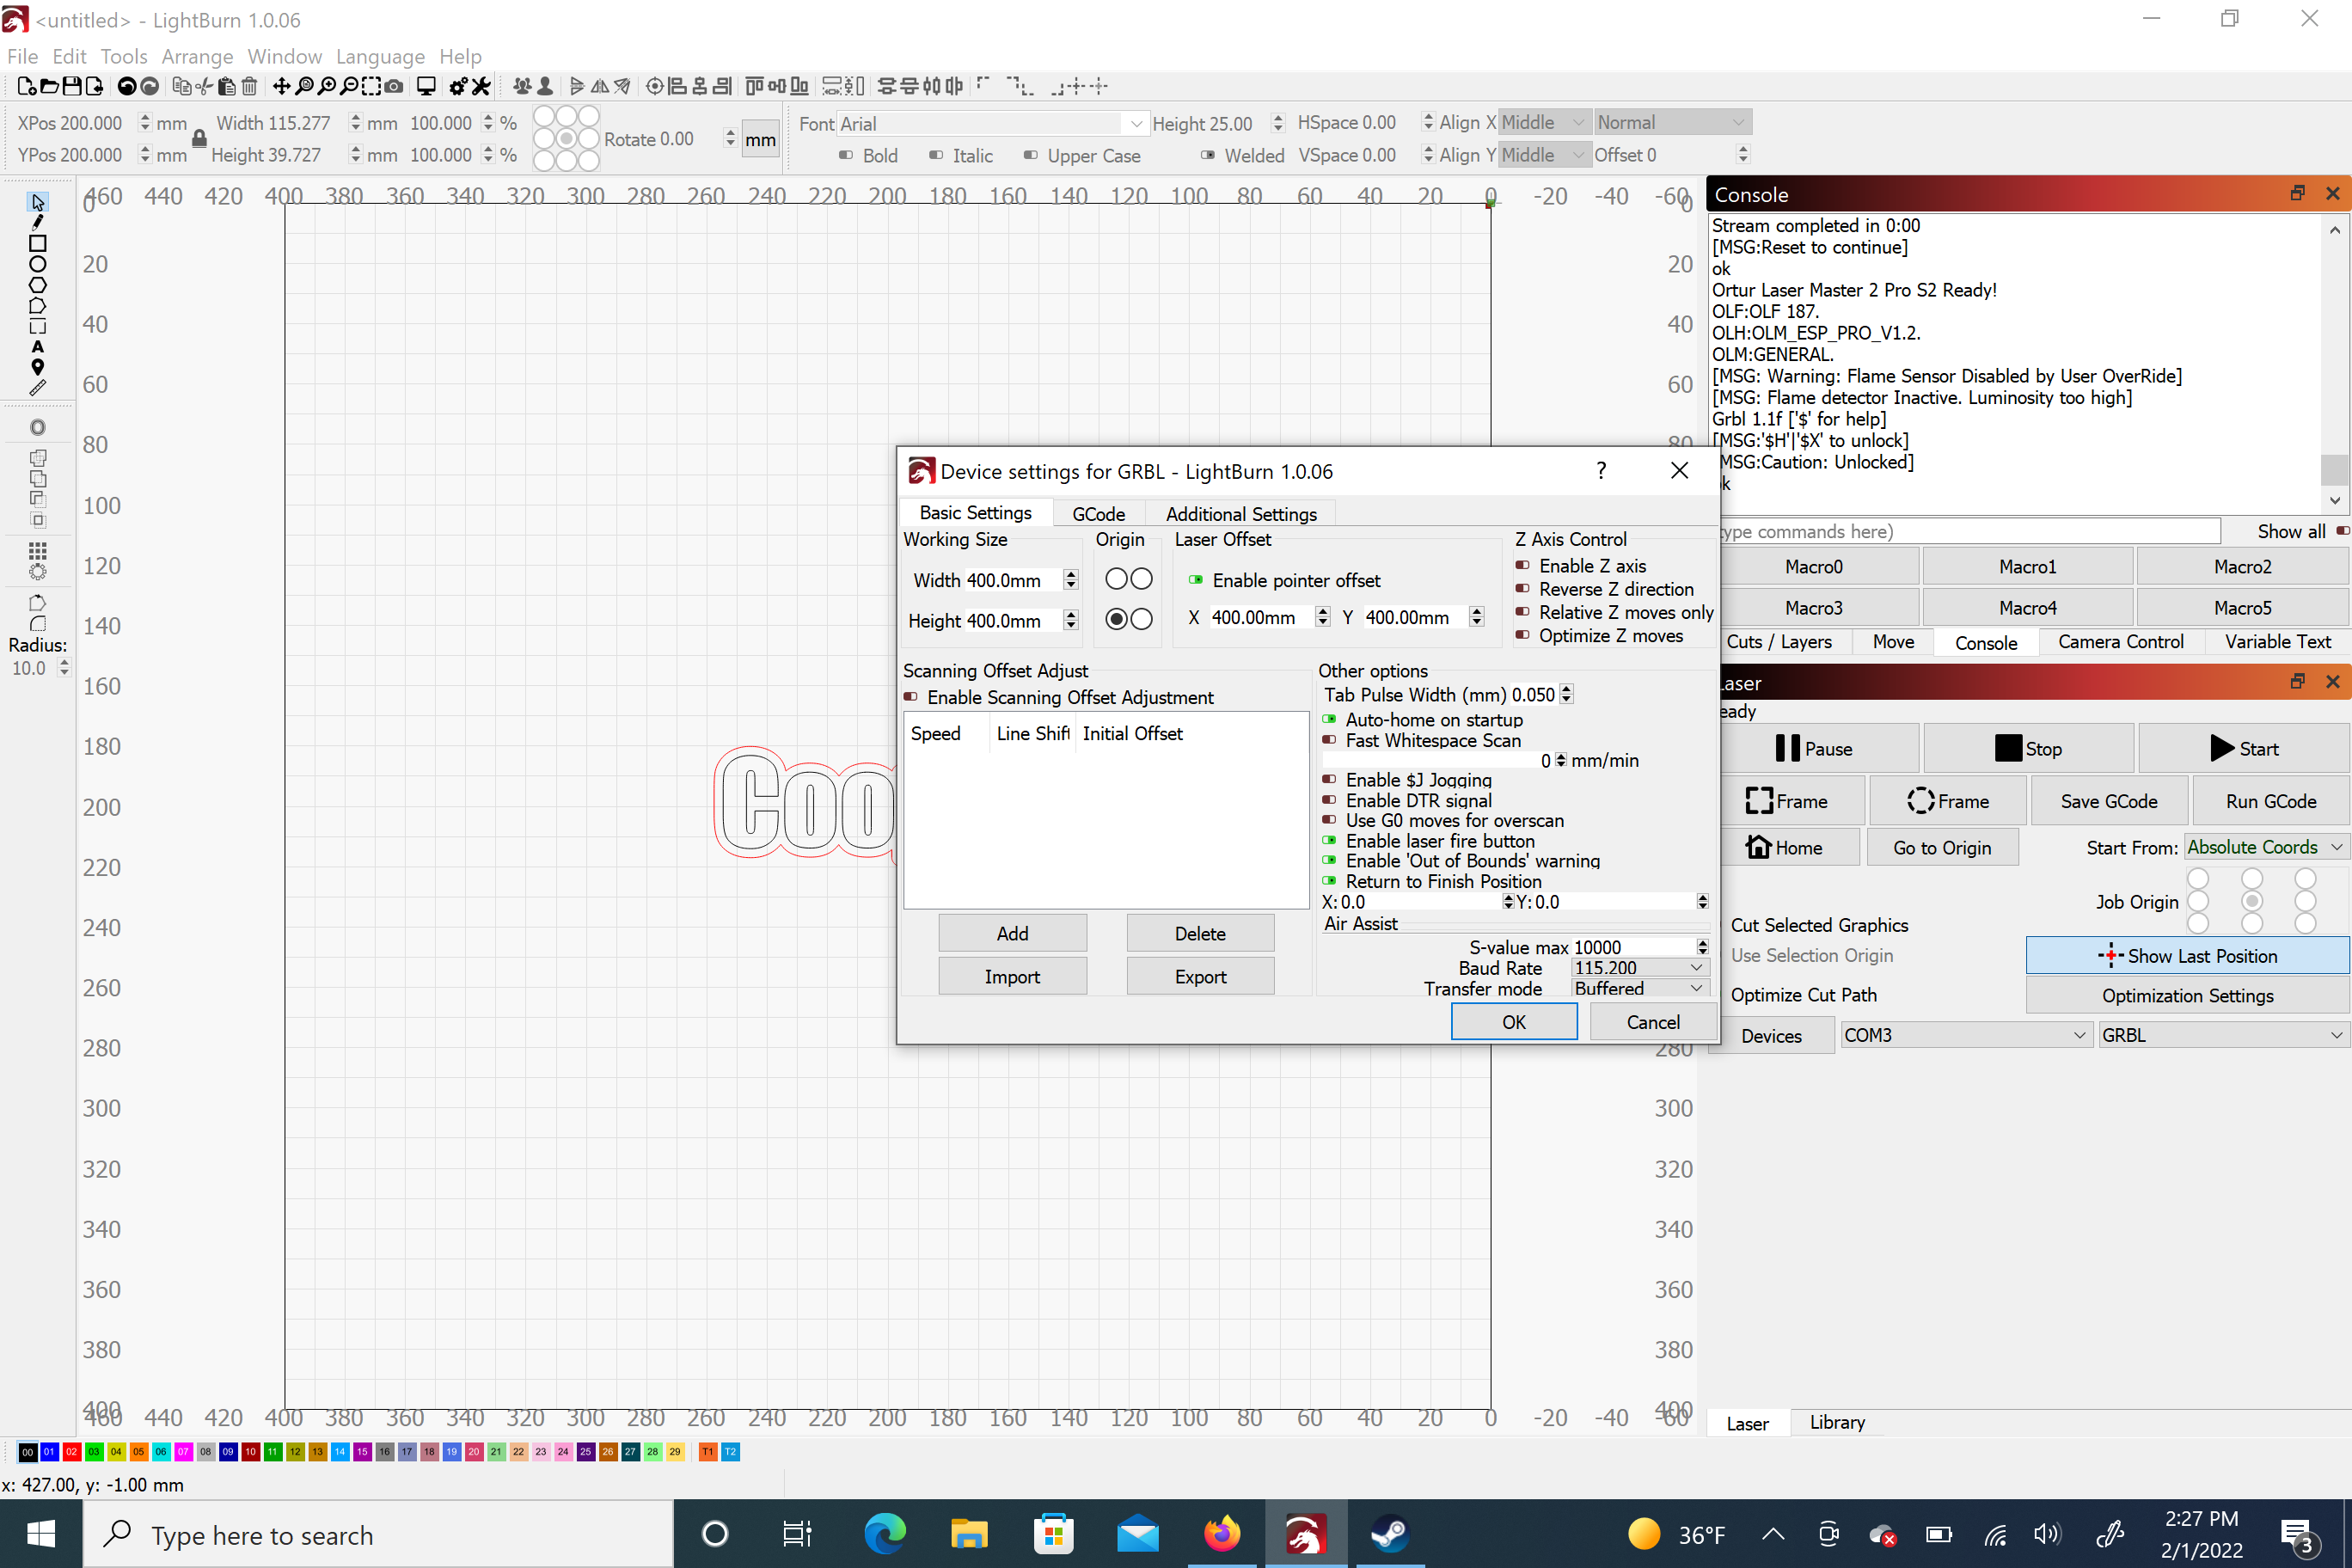
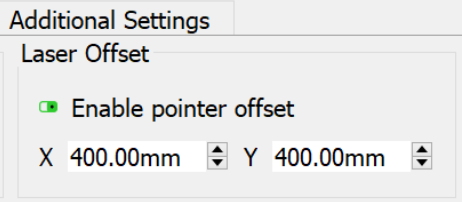
First thing, I’m noticing that your machine origin looks like it’s set to front-right when your machine should be set to front-left. Go to Edit->Device Settings and change the origin there to the lower-left circle. This won’t change whether or not a burn occurs but will cause other side effects like jogging not working in the right direction and images burning mirrored. You’ll need to flip your design afterward since it will get reversed from this change.
While there, please take a screenshot of Device Settings.
From the main screen, push the “Preview” icon on the top toolbar. It looks like a computer monitor. Take a screenshot of that Preview.
From main screen, press Start button. Select all the text in the Console output window and then copy-paste here.
Press “Save GCode” button in Laser window. Save the file as a .txt file. Upload that file here.