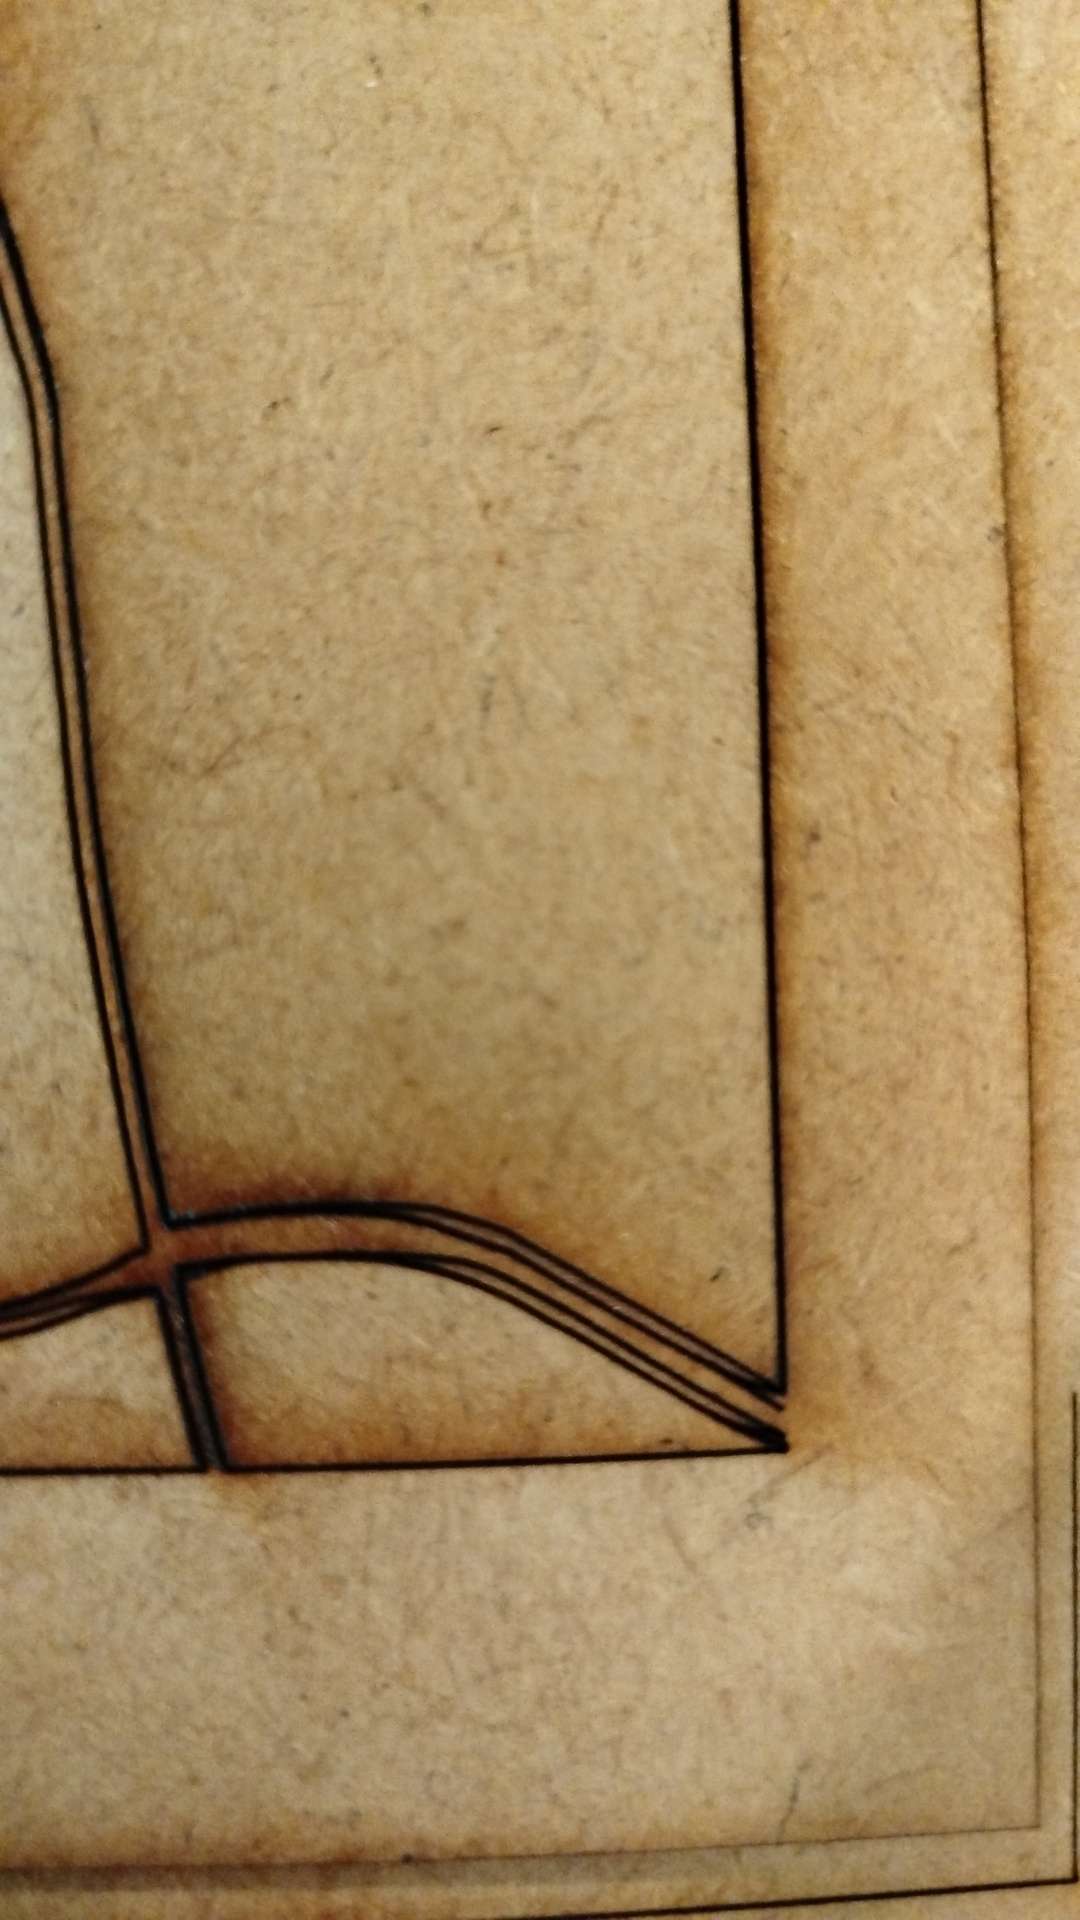
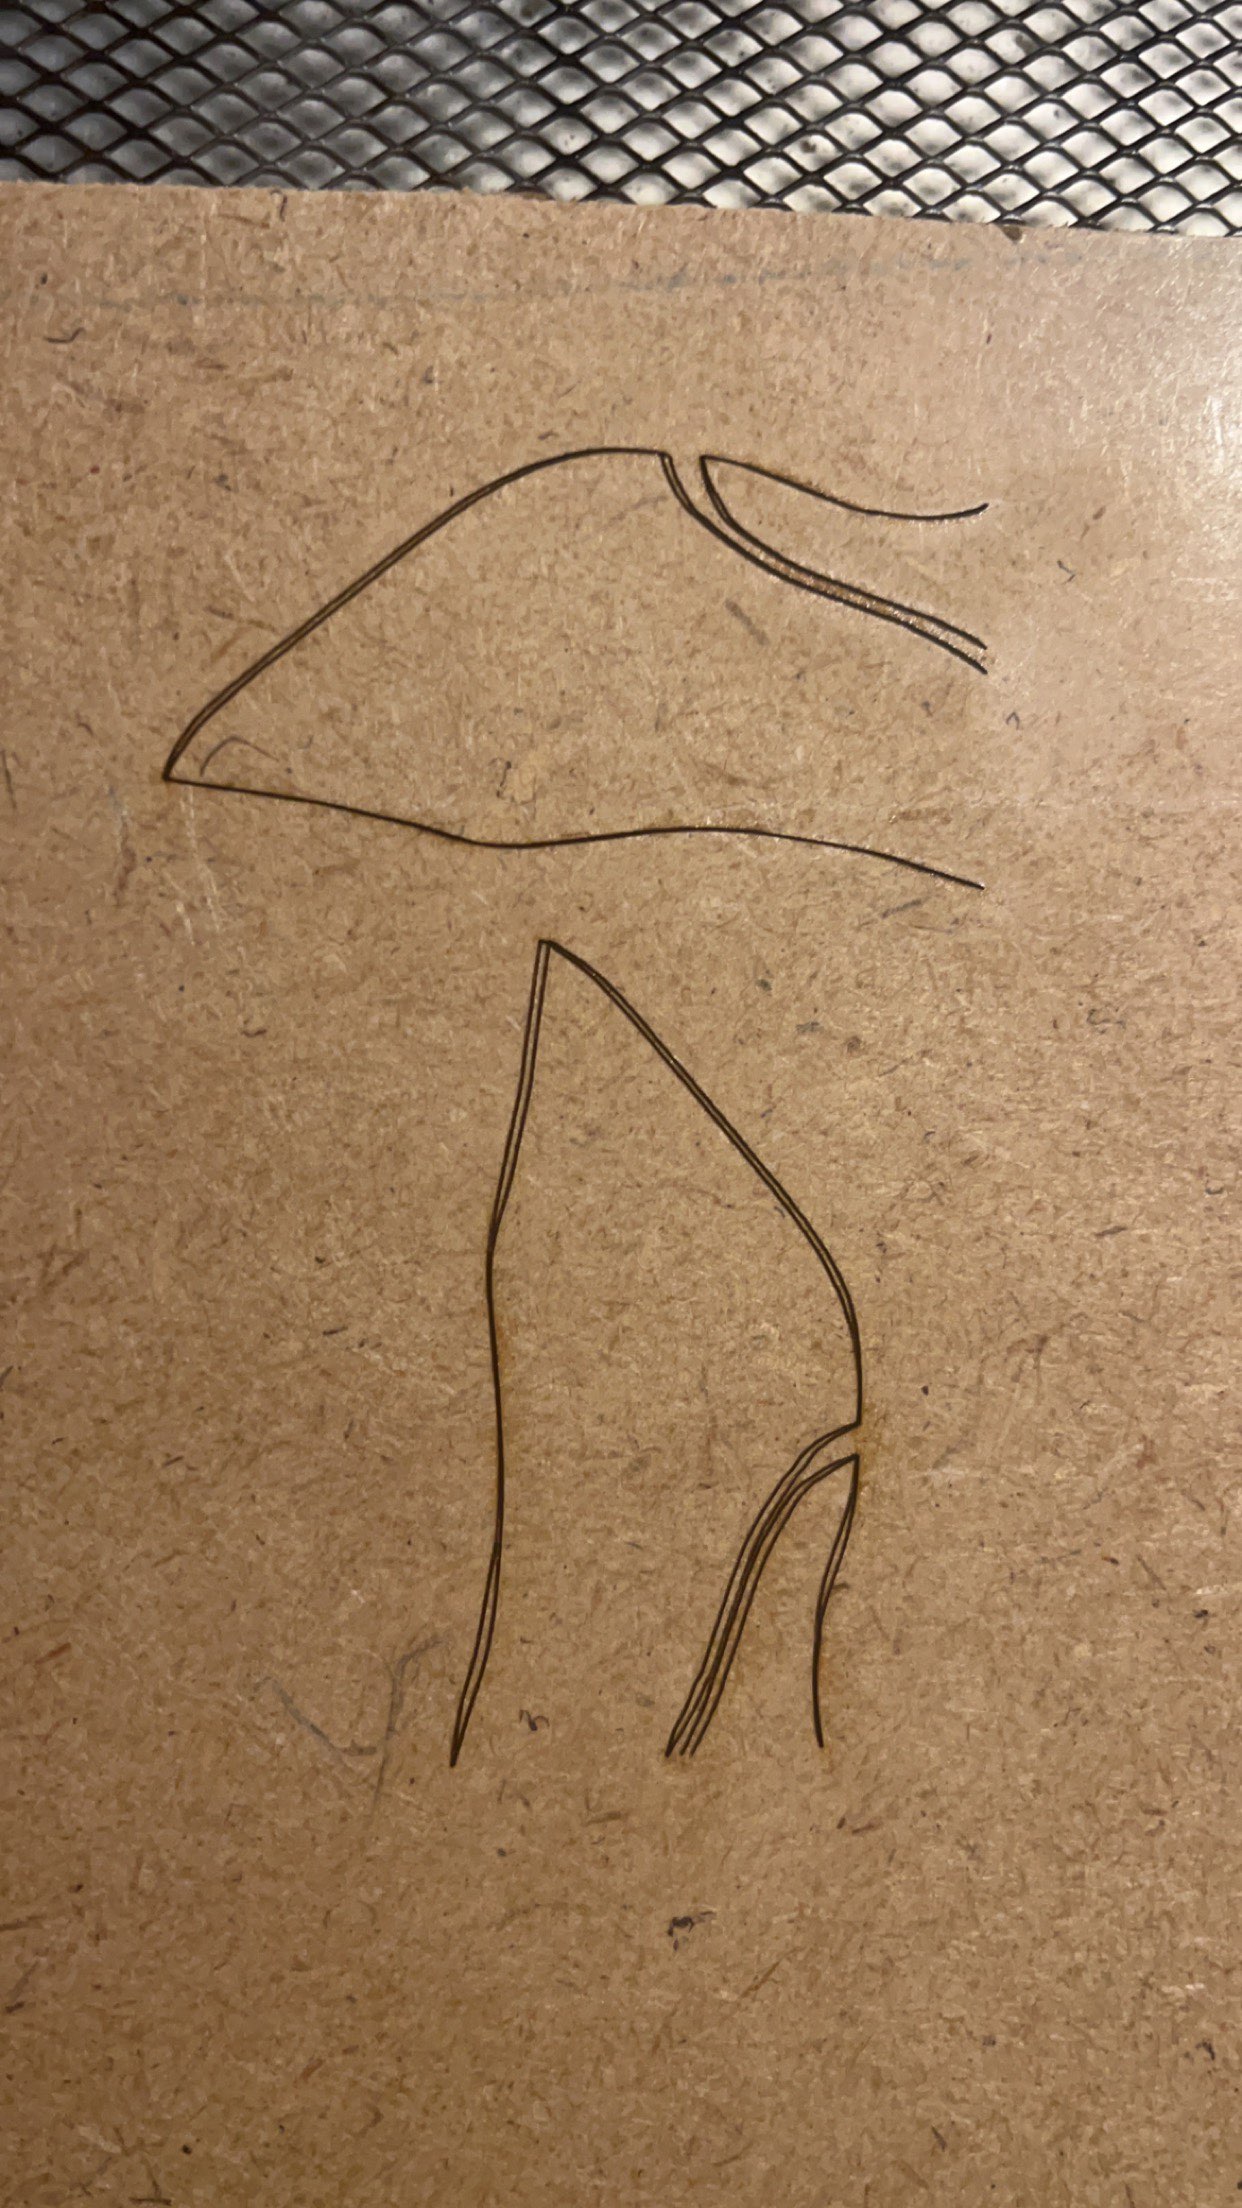
I have an issue where the burn lines don’t match up or rather are completely wrong, it should originally stop burning and move down to an adjacent line and begin there but instead, it tries to go diagonally to the next line, creating an unnecessary line. See the photos for a better understanding. The first picture is how it should be whereas the second is the problem.
I think this is software-related since, the test is repeatable, where moving the piece around doesn’t affect it. I use the creality falcon 10w laser, and use vectors as input in Lightburn.
It looks like the pattern has two not-quite-overlapping curves in that region, so the laser head traverses the “same line” twice.
Take a close look (using a high Zoom level) at that part of the pattern to make sure there’s only a single curve, not a pair.
Combine that with a little backlash in the Y axis and it will produce two distinct lines where there should be just one. Nobody wants to think there’s a mechanical problem, but going through this checklist will probably reveal a loose setscrew or other tiny glitch:
It’s written for Sculpfun lasers, but you’ll recognize most of the parts. Don’t assume a new-from-the-box laser will be correctly adjusted and, if you’ve had this one for a while, it’s safe to assume it has a couple of loose screws.
Upload the *lbrn2 file so other folks can take a close look at it, which may reveal other problems.
I have updated the post with the lightburn file as suggested. I am fairly new in the laser industry so trial and error is part of the process! I did make sure that there were no extra lines in the vectors, which was also my first intuition.
I just thought it was a little weird that the problem did not occur on the first pass and only the second, so there is no problem if I just run it with 1 pass. Could it be acceleration?
Like I said, nobody wants to think there’s a mechanical problem.
Go through that list of all (uh, many) of the possible problems you can find in a desktop laser and you’ll find where those doubled lines come from.
The key is suspecting everything and assuming nothing, which is surprisingly difficult to do. You’re looking for less than a millimeter of motion hidden in gadgets that move half a meter, so it is never a grossly obvious fault.
Setscrews, for example, can be “not tight” while seemingly snug in their holes. The best way to find out is to loosen the setscrew, then retighten it while wiggling the pulley / coupler / bracket back and forth, which will seat the screw in the middle of where it’s supposed to be.
Because there’s nothing to compare the pattern with, your eye will be entirely forgiving of whatever small errors may occur. Line it up against a second pass and the errors pop right out.
Yeah, i think i will try your solution, might also be a good idea suspect everything and tighten, adjust etc(even if it isn’t the problem. Guess sometimes the factory doesn’t tighten that well).
I guess it might also be the reason why It only does when the image is on X-axis and not the Y-axis
Tightening did seem to do the job! I was just baffled since I’ve only had it for 4 days and it ran fine the other days! Regardless thanks for the answers!