if you check the passthrough option to enable it does that mean any Line Interval and or DPI is ignored when the Gcode is generated for the burn? Or does it actaully use what ever it was set for before the passthrough was clicked?
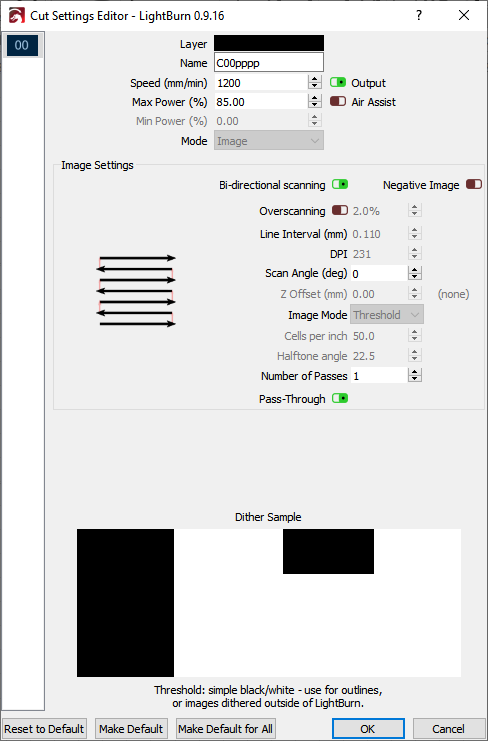
For example in the image below is the 0.110 ignored in the Line interval setting?
It means, quite literally, do not touch anything about this image - Each pixel in the image is sent directly to the laser (thresholded) with no other processing. If you make the image larger, it effectively lowers the DPI, making it smaller increases the DPI, because it’s sending the exact same dots in either more or less space.
The settings are grayed out because they are ignored and have no effect.
The amount of complete horsesh!t I see in some of the groups is just insane. Ask a question and get 30 instant answers, most of them wrong, but it’s up to you to figure out which.
It’s one of the reasons we moved to a forum - we have better tools here to keep on top of things, and can manage the content easier.
The group “LightBurn Software Community” in particular was started by someone out of spite when we took support off Facebook. He doesn’t monitor or correct anything, and there are a select few users in that group who know what they’re doing and respond well, but most are very “shoot from the hip”, answering quickly instead of answering correctly. Almost no one even bothers to ask what machine you have before suggesting all the stuff you “need to do”.
Lol, see what I mean, social media will be the death of us all.
So let me ask you this, can you recommend what settings to use for an image to get decent results pertaining to white tile method. At least what would be equivalant to using Imag-R or Big Gimpin plugin?
Not sure why you’d want to hurt your images like that. I find Imag-R looks really heavy handed and cartoonish. Gimpin plugin is basically Newsprint dither with about 2x your usual DPI setting (because of how the shading works), with a 5% contrast boost and about 2.5 brightness increase. I usually also drop the gamma a little, down to between 0.9 and as low as 0.5 if I really want to lighten the mid tones.
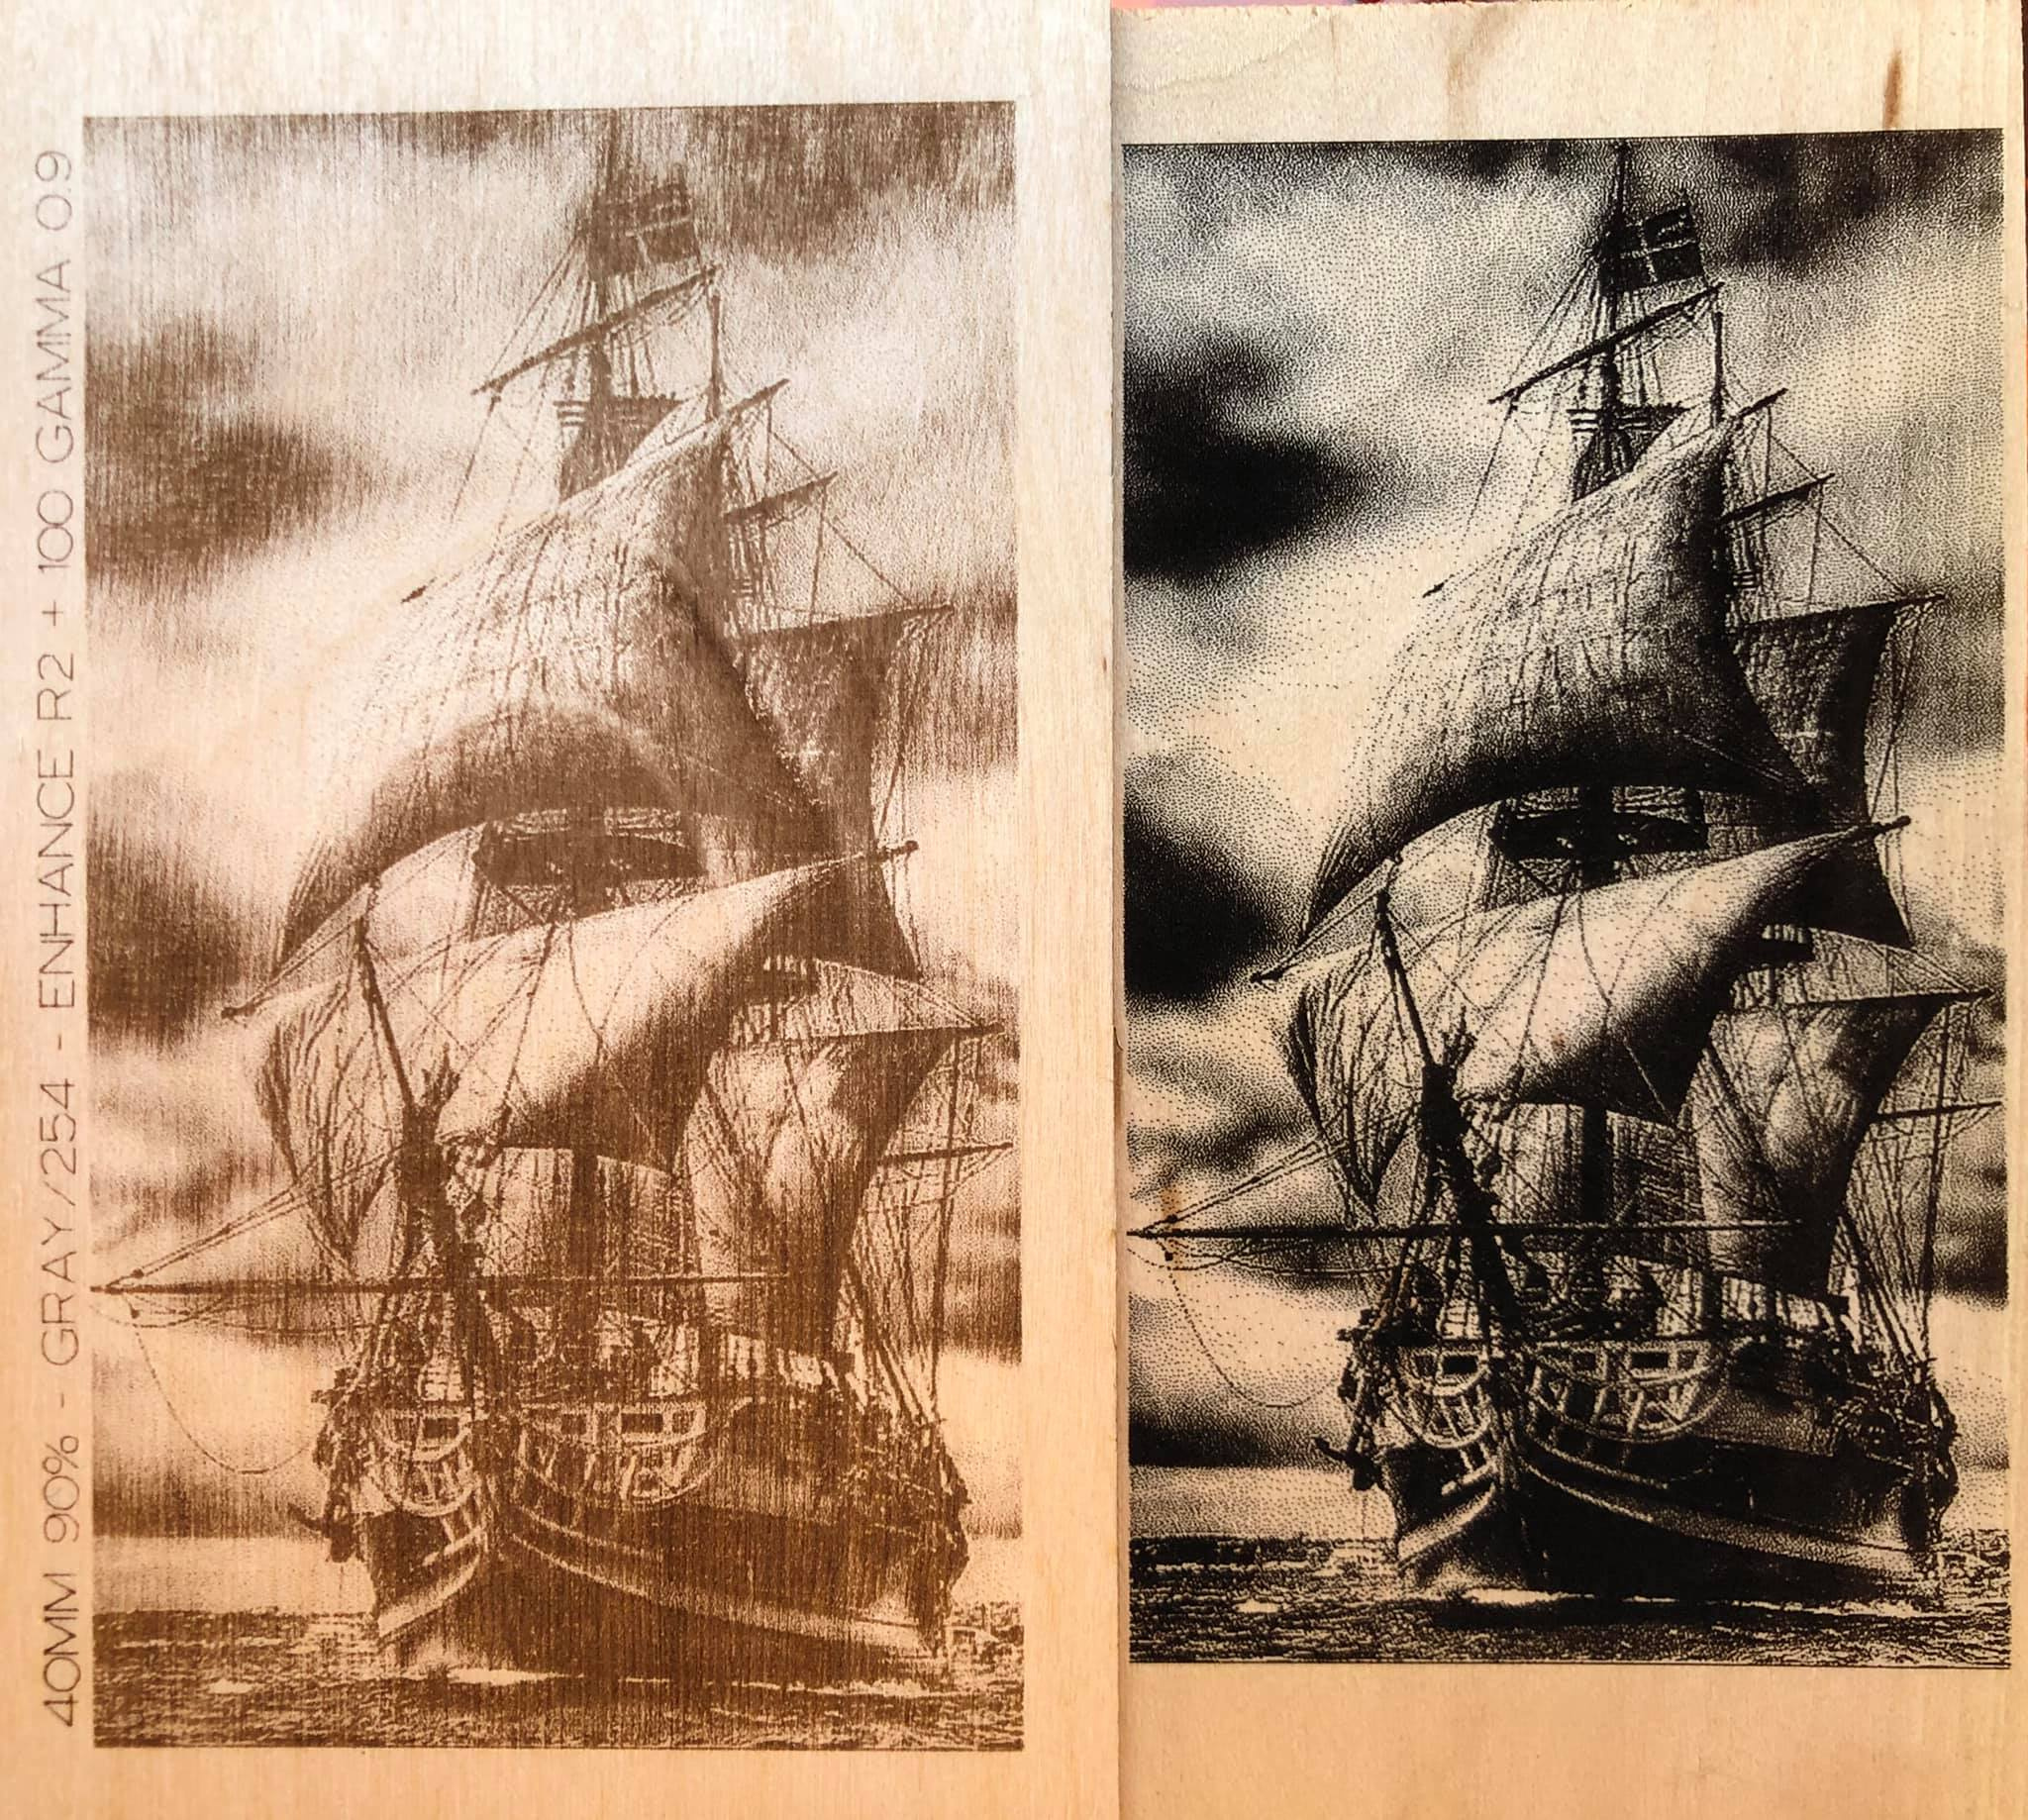
The one on the left was grayscale, on birch ply, the one on the right is Stucki dither on basswood. The gamma setting for the one on the right was 0.5. Both images used ‘Enhance’ of 100, with the radius set properly for the picture.
Almost all the modes in LightBurn are 1 bit. ‘Threshold’ is a simple black & white cutoff, and ‘Grayscale’ is actually varying power levels. Every other image mode is a form of either dithering or halftoning (Newsprint is technically a halftone variation).
Ok, thanks for all the info, I am going to do some experimenting and see what I can achieve. I am trying to laser some white ceramic tiles using some of these methods people are posting and showing videos of results no one else is really getting. So there is that.
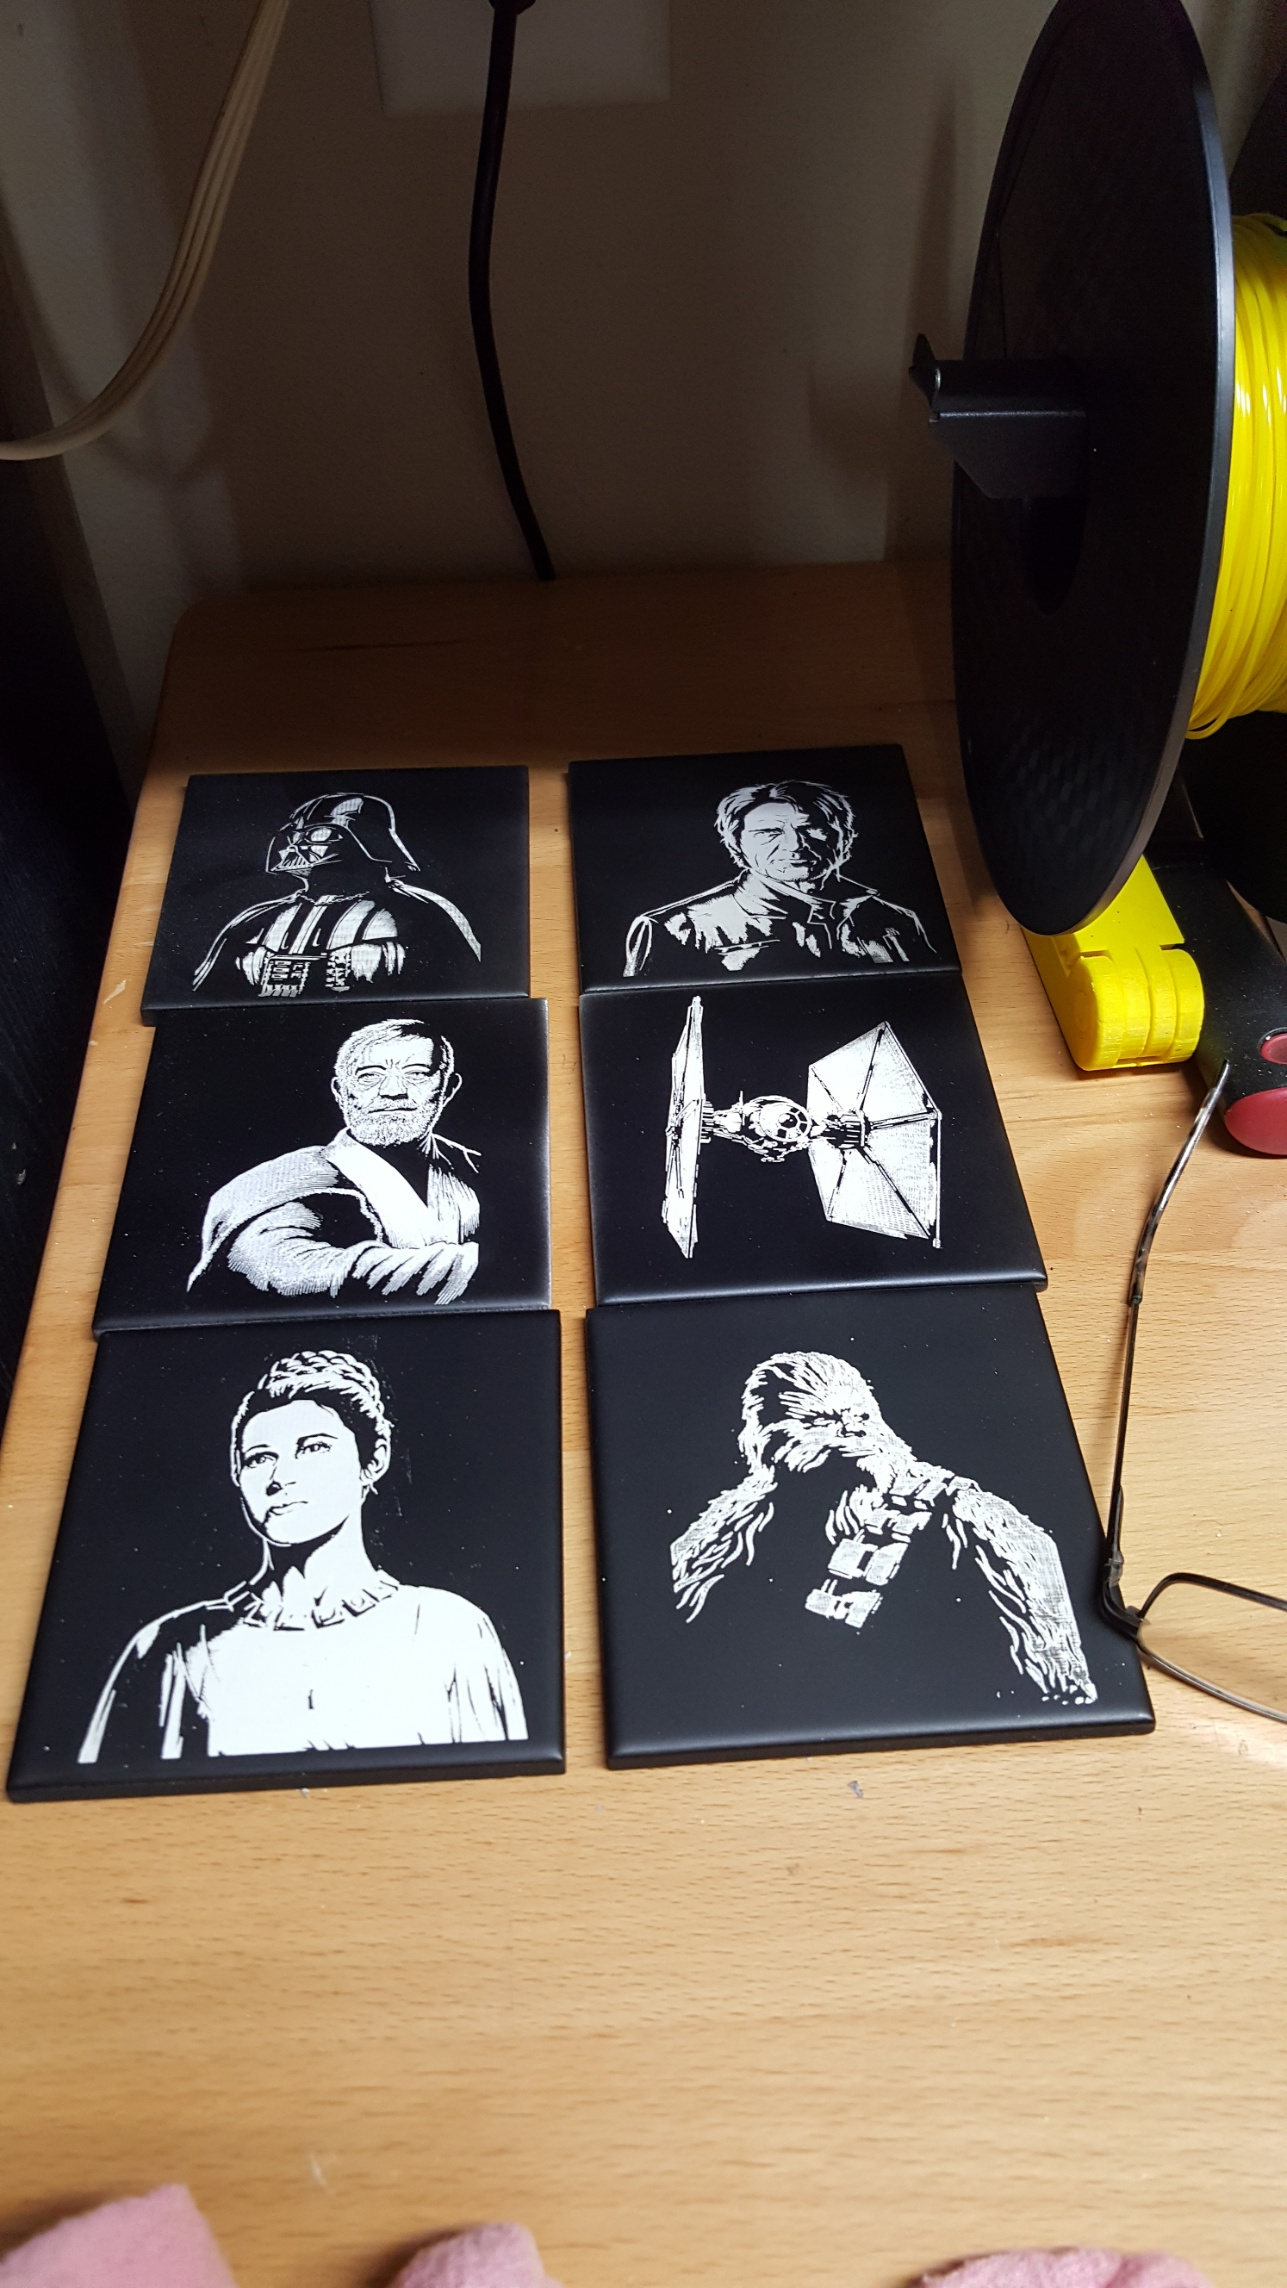
The Norton tile method works, but it’s very specific paints that do it (I don’t recall which). A simpler version is painting the tile black and just lasering that off, with the ‘Negative image’ toggle enabled so it burns white instead of black. Those are easy, but don’t hold up as well as the chemical etch resulting from the Norton method.
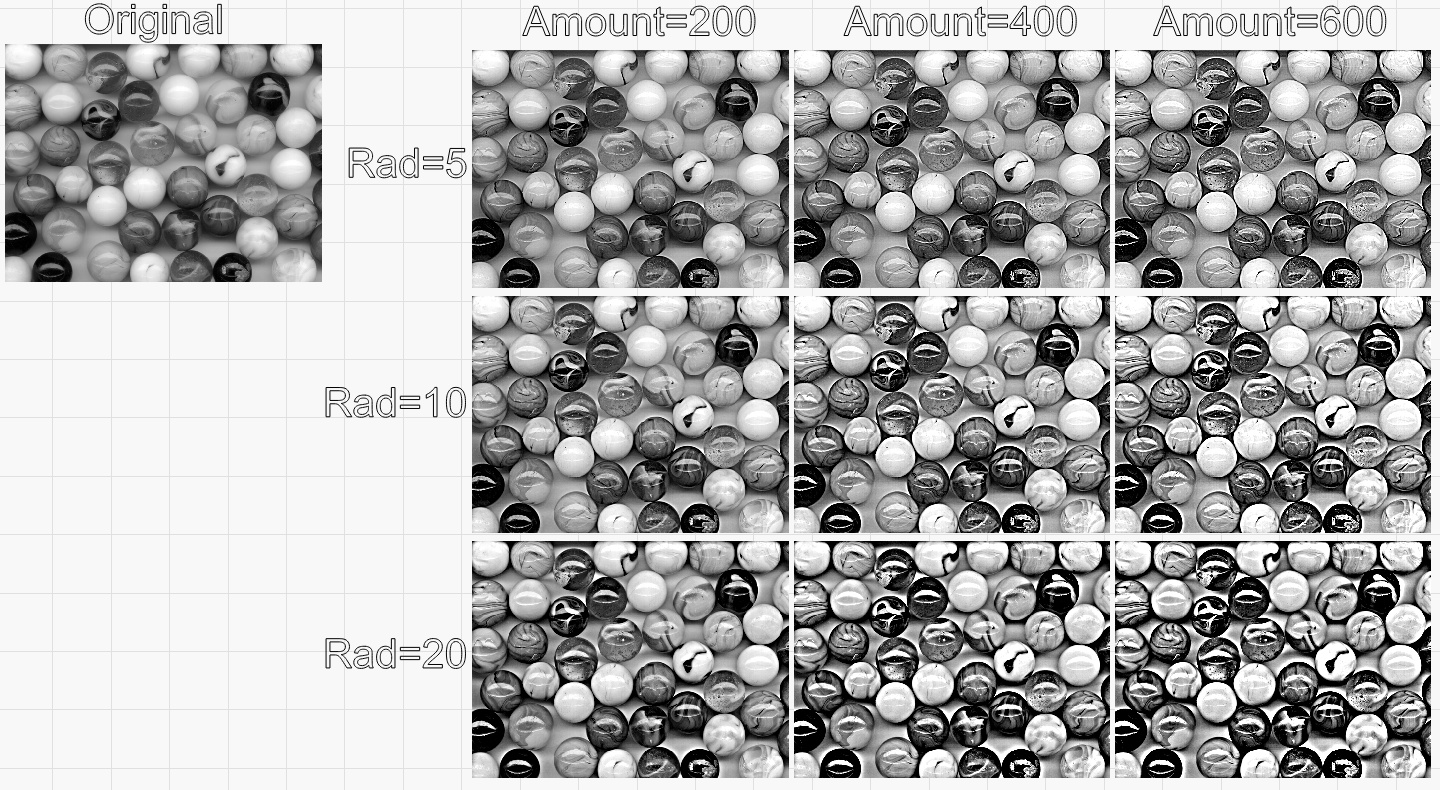
Enhance Radius and Enhance Amount work together to enhance the edges in the image. ‘Amount’ is the strength of the enhancement, and ‘Radius’ controls the area of the effect. It’s a little tricky to describe, but relatively easy to see:
Look in the 3rd column - all three pics have the same “Amount” but the Radius increases with each row. The bottom row of pics has a very distinct wide “halo” around the edges that is less pronounced in the upper images.