I am not sure how to or if it is possible to do this design in LightBurn.
I can do the basic outline and but the cutouts are the pieces I am not sure how to do. If I can just have a guide of what to learn to do this will be great.
This is just a small demo for 3mm material. It can be done better and faster.
You are welcome to ask if there is something I have not been clear enough with. Under properties you must finally determine your Kerf, I use 0.075mm to 3mm Plywood with my 60 Watt CO2 machine
…I just see that there is an error in the construction, I will correct the video a little later
(I didn’t center the side part before I used boolean operations)
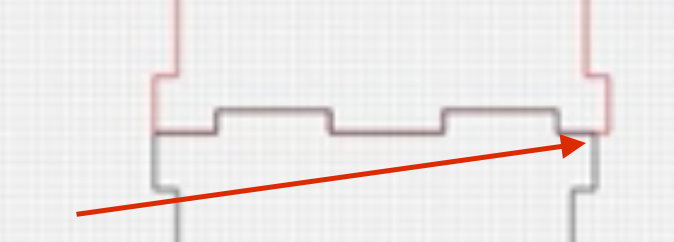
The error I am referring to is in the black side part, it should of course be centered!, now the fingers are out of center.
The idea was that the 3mm material thickness should be distributed evenly so that you can assemble the box correctly. For the rest, it is a mistake that is often seen that you do not compensate for the thickness of the material.
I don’t have a video editing program, so I can’t redo the video, and redoing it all over again probably isn’t necessary.
Shapes must be closed and touch each other, this is often what is not fulfilled. By the way, I like to use the assistant of the boolean operations, then I only need to hold the mouse cursor over the 4 options and see the result and can accept the one that fits. The function changes its behavior depending on the order in which the objects are selected.
Thank you I will try this. I did cut a box using t a Diode laser on 3mm MDF, It was ok, but the wrong sized fingers and slots caused a bit of a problem with it going together. I will fix these and try again. Thanks again for all the help and advice.
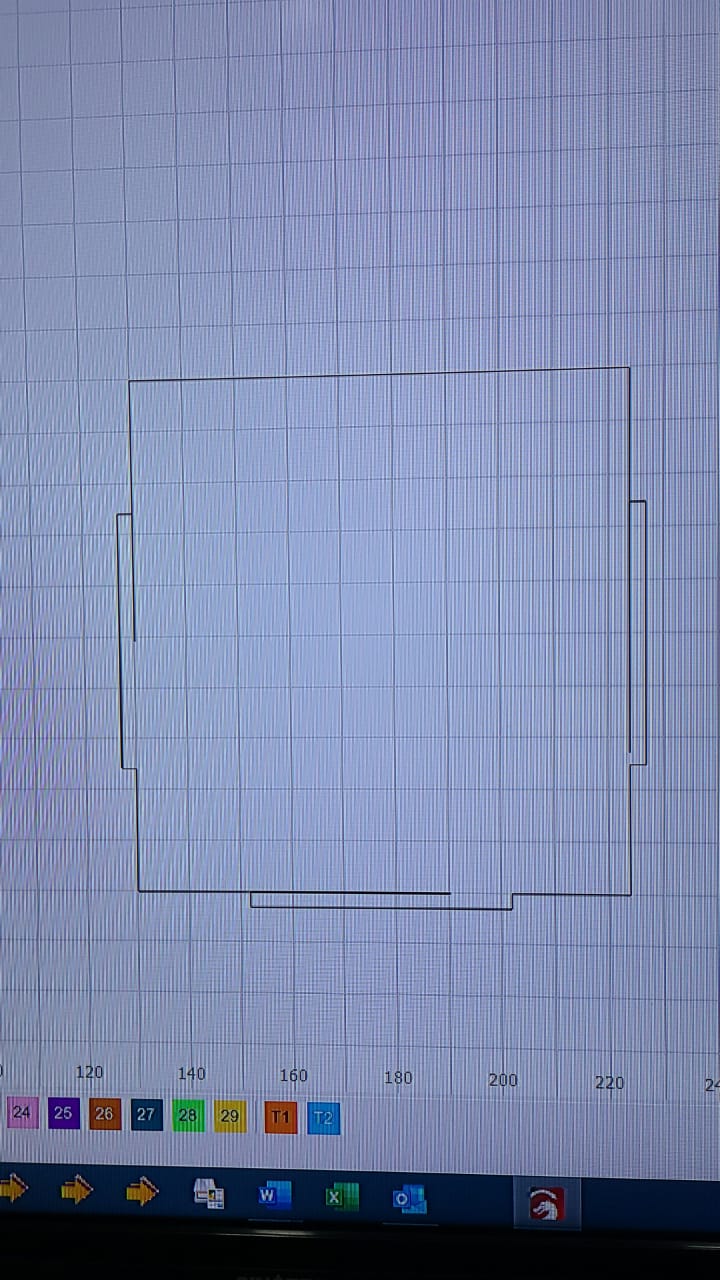
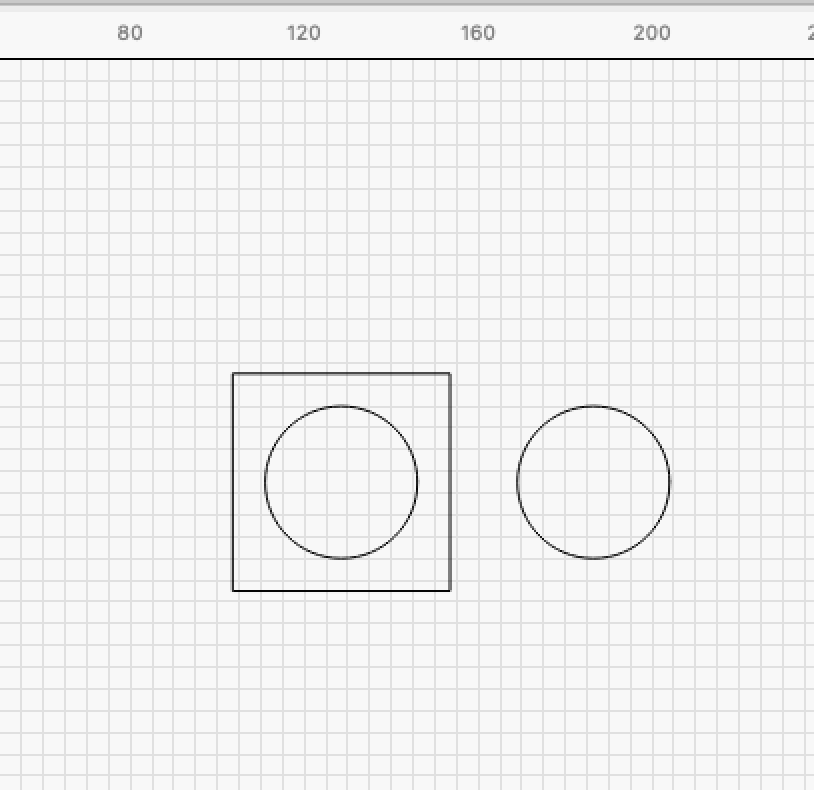
It is probably related to your Kerf settings that it is too tight or too loose. I make a very simple and quick test for all materials, see drawing. Then I set Kerf to different settings until it suits me well, that is, I must be able to press the round part with a little force in the corresponding piece. (both parts must be cut, the round disk that falls out of the first shape is “missing” the Kerf and can of course never fit)
In your next post, I can see that the parts that had to be welded together have not been sufficiently inserted into the second shape before welding, therefore they are artificial. You may need to adjust your snap settings.
I have not had a chance to do anything today will defiantly try just now. Also struggling a little with the measurements. But will fix one challenge at a time
Hi,
Your advice is spot on, everything is working 100% now on getting the correct shape. The other problem that I have is now on getting the measurements. All the same. The fingers are not a problem because of them being done with the grid. its when I put the fingers on the sides. How do I get all the measurements accurate. I find doing it free hand I can be out a mm, and this is a problem because the laser is so accurate.
I’m not quite sure that I understand you completely correctly, but if it is during the construction itself that you have difficulty getting your measurements right, then it is easily solved.
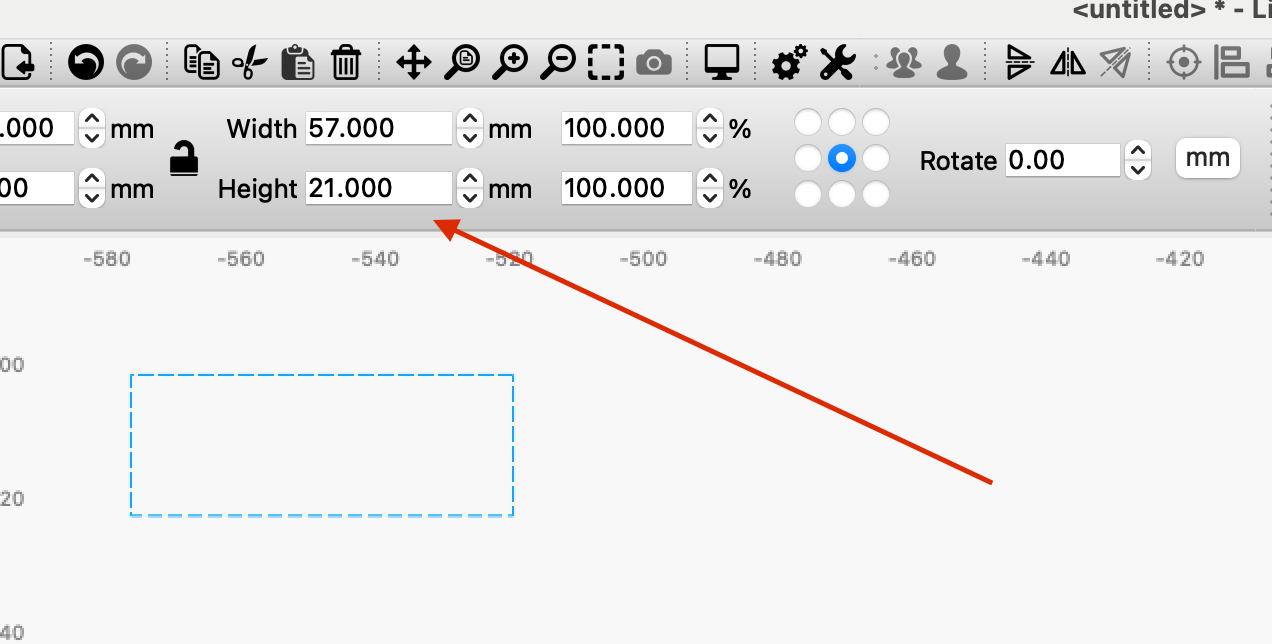
I always draw a shape freehand and use the input options on the top row of our tools. The small padlock opens/closes the ratio.
Thank you, but not exactly. I am just diluting the orginal question so let me start another thread with more accurate information. Thanks for all your help
Correct, but anyone can do it
The idea is to be able to work and understand the basic tools in LightBurn. In my opinion, it is a prerequisite for being able to use external tools.
Btw, I often and very quickly make less complicated boxes in LightBurn and thereby keep my construction skills going and it is sometimes part of my product development process.

")