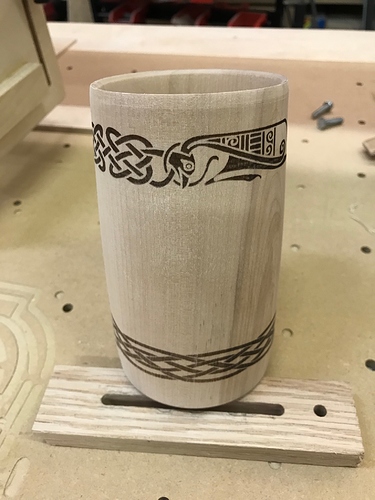
Hi. I’m new to the Lightburn forum and recently started using Lightburn with a rotary axis hooked to my Y stepper driver. I’m running GRBL 1.1g on an Arduino Uno + CNC shield v3. I’m able to take advantage of the new laser mode in grbl as a result. Lightburn operates my MPCNC and 3 watt laser properly with flat work. The rotary axis feature is a bit of a puzzle though. I have entered the correct steps per mm in grbl after a bit of arithmetic and it burned a correctly sized image on the rim of a bowl. When I tried an object of 1/2 that diameter, the images burned were 1/2 as long despite entering the new diameter in Lightburn. Looks like enabling the rotary axis feature doesn’t make any difference. I have selected the Y axis in the rotary setup as well.
Any suggestions as to what I might be missing, or does GRBL just not take advantage of the rotary feature? Thanks
I think I have a working solution to my puzzle above. Arduino + GRBL doesn’t really have a 4th axis. The A axis on many CNC shields for Arduino Uno or Nano is meant to be a clone of one of the other three. The Uno or Nano only has 3 pins for axes. Looks like Lightburn isn’t translating my circumference entry for each new different sized object. So the one thing that is constant is the chuck I mount objects in. I will recalculate the number GRBL needs for Y to be the rotary axis based on the Chuck circumference and that will be the design length limit for Y. Designs may look squashed on the screen but should stretch to fit the circumference Ok.
X dimensions of course won’t change and Z not used.
Also I may be able to use a Arduino Mega + Ramps board instead since I think it can do a 4th axis but I haven’t learned my way there yet, ha ha. However, the PWM pin for the laser with that solution has to be reprogrammed to the 12v fan pin and I’d need a 12v input signal laser. Should be easy enough though, like every thing else, lol.
At present, I don’t think LightBurn does the scaling for the Y axis rotary like it should - I did the math for A axis and never circled back to fill in the other.
Thanks for the reply. My workaround is functioning fine for now. I imagine the ‘new math’ will be included in a future update. I just have to scale any designs to fit in a 278mm wide window and the. Circumference of the object will stretch them back. For larger objects though I would recalculate for a specific axis number.
It would be nice if the X axis could be included as a choice. Since I can plug into either X or Y on my board, I am using the X since it’s easier to look at a design from left to right than from bottom to top.
I have considered a workaround to ‘follow the curve’ as well to maintain my LED laser focus. That will be a mechanical solution though.
