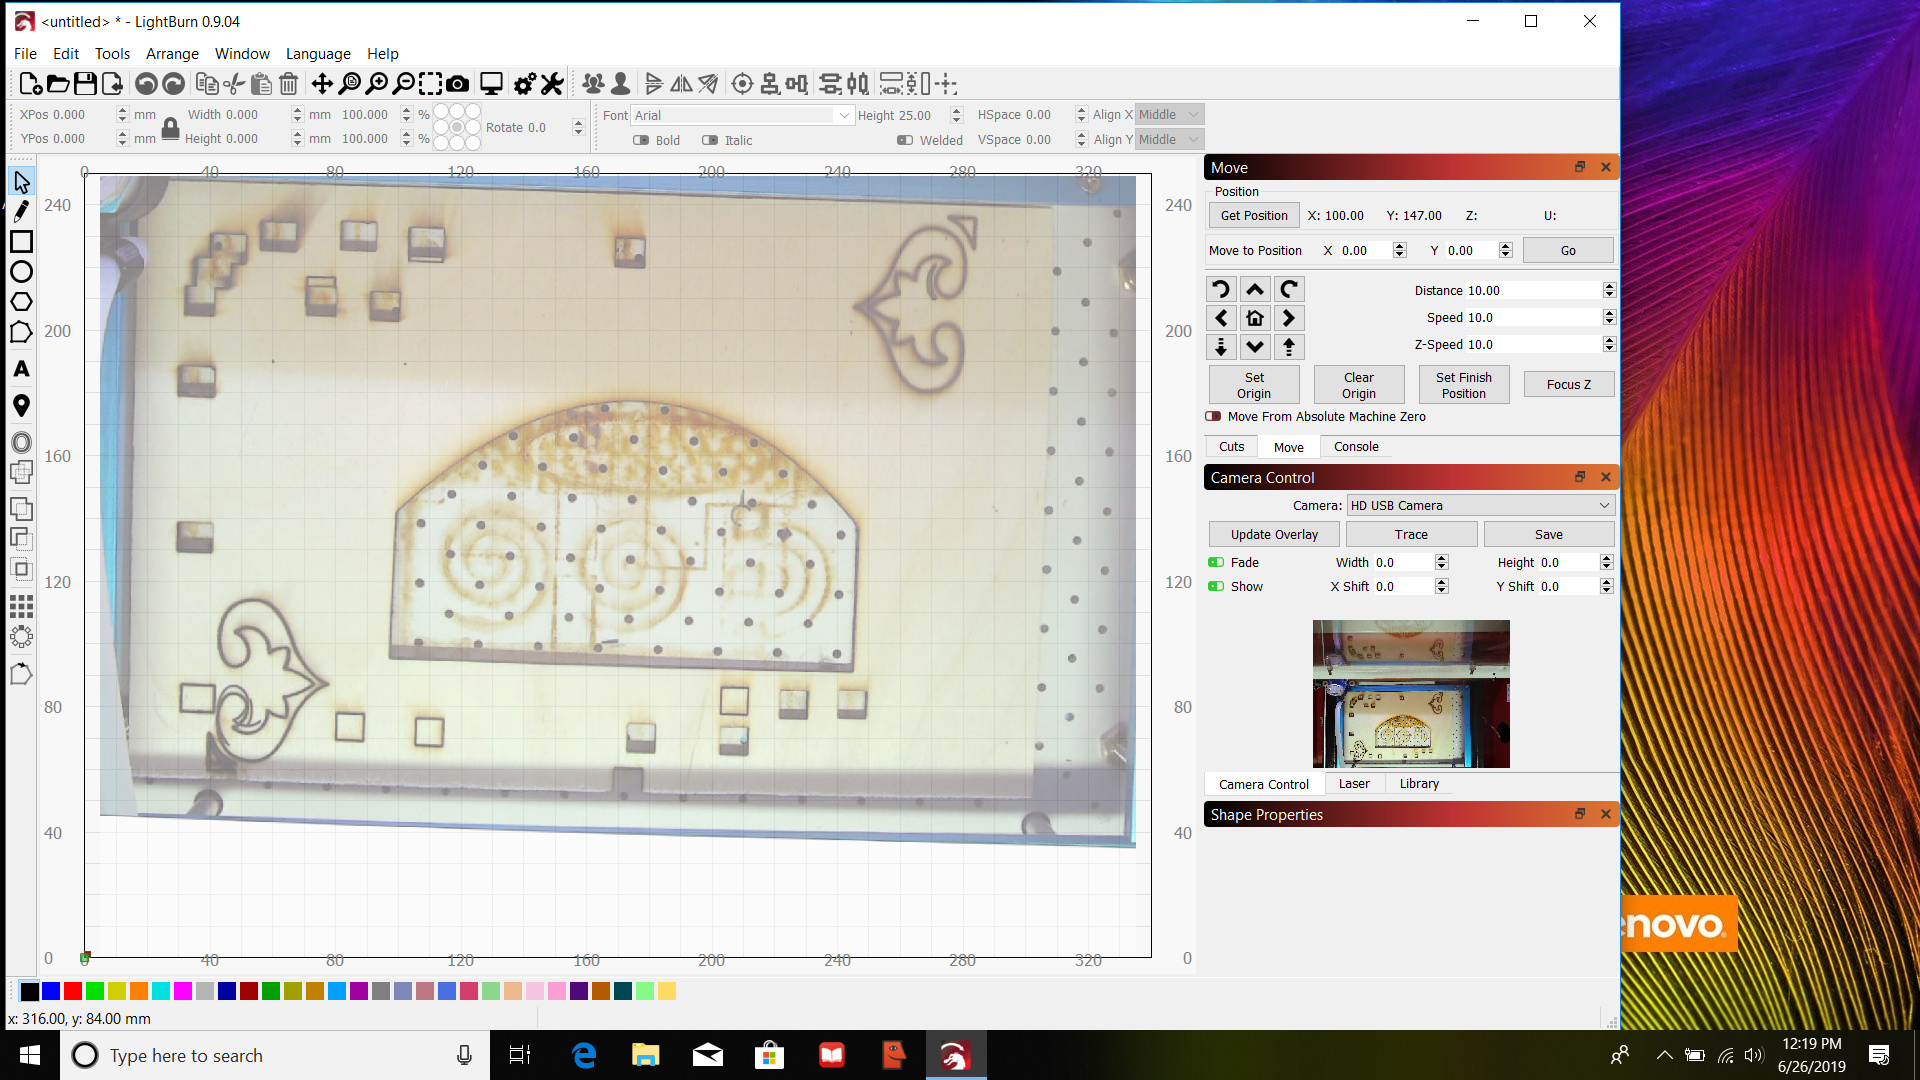
I like to know why I have a difference in the camera view and the overlay. Also if I want to cover the whole area of my Z table, i would have to change the setting from 200 x 300 to 250 x 340. Posting a screen shot at the 200 x 300. Notice that overlay doesn’t cover the entire area of the layout screen. The bottom is not filled and there is a angle that is not seen in the side camera view which is live. I think the camera module needs more work. I haven’t tried a Lightburn camera to see the difference. I was lead to believe the software will work with most cameras. I’m using the latest version 0.9.04.
Lead by whom to believe most cameras would work?
Is 200x300 your bed size, or camera resolution?
Also, maybe you could post some screenshots, so we know what you mean. (And not phone camera pictures of your monitor.)
1 Like
A couple things to check:
-
Your preview image shows the camera is not aimed at the center of the bed. This isn’t required but it helps maximize the capture output.
-
Make sure the camera is in exactly the same place relative to the top of your material every time you use it. If the camera moves, or the bed moves, the camera alignment information is no longer accurate and would need to be re-done. The lid on the K40 can slide left to right a little, and doesn’t have hard stops. You might need to fix that.
Which setting are you referring to? The overlay is sized exactly to match the page size set in LightBurn, and this would need to be set correctly prior to performing the camera alignment process.
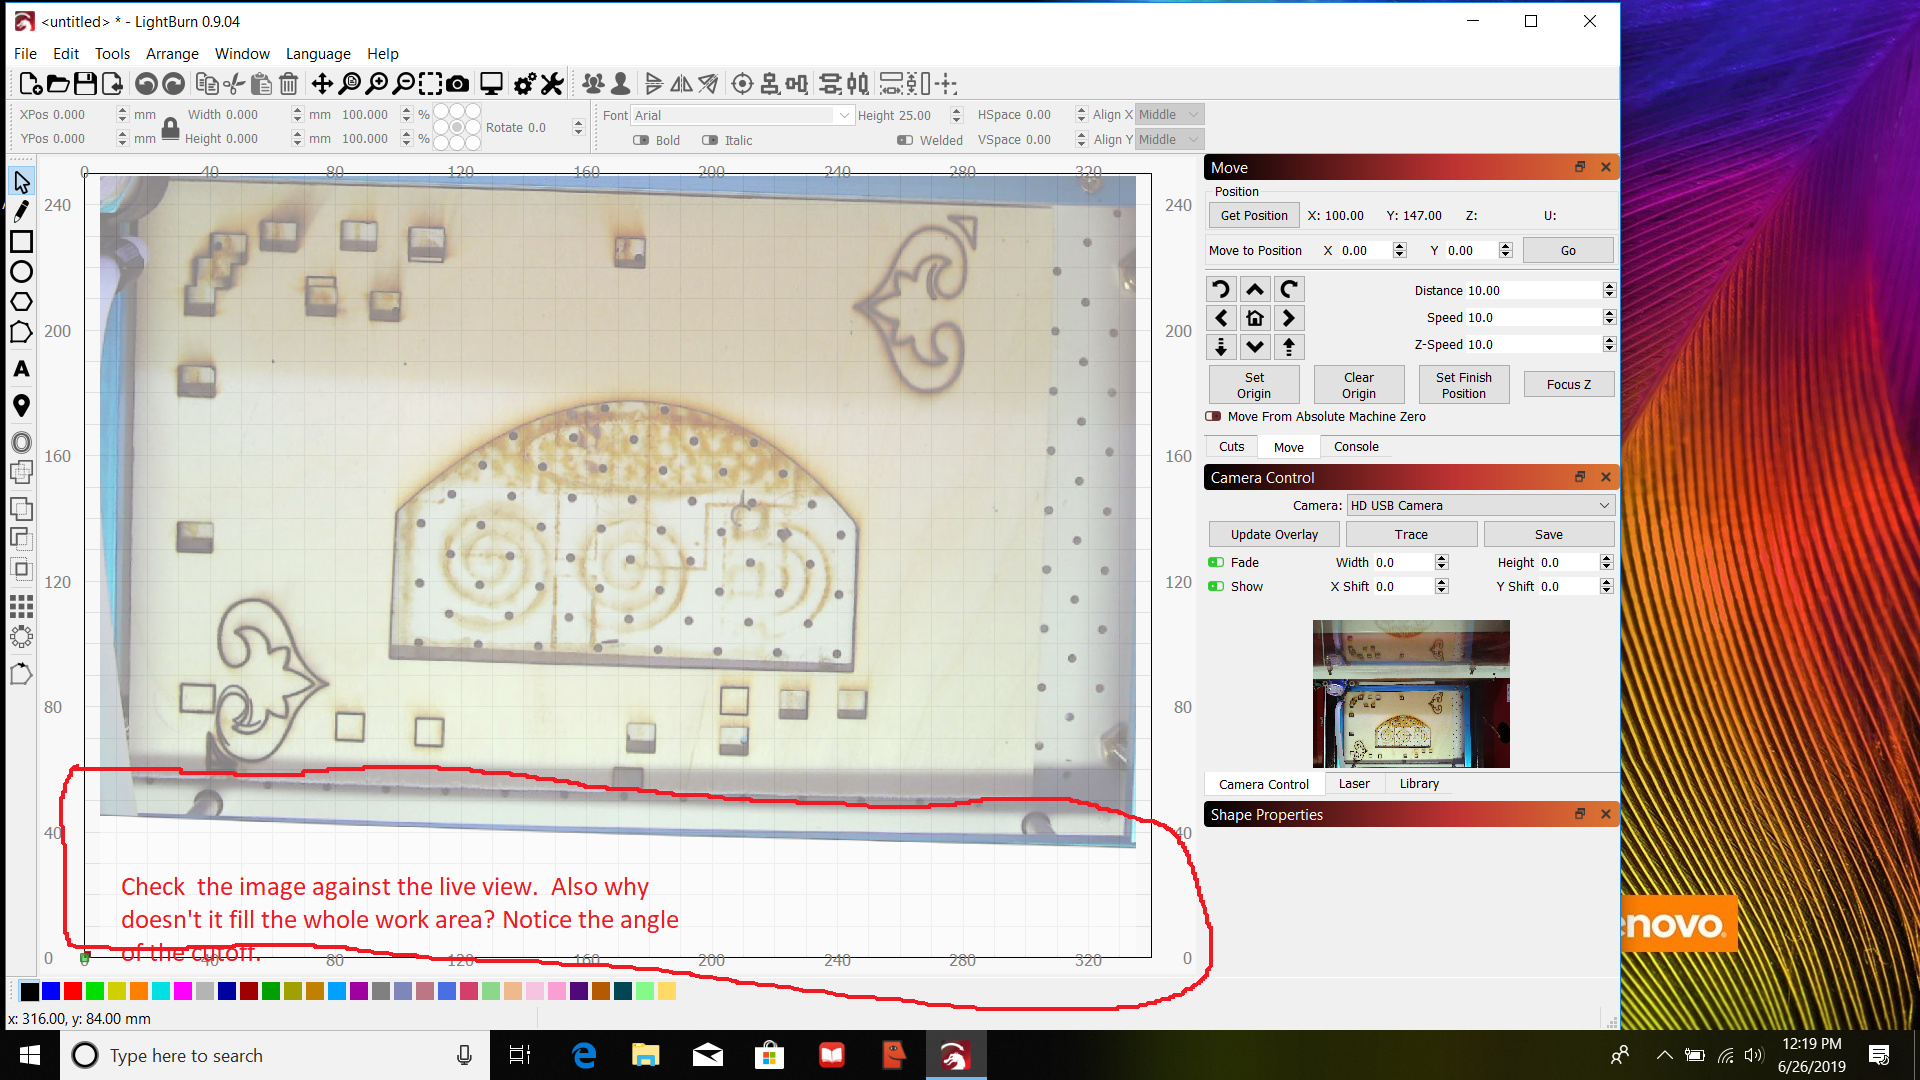
Ok, posting a screenshot of the adjustment made to the camera. As to the last part of your reply I am refering to the overlay image does not fill the entire work area and has an angled cutoff at the bottom. Please note that in the “live image” the work area is more centered.

Did you re-run all the setup and calibration?
Ok. Well Oz’s along with Blake’s suggestions seem to have solved my camera problems. Thank you both for you replies. Wasn’t quite aware of how critical the proper point of the camera would be. I still find it odd why it did that angle on the bottom of “work” image when I had the camera pointed incorrectly.
Likely it was how you used the dot paper to calibrate it.
It is supposed to counter any offsets and angled placement, but centering the view gives more area around the image to work with. You were very close to the edge, and there’s always a little bit of image loss on the sides from the image correction, so that could be part of it.
If the paper you cut the alignment image onto was moved at all between cutting and tagging the markers, or if the marker tagging was off a bit that could do it as well.
This topic was automatically closed 14 days after the last reply. New replies are no longer allowed.