I am at a loss and I need some help. Let me be as brief and to the point as possible.
I have a fully modified K40. Really should not call it a K40 anymore because there is really nothing left of it. I have a TopWisdom DSP. My laser is calibrated, mirrors are aligned, I can cut perfect 100x100mm cubes anyplace on my 300x240 cutting bed. Just to be sure, I opened LightBurn and created a 100x100 cube, manually set my origin to 3 different locations on the bed and burned a perfect square.
I installed a LightBurn camera. Completed the calibration and alignment 3 times. The image I get from the camera is sharp and clear. I have good light. The calibrations score I received at each point was from .21 to a max of .29 at all eight points. My alignment circles and target are all pretty much perfect and I clicked on the centers, in the proper order, a single double click for each circle and moved on to the next one. Yes, I have a honeycomb bed and yes I FULLY covered the bed and no honeycomb was visible during the calibration steps.
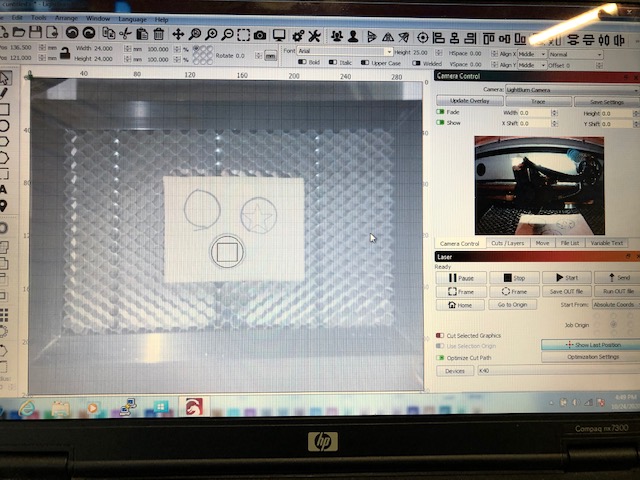
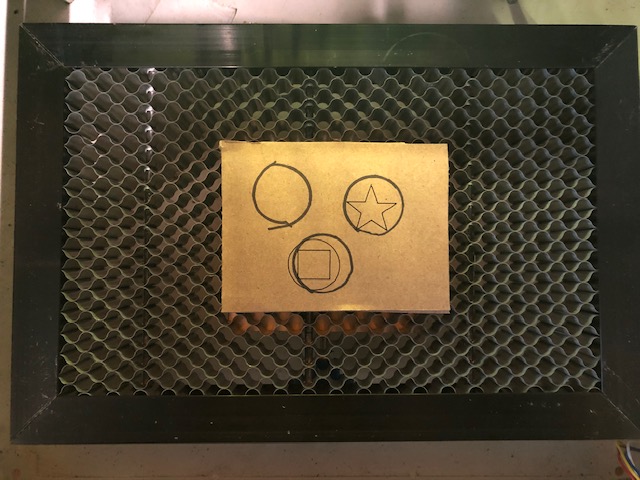
I took some scrap material and drew 3 circles on it. Went into LightBurn and put a star in the center of the circle and it came out offset to bottom left as you can see in the image below. So I printed a 100x100 test square. The square came out perfect. I re-calibrated the camera, and re-aligned. I then put the same scrap in the laser. Took a picture. Drew a circle and square as shown in the image below.
This is the result. The circle and the square is again offset to the left, although it may appear that this time it is not as low as the star was.
I did this three times. All three times the result was the same. Any ideas?
This answer may not have an impact on your alignment issues, but it has been said, and I can confirm, that the system dislikes the pattern of the honeycomb bed. Even ordinary sheets of paper covering the pattern can improve the accuracy of the calibration and alignment.
If as Stroonzo suggests your lid is moving, that must be resolved first, of course.
I had calibration numbers very close to 0.30, but with comb-overs, it was cut in half or lower.
The fidelity of the view and the cut was much improved after this minor change.
If the camera is in a mount, make sure the mount is secure, and the camera is secure within the mount. The only thing that shifts your accuracy like this is movement of something - either the laser carriage, the camera itself, or whatever the camera is mounted to has moved. It doesn’t have to be much to throw everything off.
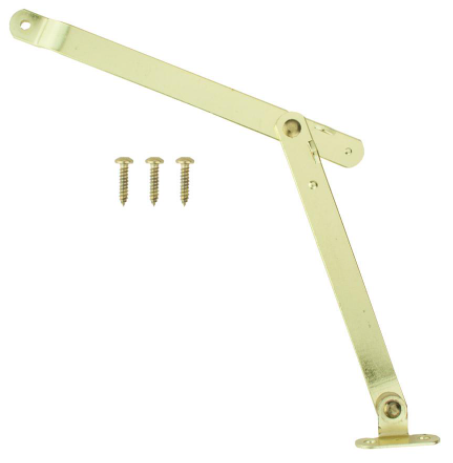
K40’s usually use a metal pin on each side of the lid, and the lid has quite a bit of lateral play. Adding shims to prevent that will help. If the camera itself can move in the mount, use a small bit of foam, felt, cloth, or even a small dab of hot glue to secure it in the mount. Then, make sure the lid opens to exactly the same height and angle every time. If you do not have gas struts, or they’re weak, adding a cabinet door style support can help (or even just a small metal cable with eyelets on each end).
Something like this:
Also, make sure the top of the material is at at the same height as the top of whatever you engraved the target markers into. The alignment is good for that height alone (IE, that distance between material surface and the camera).
The lid is not moving, or wiggling. I have inserted rubber grommets into the holes that the pins go into and the pins fit snuggly. I also have a gas shock mounted that allows the door to open and close to the same exact position each and every time.
Note: I edited this post because after I wrote it I realized that I may not have accounted for lateral movement. I will check for that in the morning and add a shim as required and re-align.
I installed rubber grommets into the holes that the lid pins go into to take up the slack. There is zero play (wiggle) in my hinges, more on this later.
I have a gas strut securely installed. The door opens to the same position (angle) every time.
I installed a piece of non conductive foam behind the camera board in the case and the camera is not moving in the case.
I DID NOT check for lateral movement. I tried to account for everything else, but overlooked this. I will go check this tomorrow and add a nylon/felt shim in there and do another alignment.
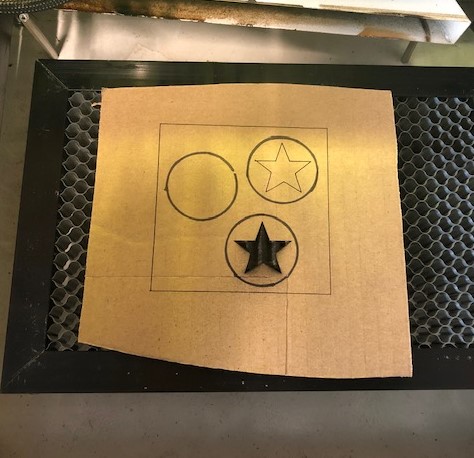
Both of you guys are correct. I went back to the shop today and checked the lid extensively. The gas strut did keep my lid opening to the same angle each time, the lid didn’t wiggle around and the camera was secure. But I did have lateral movement that I didn’t notice prior. So I measured the gap and made a leather washer to take up the slack. Conducted another re-alignment, and two tests of capturing and opening and closing the lid, and moving my material around to print a star within a circle I drew on scrap material. Both are successful as you can see in the image below, along with my leather slack washer.
Thanks you both for providing some valuable feedback, and making me think about my setup. Sometimes we think we cover all the bases, but the reality is we miss something. Many thanks, for a successful end to what started out as a stressful weekend.