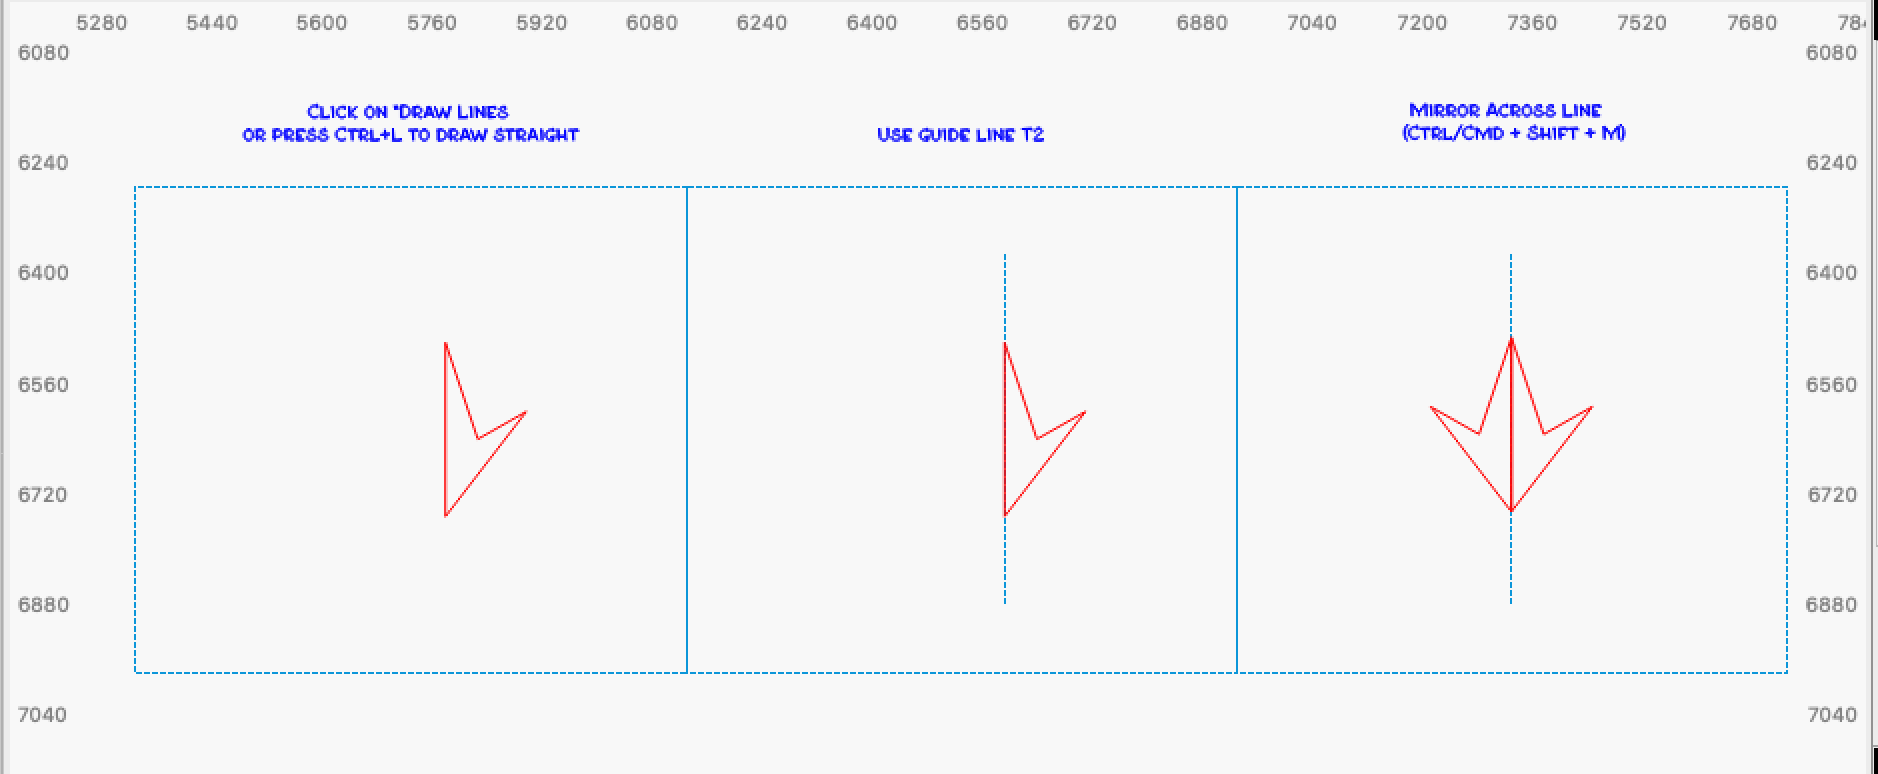
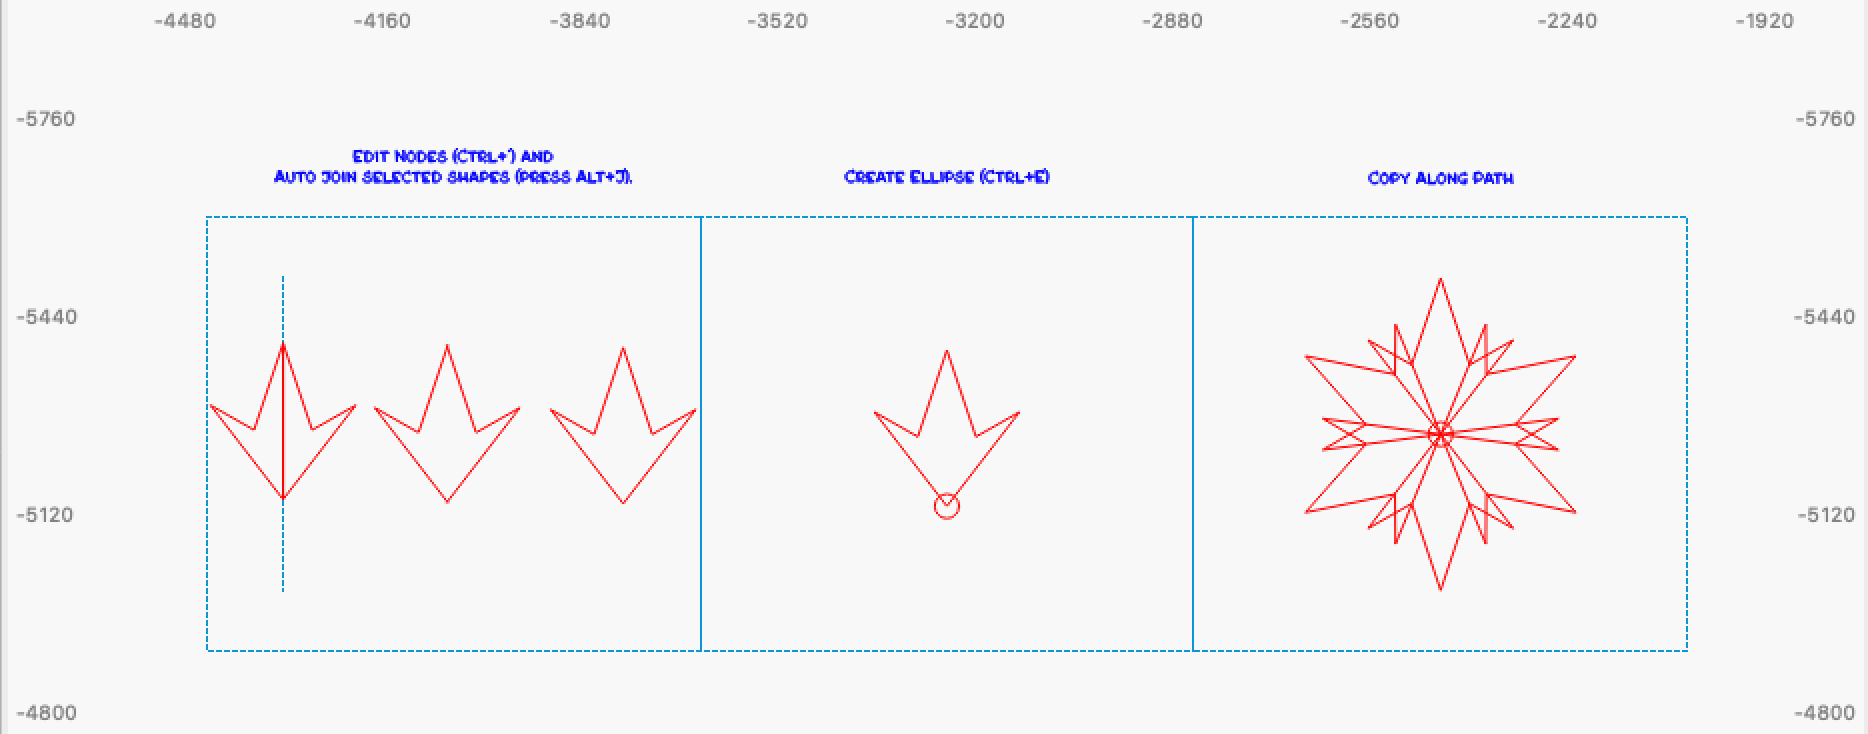
Here’s a little LightBurn Christmas greeting, and possibly some inspiration for “designing and constructing” in LightBurn instead of external programs.
It is roughly 10 steps from start to finish and reasonably quick and easy to perform.
My little file can again be used freely by anyone who wants to.
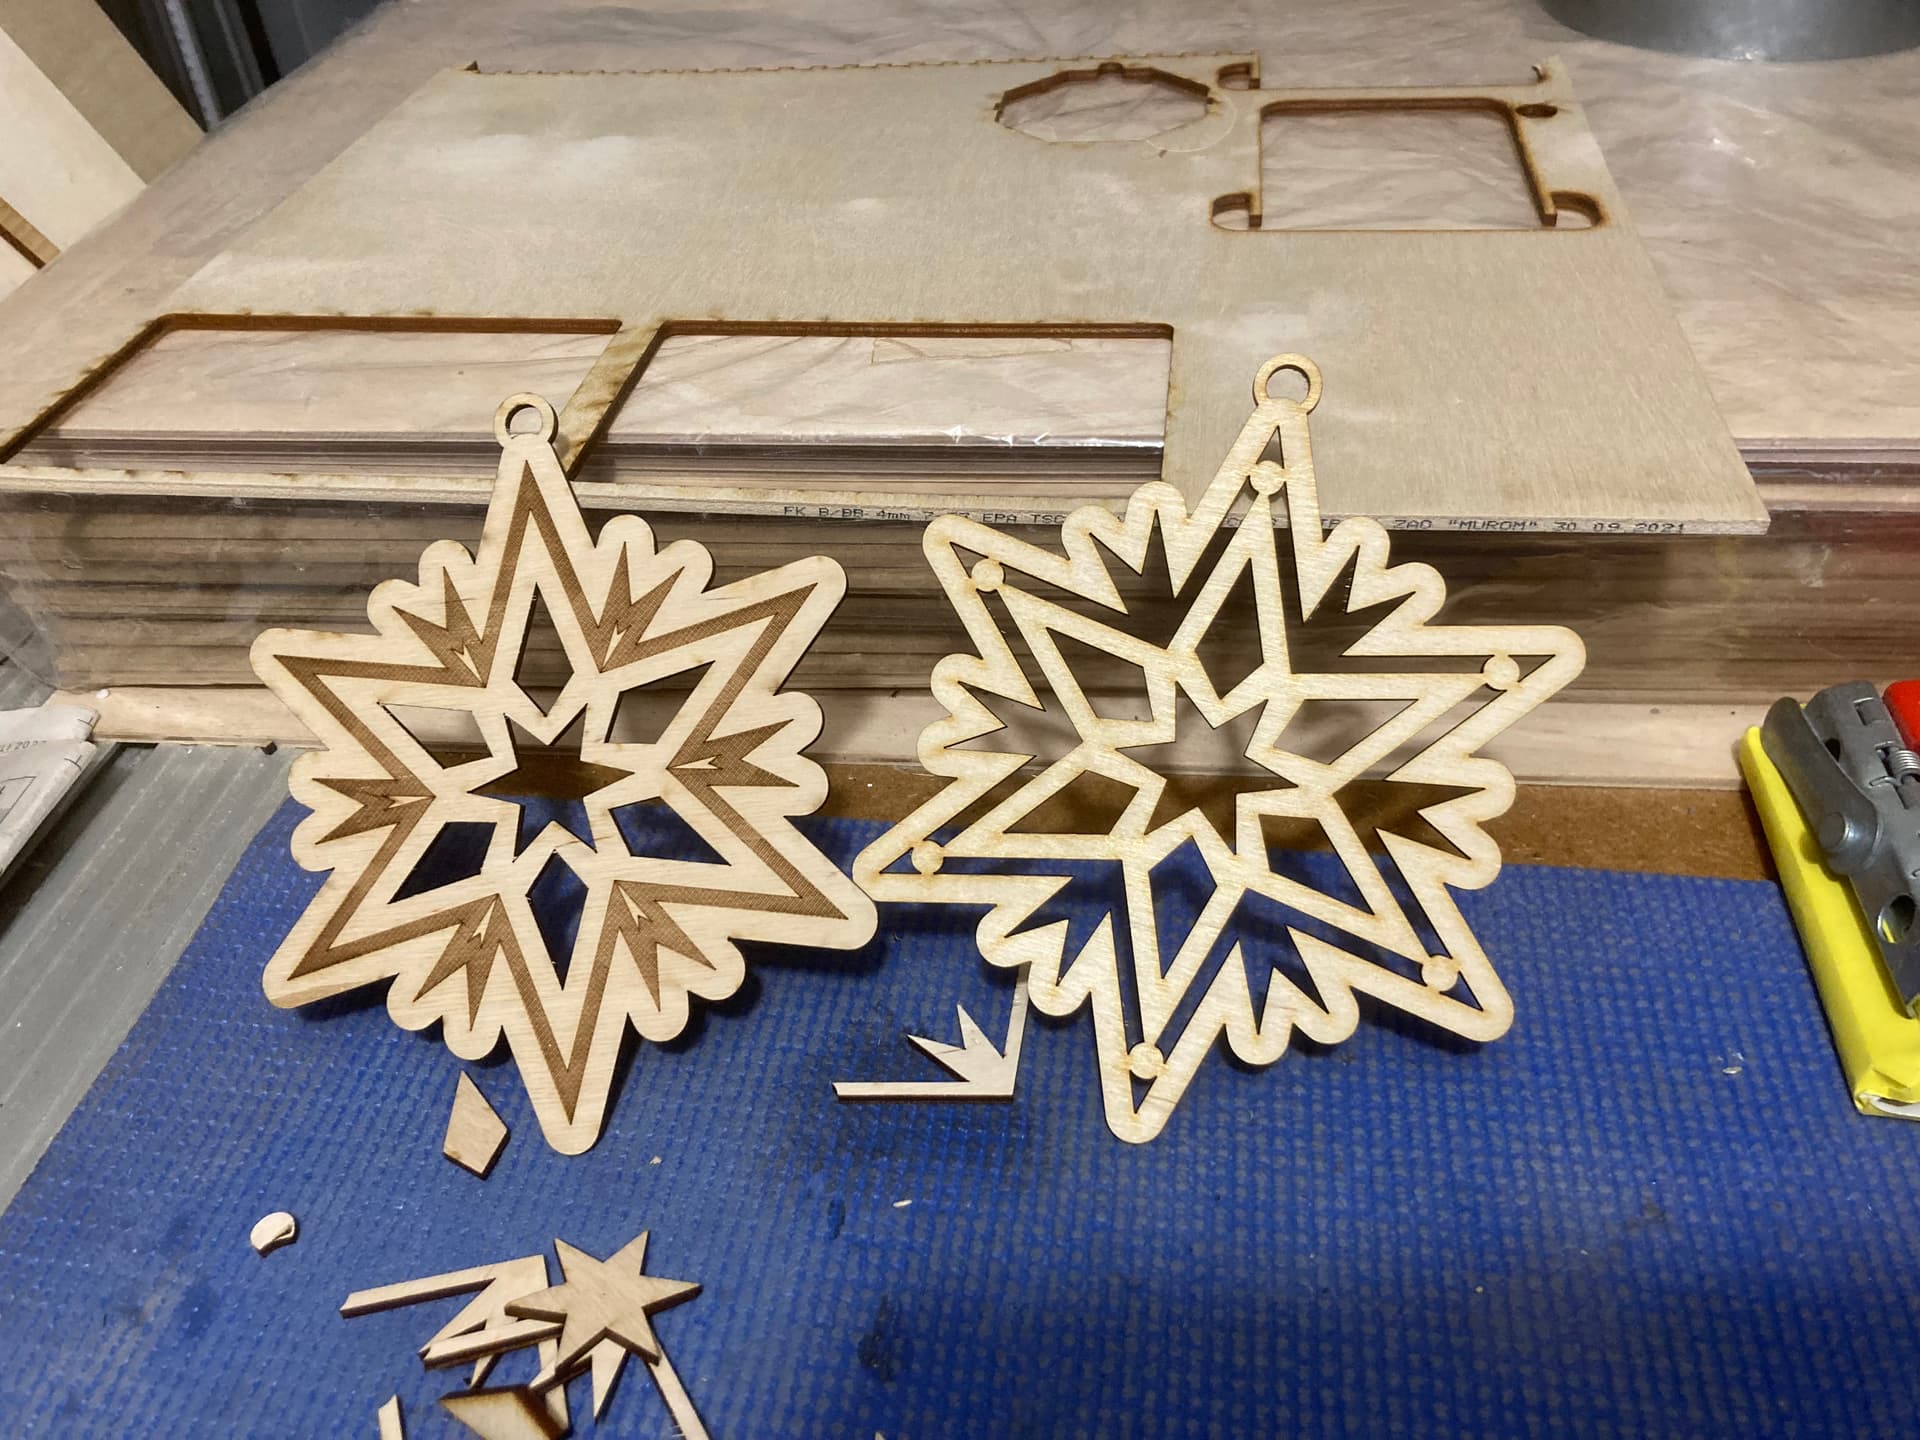
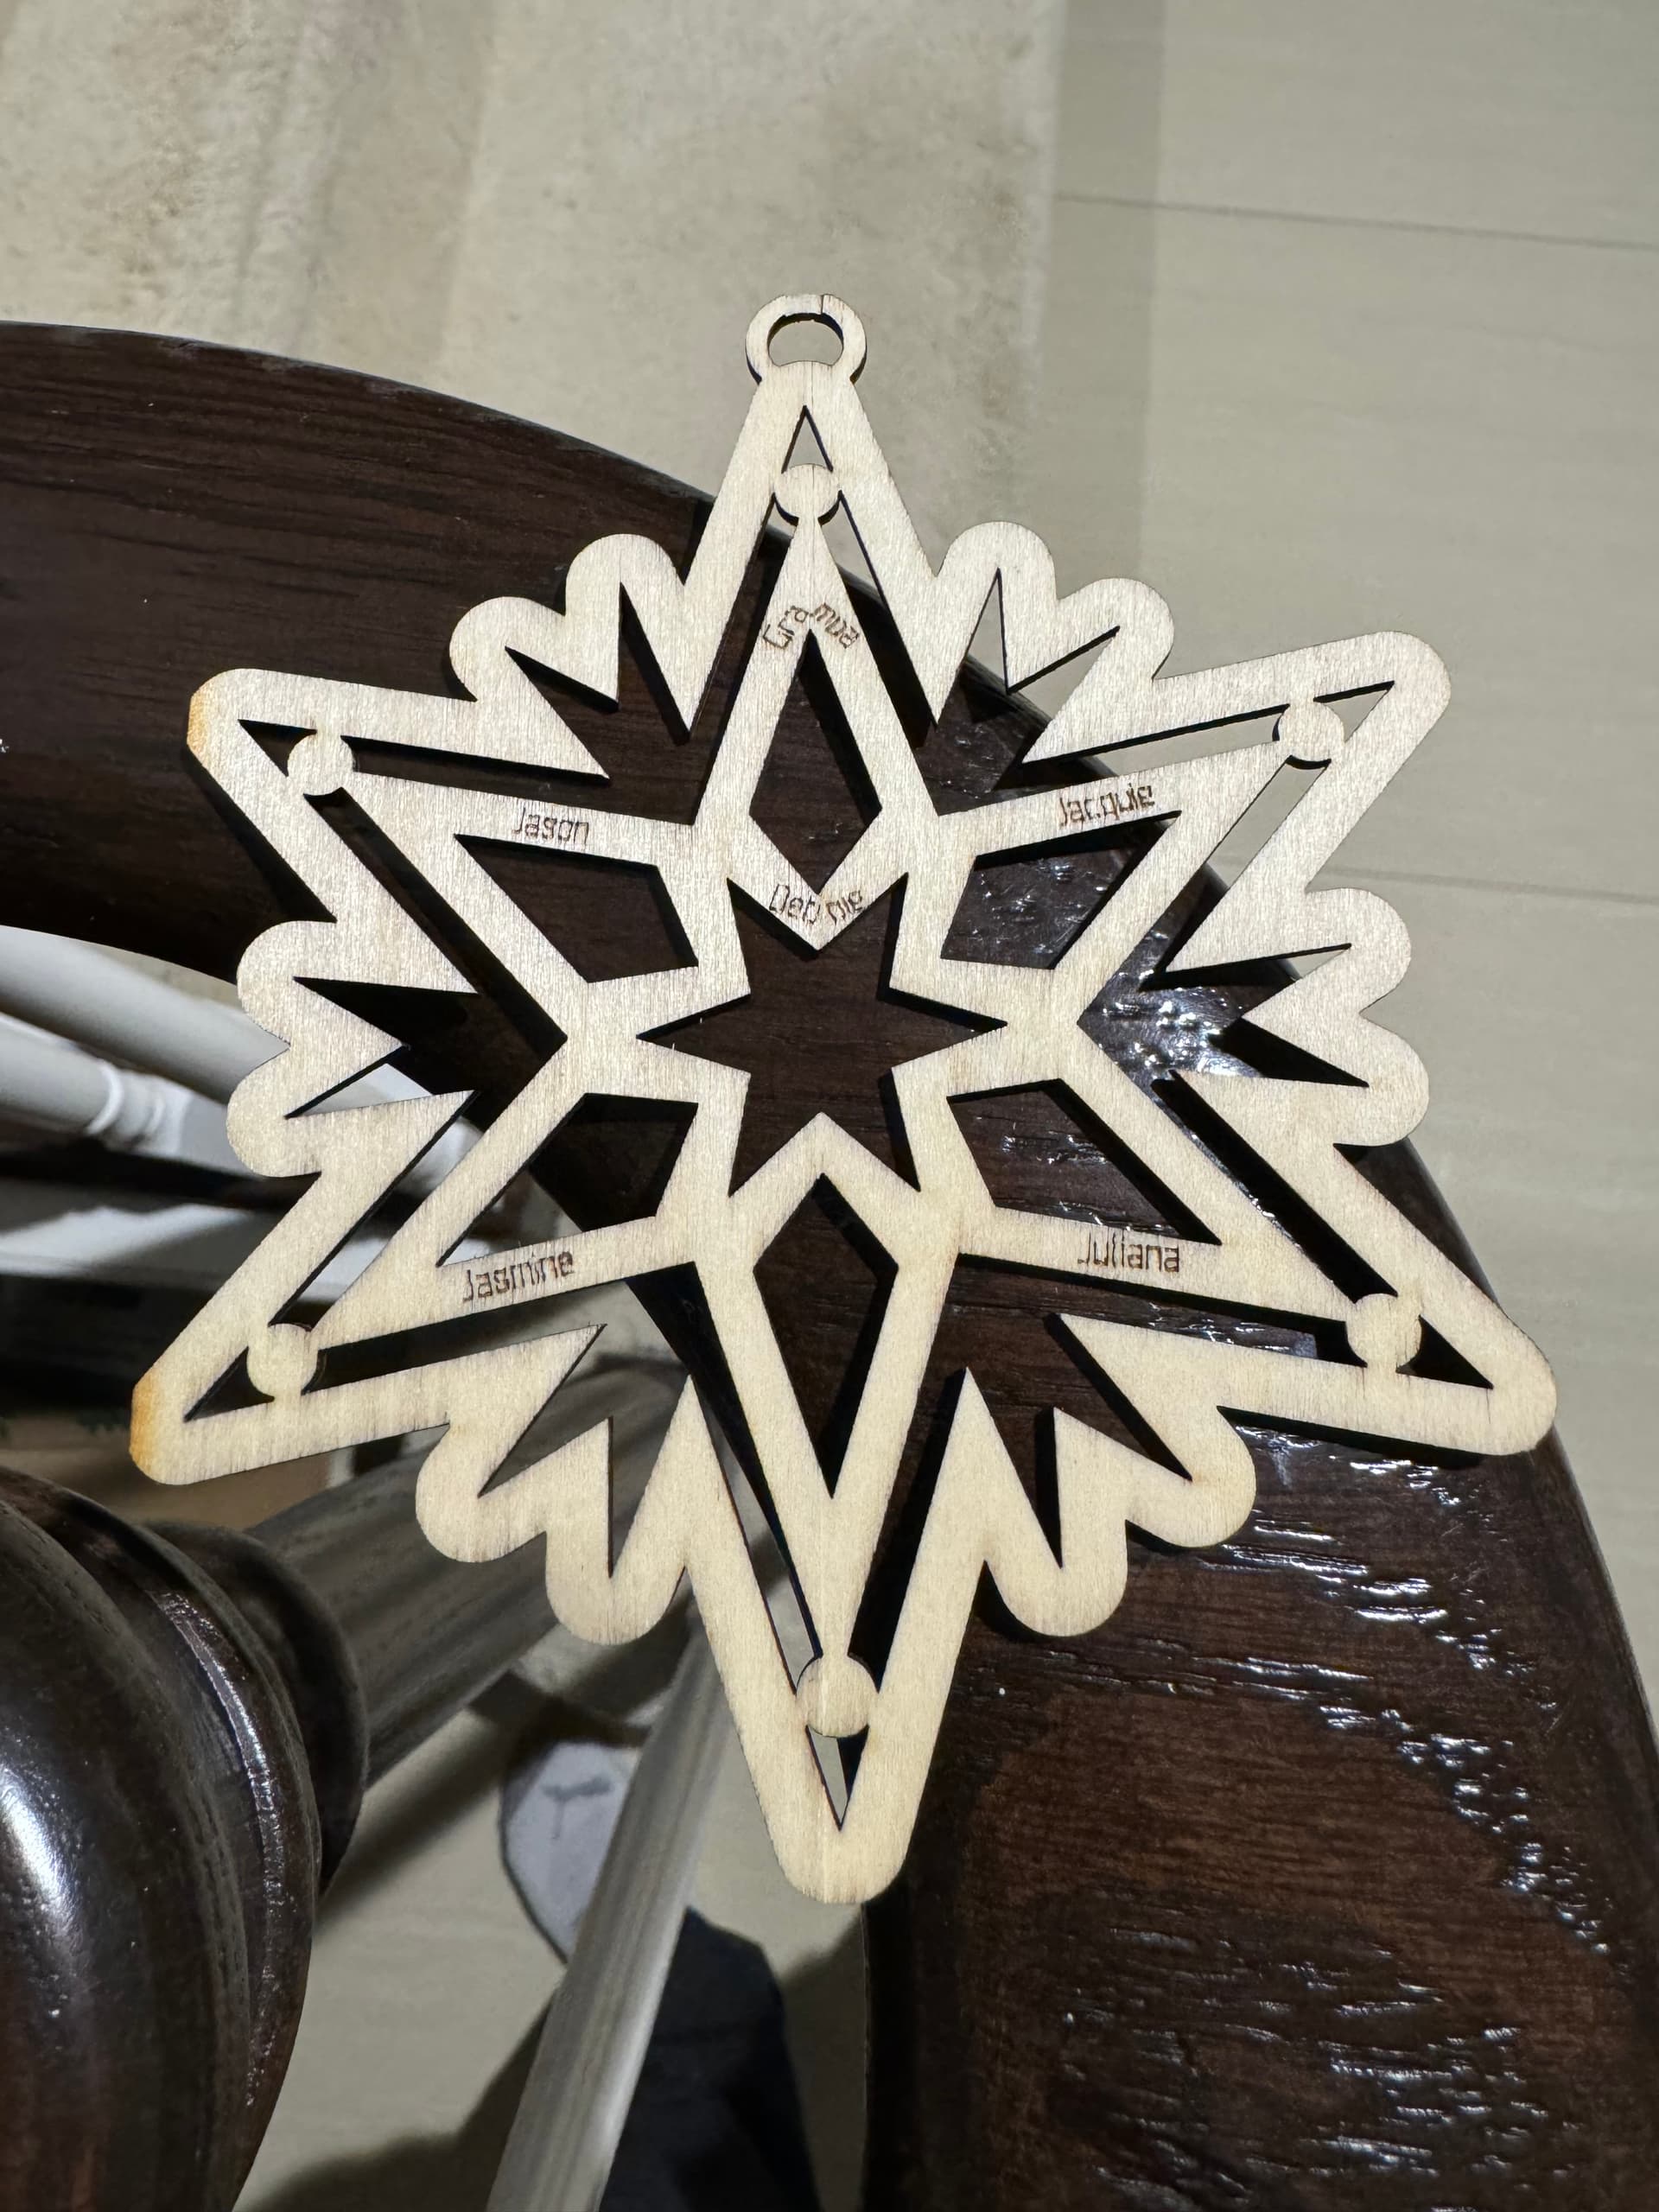
Thanks again for the idea and here’s the result. It is not so easy to assign kerf only one side. I have the experience that the parts fit better together when “they are laved for each other” and the smallest asymmetry will give a not perfect fit.
I used MDF leftovers from other work, it actually looks nice.
That looks pretty good.
If I get the chance I might cut one out of some maple and walnut. We are flat out at the moment trying to finish up Christmas orders so I doubt it will be before new years.
Funny that.
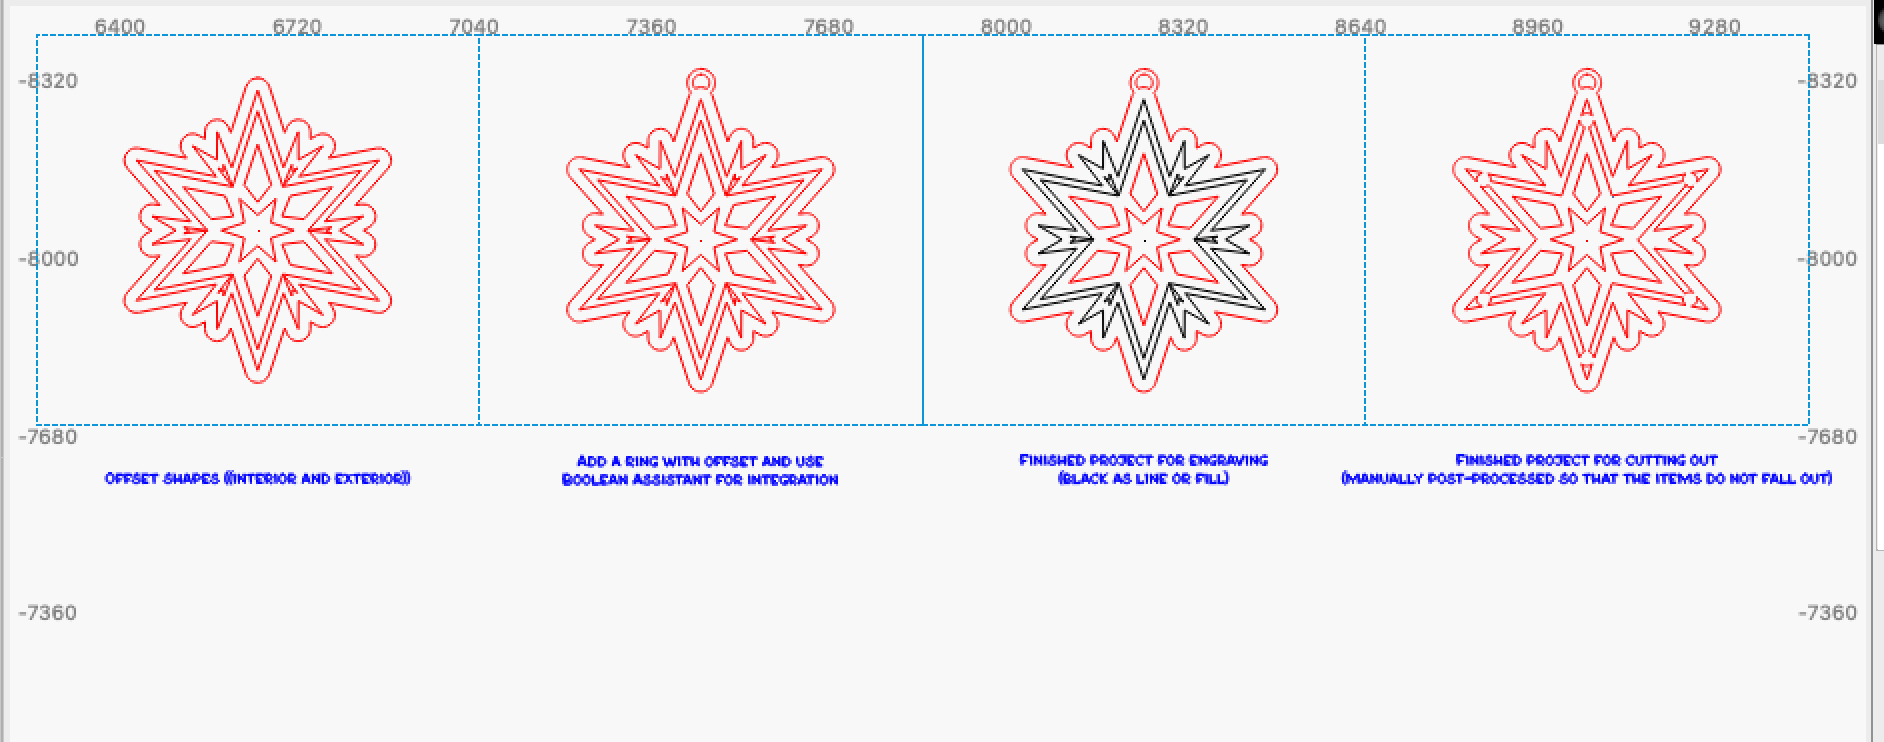
I find using the kerf offset setting works great for both inside and outside offsets provided the focus is correct. I mirror my parts and cut them face down to take advantage of the tapered edge you get from the laser.
Something I have found that makes inlaying fragile parts so much easier is to cut out & fit all of the inner parts before you make the outer cuts. That’s how I did this and it worked really well. I did have one crack happen off the point of one of the stars but that was me getting in too big of a hurry.
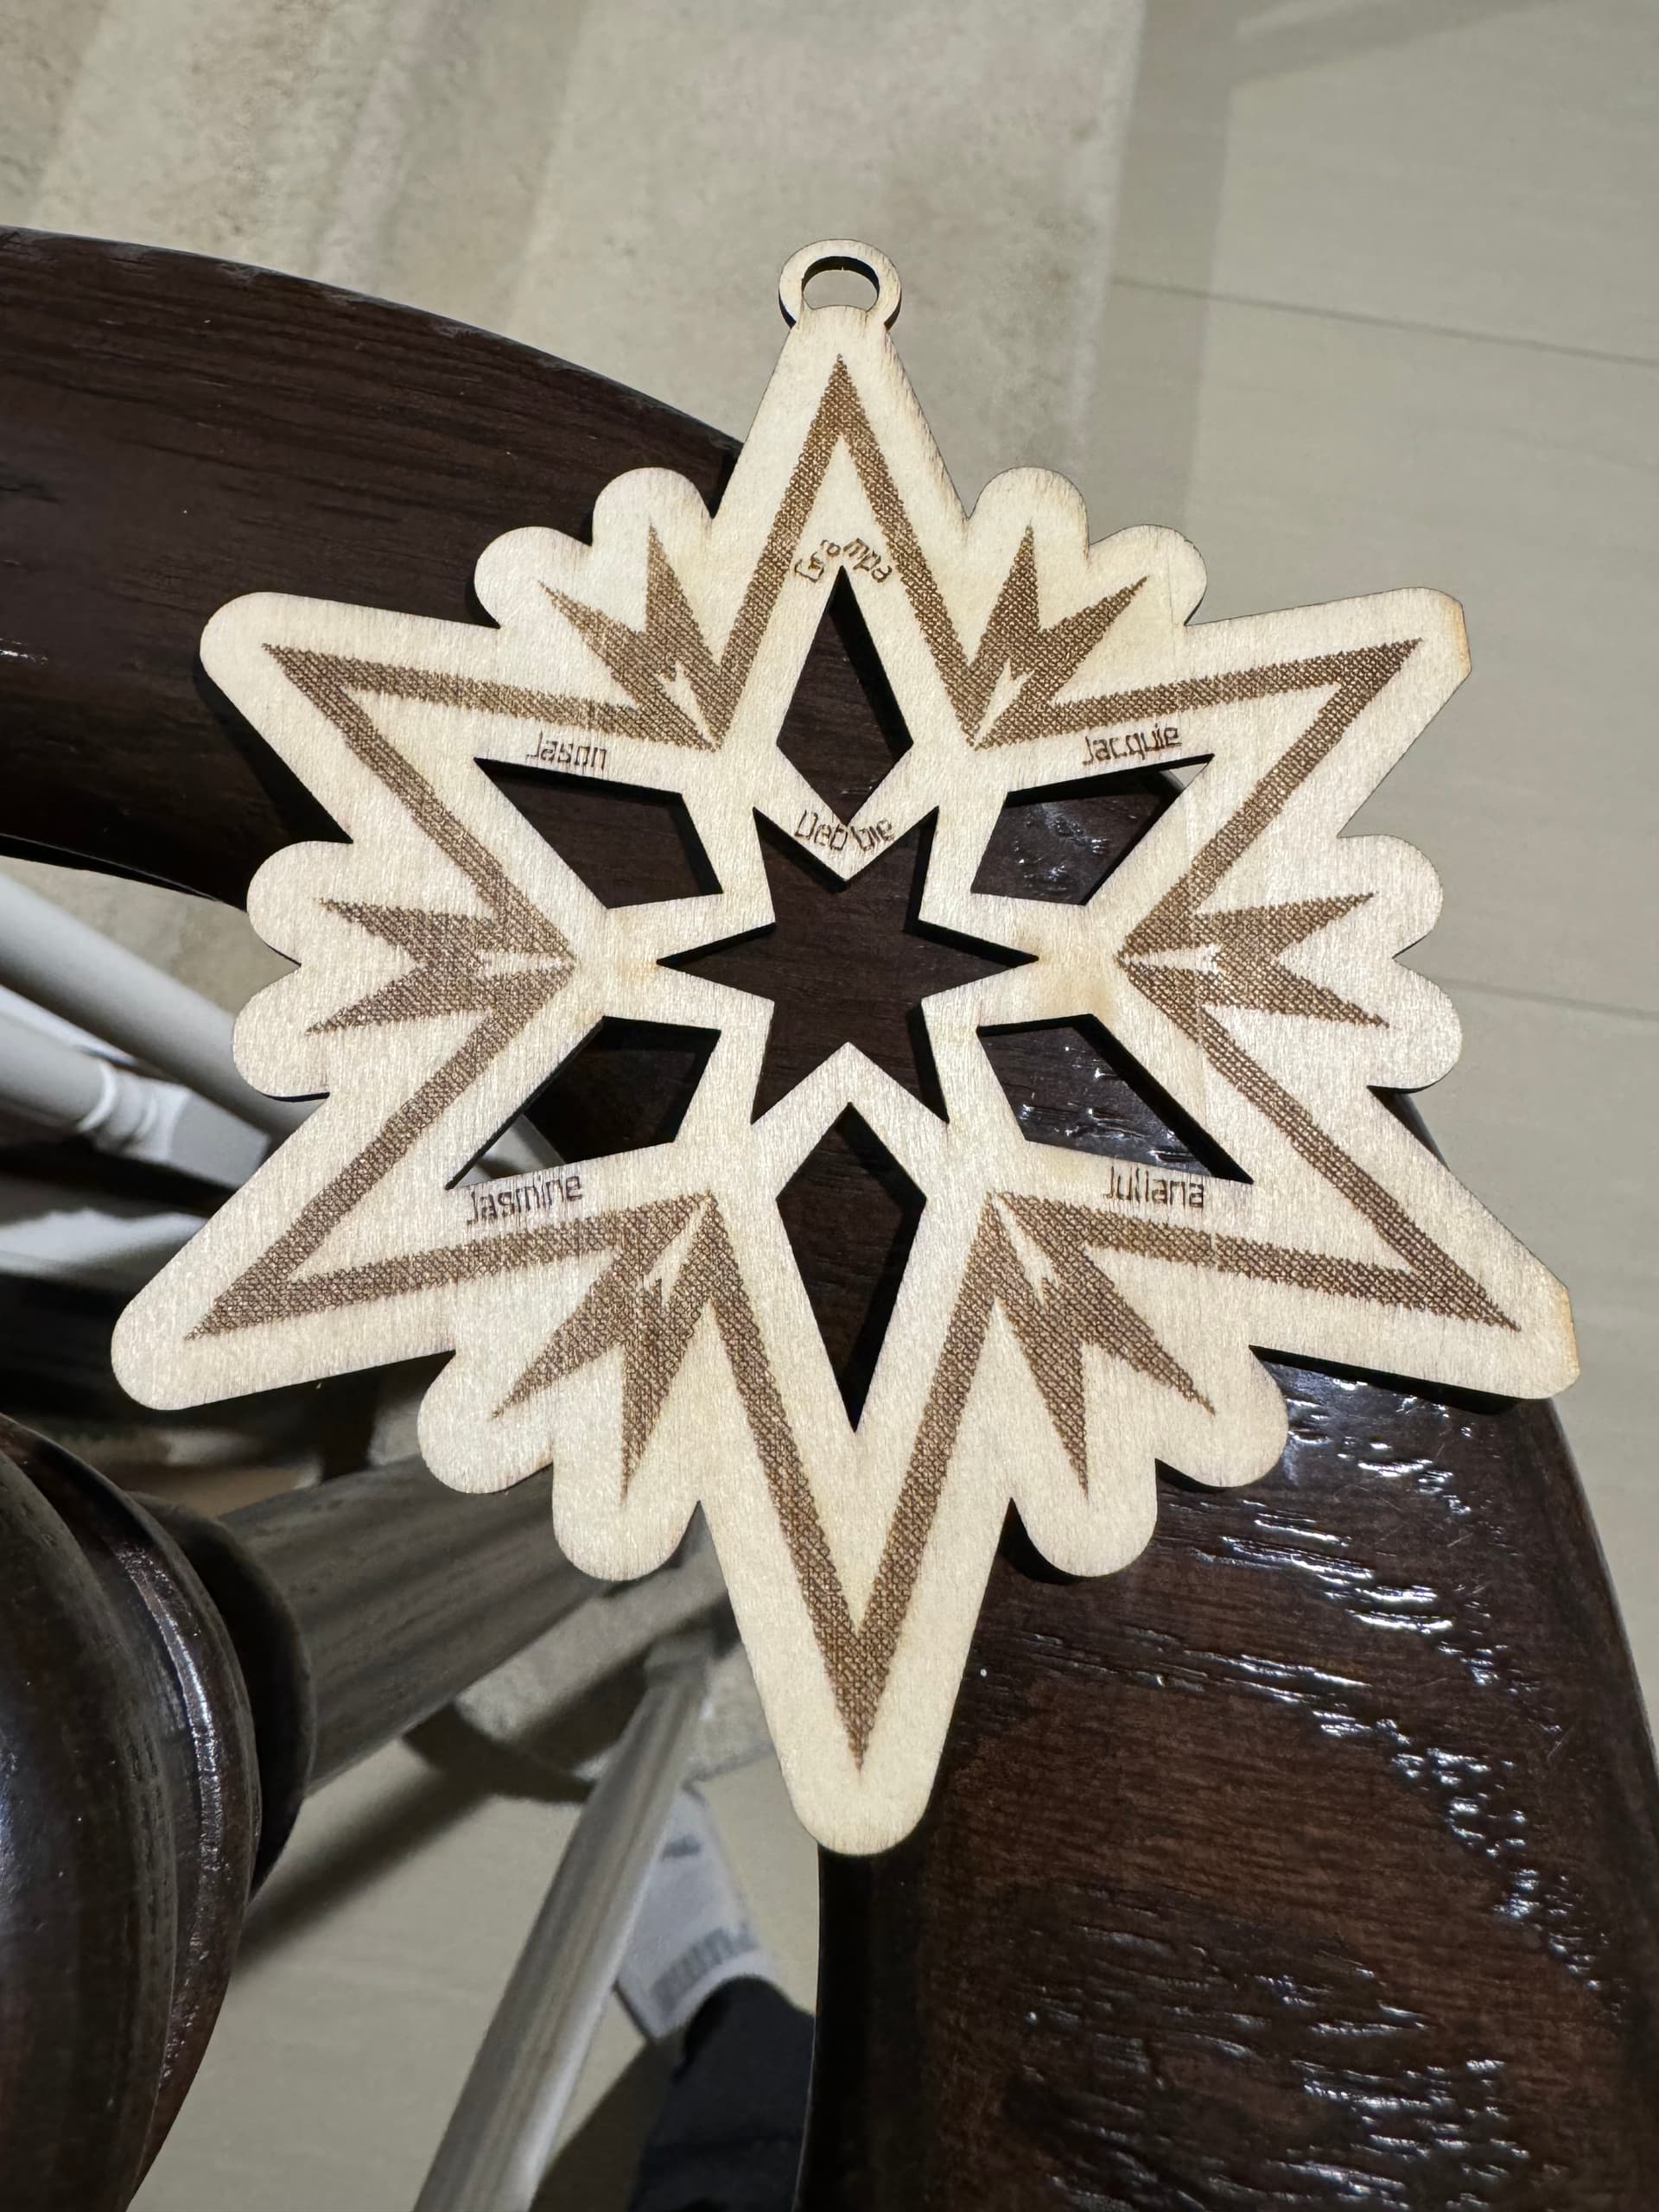
If I may make a suggestion, the fill layer can be advantageously made with a crosshatch - line spacing approx. 0.5-0.7 mm, 45 degrees and finally a round in line mode on the outer edges, it highlights the engraving better.
One more thing, because the star is so nicely symmetrical, you can just turn them over after you have cut the front side and put it back with the back side up and engrave only this side.
We can design a star for next year with better space for names.