to explain my problem, I will add a bit of context.
context:
hi I have used lasers for a while. before I used Lightburn I used the software that comes with a trotec engraver. I draw in a cad/design program mostly and sometimes use illustrator. I generally export to dxf. to then import that dxf into Lightburn.
problem: my drawing changes on several points.
1.minor issue (can be solved by changing my design flow).
Lightburn disregards solid hatches. only if I let there be space in between and explode the hatches then it shows. this is fine in itself because I can just give the object in question another color and let Lightburn know to fill it. then it will probably do the job just as well. I’m only used to filling it in my drawing program as well.
main issue why I write this report (hoping that it can be changed or that there is a workaround for it).
My goal: to get the laser to engrave thick lines.
In my drawing space I have set a line to let’s say 3mm thickness. When I import that drawing Lightburn disregards all ling thickness and properties I assigned to it. And goes for straight hairline.
That’s not what I want as a result. I wanted a 3mm thick line.
Lightburn does do this on lines, when I import an image of the lines.
But an image of the line comes with its own problems of alignment to the rest of the product. (and scale)
My main worry is problem number 2. Is there a way to work around this behavior or to fix this?
the other software and machine i used befor (trotec) has it set that evry line that is thicker then hairline is automaticly engraved and cant be ‘‘cut’’. so it wont be a ‘‘line’’. wondering if somting like that is possible for lightburn.
a solution i would sugest is in the line,fill dropdown menu have a other option that syas engrave. to engrave that selected colour. obiously the selected part needs to show its original dimentions (in my case the 1mm thick line).
LightBurn only pays attention to lines and boundaries of shapes. If you’re used to working with printer-driver style software, you’ll have a bit of a learning curve. The simplest way to get that same kind of behavior here is to export your original artwork as an image (around 500 DPI) and import that.
LightBurn does not import stroke or fill information - you assign those operations using different color layers in LightBurn. If you want to make a line wider, you need to outline the area you’d like filled instead, and you can do that by converting strokes to paths.
Technically you can’t make a line wider - Your laser is effectively a ball-point pen, not a brush. If you want to make a line wider, you need to fill in an area, or draw more lines next to each other.
The Offset tool will take line shapes and add an outline around them, which can work, but the simpler approach is just to convert stroke widths to outlines or paths in whatever your authoring software is, and export that.
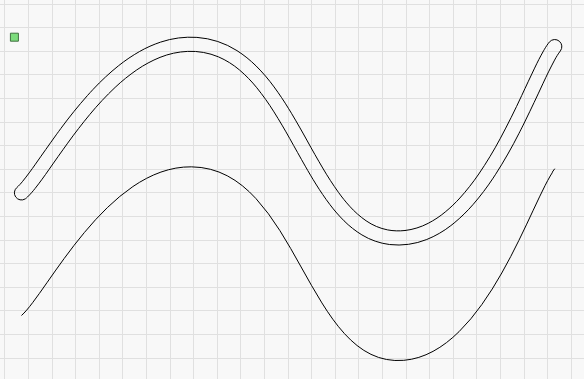
The black line below has been offset using the offset tool to create an area to be filled:
oh thanks.
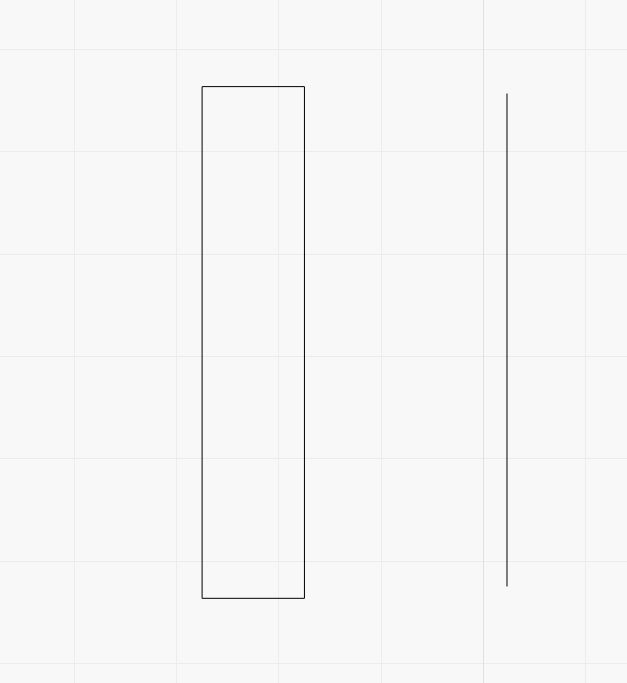
so instead of drawing a straigt line. i should in stead draw a rectangle of how wide i want it to be. that should work, and is doable in my desing flow.