Are there any deeper or detailed instructions in the LightBurn program?
Do you mean like this? https://github.com/LightBurnSoftware/Documentation/blob/master/README.md#lightburn-documentation
The software includes a link to the PDF version of the above documentation, and we have a number of videos on our YouTube channel as well. Are you looking for something specific?
Thank´s Oz
I have to print it out
and keep it beside my computer.
BTW have just bought a license
which I have enabled.
Thanks for the help.
Kristian
Hi Oz. I have not seen any documentation that specifies the ‘.’ or ‘,’ for Rotate. Am I looking in the wrong place? Are there any more such functions?
Those are brand new and just haven’t made it into the docs yet. I’ll add them now.
This page lists most of the hotkeys: https://github.com/LightBurnSoftware/Documentation/blob/master/HotKeys.md
And there’s always ‘F1’ in the software (Quick help and notes) - all the hidden keys are generally listed there too.
Hi Oz
Thanks for all the support, but I have a thought.
Is there any relationship between speed, intensity and wood type?
I have tried a lot of different settings, type speed, gamma contrast brightness.
I can’t find the right settings for my image.
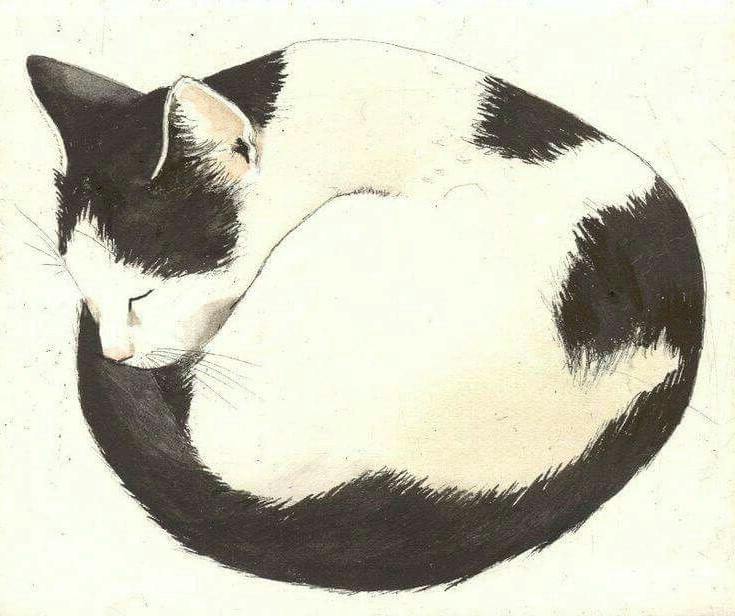
I have an almost black and white image of a cat that I can’t get to work.
Do you want to be so kind and help me with it if possible
Everything you mentioned has an effect on the outcome. The depth and darkness of the cut is affected by:
- how well the material absorbs the laser light
- how tightly focused the beam is
- how fast the laser is moving
- the power setting in the software
- limits and settings in the controller itself
Since yours is a diode, which is visible light, it will be reflected more by white or very light surfaces.
The laser is a little bit like an airbrush or spray paint. If you move fast with it, you get a lighter result, and if you move slow you get more ‘paint’ on the surface, so it’s darker. If the laser is out of focus (too far from the surface) it will also be lighter.
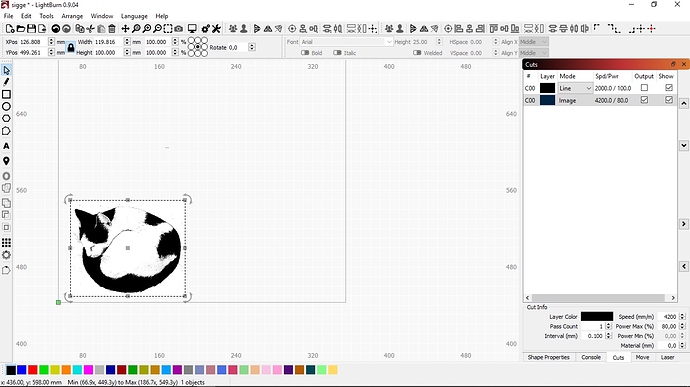
As a starting point, try these settings:
- 70mm/second (4200mm/minute)
- 80% power
- 254 dpi
- 2.5% overscan
- Dither
Post a picture of your result with those settings and we’ll go from there.
thx Oz
I’ll try that settings tomorrow, and give you feedback.
Good morning Mr. Oz
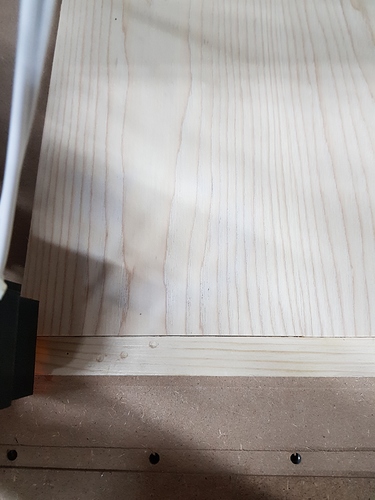
The video shows that nothing happened
with the settings
The picture shows when the laser returned after completed work
Nothing at all.
Sorry I couldn´t upload the video
Post a screenshot of your LB window with that project open.
Ok, i will do so
Did the laser turn on at least?
Have you ever focused the laser or done a focus or ramp test to determine what your best focus point is? If the laser turned on but didn’t make a single mark, my first guess is that it’s not focused, and my second guess would be a settings issue, so we’ll start with focus.
yes the laser is on as it goes back and forth.
BTW what is a ramp test
I had in the beginning focus with a help from J-tech
but you may like to enlighten me so I know if I have done right
I can send you the video if you like
Isaac posted a good link a while ago on ramp tests.
That should get you started I think.
If you’re using a diode laser, you can also enable the beam in low power mode to help you focus. In the Device Settings, click the ‘Enable Laser Fire’ button, then restart the software. On the ‘Move’ window you’ll see a button labeled “Fire Laser” and a power value next to it. Enable the laser at the lowest power you can see the dot, then focus it to the smallest point you can with the focusing ring on the bottom of the diode assembly.
This topic was automatically closed 30 days after the last reply. New replies are no longer allowed.


