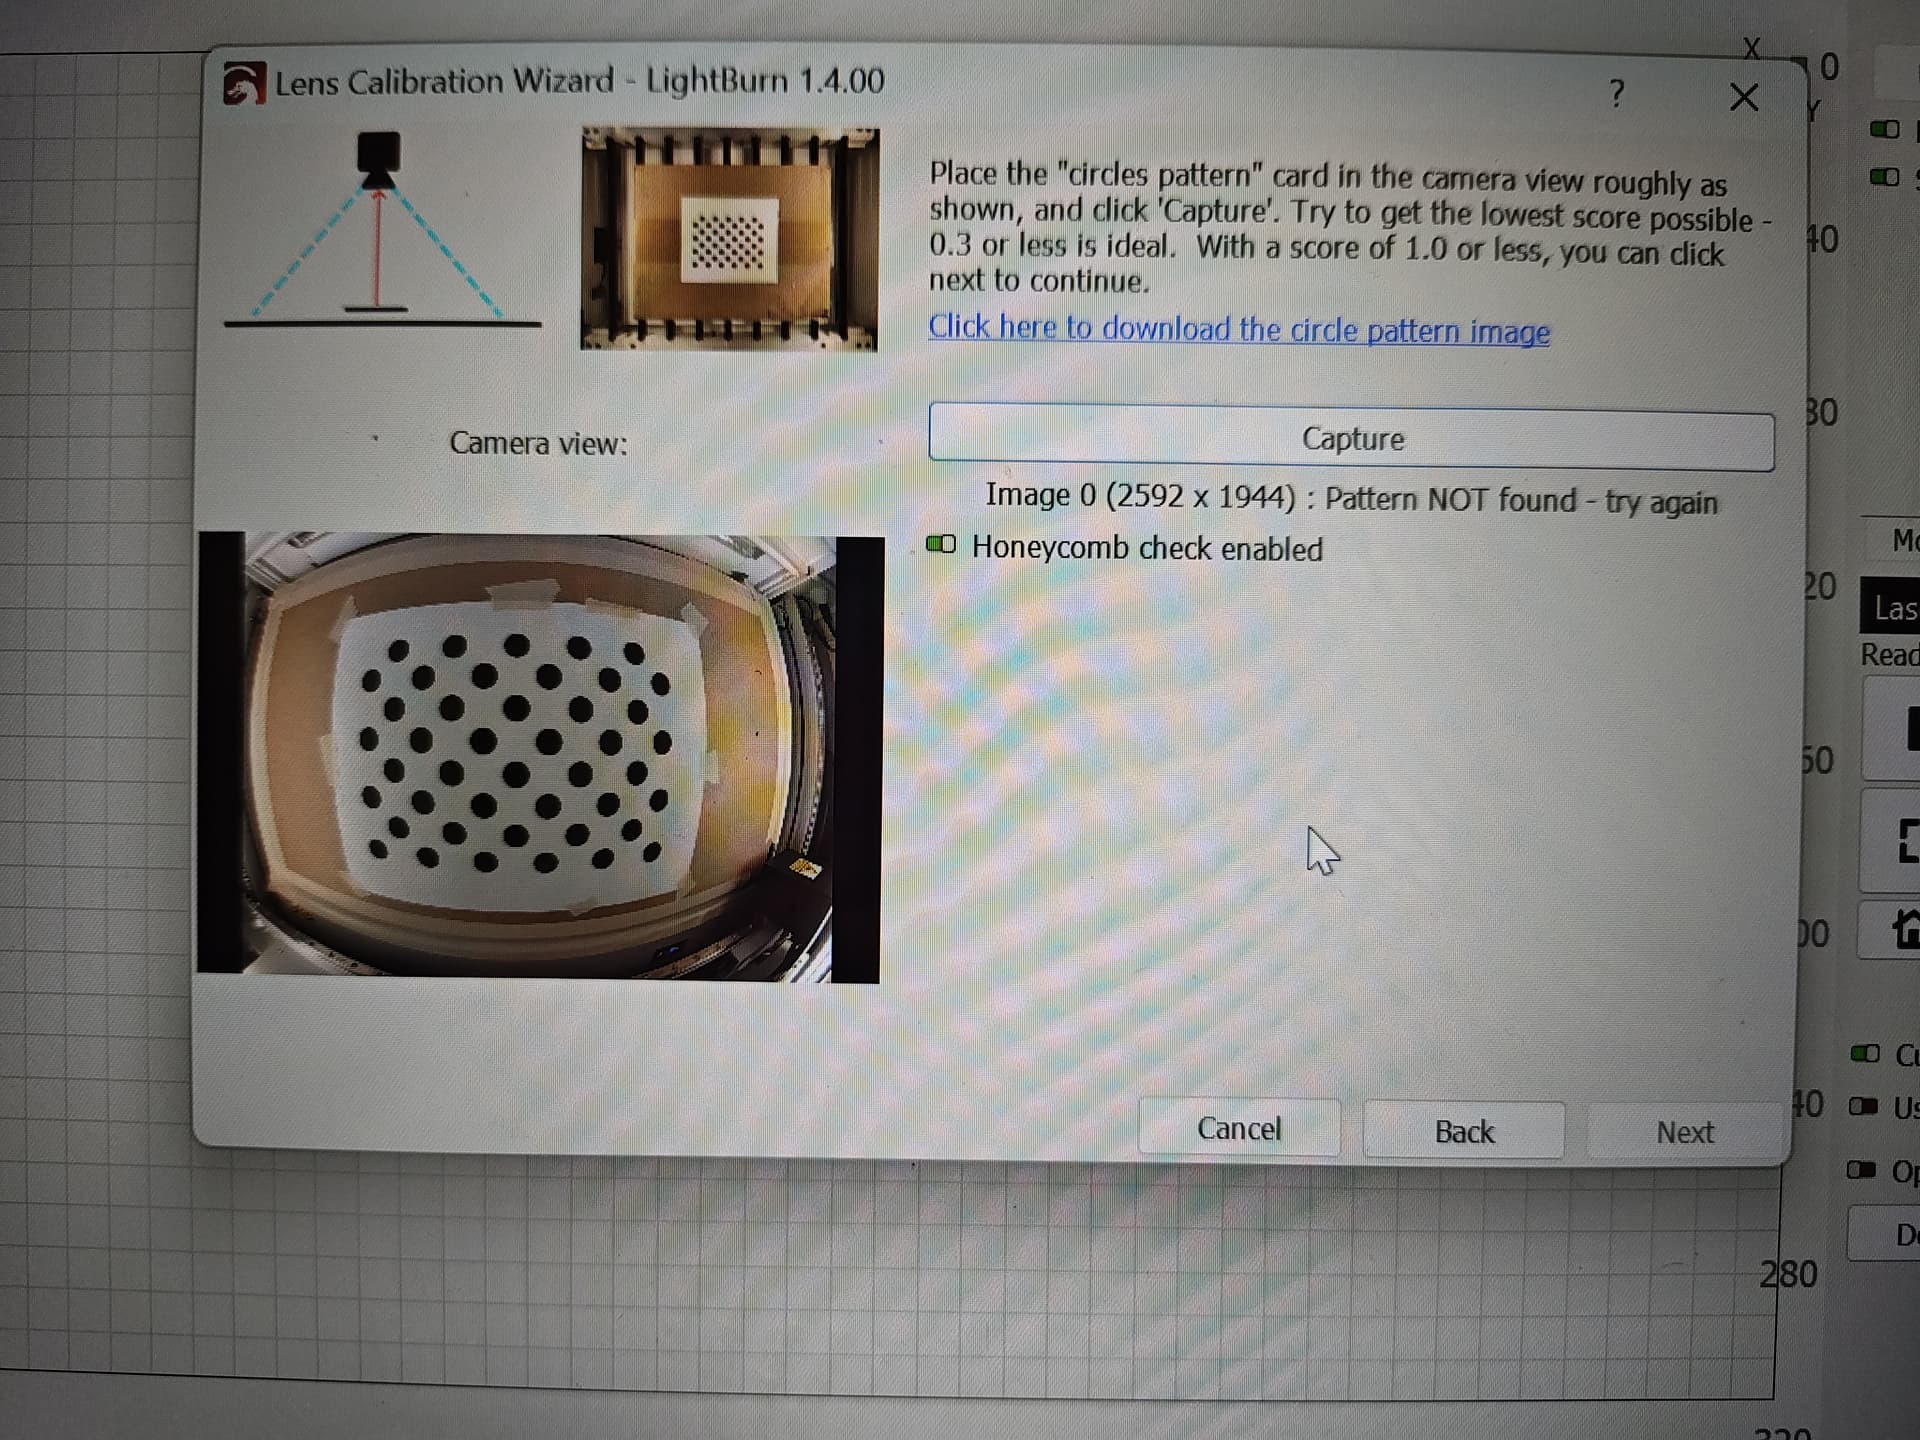
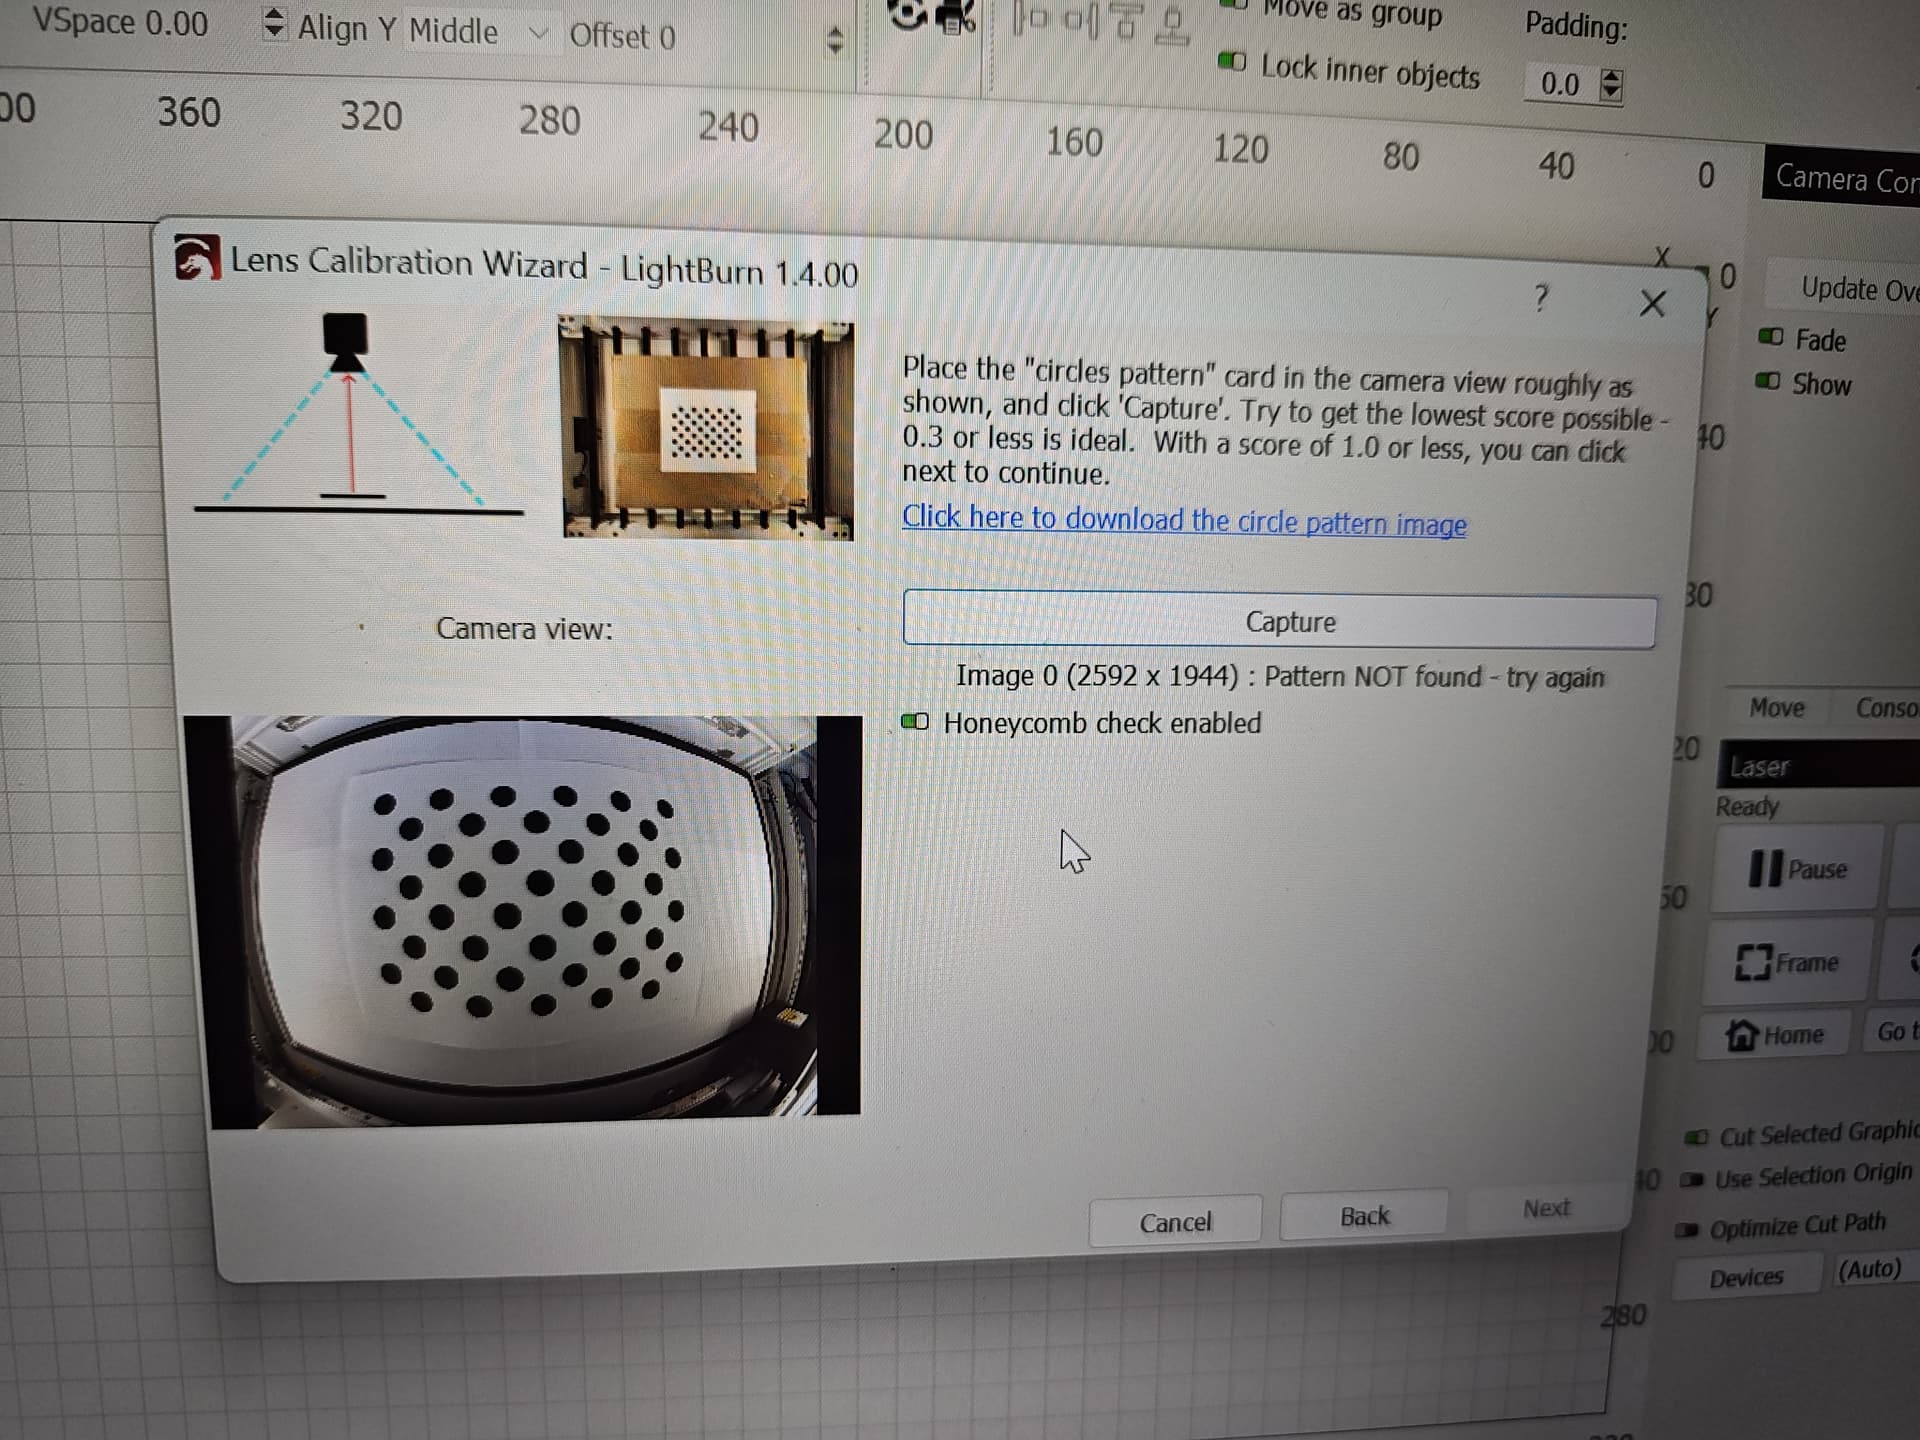
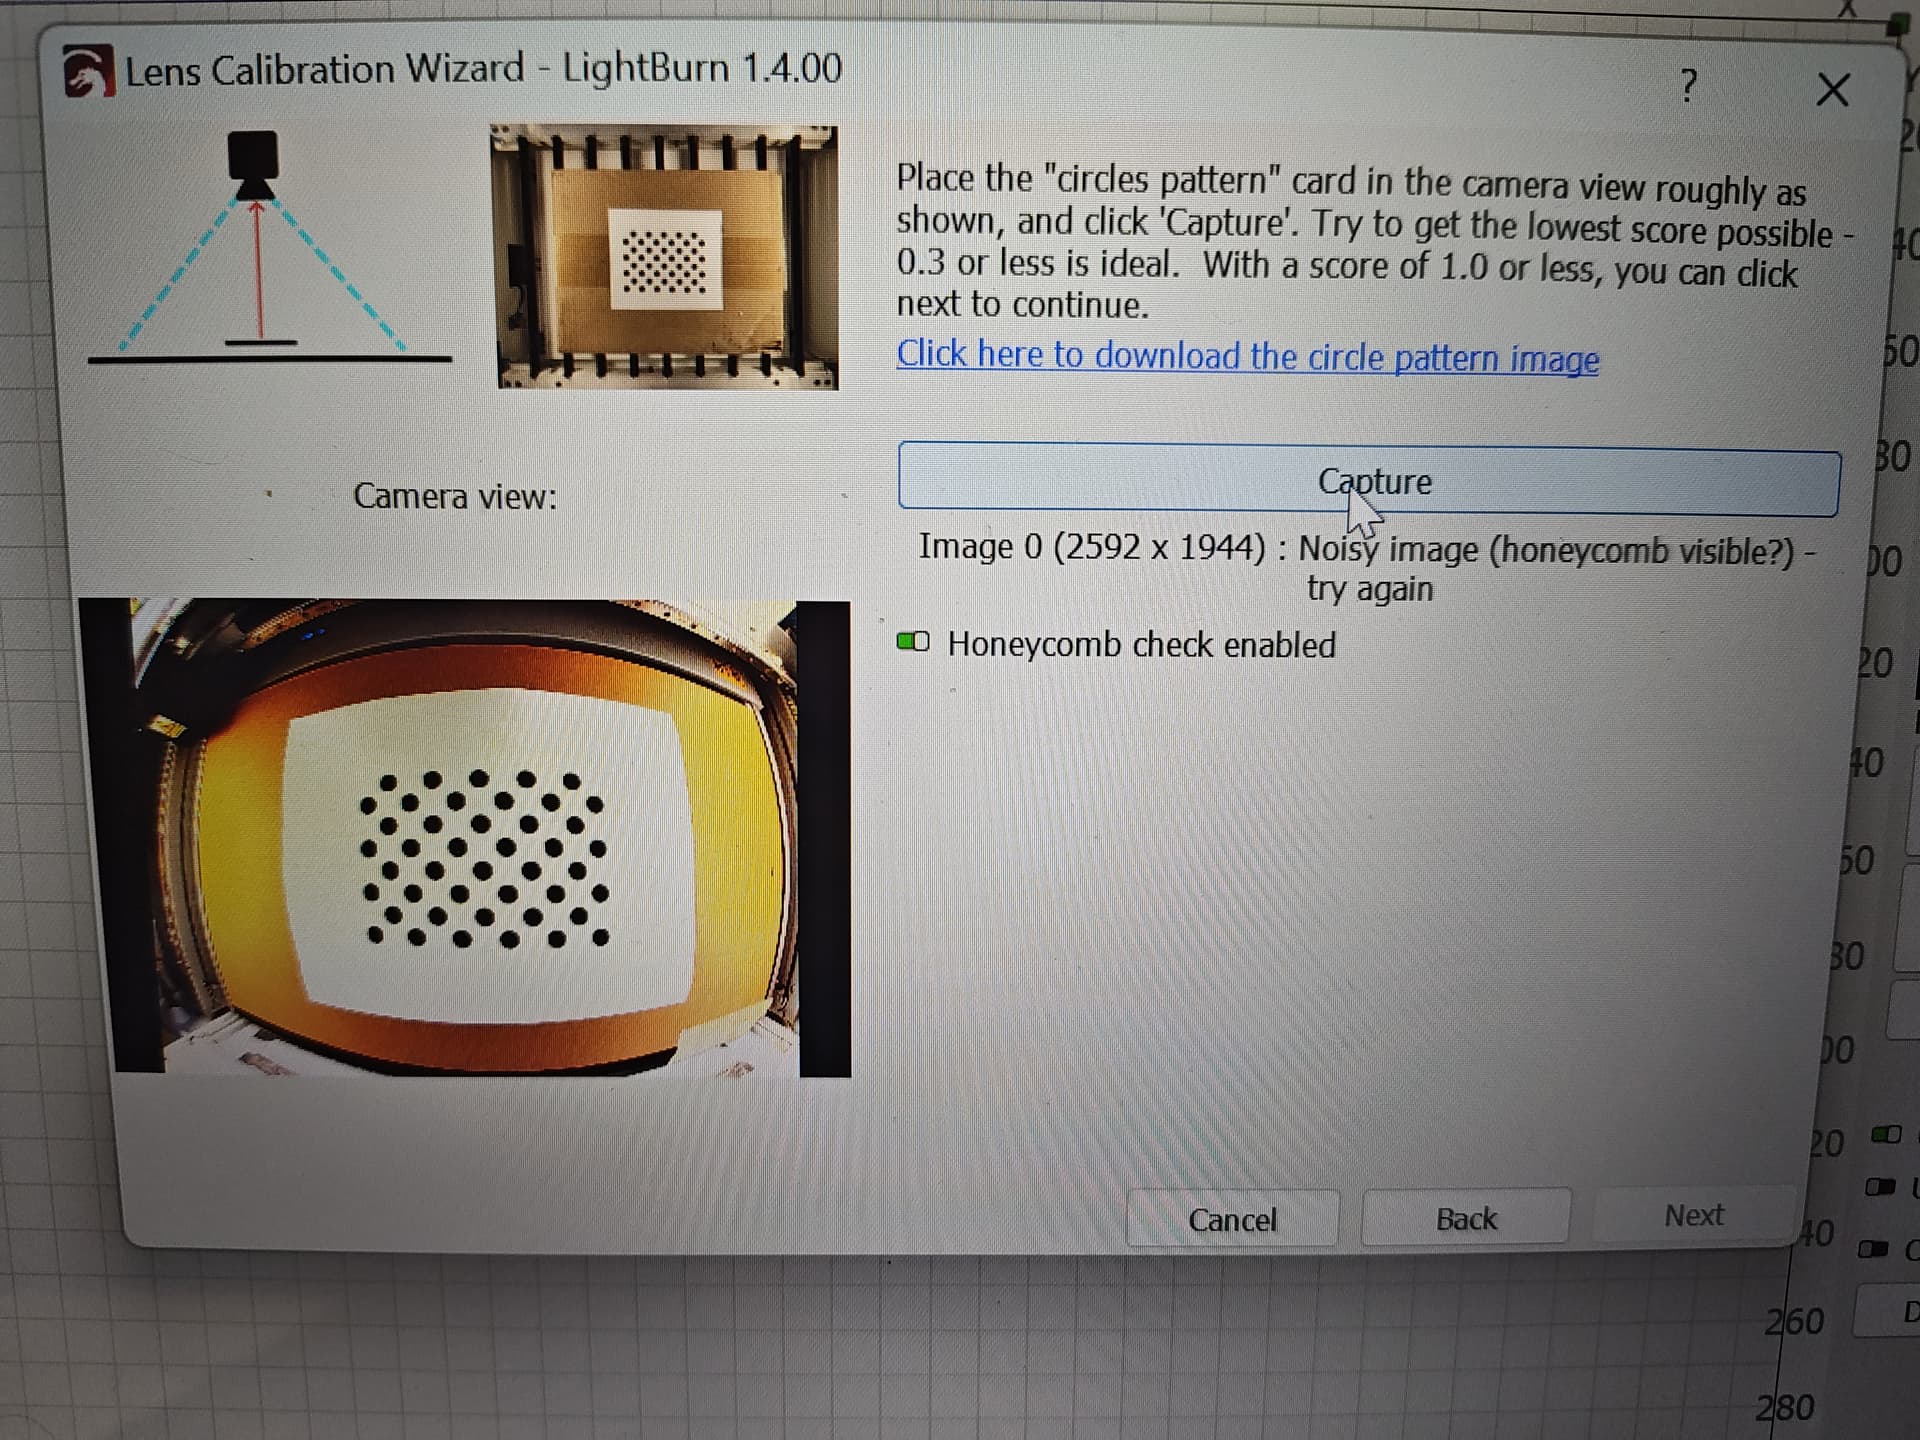
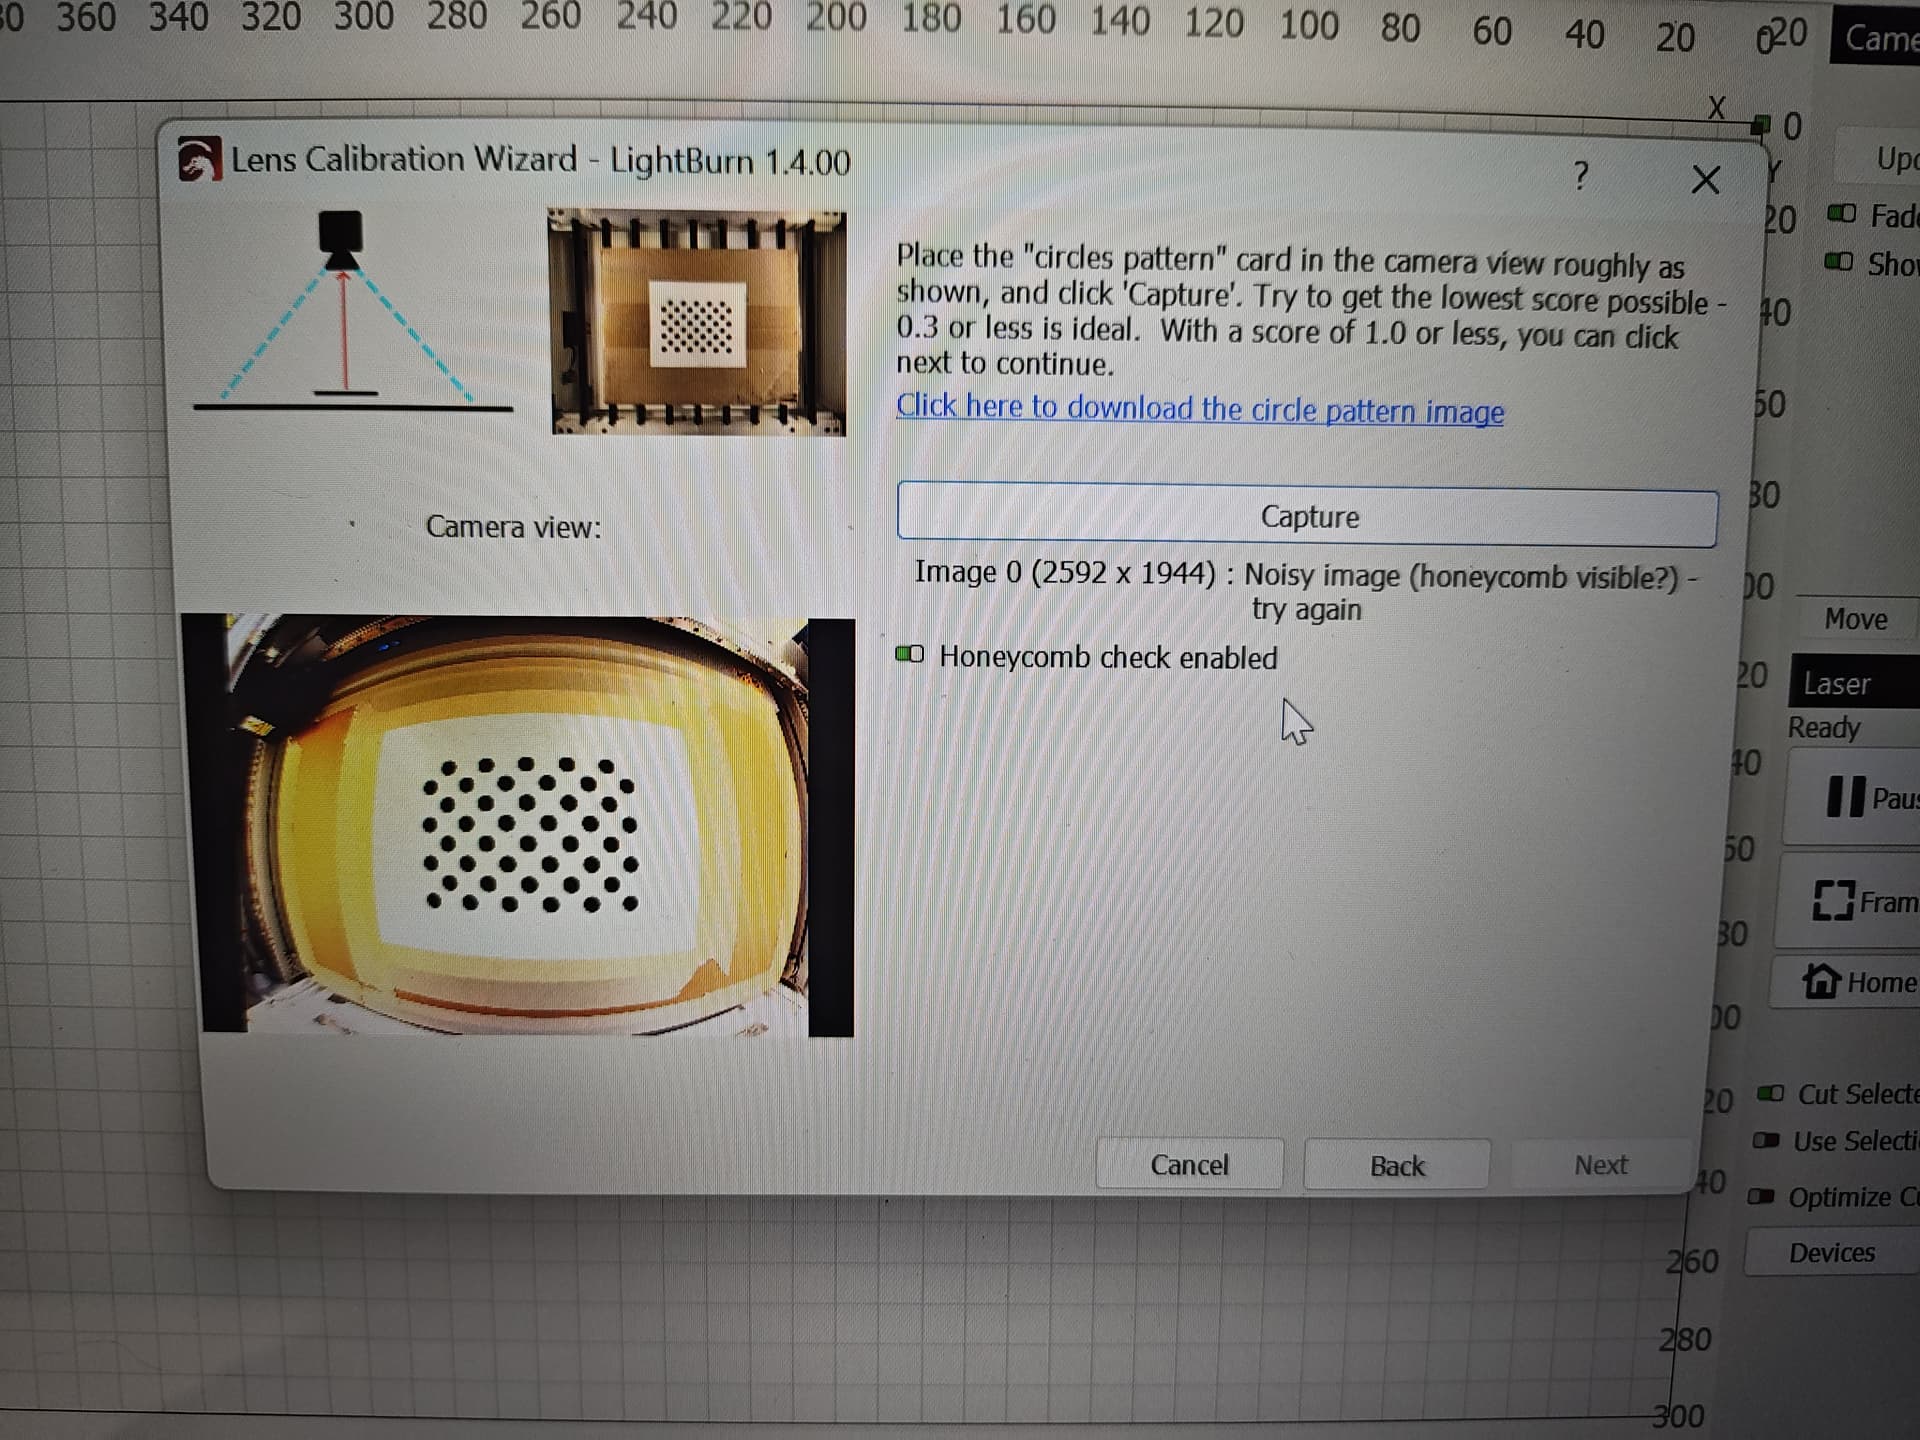
As stated in the title, I am currently in the process of calibrating the camera on my GWeike Cloud laser engraver. When the cable is hooked up, I am able to successfully see the image in my laser. I have chosen the fisheye option to calibrate, and I have printed off the dot pattern required for calibration. However, I have tried about ten different combinations of things, and all I ever get is one of the following two messages. “Pattern NOT found - try again” or “noisy image (is the honeycomb visible)”. I have tried the following and still only receive one of those two messages.
-Pattern on honeycomb background
-Pattern on basswood
-Pattern placed on Acrylic (still covered in protective film)
-Pattern placed over plain white paper
-Reprinted pattern with larger dots
-Adjusted camera settings to be sharper, more contrasted, brighter, and dimmer
-Patten on basswood with masking tape covering the slight edges of honeycomb showing
-Resetting my laptop
-Updating my laptop
-Taping just the pattern itself down to the honeycomb
As you can see I have tried many different things, and I have spent around three days on and off trying to get the camera to work and I am rather frustrated. If anyone has any helpful tips, or more ideas I am open to all. Thank you so much.
These are obviously just pictures taken, and not pictures taken of everting I have tried. It is what I had taken previously though. So if you need a more specific screenshot or picture of the process let me know. Thank you so much!
It looks like to me that the calibration pattern may be too large relative to the overall image. I’d suggest printing smaller, I’d estimate roughly 50% of it’s current size.
Some other considerations:
Make sure you pick the “fisheye” option when given the option earlier in the wizard.
The pattern with the brown background I suspect will work better than the white background
Try to get the entire pattern dead flat. Any distortion or waviness in the paper will affect the calibration accuracy. Typically this is done gluing the pattern to a known flat surface. You may not want to commit to this until you know the pattern is getting picked up.
I’d suggest trying to be as patient and picky about the score as possible. Ideally this is below the 0.3 score indicated.
Are you able to even out the lightning at all? It’s possible that the card is getting washed out.
Put the card on something you can hand hold. Try moving the pattern at different locations and heights to change the perceived size as you push the Capture button. At any point does this capture a successful image?
Failing that, are you able to aim the camera away from the bed? If so, it may be easier to complete the lens calibration outside the confines of the bed.
I did previously change the lighting around (this was before using the new size dot pattern). I am not able to move the camera sadly. But I will try to change the brightness and contrast settings with the new page.
I’d encourage you also to try hand holding the card even if you cannot reorient the camera. Right now I’m more curious if you can get any capture at all, even at a poorer score.
If you can demonstrate being able to get a successful capture then it’s just a matter of tweaking the variables until you get the best possible score for your situation.