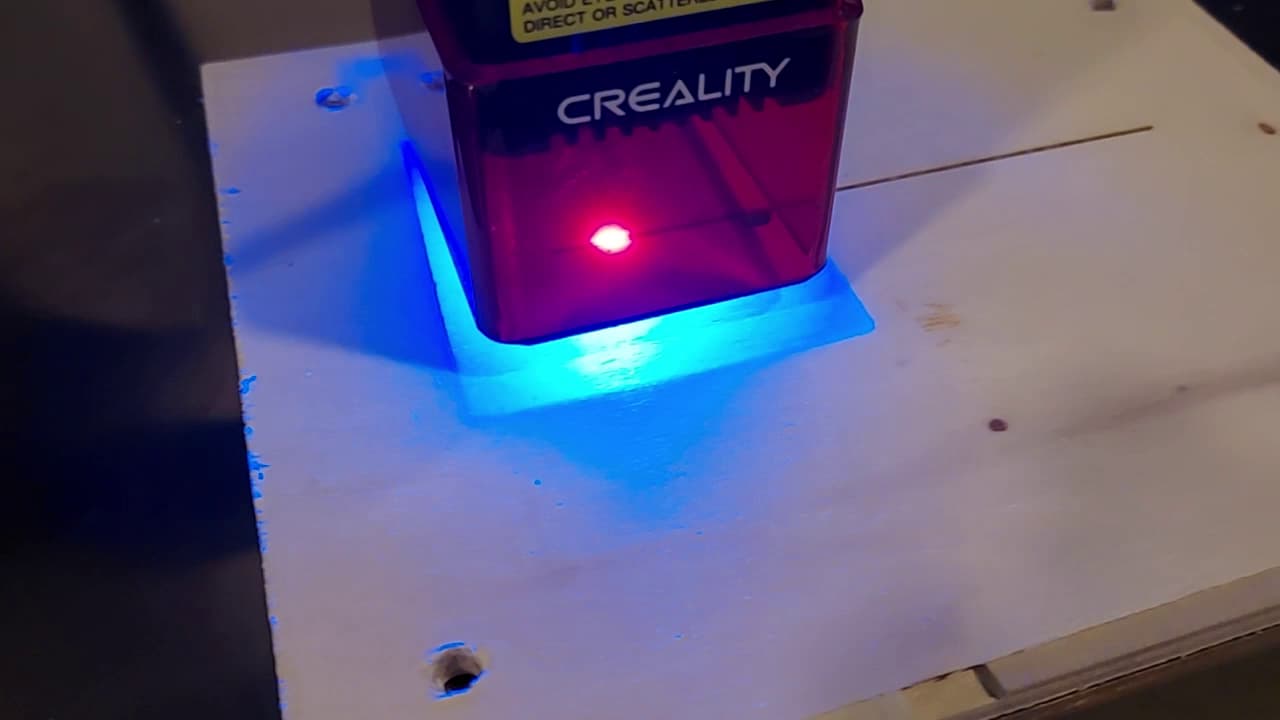
I’m using Creality CV-Laser Module 24V 1.6W on an Ender 3 S1 Pro but I can’t identify the correct settings. I don’t know if I should use Marlin, GRBL, Inline, M03… anyway.
When I use Creality Print software there is no problem, but it is very limited software and I want to use lightburn. The frame run does not work or sometimes the laser simply does not engrave anything on the object.
If someone knows the right settings for this device I appreciate it.
Did you do the controller swap from Creality or is this machine currently capable of being used as a 3D printer?
If the former the controller should be configured as GRBL. If the latter it should be configured as Marlin. For Marlin the Control Command set you’ll have to sort out through trial and error if you’re not aware of the capability of the firmware. Inline is preferred. If that doesn’t work, then likely M3/M5. Then M106.
Hi PY. It can be swapped between Engraver to 3D printer controller from the screen. So Yes, I do the swap to Engraving when I need it. The firmware is updated according creality recommendations, it still has Marlin on it. I’ve tried inline, M3/M5, nothing works.
When I use Creality Print software there is no problem, the engraving works well, but that software is very limited and I want to use lightburn. With the lightburn gcode for example the frame run doesn’t work or sometimes the laser simply does not engrave anything, it just run over.
How are you doing this? Are you saving g-code from LightBurn and then running from SD card? If you are running from LightBurn are you pushing the frame button? What happens when you do this?
Do the jogging controls in Move window move the laser head?
That means that the laser head is moving and being controlled by LightBurn, correct? Are you saying the laser light doesn’t come on or that it’s weak?
Try to be as detailed as possible in what exactly you’re attempting to do, what you expect to happen, and what exactly is happening instead.
Hi PY, thanks for your answers. I’m saving the g-code from LightBurn and then running from SD card. From the printer screen (running marlin), the frame command does nothing, the laser head doesn´t move.
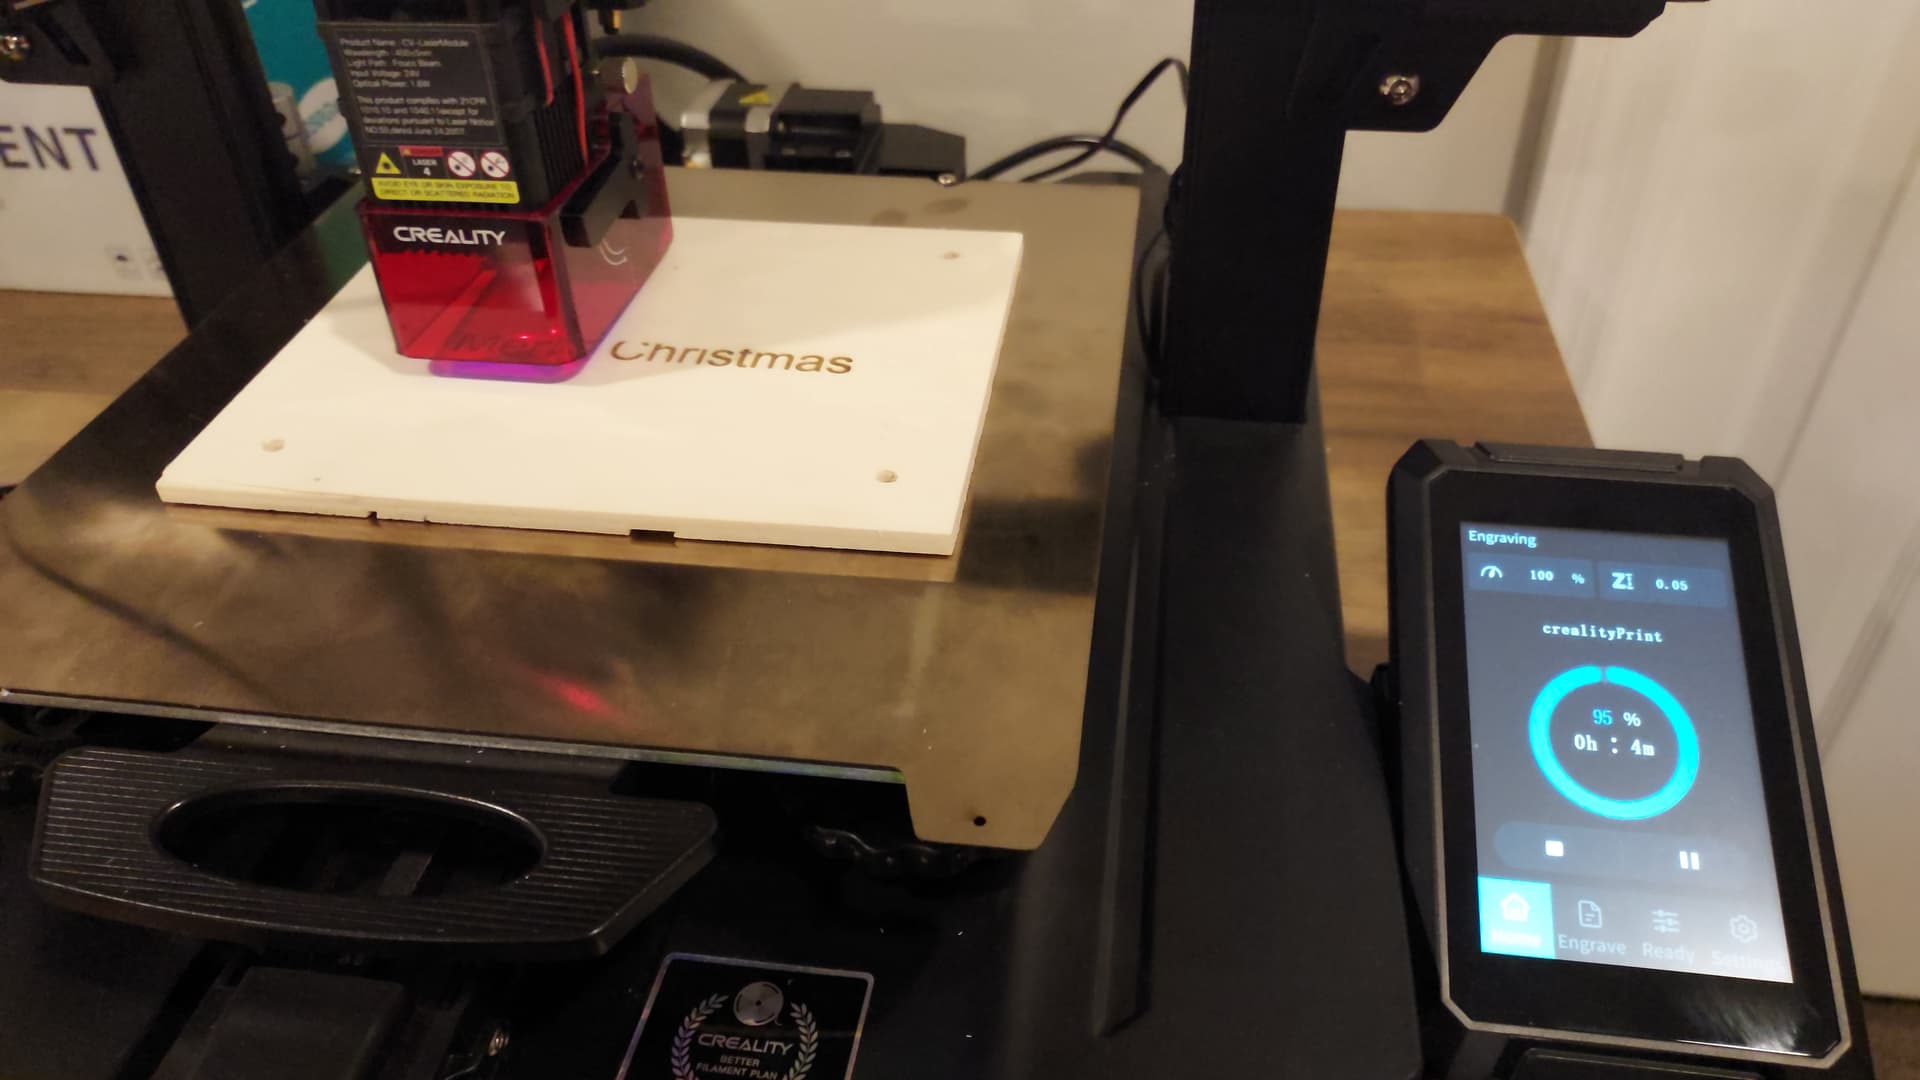
Then when I press the egrave button from the screen, the laser head moves and starts to “engrave” the image, but the laser light doesn’t come and nothing is engraved on it.
Again, when I do the same process from creality’s software Creality Print (export the g-code to SD card and run it on the printer using the same screen running marlin) the engraving works good, including frame command, etc.
The printer control panel likely has a proprietary way of handling the frame function. Oftentimes using a special header format. If so, LightBurn wouldn’t generate this.
Can you upload a Creality Print generated g-code for a simple design as reference? You may need to append .txt to the end of the file for the forum to accept the file.
This is likely due to incorrect control commands being used.
The reference g-code should reveal what commands are expected.
Is there a reason you want to use an SD card to transfer the g-code? Is connecting directly an option?
LightBurn-Marlin.txt (75.9 KB)
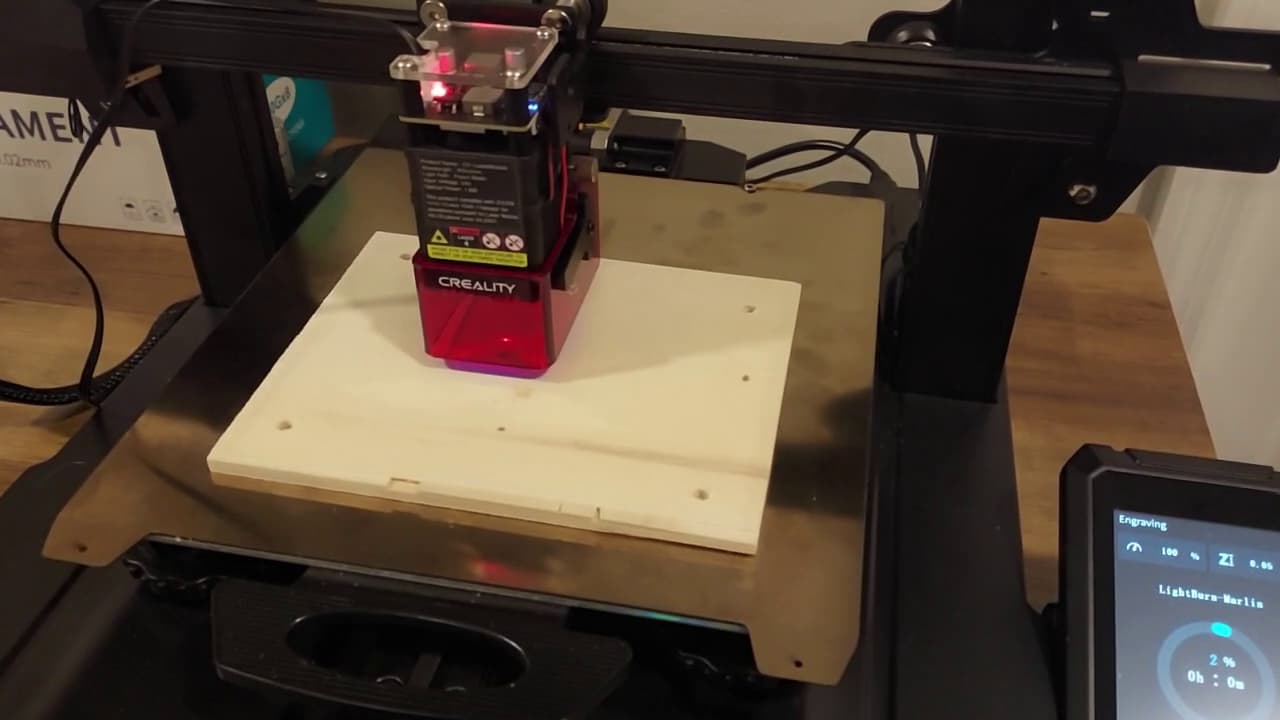
LightBurn-Marlin.txt is the gcode from LightBurn and Marlin as Device Settings (it doesn´t engrave) but the head laser moves.
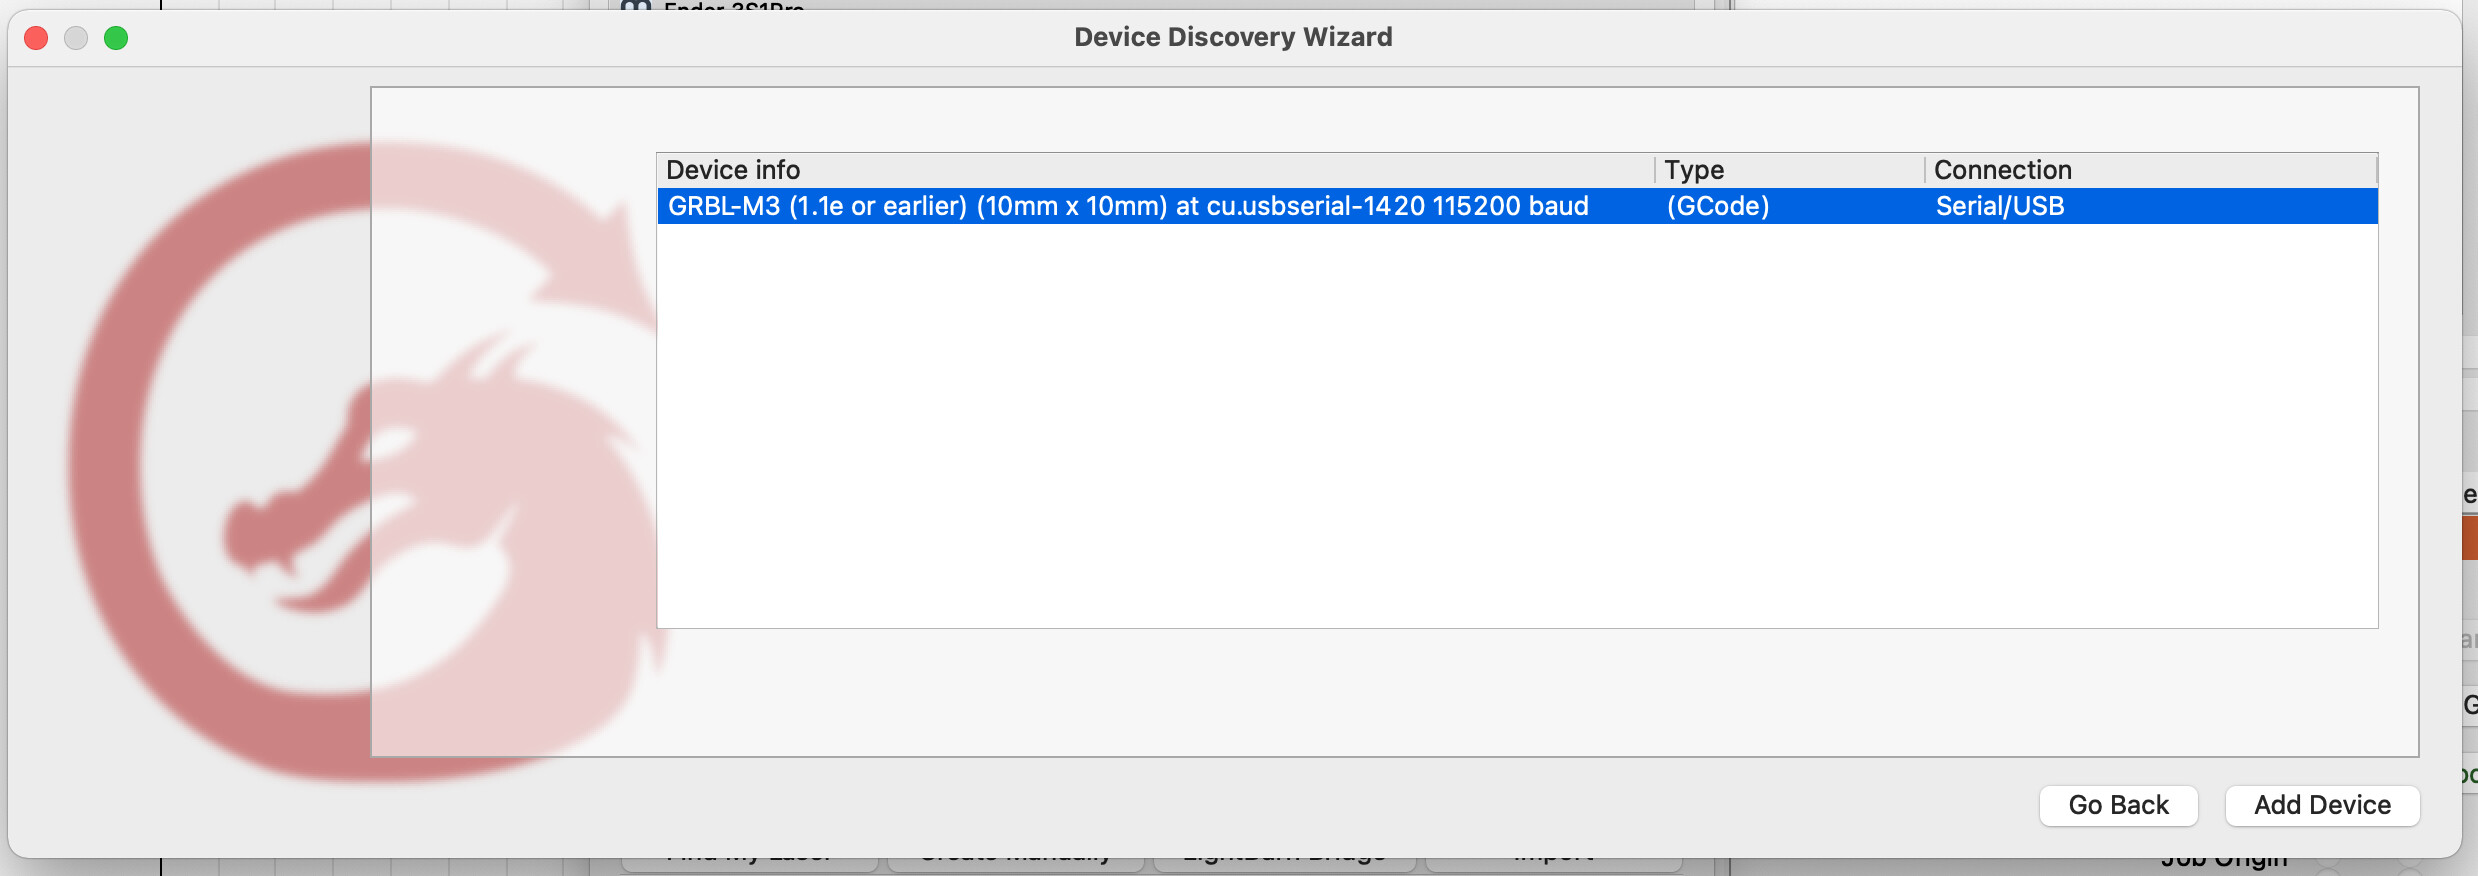
I’m working on a Linux PC and LightBurn doesn´t detect the printer using the USB-C port. Now, if I use a MacBook laptop LightBurn detects the printer using the USB-C Port as GRBL-M3 (1.1e) 115200 baud. The gcode engraves, but just makes a long line :
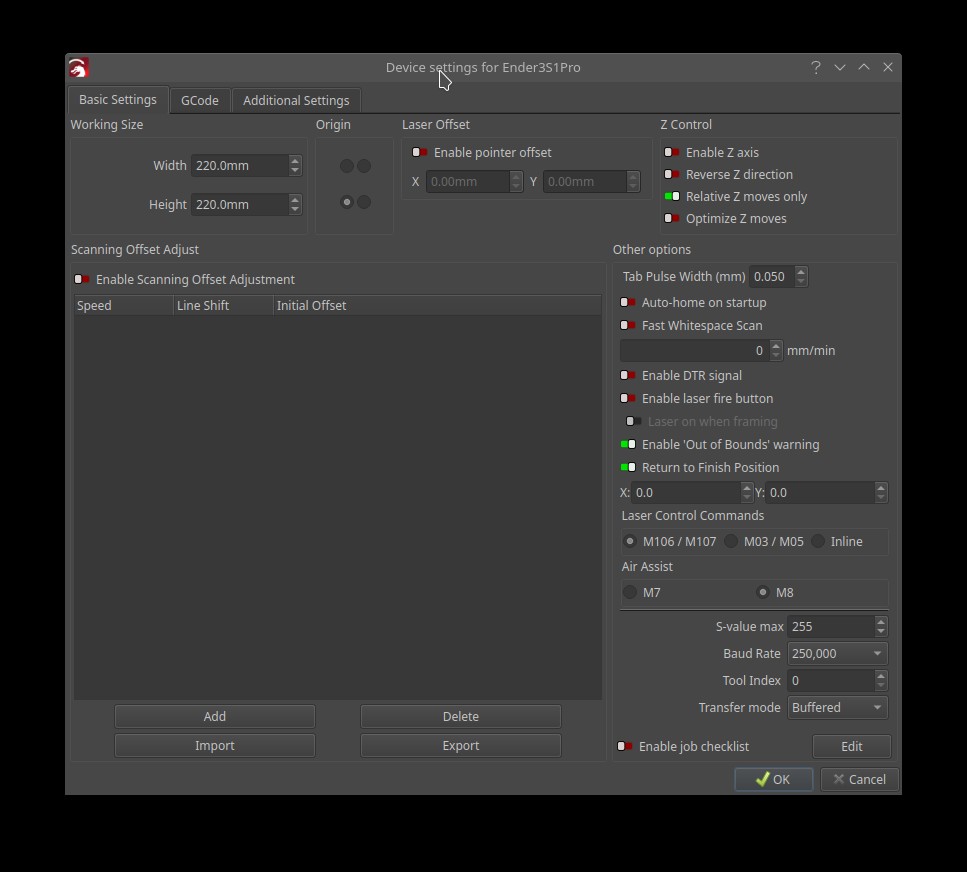
You were right, the S Value Max settings was too low for this laser, so I set it up to 1000 and works too much better, actually it engraved correctly, at least as was expected.
After many tests, the best results obtained (so far) were with the following settings:
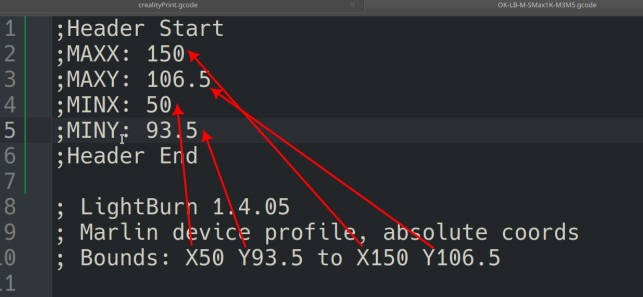
Now, about the Frame (Run Range) I had to add the commands (to the start) manually into the gcode file after LightBurn exports, which is easy since LightBurn creates Bounds commands, see image as a reference: