LightBurn vs Inkscape

LightBurn is unlikely to ever be great at freehand artistic work, but I’ve always wanted tools for patterning, cleanup, and light design where it makes sense.

I own Vectric Aspire (and had VCarve Pro before that) and I found that I used it more often than anything else when making stuff, because it was really fast at specific kinds of things - I feel like LightBurn is getting close to that too.

In any case, I’m happy you’re happy. :slight_smile:

2 Likes

I’ve got the whole Aspire package too and it’s always been my go to for CNC routing. I’ve made some beautiful art with V-Carve. I started with BobCAD years ago and just got tired of how hard it is to use. For 2 dimensional Inkscape has been good.

1 Like

you can definitely do it with inkscape, the function is named “tiled clones” (edit / clone / create tiled clones)

1 Like

Would you be so kind as to share a link with us. I’m interested I getting some

Thanx

Sasquatch

Do you use it mostly for engraving ? This setup would not be favorable for larger CO2 lasers for cutting due to the plastic base would be obliterated by the laser beam cutting through.

Very nice design and work by the way.

Sasquatch

I can’t imagine anyone “spiking” their leather goods and wearables with these things (they’re pretty sharp)… but these are the ones I ordered on Amazon.

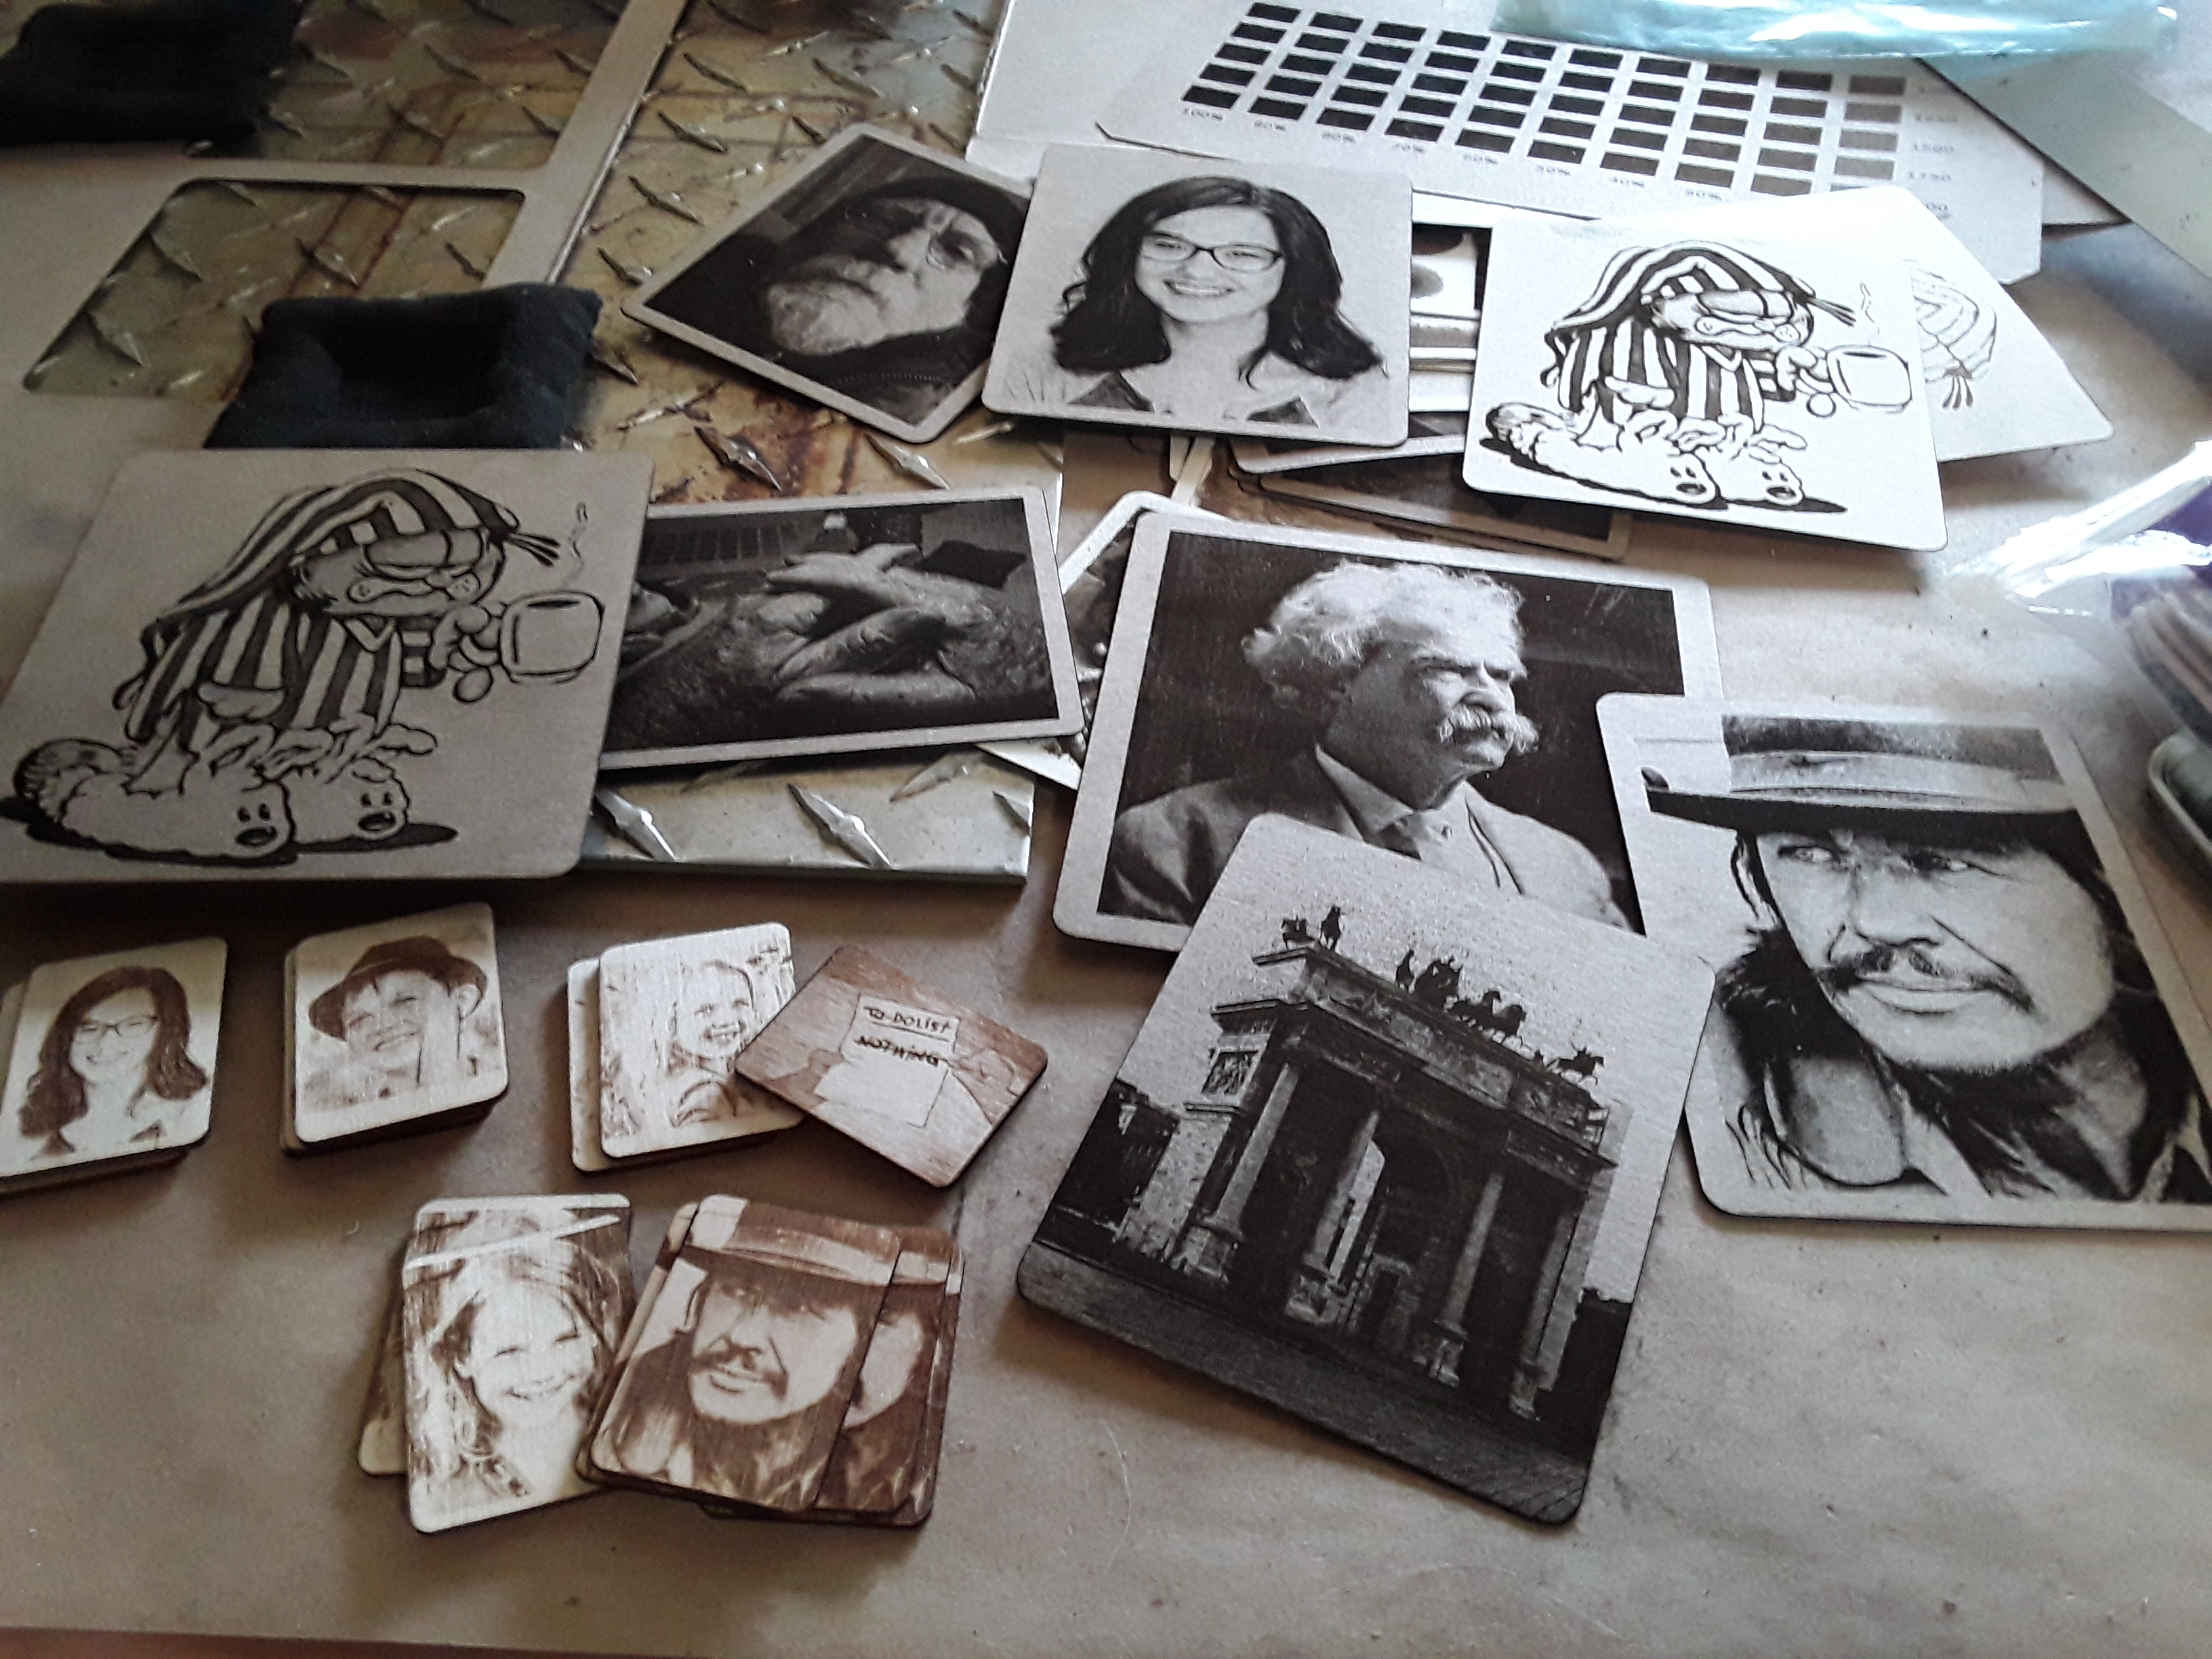
I recognize that the plastic (PLA) wouldn’t stand up to a CO2 laser but I have only 2.5 and 3.5 watt Banggood/Eleksmaker diode lasers… so it works for me. I’m having a blast playing around with small stuff and trying some of the engraved photo techniques @Bulldog is sharing with us… primarily in cereal-box chipboard and craft-sticks right now

I wanna try my hand at the ceramic tile engraving when I get a chance to get out again and get the supplies needed…

– David

My comment was an observation for other readers in our forum who might consider doing the same setup for a non diode setup. I knew that you would know .

Thank you for sharing the link.

1 Like

Gotcha… :smiley:

Looks like I should be taking lessons from @dkj4linux very nice

I think you both should collaborate.

Nay, nay… @Bulldog. I’m a rank beginner at this photo engraving stuff and just trying to come reasonably close to what you’re showing us. I’m not there by any stretch but still seeing my best yet… and looking to improve. Thank you for sharing with us! :smiley:

key is to document …success and failure…I take a photo copy of engraving…add notes…settings etc…then file…I have files for different substrates I use

2 Likes

Hi Sasquatch, these are what I’m using.

Yep. Inkscape has the Clones function.

Im making my base plate out of 1/16 aluminum sheet. 48 holes spaced every 2” for the spikes.

A retired electrical engineer, I spent 40+ years in industry, working with many engineers and scientists… some incredibly organized (as you obviously are) and others who are some of the most disorganized folks you could ever meet. Sadly, I fall into the latter category… a competent design engineer but hating to document my work. Curiously, after retirement, and letting the kids finally talk me into getting a cellphone a half-dozen years or so ago, I – almost by accident – discovered the phone’s camera functionality (I grew up hating cameras!) was both handy and useful to “document” all the stuff I enjoy messing with. And now, with participation in the several forums I “inhabit”, I find that I’m now documenting/discussing my work FAR BETTER than I ever did professionally! I’m still lacking in the keeping up with my notes/files department… but, at 73 years, I forget lots of stuff and doubt that’ll ever really improve. I’m hoping that by following some of your recipes and trying to replicate some of your work… maybe some of it will stick!

I cut out the aluminum late this afternoon on a water jet. I just finished screwing in 48 spikes. I’ll give it a try on the laser tomorrow. image image image image

1 Like

Here is my nail bed, i chose slightly shorter spikes but they are ok. There were some bad gains in my delivery (from China)
It takes a lot of time to level the bed so that it has the same height in all places.
I only have 4 long M6 screws with counter nuts to hold my bed and because the K40 bottom base plate is very uneven, each screw has its own height measurement. But now everything is perfect again and I am very satisfied.

The wooden cross should be replaced with distance screws, I know, I know …
By the way, the nail bed can be easily and quickly removed, it is only on the top of my real bed.

For use with diode lasers and the smallish stuff I do (craft-sticks, small photos, etc), I migrated my first printed plate with 20mm spacing (1st photo, left) to a denser plate with 10mm spacing. Used up all but a few spikes in the 100-piece package

I bought this one to use with the spikes.
https://www.amazon.com/Wall-Control-30-P-3232GV-Galvanized-Pegboard/dp/B001J6FSDS/ref=sr_1_14?dchild=1&keywords=metal+board+to+hold+tool+on+garage&qid=1590012317&sr=8-14

1 Like