Hey everyone. I hope all is well with everyone’s lasers that doesn’t have the ability to have it in a warmer controlled atmosphere. It’s 30 degrees tonight in South Texas, so I can only imagine what anywhere North of me is experiencing tonight. I was just wanting to hear what everyone’s way of getting to know the best and most fool proof way/process for being able to gauge that their image is going to be closest to perfect and straight as possible. I’ve made measurement after measurement and pushed “frame” about 20 + times just trying to make sure my image/wording is straight with the piece. I’ve done all the measuring and eyeballing I could and still ended up miss-judging it what I thought would be straight. So if you have the time, could you please bless me with your process of perfection to this conundrum? (Sorry for the essay of a post!)
If I understand you correctly, you’re missing templates or a camera.
When using a template, you should have 3 to 4 static points or better edges, on your machine bed, which act as stops that do not move. To these edges you place your template which you get “for free” at the first production of your items, this is the frame you have as residual waste. It’s just important to arrange the items sensibly and space economically because you are using this template over and over again.
The other great way to do this is with a camera. Here you lay your subject roughly straight on the bed, trace it with your camera and use LightBurn to center or adjust your subject on the workpiece. It is mostly used for some items that need to be engraved.
Currently I do not have a camera mounted on my new machine but in my K40 I was able to achieve accuracy in the submillimeter range.
Im not sure that I’m understanding what you’re referring to when you say 3 to 4 static points, nor about the residual waste. I don’t have a camera. I’m sure having a camera would help tremendously. My machine is the Dual 80W OMTech Co2 Laser
In this example, I use the edges of my honeycomb and a spacer I made on top. On my steel plate with holes I use small bolts to make a reference, both “systems” work the same way, there must be something reproducible on the machine bed you can use as a stop for your template.
The numbers are X Y references from 00:00 and respectively my K40 and the new machine, I also have them in a small help file which is used when centering the motif itself.
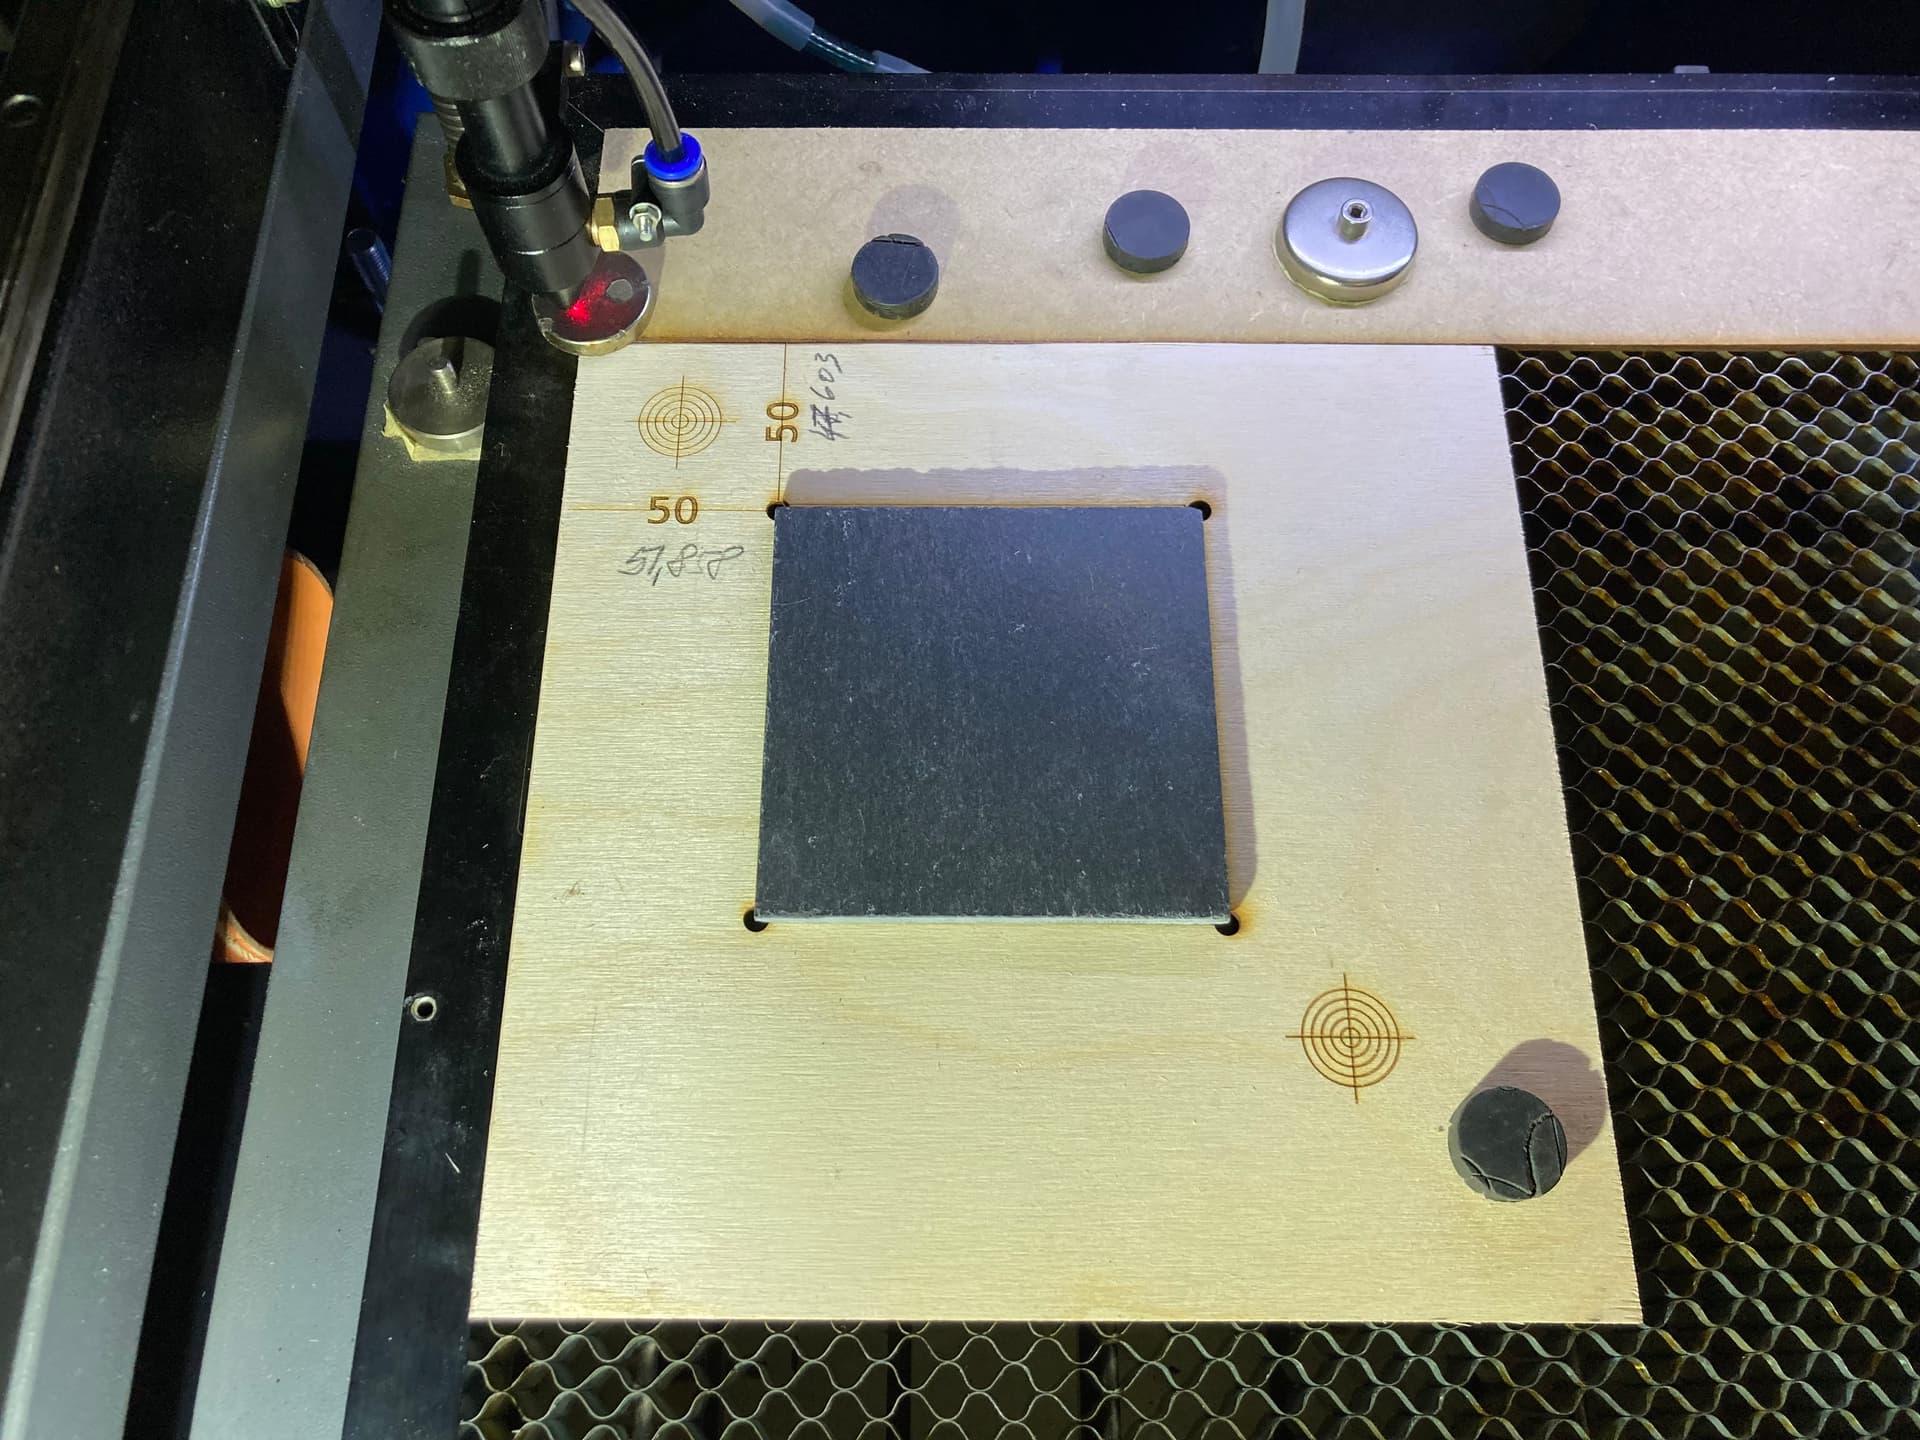
(the outer dimension of the slate plate is cut out of the template, the plates are just put in the hole)
Live on South Padre Island for a few years back in the 70’s…
The best way with Lightburn is with the camera. I just got mine, but @bernd.dk is right about a ‘jig’ or template to align material.
The led pointer on my machine lasted less than a month before I gave up on it and started using templates or jigs to hold materials.
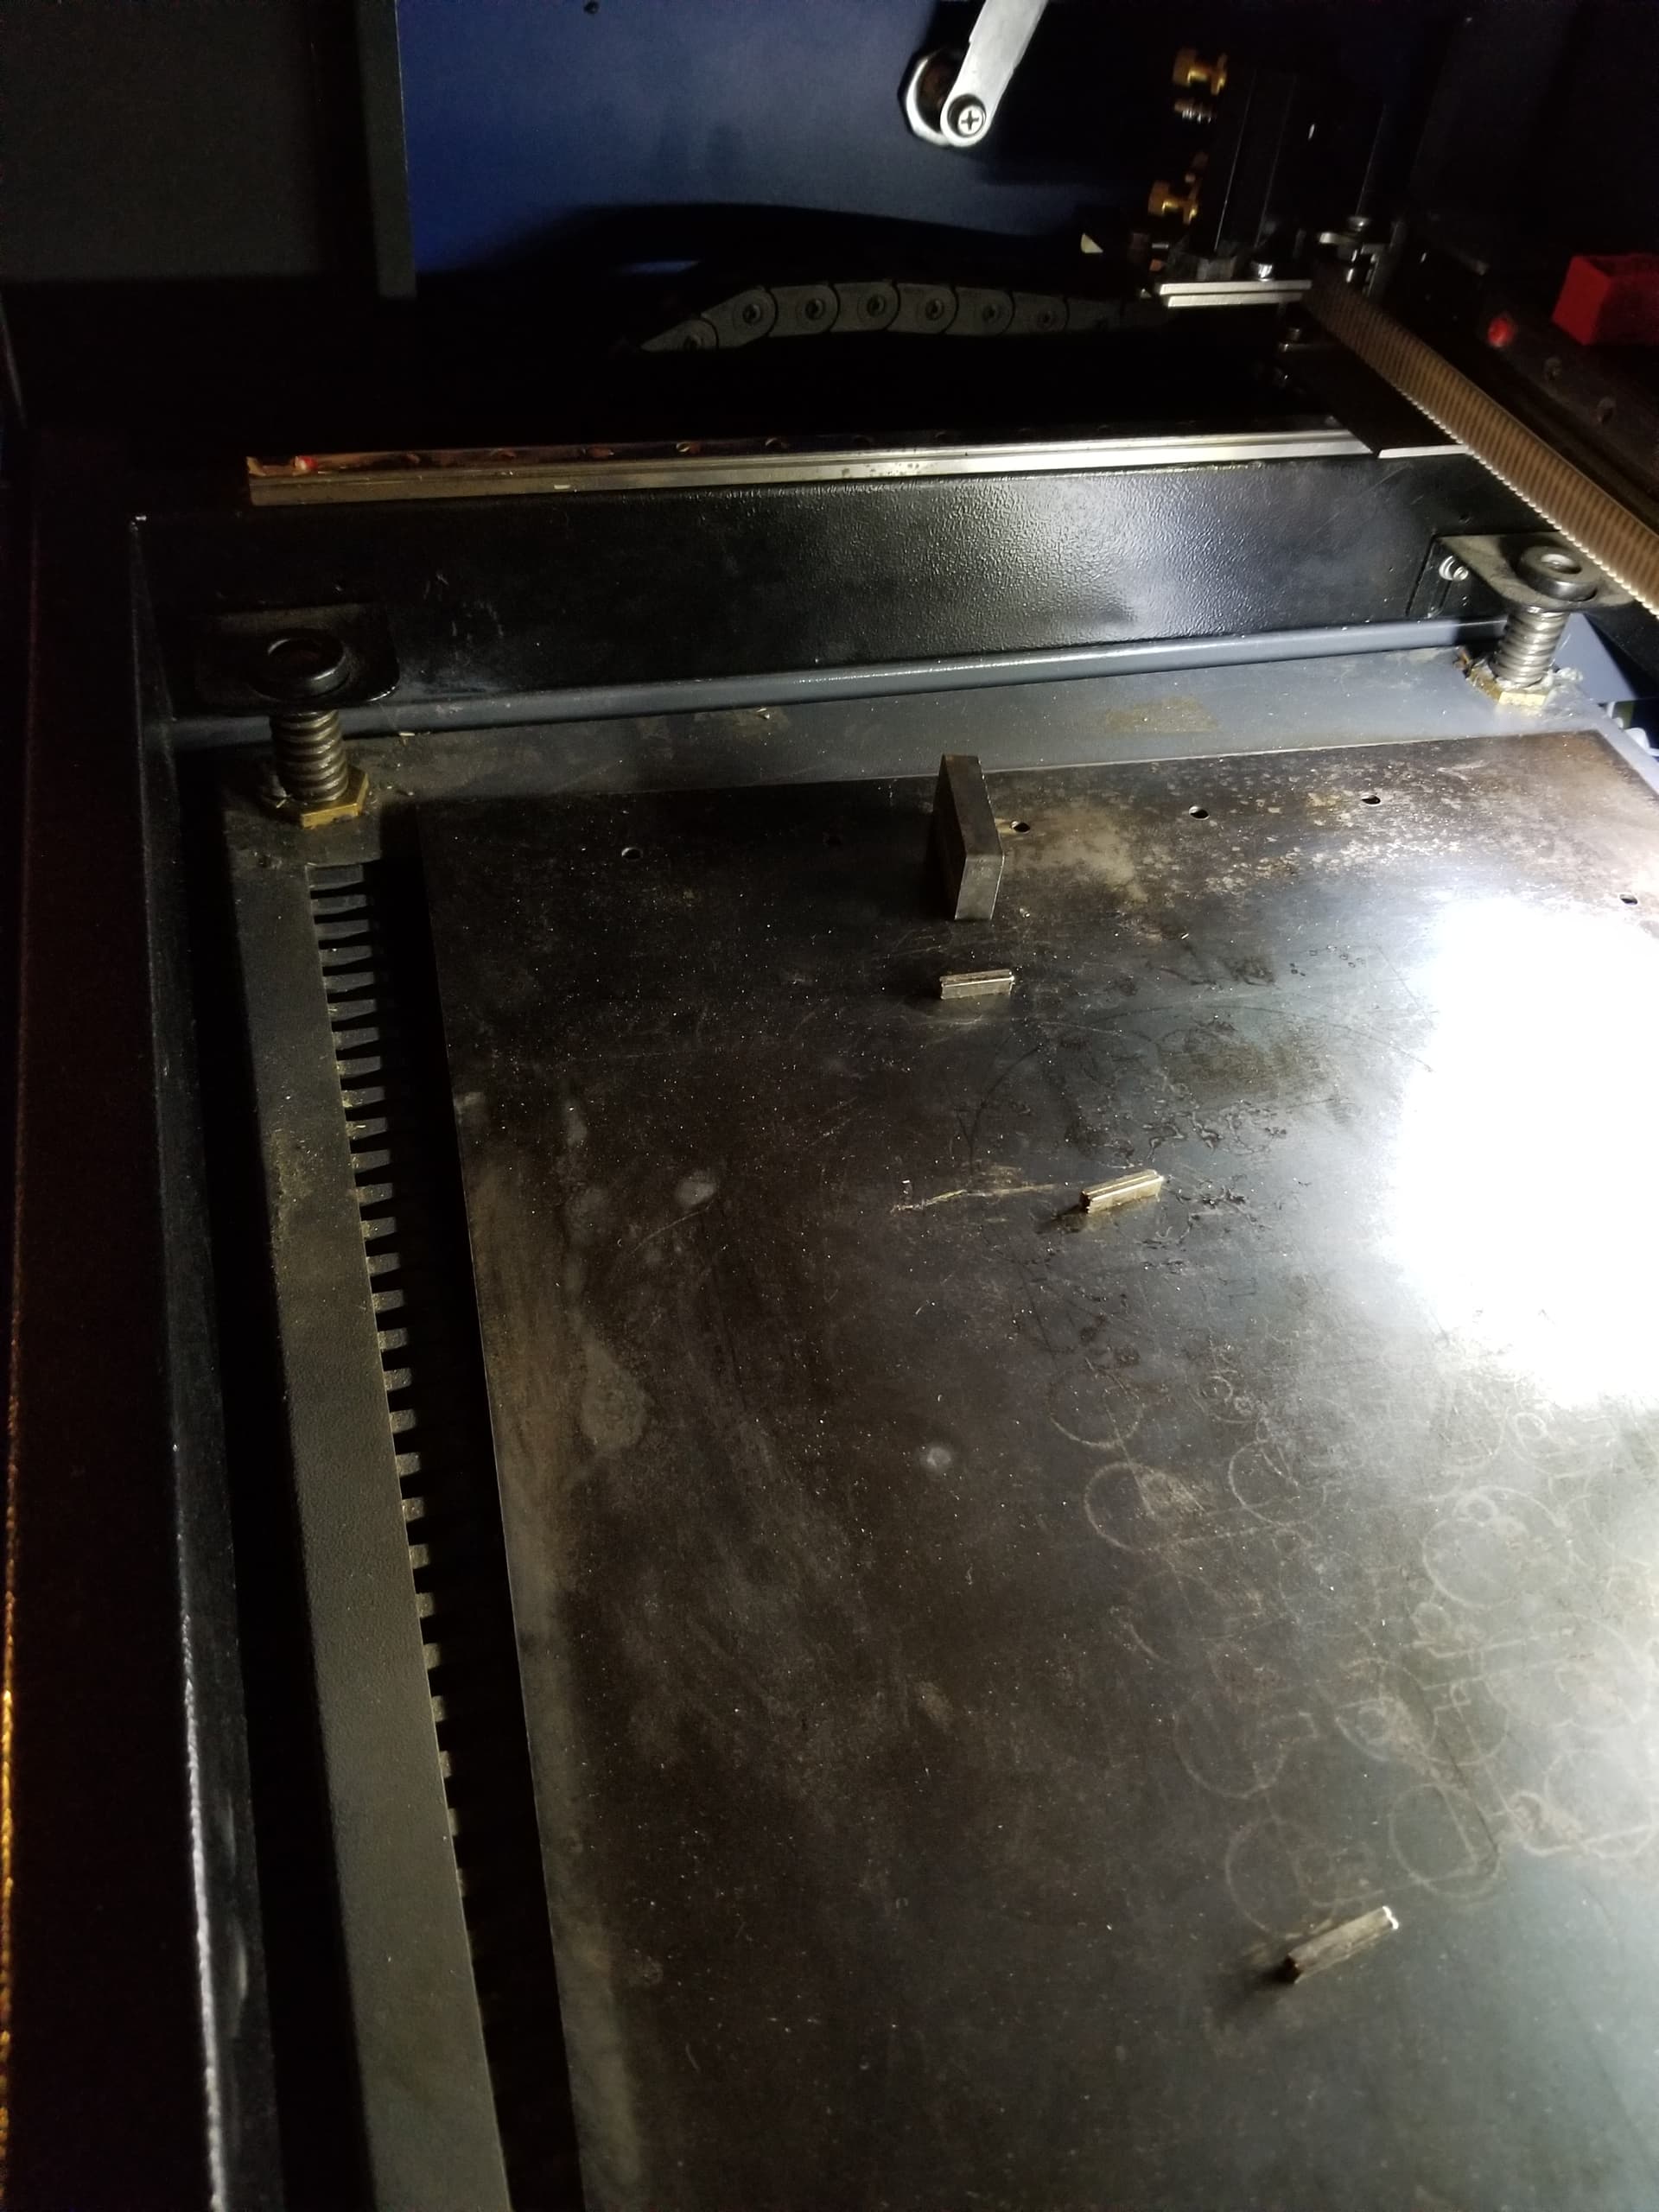
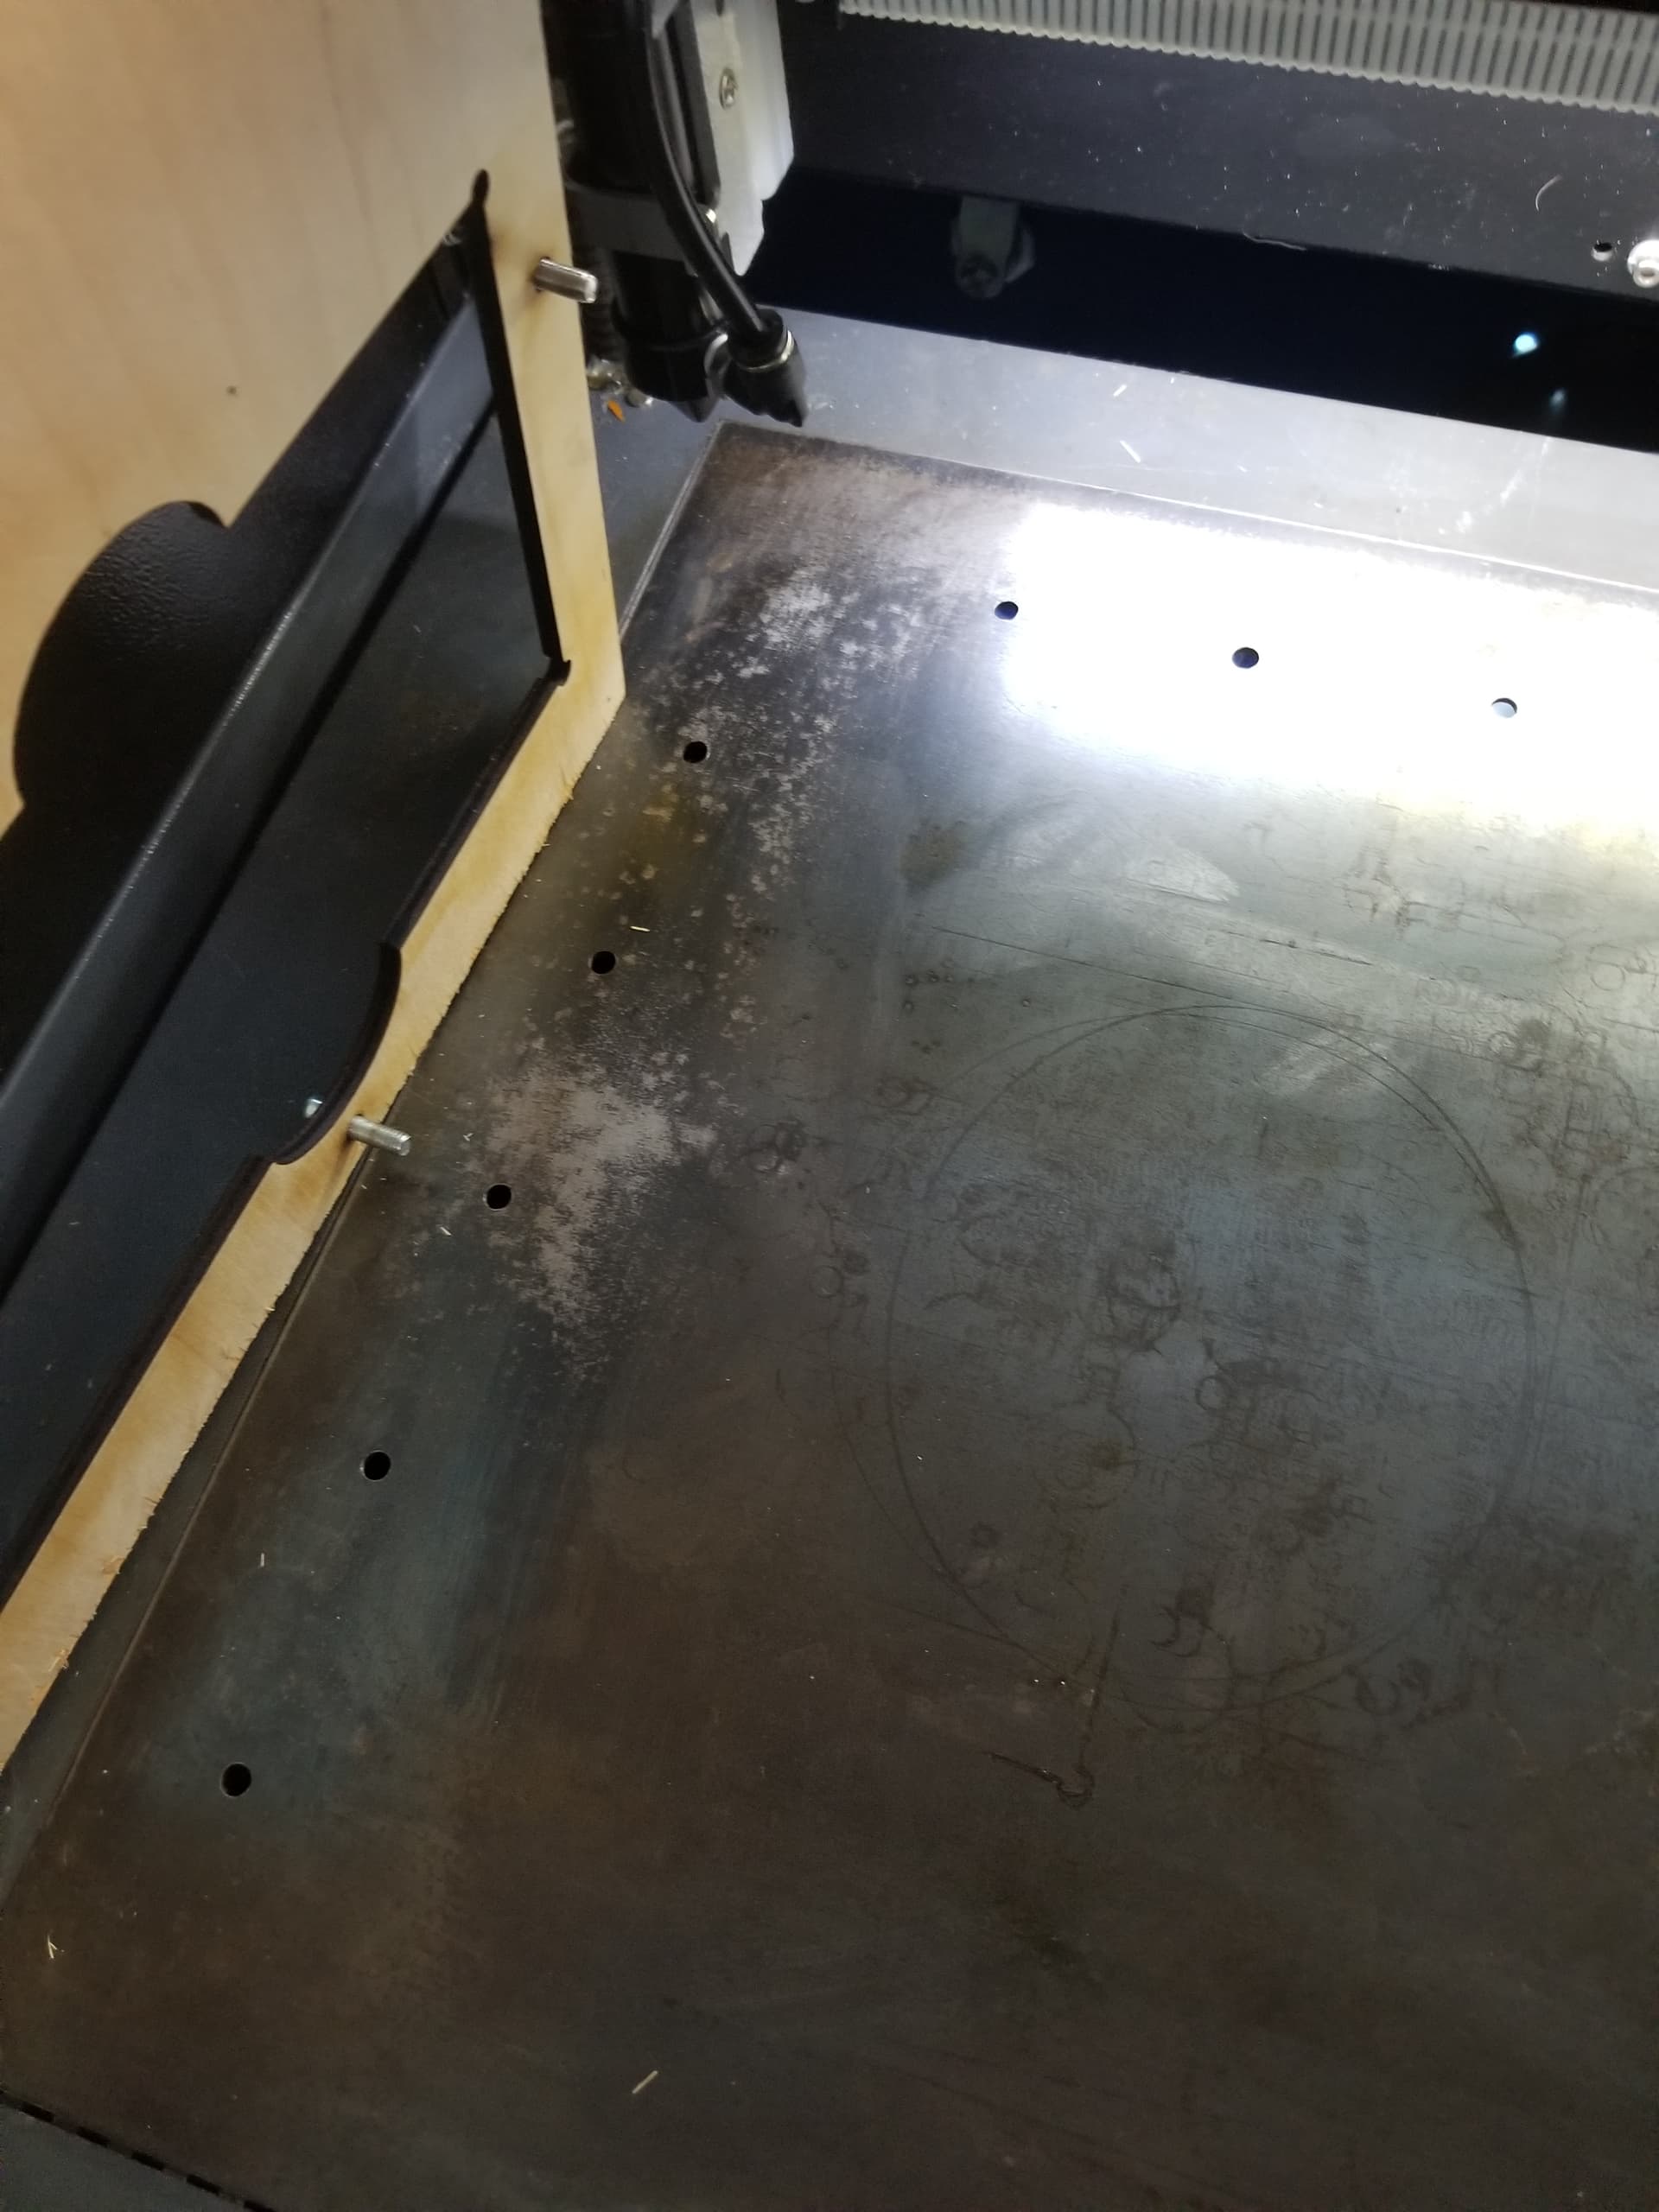
I don’t use the honeycomb and replaced it with a sheet of rolled steel. It’s easy to wipe off and I can locate it within the machine by the honeycomb ‘cutout’.
I’ve drilled holes (mariked by the laser) in the sheet and use them to set a template.
Good luck…

Ok. now I gotcha. I’ve used a reference for some 4" circle coasters. There’s very little to no room for error when trying to put an image on a set of coasters. If one coaster is a little off, there’s 4 or 5 other coasters in the set that make it stick out like a sore thumb. I’m a bit of a perfectionist (For certain things, and art is one of those things.) so it really drives me nuts when something is off. I guess thats the whole reason for my original question. lol. On the coaster reference, I had my layout of 6 coaster on lightburn and turned the layers output off on the image i was wanting and just kept the 4" circles output on and then ran it on a flat pc of wood. then once i seen where it was gonna to be, i turned the image layers output on and the border circles off and ran it again.
Here’s how I’d approach this:
I recently discovered how to align the origin in Lightburn with some feature in the drawing. “The green square” and to for example a cross on the drawing. That same cross exists on the template for a number of 4” coasters for example. So homing the machine on the cross almost aligns the template to the cut pattern.
But the fixture might be rotated around the cross. The way to solve that is to create a straight edge by cutting a straight line (no Y motion) in a piece of wood taped (or just tape) attached to the machine base.
So cut the straight edge then put the fixture against the edge, set machine origin on the cross and the cut pattern is aligned to the template
Although it always sounds a bit crazy, I think trying to be a perfectionist is in any case not a disadvantage if you work with something as filigree as a laser machine ![]()
It’s fine that it’s going in the right direction.
Regarding templates, I would always recommend making some fixed stops or even better edges that mark your 00:00 on X and Y. On most pieces of material we have at least one straight edge that can easily represent 00 on one side, to start with .
The most simple way is to use a camera. Here’s the ‘jig taped’ on the table…
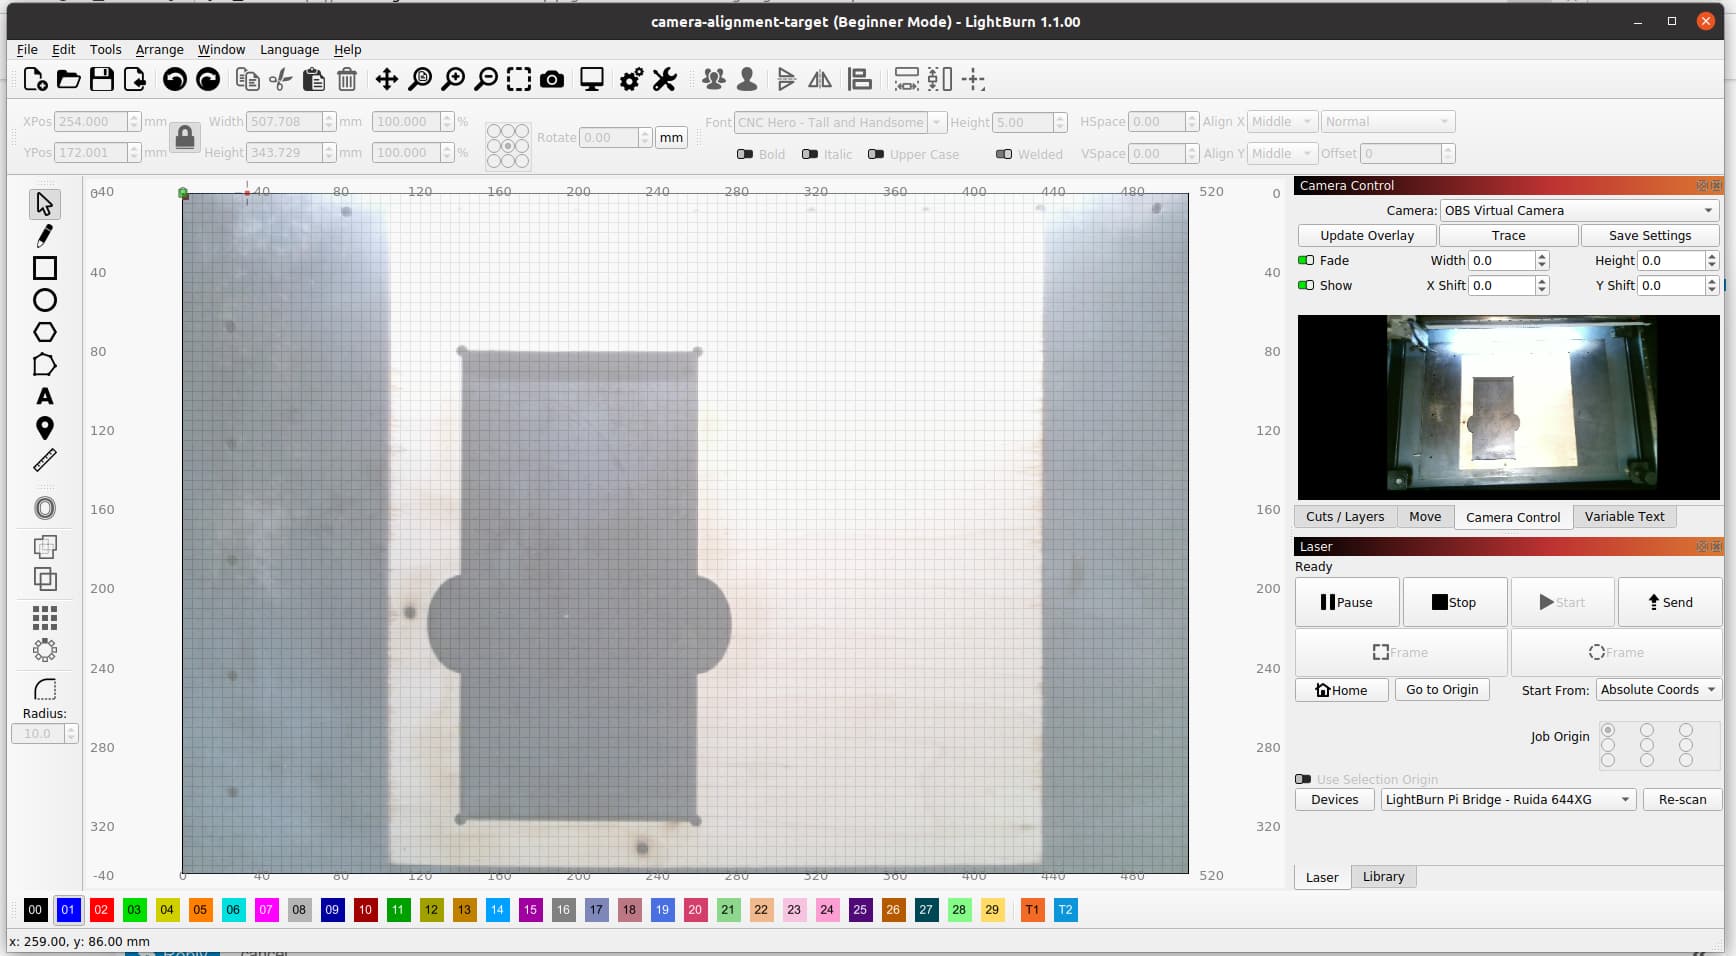
All i have to do in Lightburn is click on ‘Update overlay’ and it puts the image on my workspace.
I can just drag the design to where I want to engrave it and it’s visually aligned. This is the most simple and intuitive.
Before the camera and how I engrave coasters today, since it’s set up with the jig.
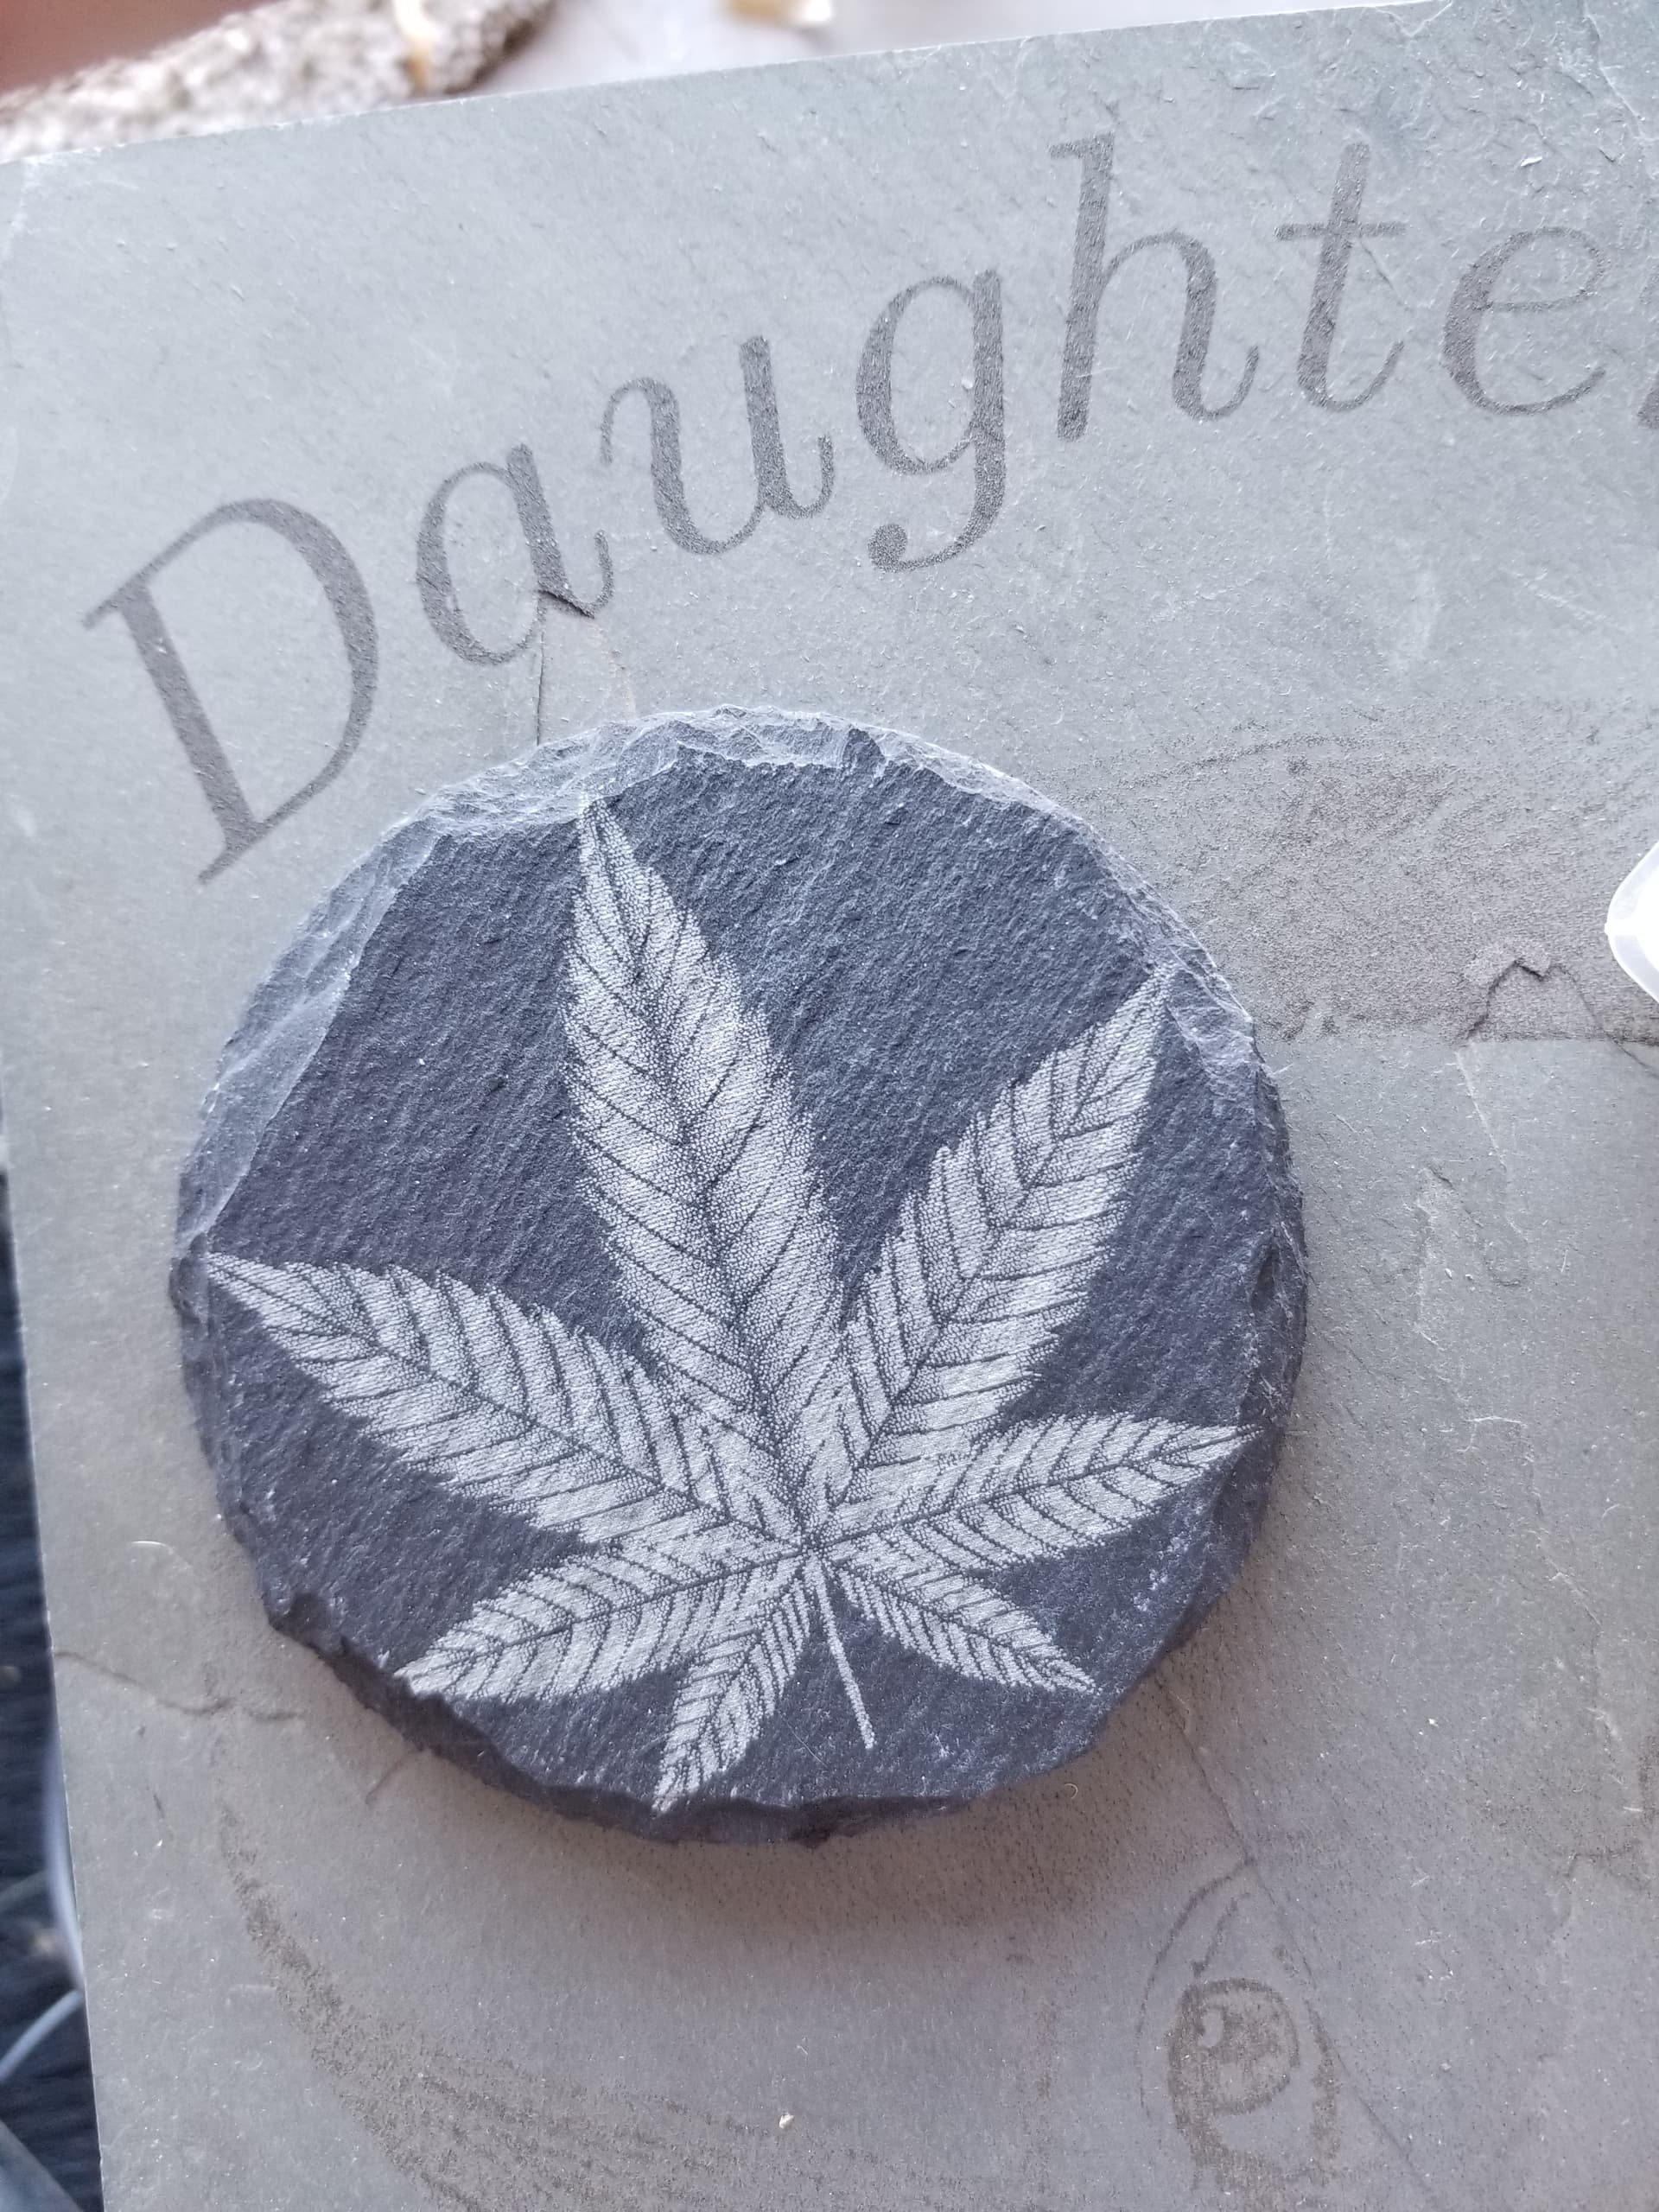
A friend has a CBD business and I made her a couple of sets of these. Excuse the photo, it was to show how some slate engraves lite and some dark.
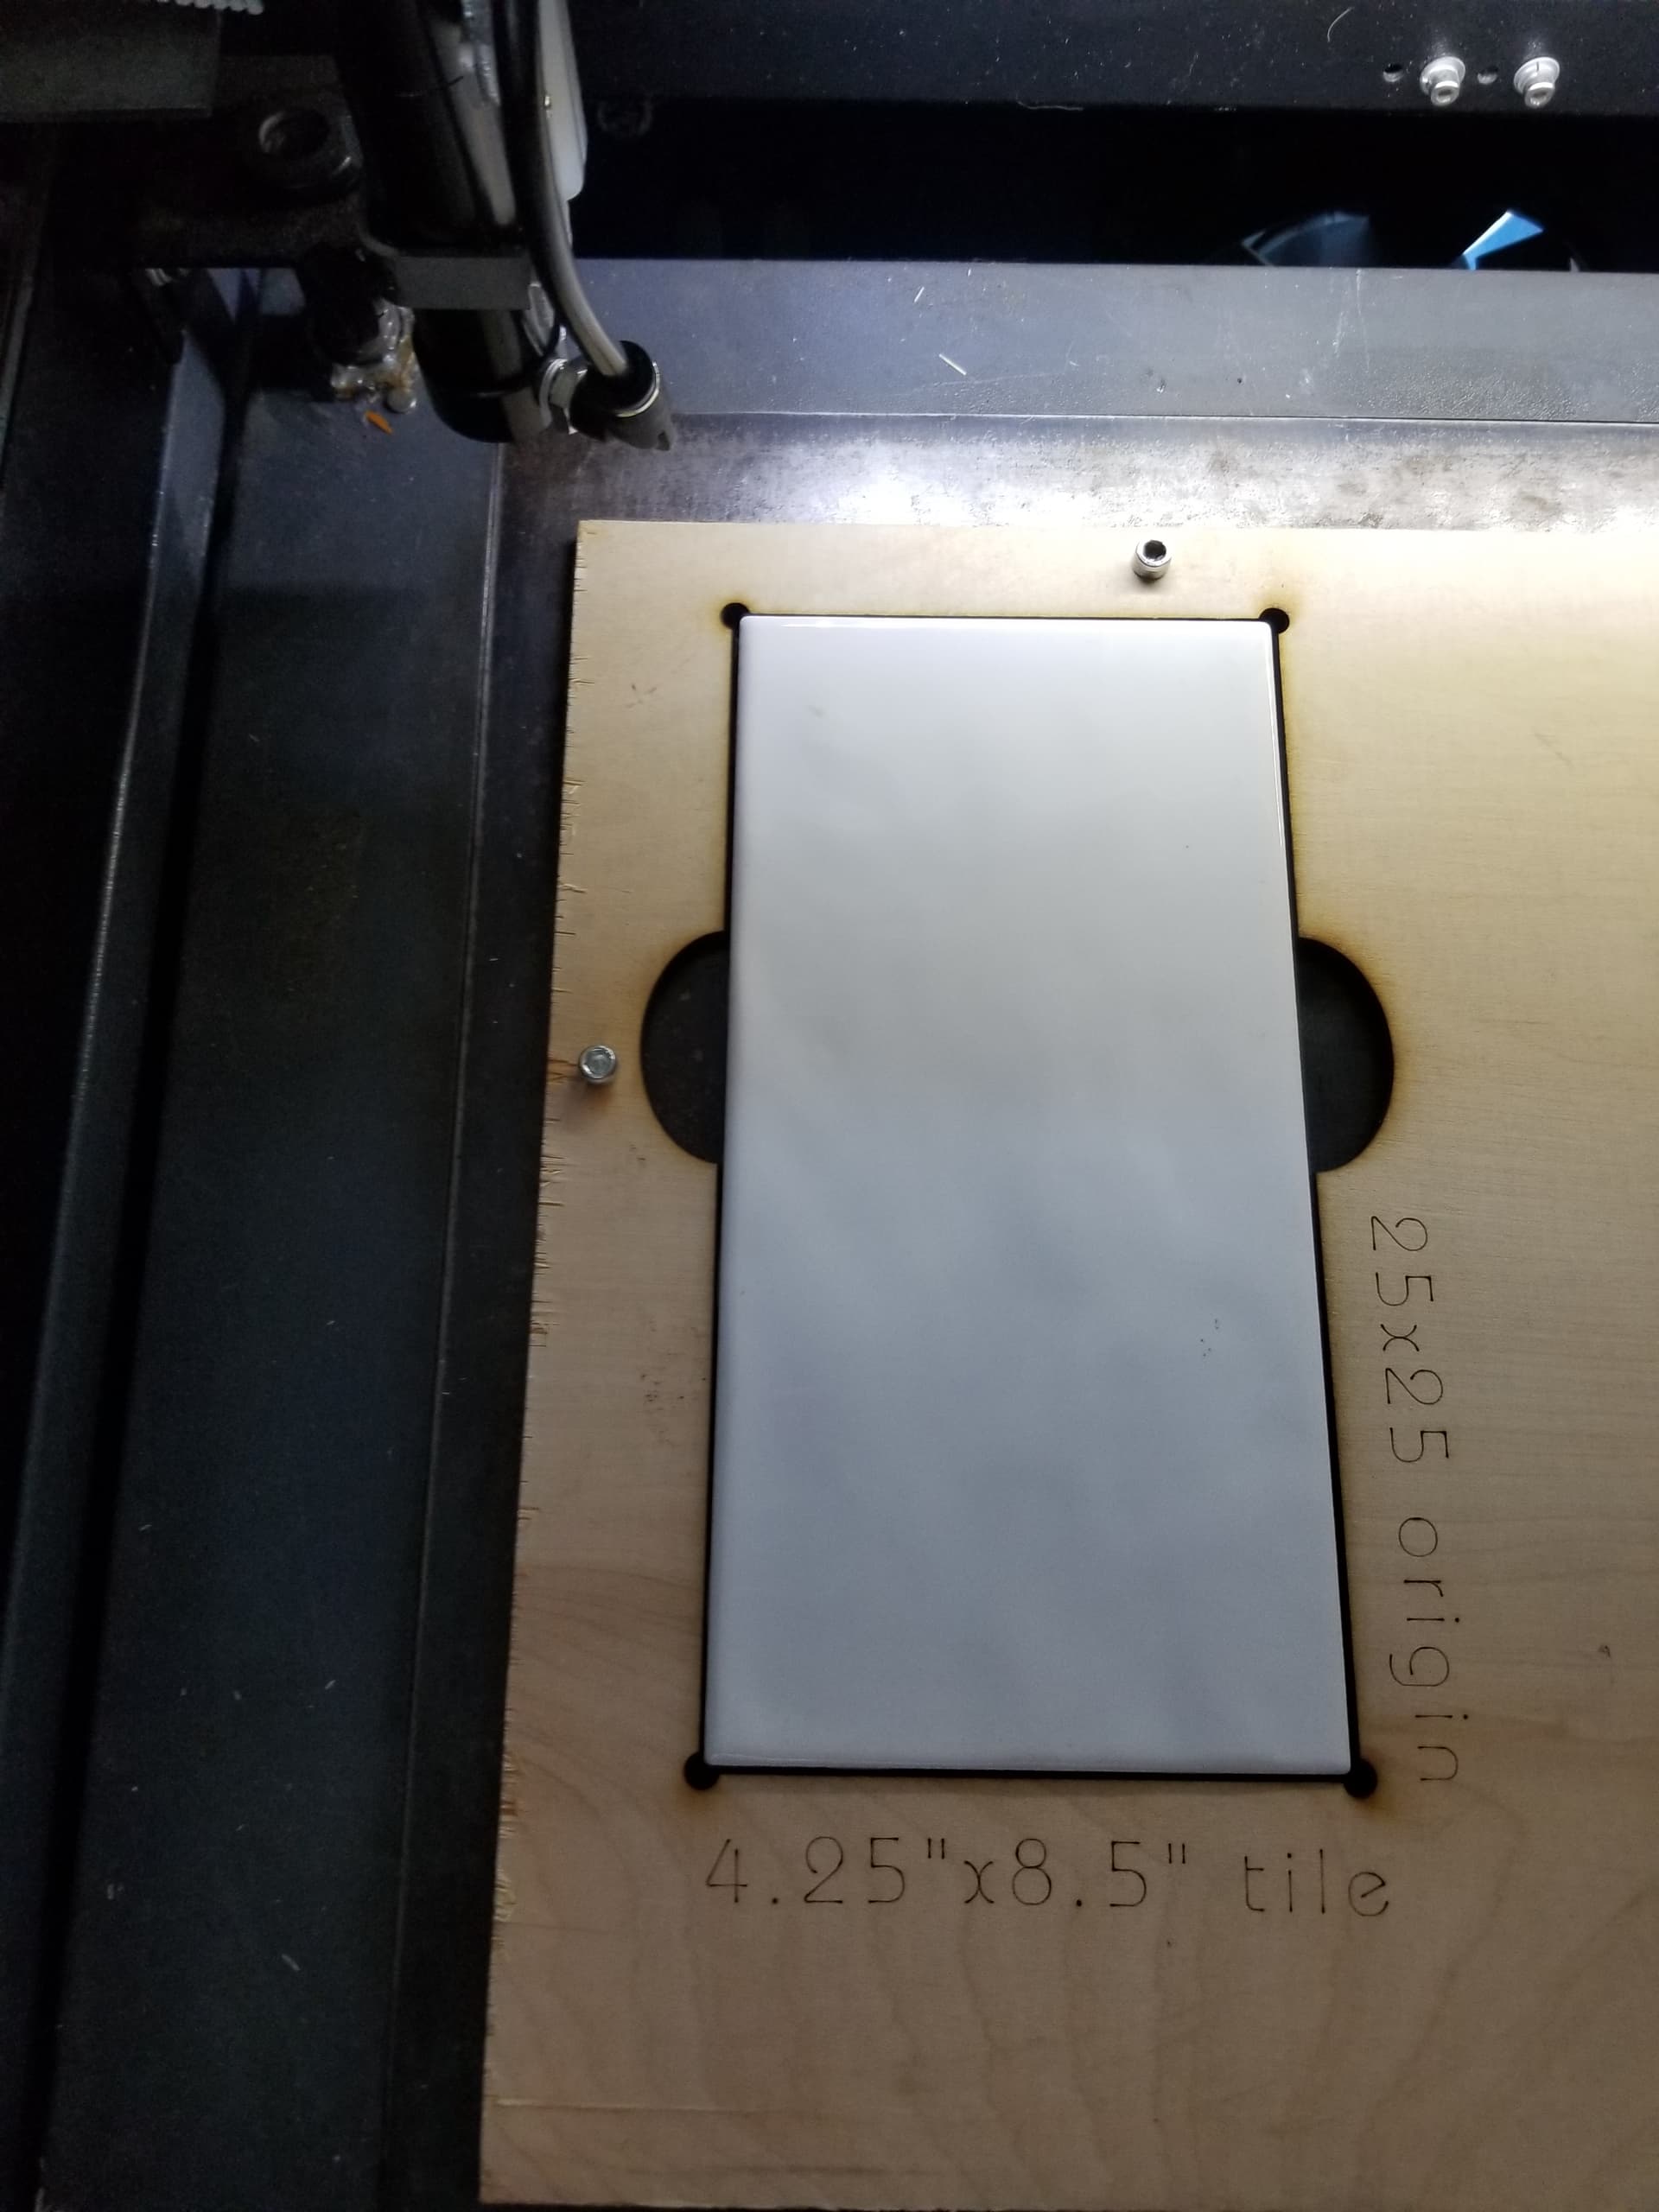
I have a jig with 8 holes in it that is absolute coordinates. I have a ‘template’ file with the cutouts saved and the ‘objects’ or holes, locked. I can import that file and place whatever I want on any hole and it’s aligned…
Make sense?
@jkwilborn Yes, it makes perfect sense. Thank you for the insight and your time giving it. i appreciate it!
@bernd.dk Touche’ my friend! I think being a perfectionist has its pros and cons. I guess everything probably has pros and cons. (Except herpes… I’m sure herpes has no pros, just cons. Lmao. Just Kiddin’!) I do all kinds of different arts. Painting being one of them. I’ve spent at least 2 grand over the last year, year and a half on acrylic pouring supplies. With the time it takes to prep my work area and canvas/work piece. Then mixing the acrylic paints in different containers with pouring mediums and silicone. (Different pouring techniques can take different times.) At that point, there’s more steps to finish, but that should probably take around 30 mins to an hour. Me, trying to be perfect, sometimes it may take me 4 to 5 hours. What’s frustrating, is sometimes after all that time spent being so precise and using all the money costing consumables used… it can still come out like sh*t or not what I wanted. A whole night of work, wasted! So, I strongly believe perfectionism is a blessing and a curse. Especially when you know nothing is perfect, but still strive to get it that way even though it’s pretty much nonexistent. lol
As history has shown, you are correct…
Ever hear of
I have now! Lol. That was a good read. Thanks! (“The more you know…”)
This topic was automatically closed 30 days after the last reply. New replies are no longer allowed.