Hi all,
i have a little engraving job to do for a family member - its engraving on plywood which i have not done before. I only have enough scrap for one test run so was looking for some settings and methods to get me close to start with.
I have the usual red/black clone machine with a measured 50W tube and Ruida controller.
Most of my stuff is card cutting or slate engraving.
With a limited amount of scrap/test material with which to work, consider to keep your settings on the low power/faster speed for engraving. If you set things too low/too fast, you can easily increase it until you are satisfied.
For example, I will crank out a test engraving at 200 mm/sec and 20% power for new material. If it’s too weak/too light, it’s simple enough to push the power a bit higher, if the speed isn’t causing alignment/overrun problems. If there’s overrun at the higher speed, slowing down can help in that respect.
It’s a bit of a crap shoot to determine how much higher to go if the first shot is too weak. Is it really really weak? Crank up the power doubled to 40%. Is it nearly deep/dark enough? Maybe 30% will be sufficient.
If you’re moving from thin card/easy cutting and rock hard slate/high power stuff, consider that wood is wood. You could find some other scrap that isn’t as critical and see what the power settings can do for a block of pine scrap or similar.
Birch plywood is pretty soft, pine is pretty soft, you’ll get close results with both and get a better starting point for your critical pieces. I’ve been seeing pine scraps on a regular basis, they aren’t hard to find. Sand down a scrap to get a smooth clean surface and fire phasers.
The laser will mark by removing material, so it’s 3D in the technical sense, at least in wood it is. High power means deep.
I’ve used ordinary masking tape in the past. It has a rubber based adhesive and you can really smell the stuff. Moving to blue painters tape helped with the stink, but it’s a bit more expensive.
Lately I’ve been buying high tack paper transfer tape in twelve inch widths. Not all that cheap, but faster, easier and works great on sanded clean smooth surfaces. Burnishing helps with the bonding.
All of the above helps to keep the sappy vapors from redepositing on the work. If the edge of the mask peels, as it will with the paper transfer tape, you’ll get a bit of deposit that can be sanded clean.
If I’m cutting tiny parts, it’s easier to sand, clean and mask than it is to cut and sand the sap off later. For big stuff, I’ll cut then sand, no masking.
I engrave quite a lot on plywood and I find I need to vary the speed / power a little depnding on what I am engraving. If it’s an image for example with lots of axis movement I need to keep the speed down a little to about 6000 mm/ min so my power is at 40% (7-8mA) (50W tube). This avoids over burning fine detail. If the engraving is larger, for example large rastered text I can go to 10,000 mm/min @ 40%… Light vector text is 1500 mm/min @ 35%.
For most of my work I pre-spray the surface with one or two coats of polyurethane and then I can simply wipe off the soot stains with a little water. This saves a lot of the trouble with picking small bits of tape out of fine image detail. For all other projects where the detail is not so fine I have found that ordinary clear packing tape is great. It sticks to wood better than transfer tape and doesn’t absorb as much power as masking tape. If you get the result you want without tape, then add 5% to the power and burn through the tape. You’ll generally get a very good result.
Happy to share my library, but clb files can’t be uploaded. (Might be a good thing to have a library store on the forum to “share” libraries?
I picked up on the sanding sealer idea from lichtenberg burning youtube channel. It makes for really good sanding prior to masking, but I never considered that I could stop there and wipe off the goop. Of course, the L-burner fellow uses it to reduce the amount of epoxy that seeps into the grain and I didn’t associate the two concepts.
I’ll have to try that out on my next project. Thanks, DavidF.
For my 2 pennys (or cents ) worth I now tend not to use any masking and clean after engraving with white vinger. Does remove all of the vapour marks with just a small amount sprayed onto a jay cloth and lightly rub of. This is then follow by a very light sanding. Too much sanding can cause the burn to change colour. This is to by far the quickest way I have found.
I have found that if you can’t find that balance with changing power and speed, changing the interval from 0.1mm to 0.15mm can reduce the burn considerably. and gives a nice finish.
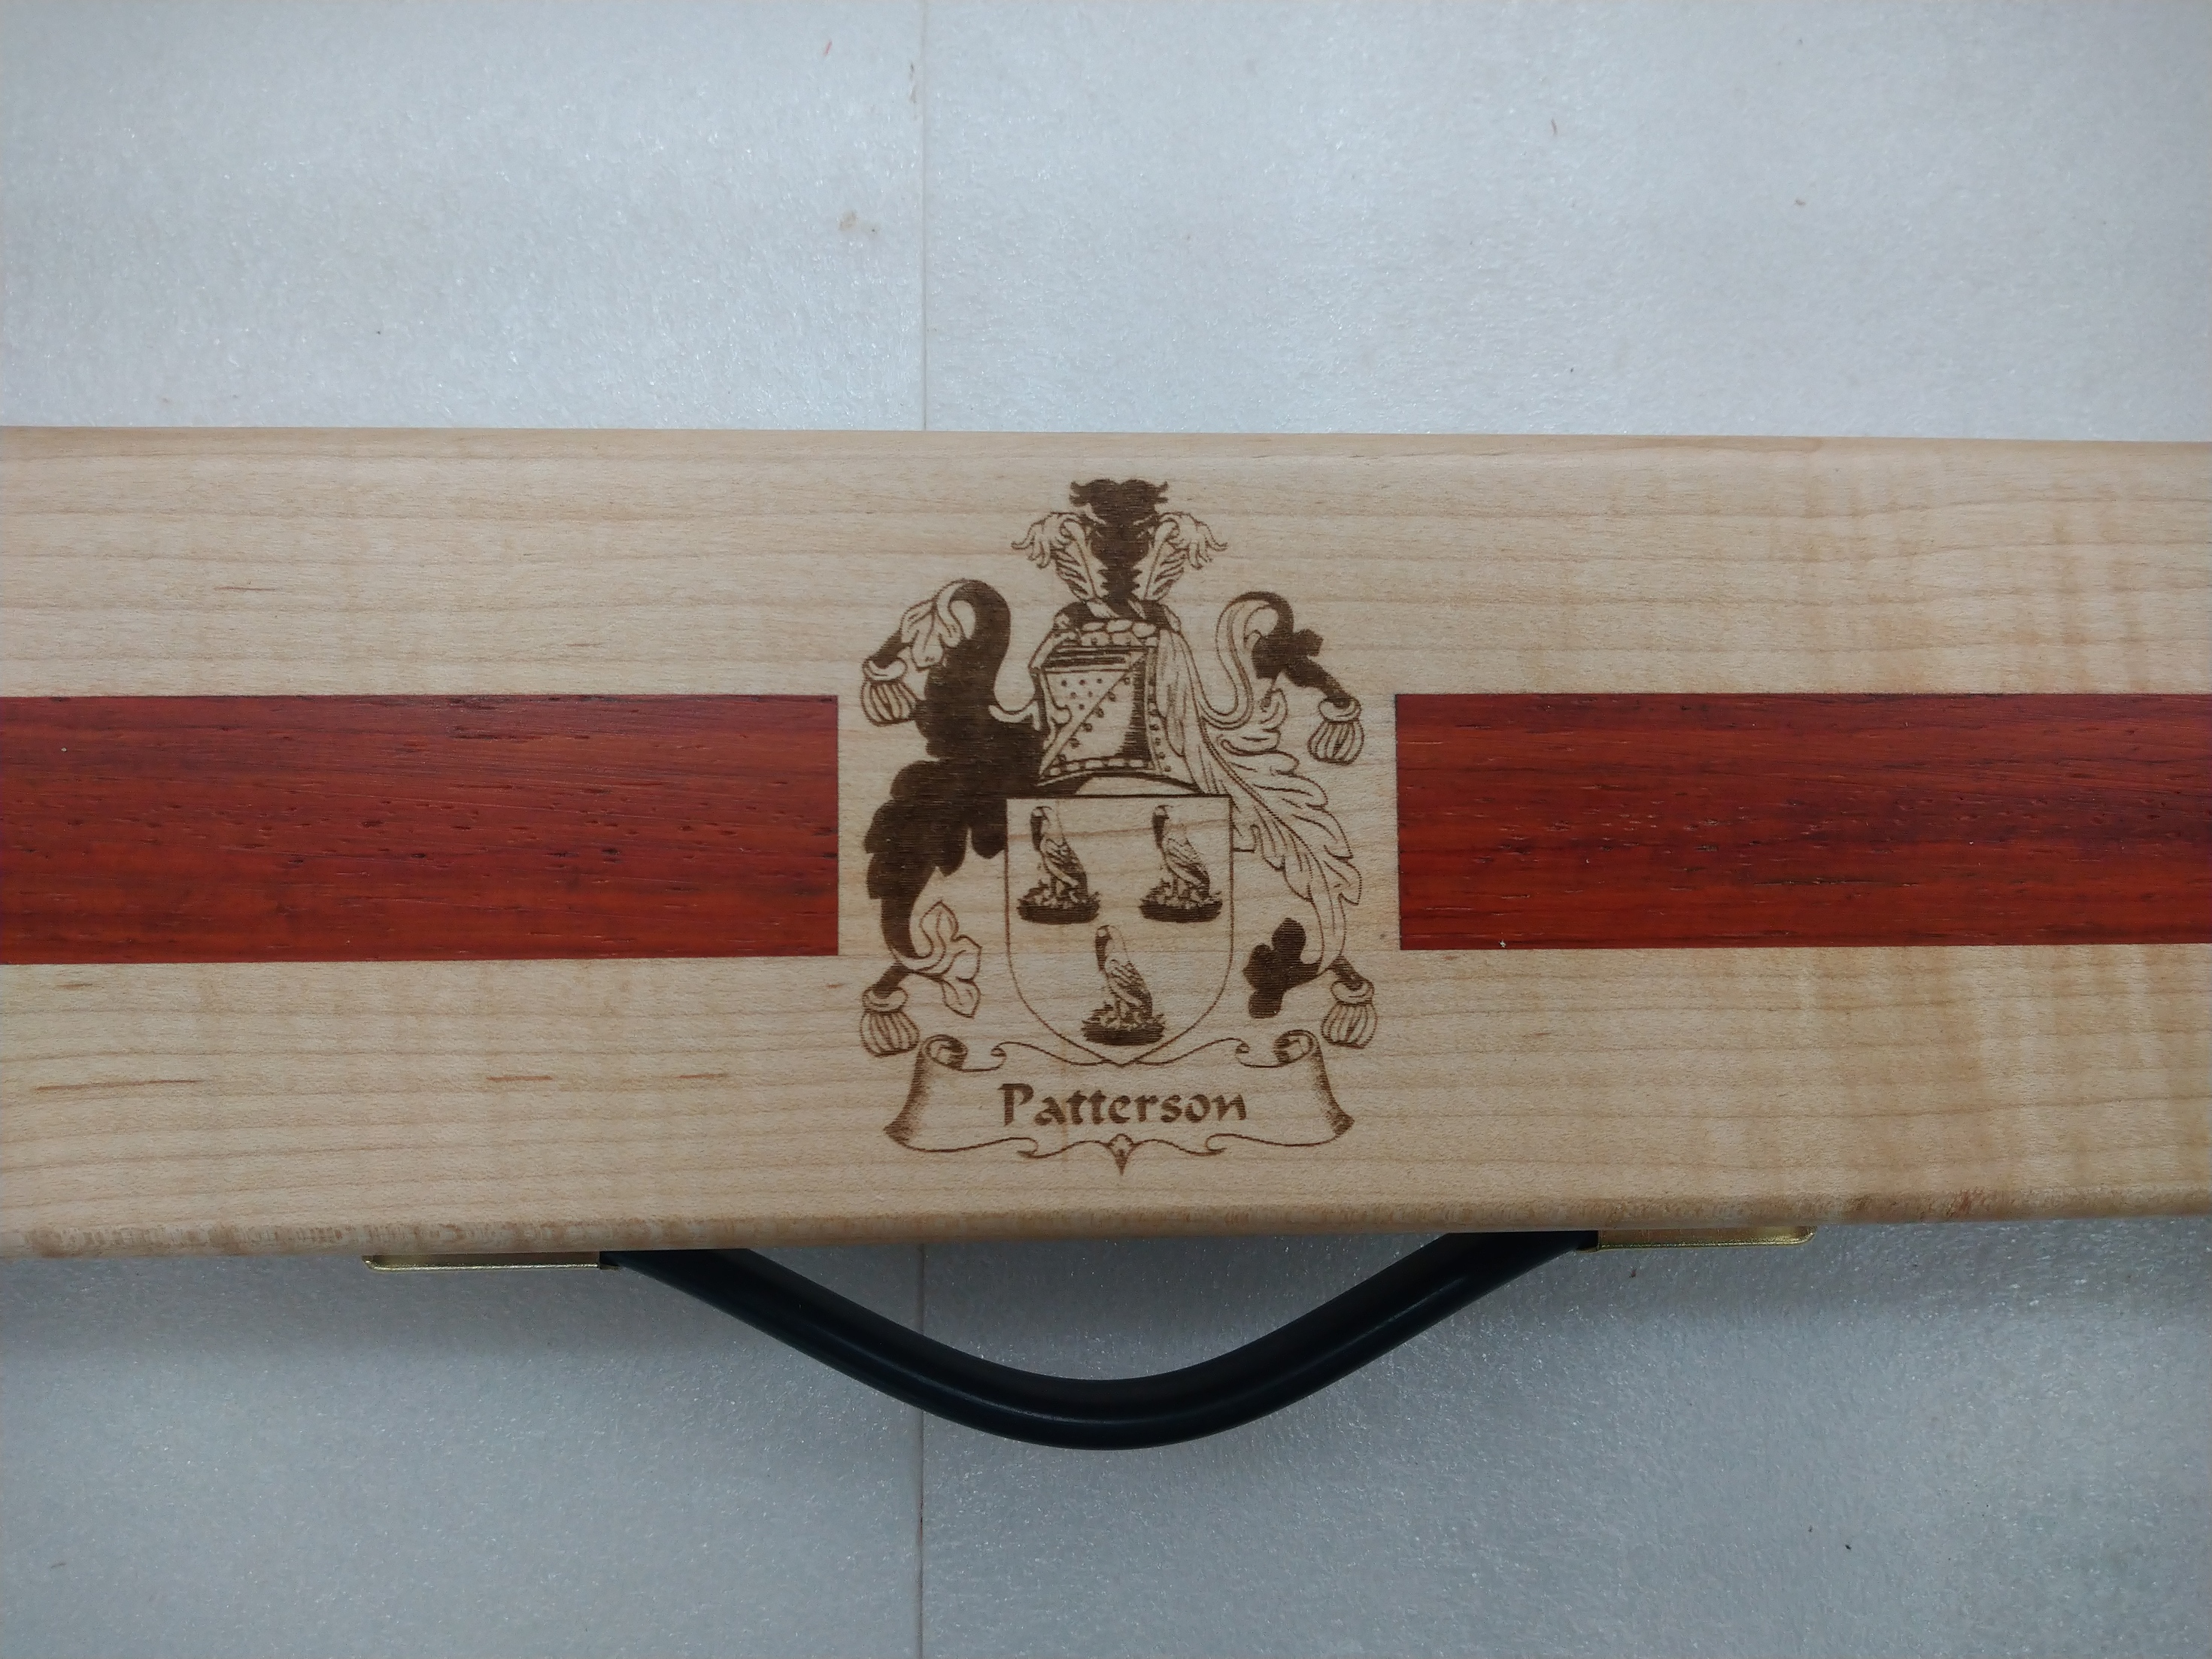
Engraving on maple at 0.15 mm/ 8000mm/min@35%