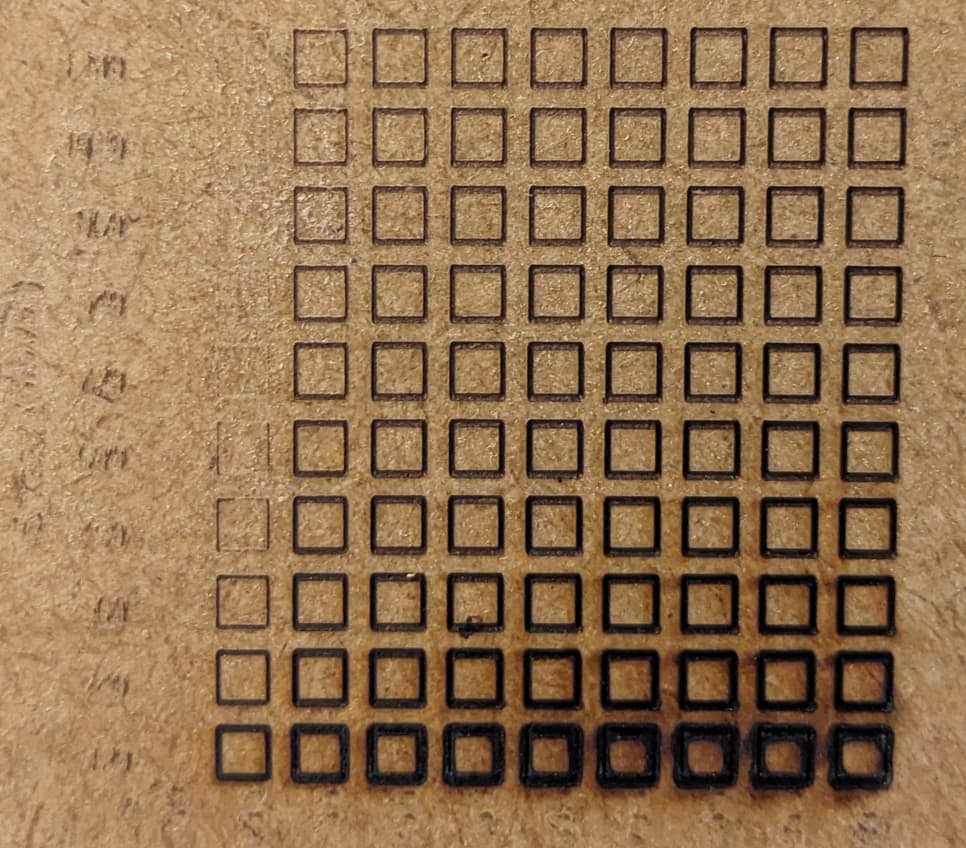
I tried a material test with my Atomstack X20 Pro. Using it with LaserGRBL before, everything worked just fine and it cut through stuff like a hot knife through butter, but the LightBurn Test pattern look like dis:
So while LaserGRBL made a clean cut at 90% power and 300mm/min (and even at F=400 partially cut through), LightBurn didn’t even make it at F=120 and full power…
So please, dear community, help me find that hidden setting that limits the power of my laser to that of a flashlight!
Differences between LaserGRBL and LightBurn typically fall into 2 buckets:
not using comparable units. LaserGRBL only uses mm/min. LightBurn allow for various units and may default to mm/s. Go to Edit->Settings->Units and make sure it’s set to mm/min.
assuming your device is setup as “GRBL” in LightBurn, it will use M4 (dynamic power) for laser function. LaserGRBL defaults to M3 (constant power). M4 is generally preferable as to avoid overburning in corners. You can force LightBurn to use M3 by enabling “Constant Power Mode” in the Cut setting for a given layer
Having said that here are some additional considerations:
it looks like you may have a general focus issue as lines look thicker than I’d expect. That may just be an artifact of the photo or your settings but worth reviewing focus
LightBurn has a built-in material test feature under Laser Tools → Material Test
LightBurn is set to mm/min, as it says ‘better for diode’
I used the built-in material test feature - and there Constant Power Mode is switched on by default, at least when generating a cutting test with single lines.
I thought I found the problem - in the material settings the max power was set to 20%. I set it to 100 and the max speed to 1000. I also set the max power in the text settings to 50. All these changes made the text legible, but didn’t change anything else. It looks absolutely identical and it’s still not cutting through, apart from a few vertical lines at the lowest speed and 80-100% power (why only the vertical lines were visible from the back is a new mystery).
About the focus thing: The lines may look thick in the LightBurn Test because I set the squares to 3x3mm, not the default 5x5. If you still think that looks thick - got any advice on resolving the issue?
How did you configure the device when first setup? Check that S Value Max in Edit->Device Settings is equal to the value of $30 in Edit->Machine Settings. I believe for your machine these should both be set to 1000. In any case, make S Value Max equal to the value you see in $30. If you find that S Value Max is not the same, then retest after making the change.
If S Value Max is the same then provide the following:
Screenshots of
Edit->Device Settings
LightBurn Material Test and the 3 cut settings in that Window
Not sure how you did the burn in LaserGRBL but whatever equivalent screenshot that would show the specific settings
What you see is the result of a rectangular dot pattern. The Xaxis is smaller, and thus had mort energy than the Yaxis, which is more spread out (wider). Your cuts were just barely short of making it through on the Yaxis. When you see that pattern, it means a little more power or less speed is needed, or one more pass.
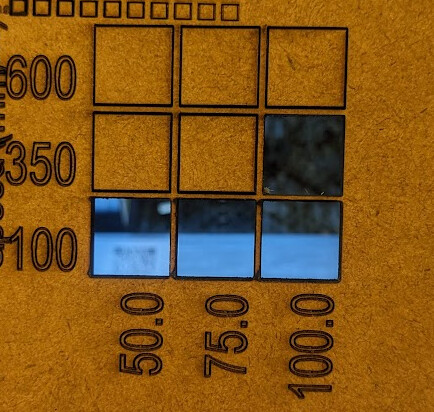
I am not fond of that 10x10 grid. Those squares are so small that the laser never gets up to full speed. When material testing, especially for cutting, I use a 3x3 or 2x2 grid with larger squares. That gives the laser time to do its thing.
Do you have air assist? When cutting, It makes a substantial difference.
@berainlb
I just let it set up itself - find my laser, choose the one with the 10x10 work area (seems to be a common “bug” (?) considering the number of search results), set the work area to 400x400, done. Runs as a standard GRBL device.
Anyway, the S Max setting did the trick, thanks! I would’ve never found that by myself…
@MikeyH
Thanks for the explanation and the suggestion of a larger grid!
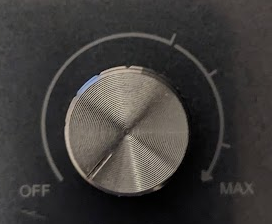
Yeah, I have that (not quite so) little Atomstack air assist box - but absolutely zero experience on how to use it right - and neither the manual nor the markings next to the knob are of any help
Glad you got it solved. Just remember which Forum helped you.
If that knob controls the air pump speed, I would guess 9-10 o’clock for engraving and MAX for cutting. You always want some air flow to the nozzle to keep the gunk out.