You can make feet with the laser with registration points so that in the future you can use a roller without too much hassle, and with the advantage that it makes it easier to clean underneath.
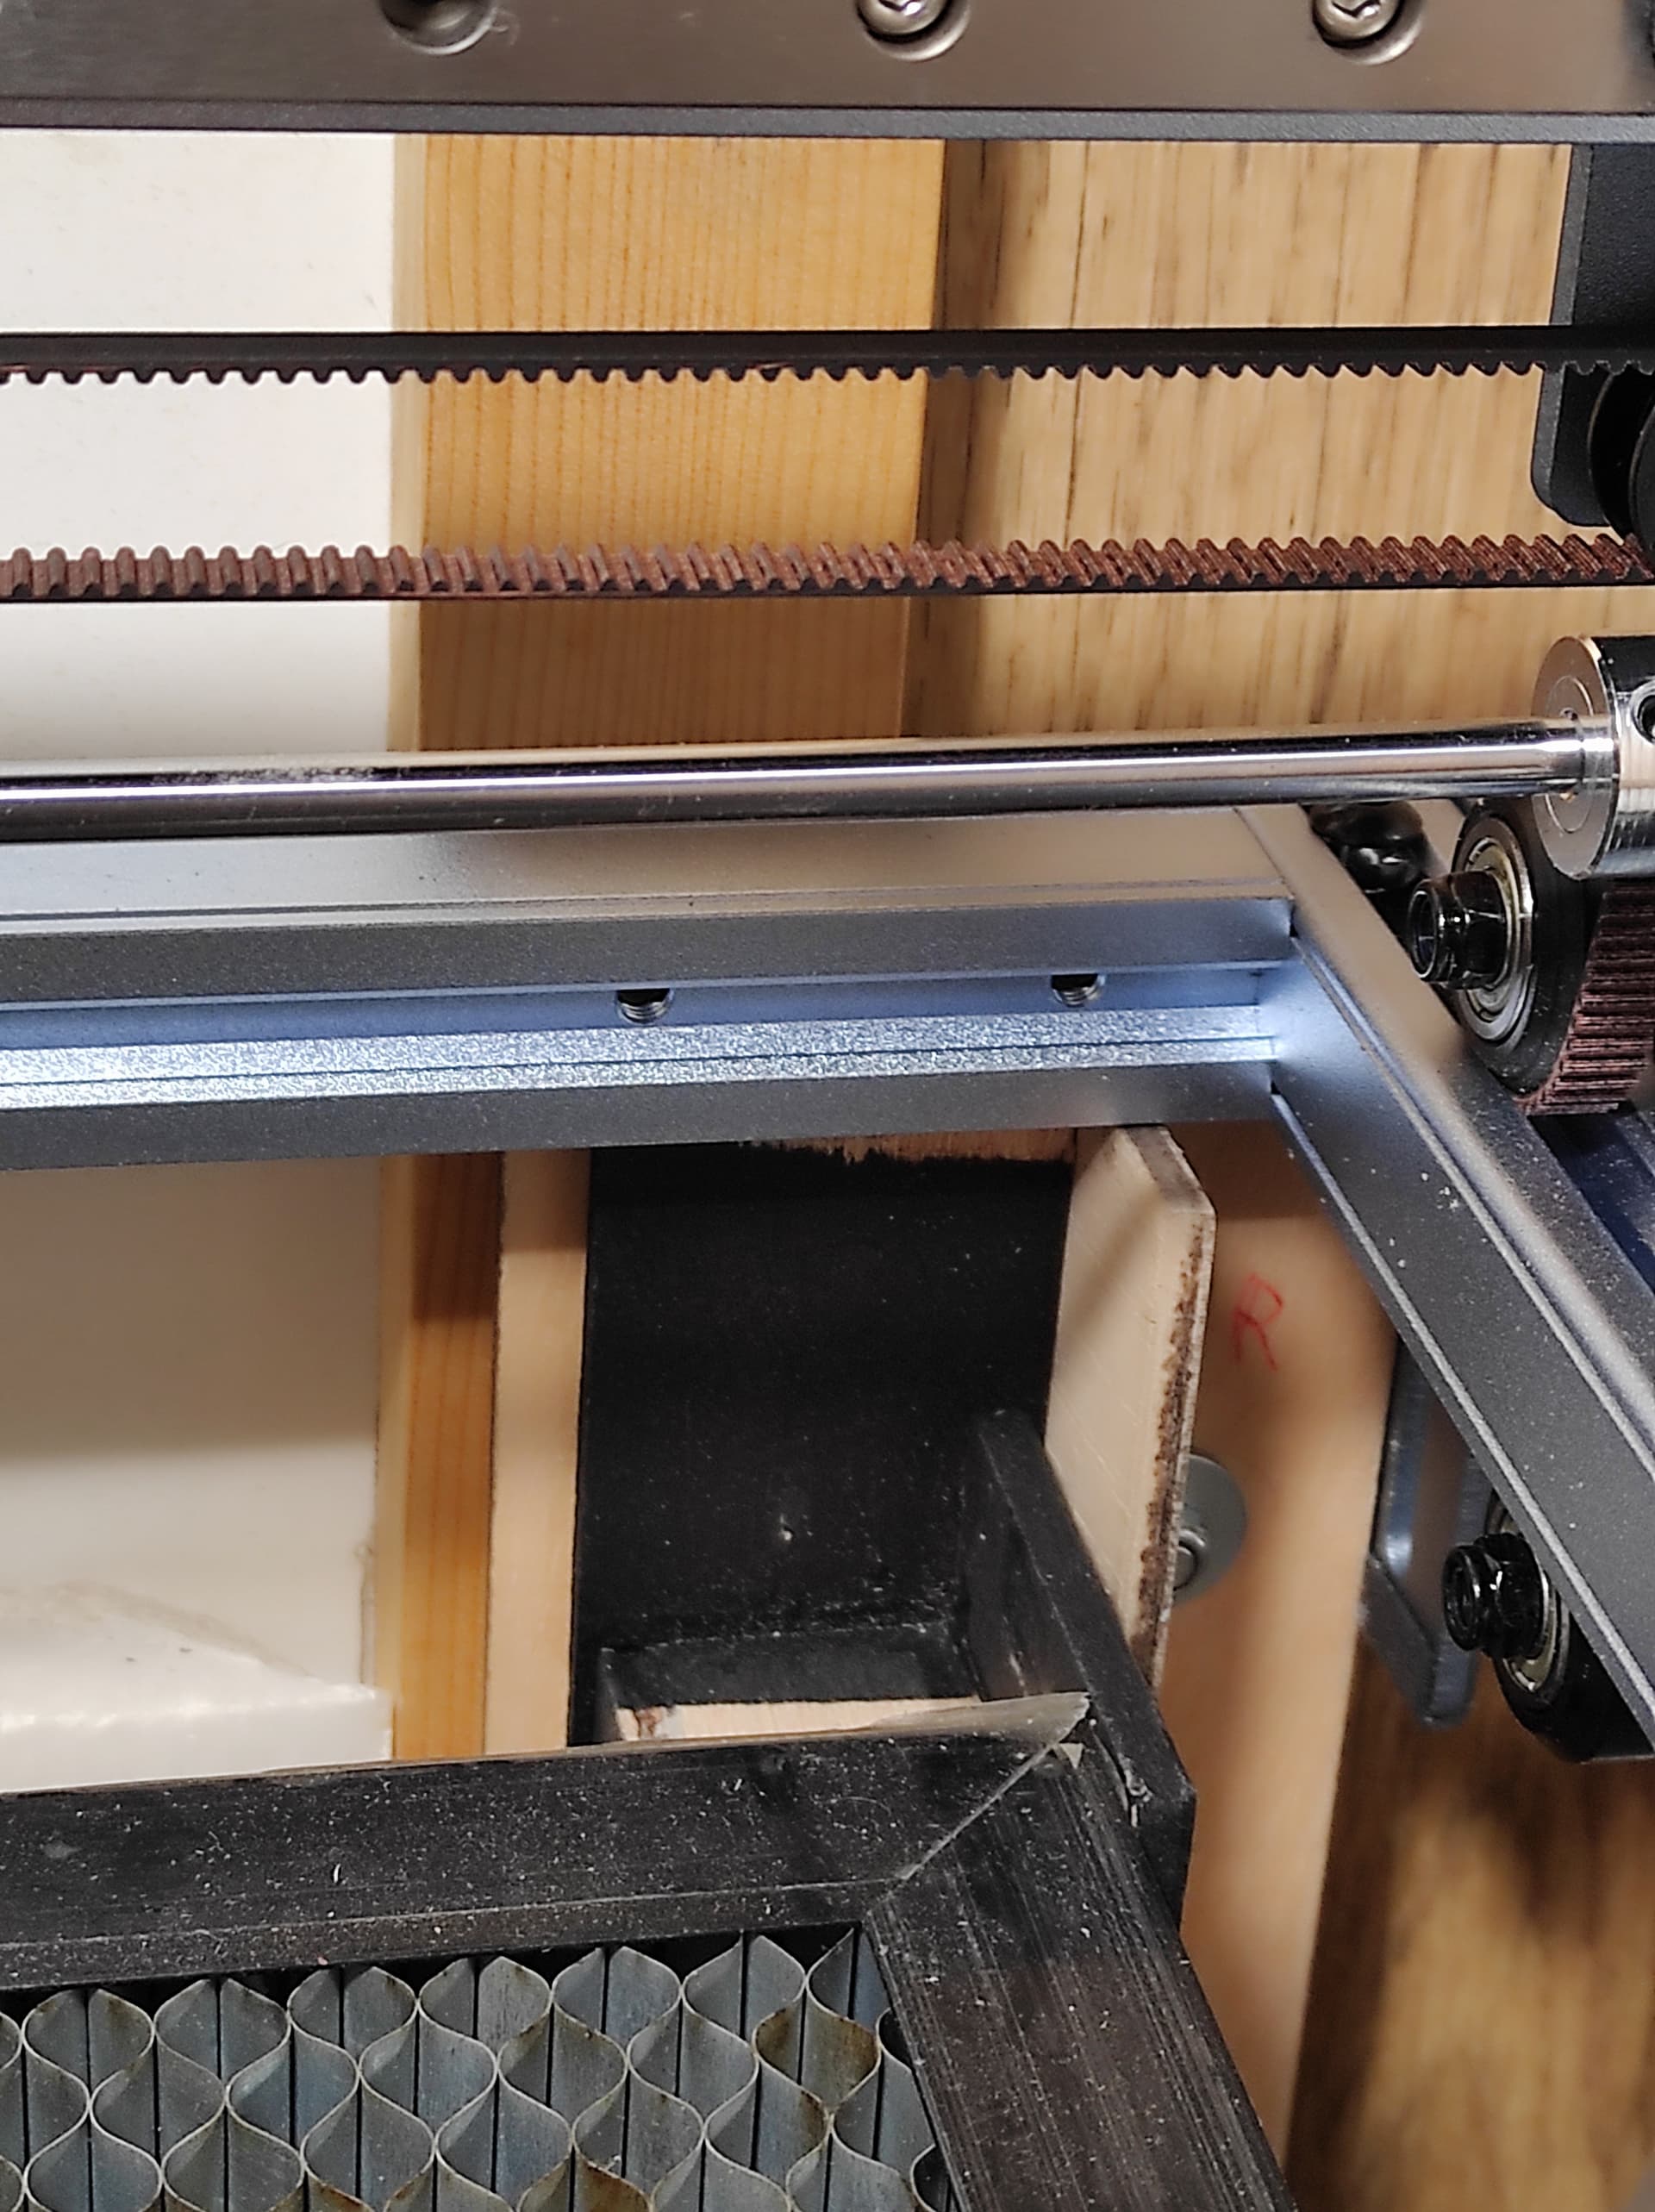
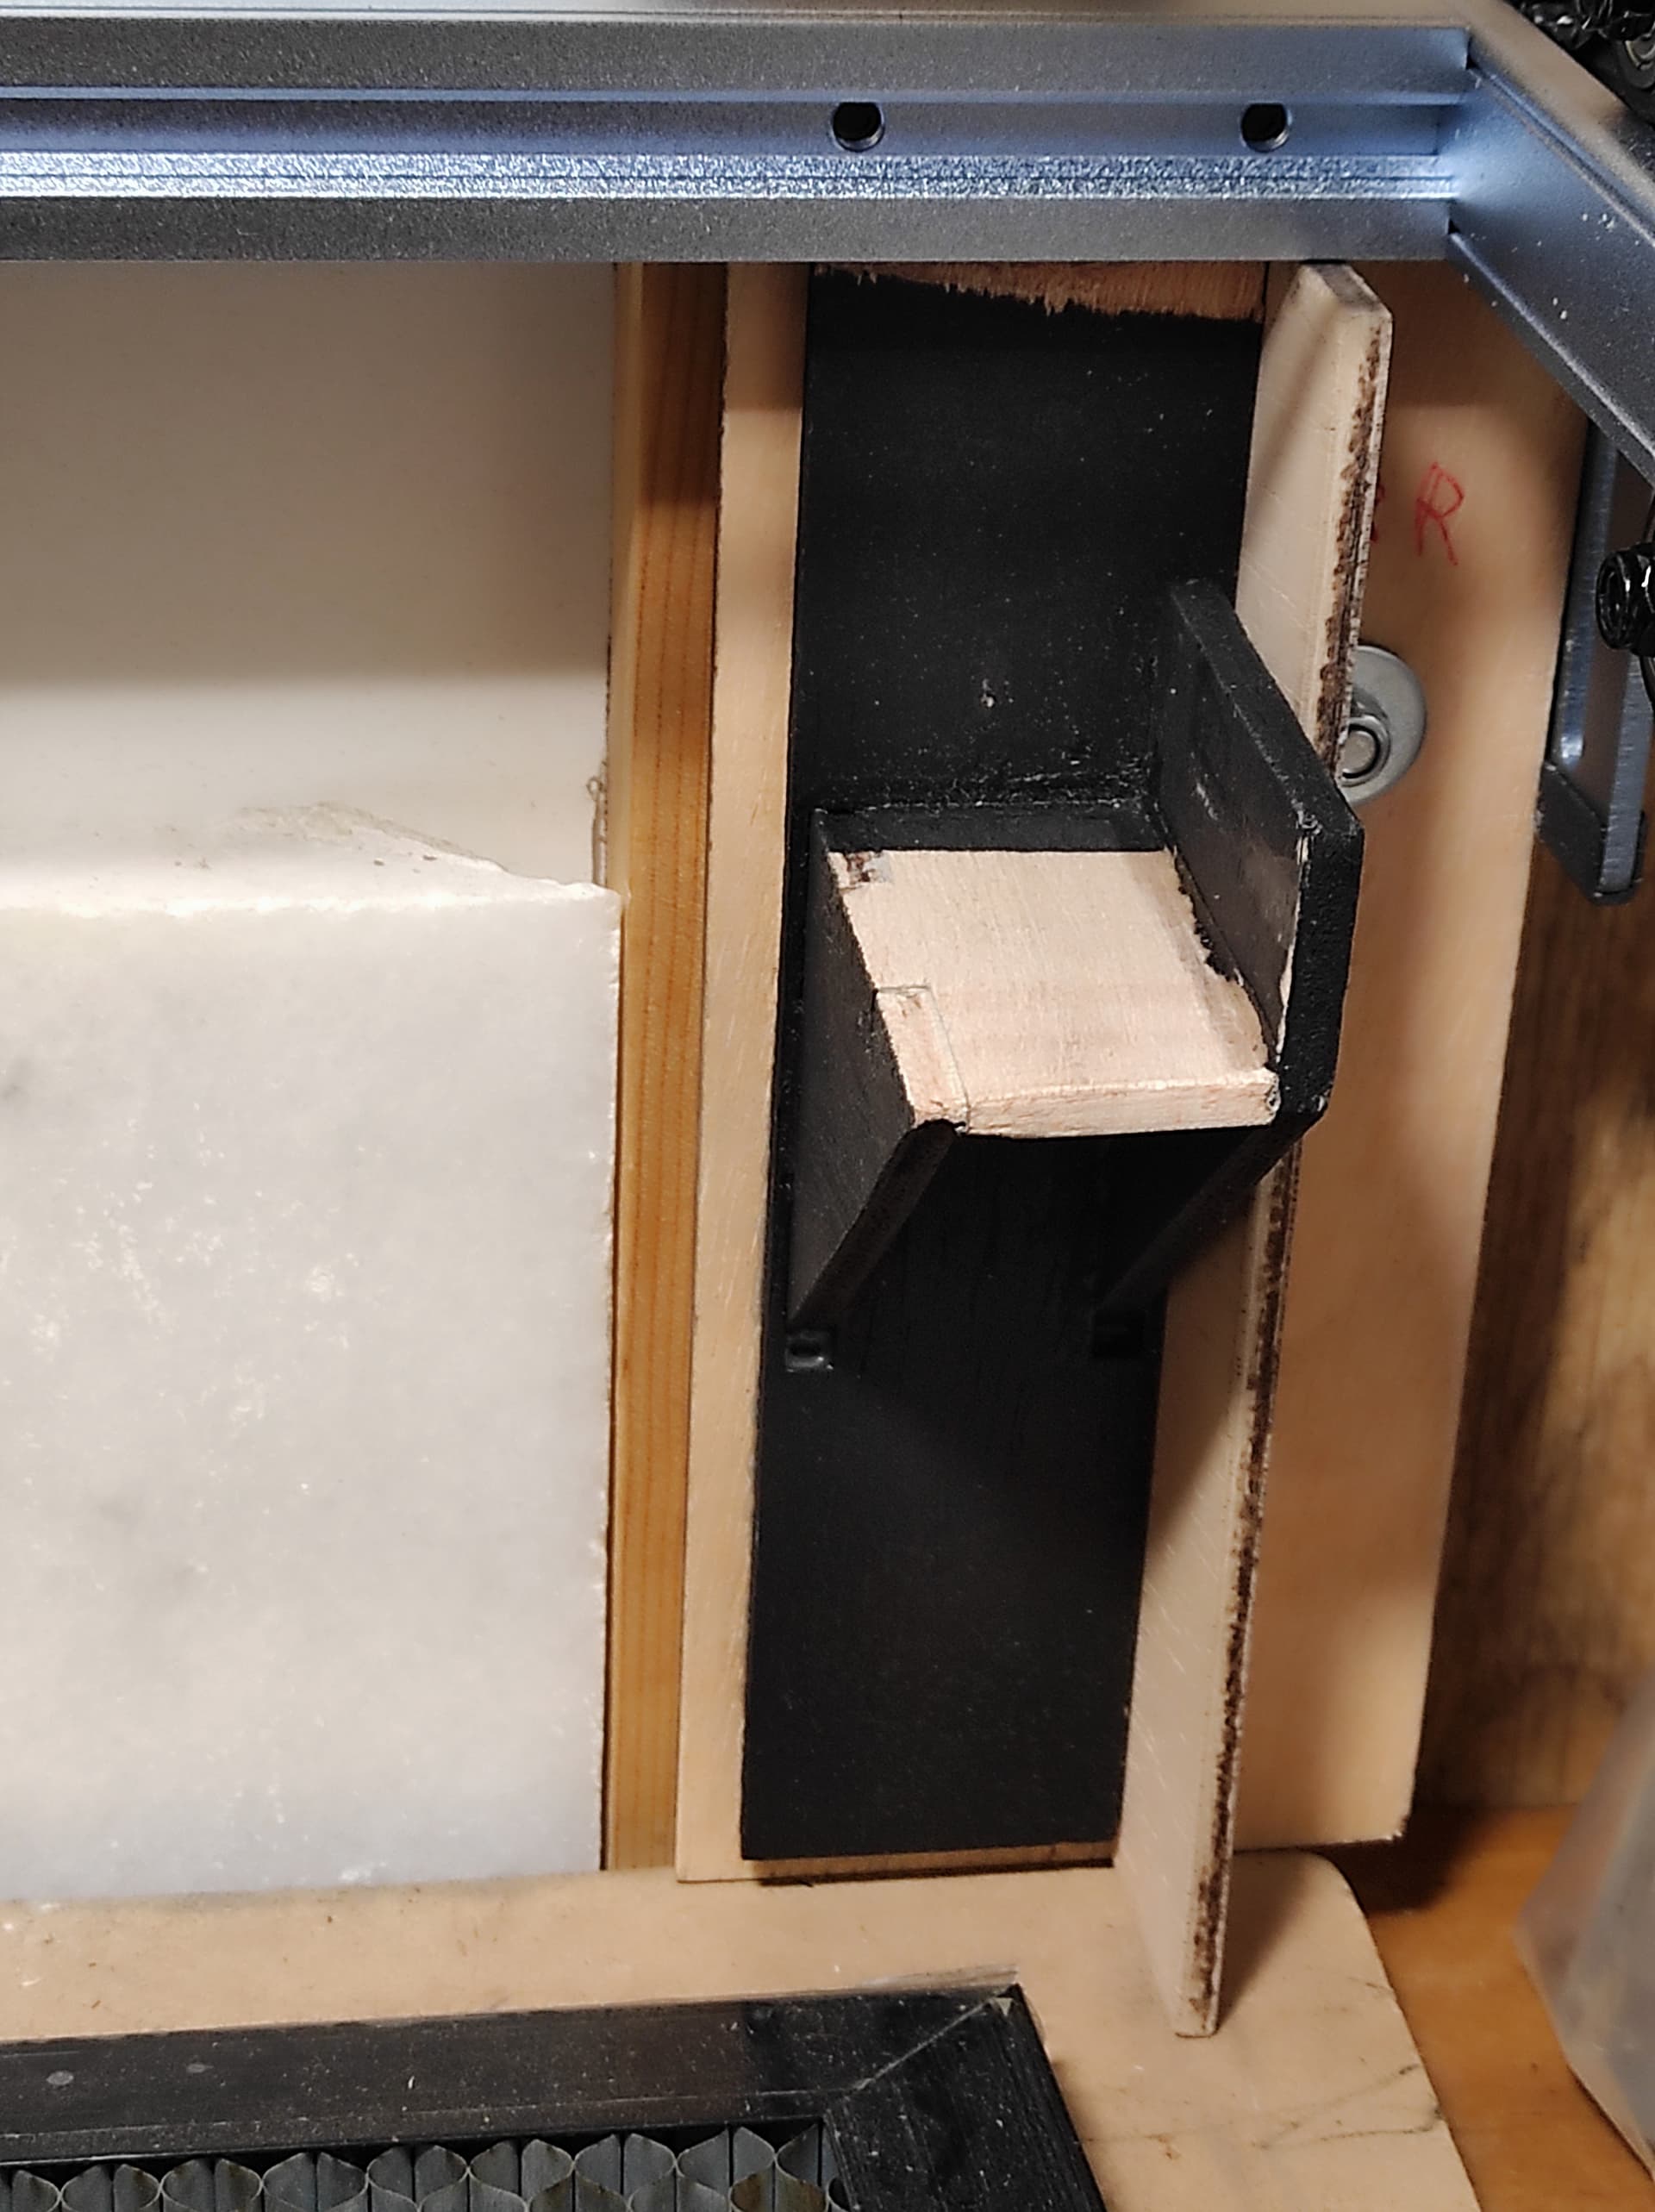
There are a few easy steps:
- first attach the feet to the laser
- then glue the honeycomb supports to the front and back of the left side with spring clips (if the machine’s Home is front left)
- place the honeycomb and glue the remaining supports keeping the honeycomb in place
- once they’re glued, just place the registration points at the front so that the honeycomb slides back and can be removed.
It was designed so that in my setup:
-
- I slide the honeycomb back, then the front down and then it stays on the base and I can place the chuck/roller on top.
-
- allow a piece larger than the working area of the laser without hitting the laser guides.
honeycomb_feet.lbrn2 (29.8 KB)
atomstack_feet.lbrn2 (5.5 KB)
Adapt to your needs.
Measurements of my honeycomb 49cm x 44cm