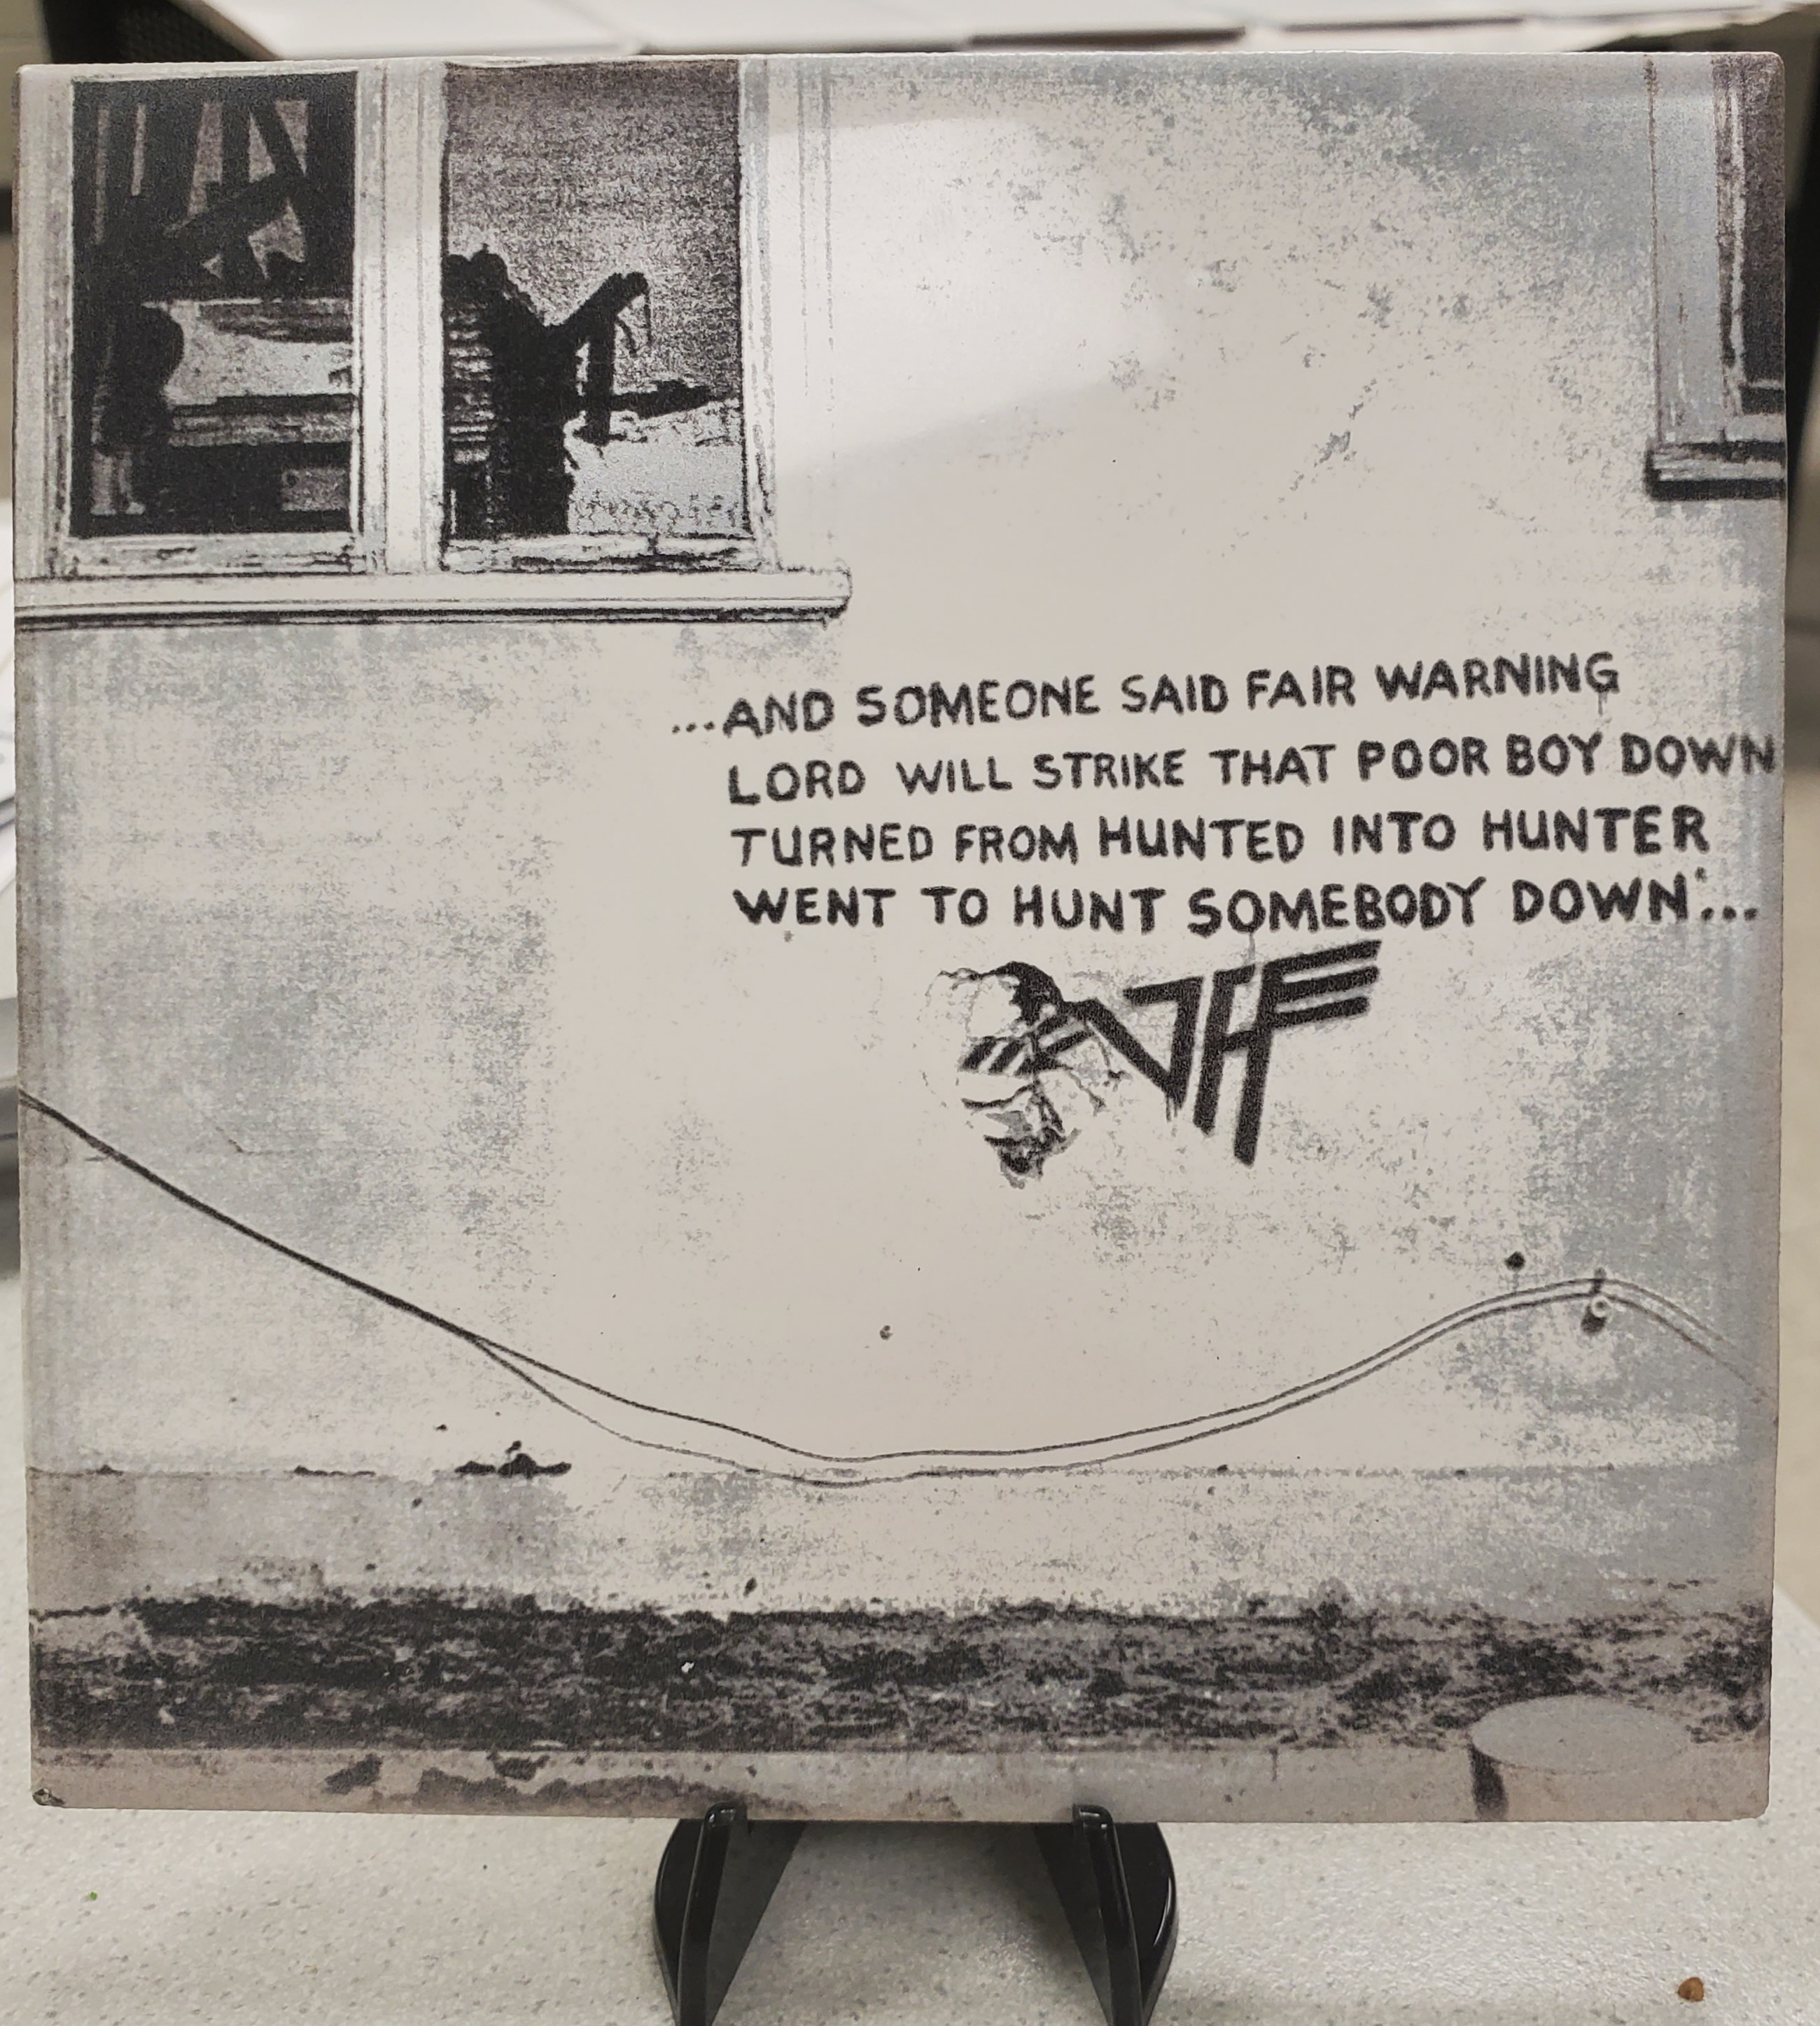
So the settings work on MOST images…I’m having trouble with 2 and they have the same qualities…real deep black and absolute white…when I use my found settings the black carves into the tile and there is litte to distinguish between the light colors…I am looking for photo editing suggestions or a way to go with the settings…faster and stronger or slower and lower. Maybe an decrease in line interval.
I have attached the orig. photo and the outcome…I’m pushing thru projects to complete my list but I’d like to come back to these couple I’m havimg issues with when I get the time and am armed with suggestions…If you guys tell me this is as good as it will get, I will happily accept that
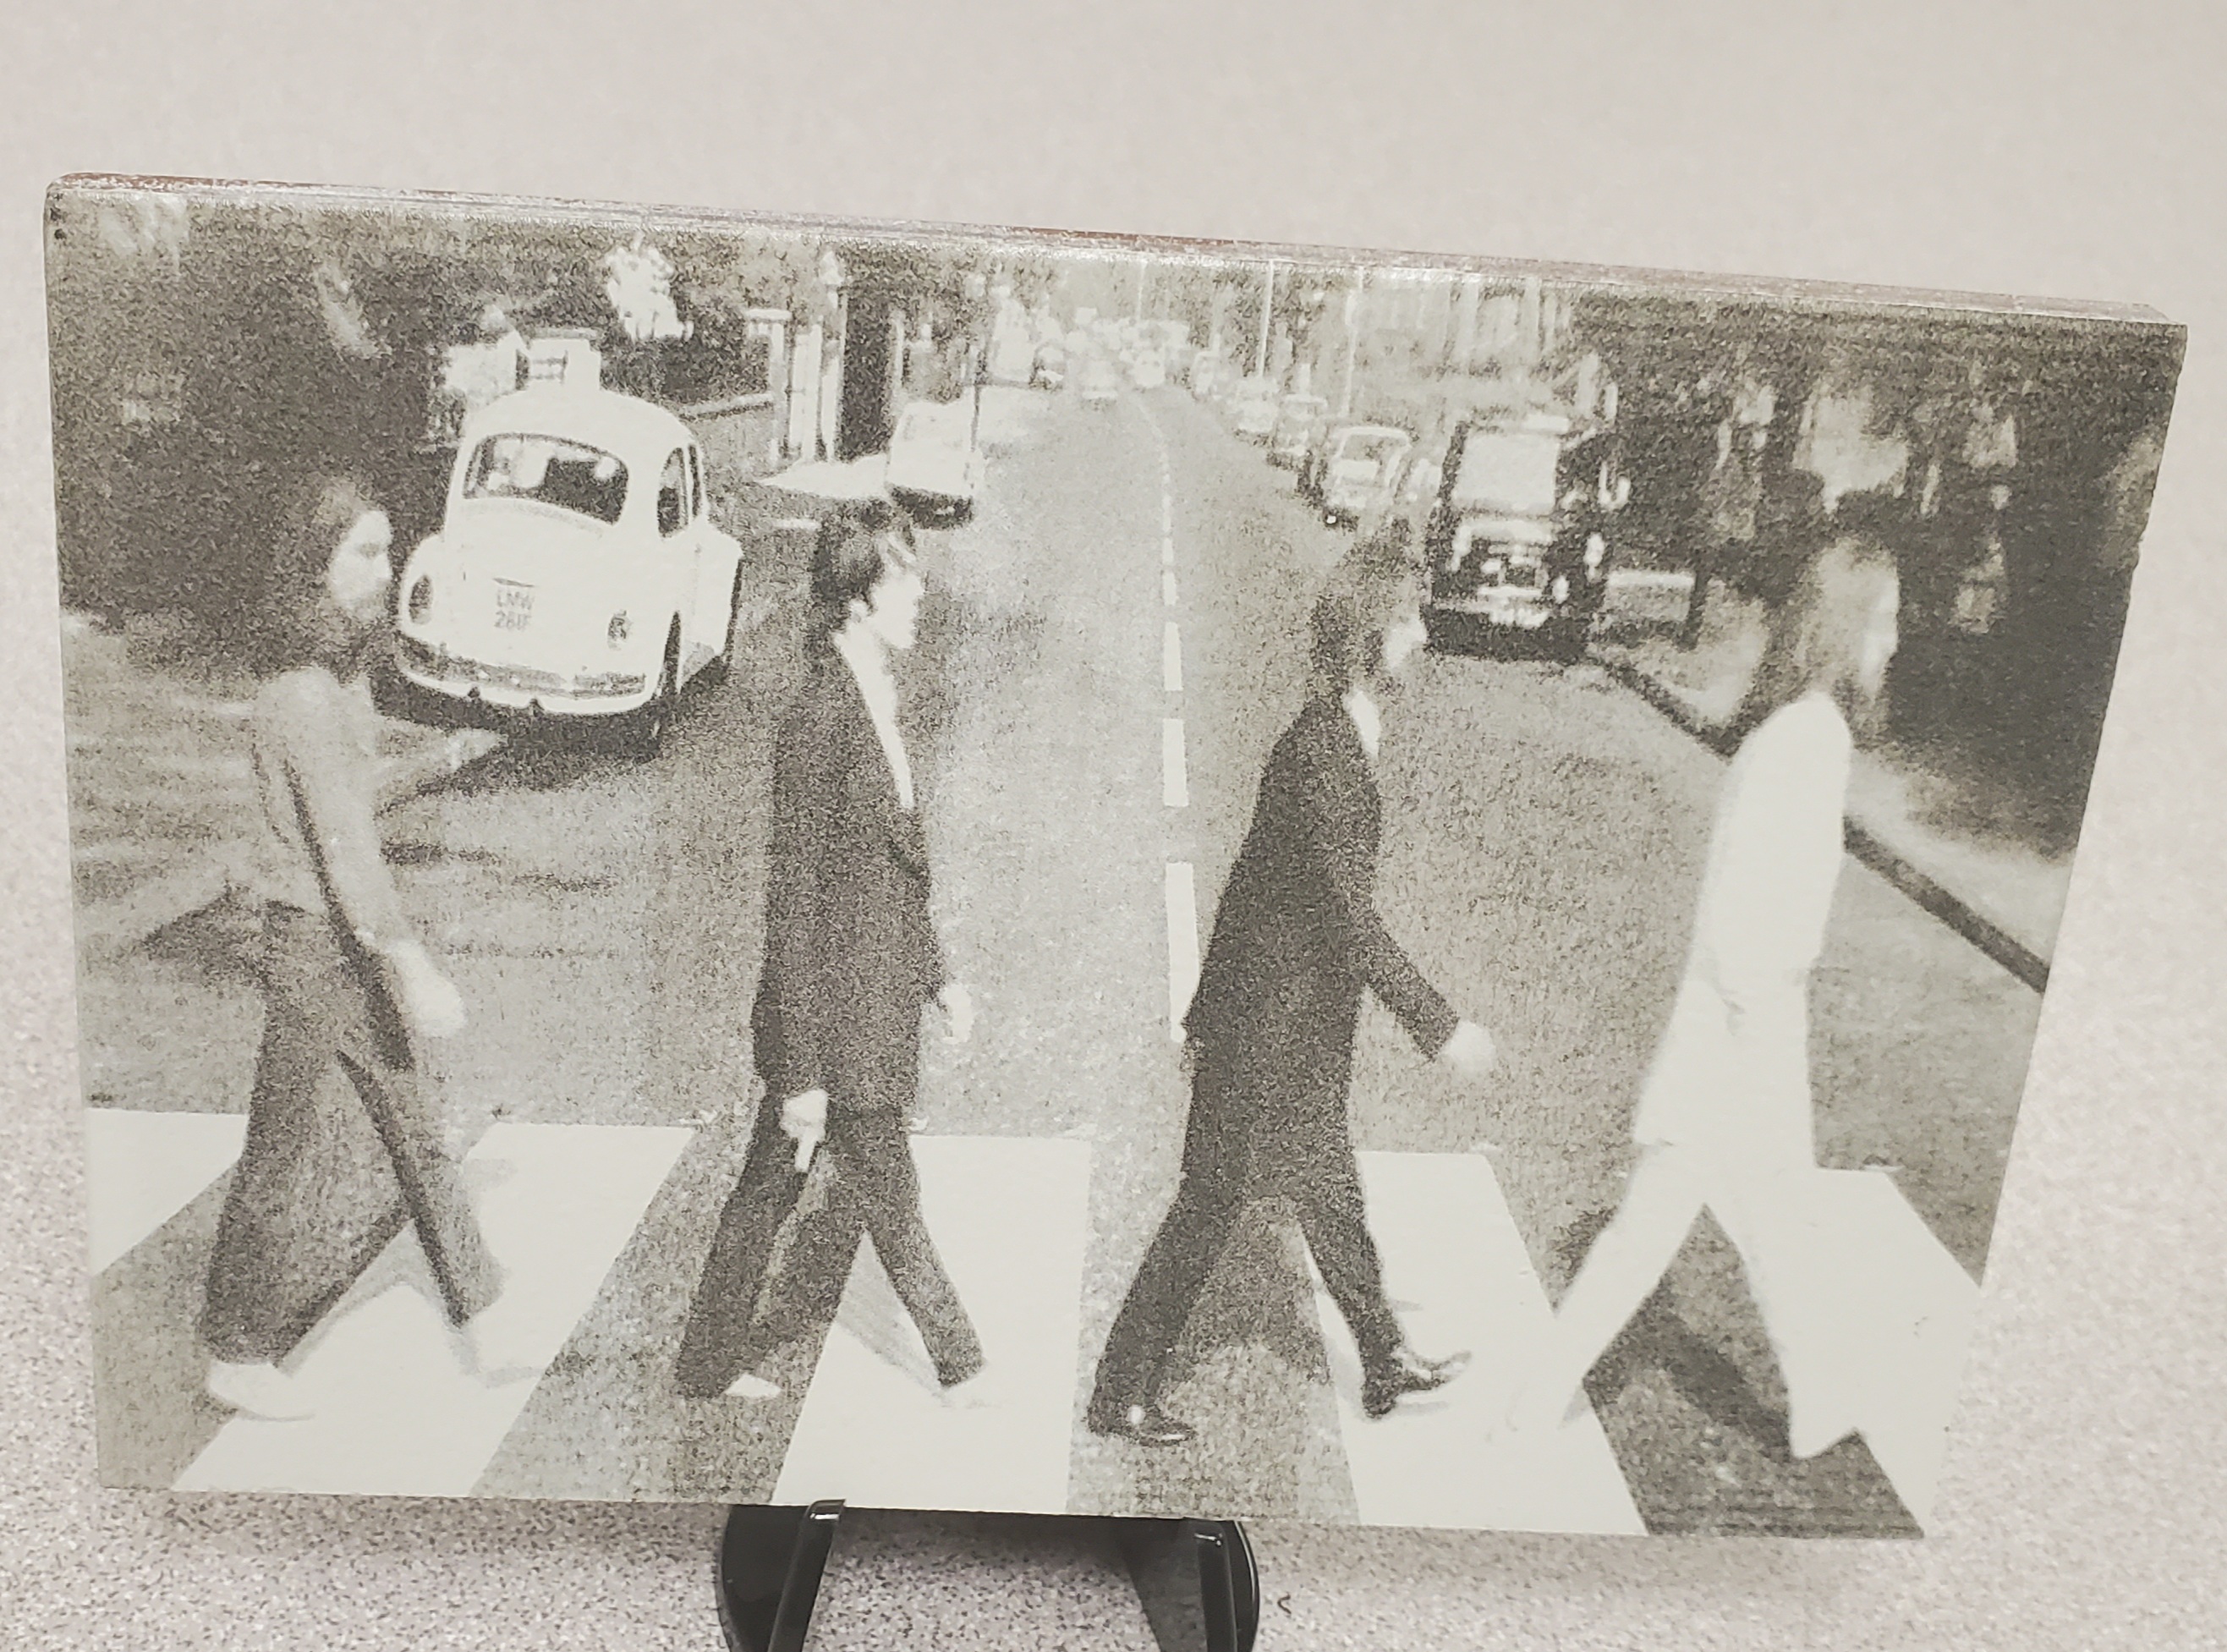
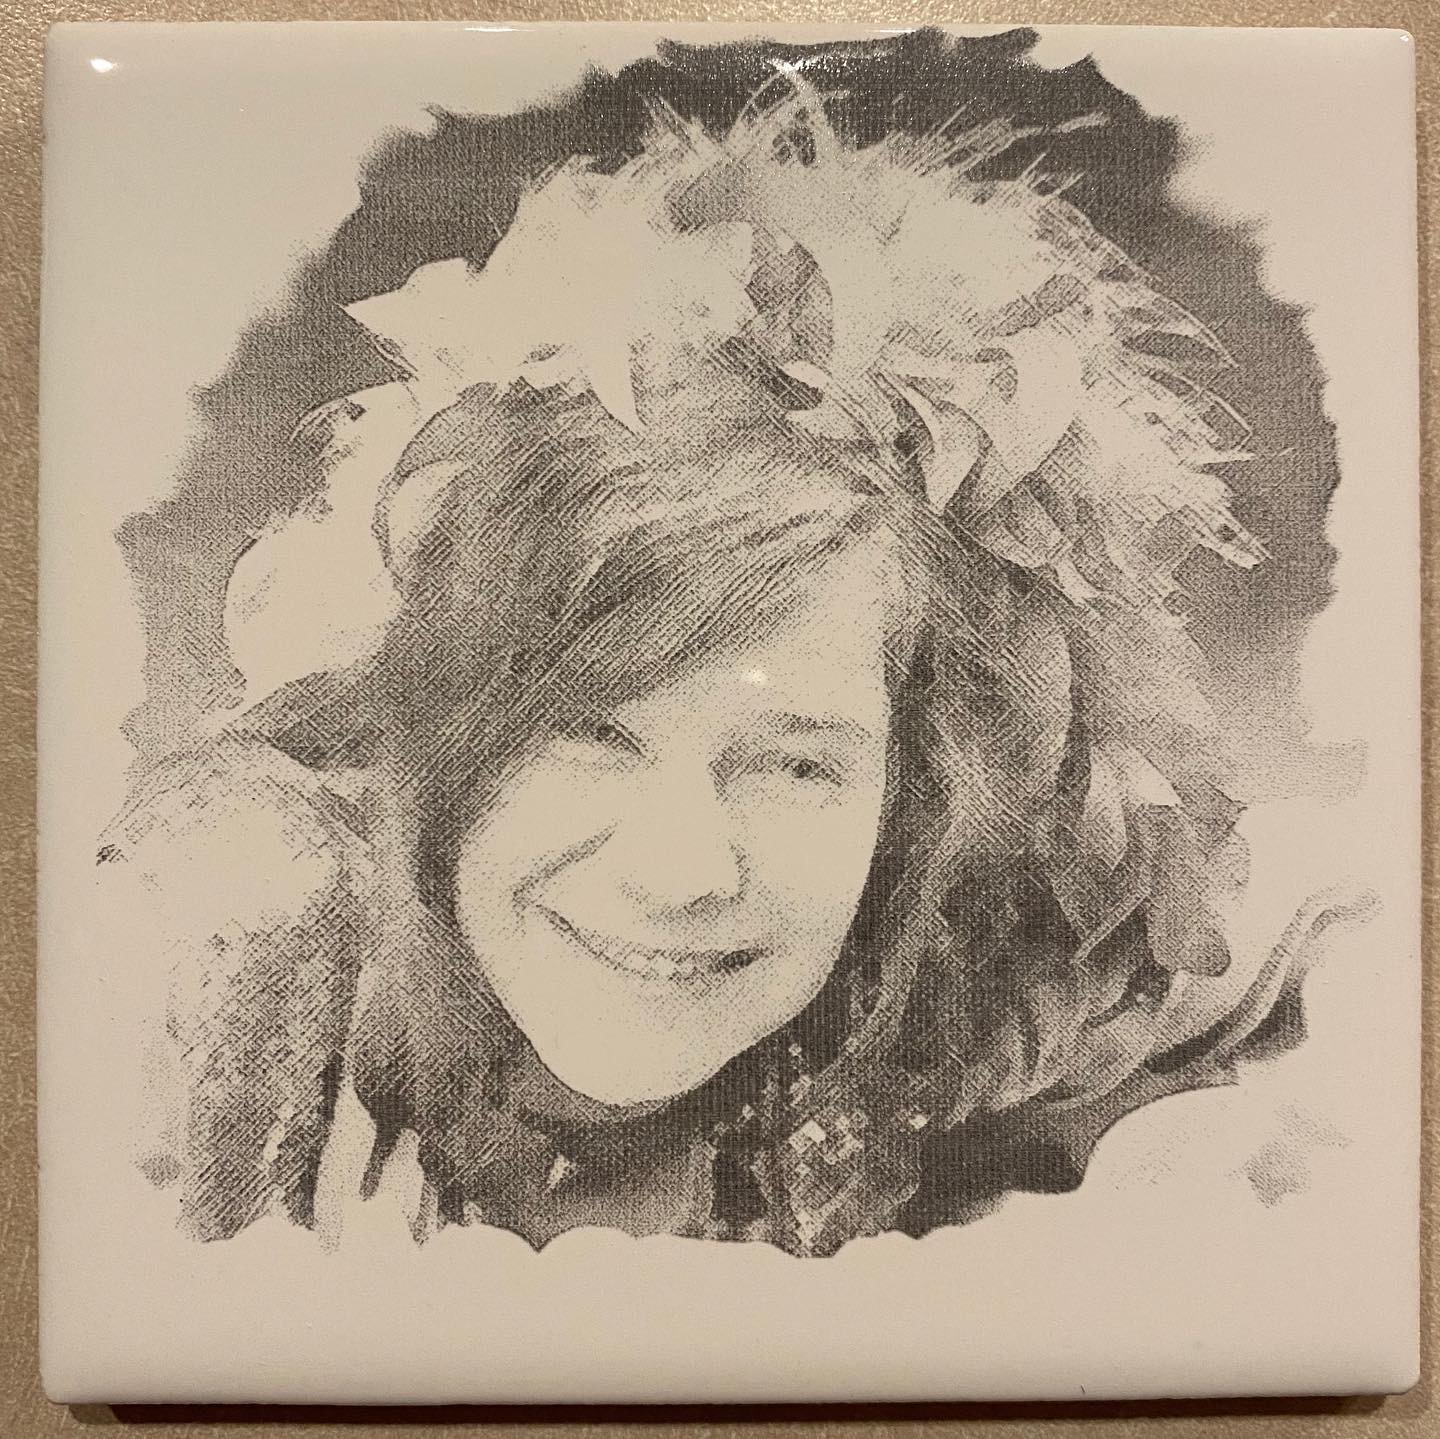
Totally lost on the white tile method…everything I thought I had figured out has changed…my equipment has to be the problem. The lines are worse and the settings change drastically with each tile…on a positive note everything is good with granite…thought I’d share some of my creations.
White tile is super frustrating. I bought a case of tiles from HD for $8 and just kept tossing them out until I was happy with the results😜 I use very low air, but not zero air assist and that seems to help. Also work with the dither settings in LB itself (sorry, not at PC right now or I’d give a starting point). I think I was about 40 tiles in before I started keeping them. I also run 60mm/sec at as low of a power that my tube still fires.
IMHO… General rule of thumb that works for me when engraving is to use a very low pressure air assist. You want the particles to be gently moved away not driven back into the work piece by air pressure. High pressure for cutting operations…
This guy, Russ is pretty informative, this link is to his nozzle design may be helpful.
Have you ever tried one of these laser marking sprays. Supposed to work on many materials.
What dpi are you trying to achieve? Can you see a difference in actual dot size from one to the other? Especially in the streaking area. It’s nice to have microscope, but a good magnifying glass will do. This is the orientation of the burning, I.E. x is x…
Assume you meant ma. My machine is supposed to be a ‘2021’ model. Came with a honeycomb bed and the power supply has a digital ma meter. Unfortunately, the access panel has to be open to read it I run about 20% at about 3 to 4 ma. Assuming the stock 1.5" lens.
Don’t know what you use for air flow, but my door is propped open about an inch for air flow across the material. Honeycomb bed is leaning against my tool box, doubt I’ll ever use it. Cost me $12 to replace it with a mild steel bed that cleans up easily and much less susceptible to fire. This helps keep the air and junk going in the right direction.
Ma meters are about $7 from Amazon and it’s a simple hookup. Worst case, cut a mount for it with the laser and put it inside the cabinet. At least you can reference it, the more information you have the better.
I think the boss will let me try one of those sprays.
‘1’ what? I tried to read back on the thread but didn’t find anything that would give me context for this statement. Since it (whatever it is) seems to have improved your exposures, it would be nice to have some details…
I actually have access to many microscopes as I am a science and engineering teacher.
As far as air flow…I have 8 60mm computer case fans blowing and a large home ventilation induct fan sucking into 2 air scrubbers and 2 inline filter boxes with charcoal and mechanical filtration as I have this cutter in an internal room of a school and need to clear the air to near perfection when my students are working on acrylic. The setup does a really good job. Will have the welding teacher cut a steel bed when we are back in session…haven’t had time for that yet. As for the ammeter I have ocassionally checked with a multimeter, but have not hardwired one in yet. I am, overall, happy with the machine…it does a great job as I have upgraded it to have what I want it to have (its the engineering teacher in me)
As far as the sprays…I have used Enduramark and Ceremark on stainless glass and ceramic…on stainless I have the best results with Ceremark
Thanks… Seems like you have a much better air movement system than I had anticipated. The ‘boss’ has allowed me to purchase some of the ‘laser bonding tech’ to try on various material.
It’s hot here and the only place for my machine is outside, so I get a couple hours out of it in the early morning and shut it down at about 100 degress. It would be nice to have it inside. I have really enjoyed it, not to mention how much I’ve had to learn to use it…
Found that not all tile are created equal…bought some real cheap 12x12 tiles from HD and Men (both different brands)…they were a little textured…required 25% power which measured at about 9.75 ma on my multimeter…which when talking about such a little amount of power is quite an increase…when I ran this type of tile at my “smooth” tile settings the image just mostly washed off. The final product came out acceptable after the power bump tho.
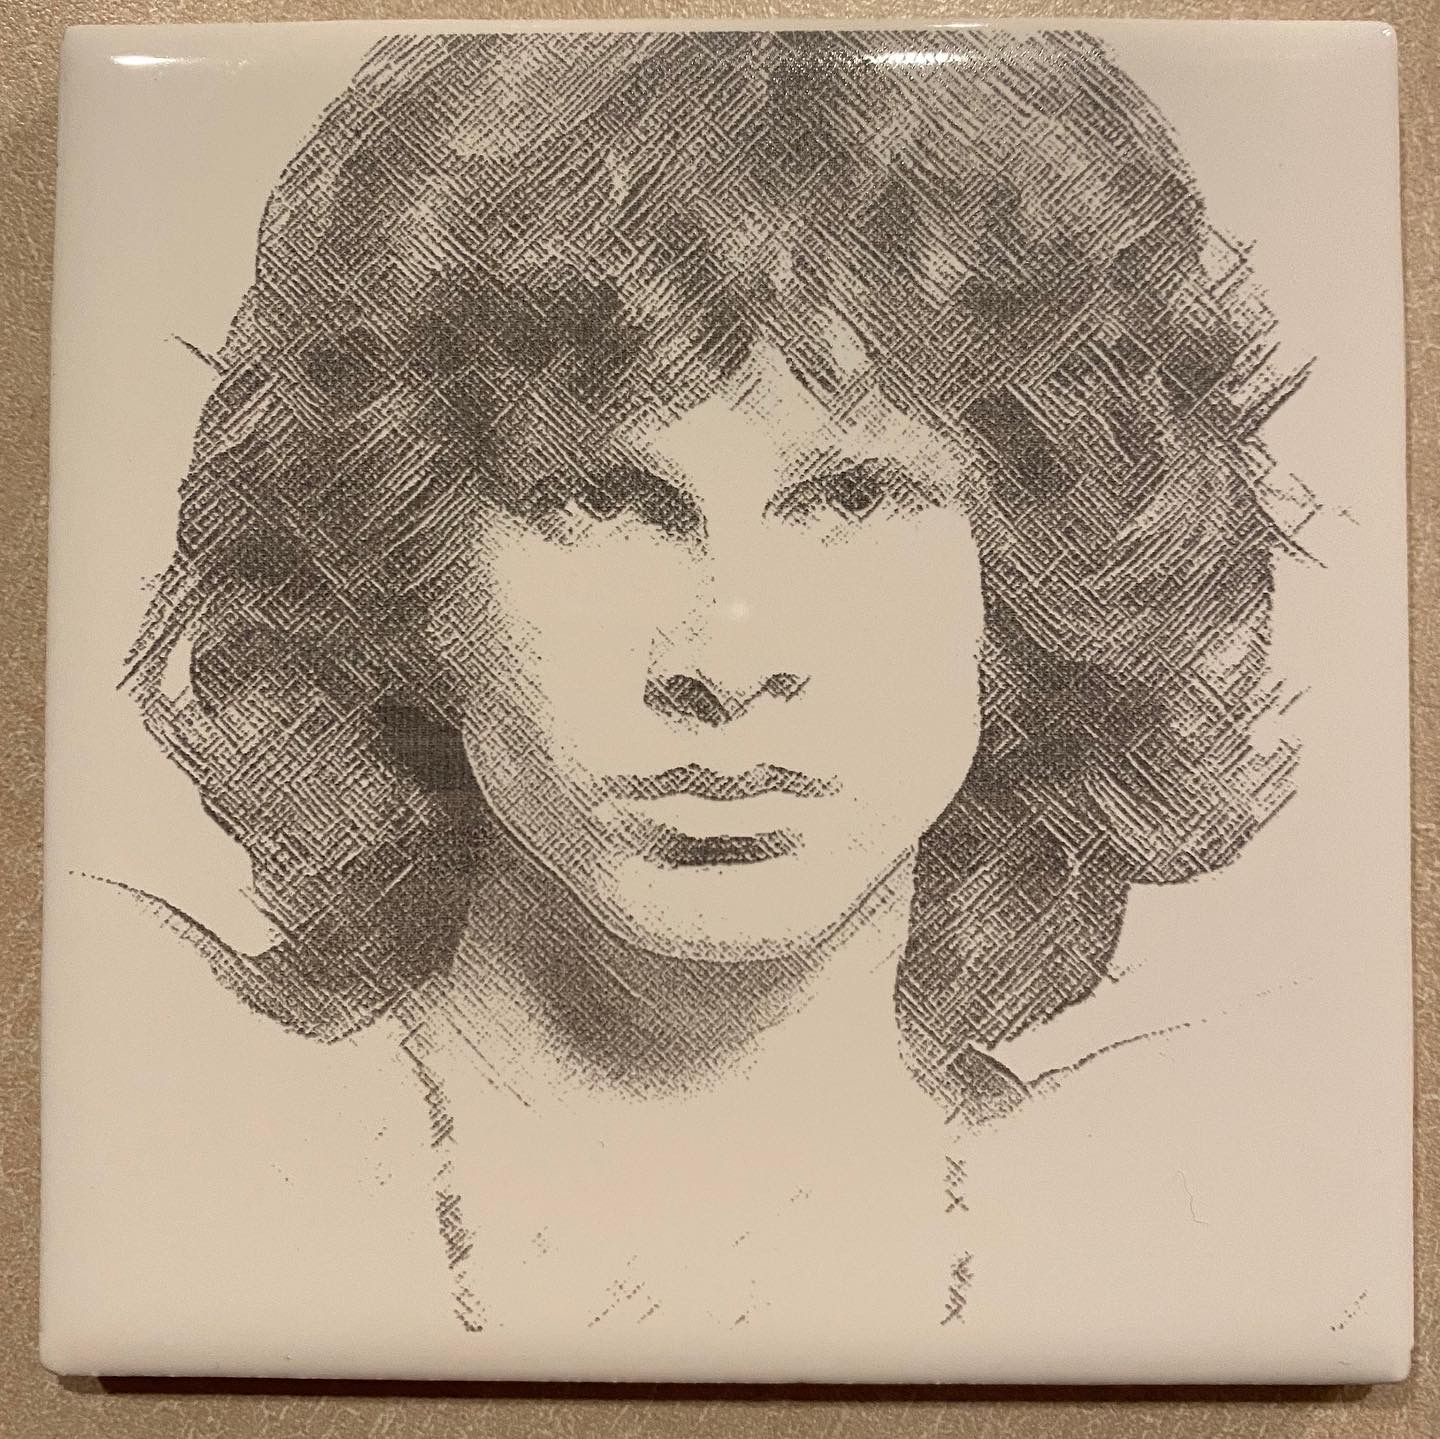
Got another one to turn out…settings on this one…daltile 12×12 cut to size(8x10)… 21.5% power 55mm/s speed 425 dpi resolution with a 1.5 focal length lens. This is from a personal photo and in my opinion is my best attempt yet. The photo was light so I adjusted the gamma to 1.8…should have dialed it back to 1.5 or 1.6 but I will accept this one too
Found out what was causing the lines in my burns after all…it was a short in the guide laser that would cause the HV power supply to fluctuate and shut down for a tiny secondand then reboot. Since I cut the wire on that…no problems


 I run about 20% at about 3 to 4 ma. Assuming the stock 1.5" lens.