Be sure when you are aligning mirrors that you check for consistency (parallel alignment between adjacent mirrors). To do this, verify the alignment of mirror pair 2,3 stays the same with the laser head at each end of the axis. Likewise verify that the alignment of mirror pair 1,2 stays the same with the gantry at each end of the axis.
If only we could carry that laser through fiber optic cable! That would be so much better.
Absolutely, yes I do check for parallel and consistency. I just left that out thinking it was a “given”. Hey, sign me up for that optical fiber delivery
I have managed to align mirror 1 so that it hits mirror 2 dead center, at both ends of the travel.
Now, I’m trying to get mirror 2 correct, but it hits low at the close end and high at the far end, and I can’t figure out how to adjust it so that it’ll hit correctly. This worked pretty OK before I started fiddling around with it (it was slightly out of alignment at the far right, but nowhere near as much as now).
You are looking for parallel to begin with. If you have it between 1 & 2, you do the same with 2 & 3. Once you have it parallel between 2 & 3, then you physically adjust the #3 head to ‘catch’ the beam. After than you adjust #3 to get your Z parallel. Finally you physically move the #3 head to get the beam centered in the lens tube. Do not assume the center of the hole in the #3 head is in any way related to center of the lens tube. Personally I had to hit the hole about 2.5mm high to be centered in the lens tube. The wonders of chinese engineering.
Russ goes over the procedure in his #192 & #193videos. The first 30 minutes or so of the 193 is head design progression over the years, so you can skip forward throgh that if you’re not interested.
OK, almost there… Now, I hit the same spot on mirror 3 all over the table. The problem is that this spot is pretty high, and if I want to hit it in the middle, I need to raise the head about 4 mm, and it’s already as high as the construction allows. I think I’ll have to make a new holder for it.
You could take a few longer screws and slip a few pieces of scrap around the edges to get you going until you can make a fitted spacer. I took the thin spacer out from between the bearing block and the head mount plate, and put a thicker spacer between the head mount plate and the head to get me the right combination of lift.
It has, but it’s maxed out. Luckily, it doesn’t seem to matter, I get a nice, sharp dot perfectly down the middle of the nozzle despite hitting mirror 3 high.
Now I just need to figure out why I don’t get full power, but that’ll have to wait until another day. My tinker patience is all used up for the moment…
Yeah, in a way that is a skill that needs to be mastered with these things. Know when to walk away and come back with a clearer head.
If you have the large chunky #3 head, it’s quite common for them to need to hit the hole high to be centered in the lens tube. For lower wattage’s with a smaller beam it’s not a big deal, but with my 80W I was on the boarder line of clip[ping the hole with the beam. It was one of the big factors in converting to a sliding mount and getting Russ’ MK2 Lightweight Aluminum Head. Totally open, no hole to clip. The sliding mount makes it a snap to catch and align the beam.
Got the new slider installed and Russ’ MK2 head the other day. Had it 98% aligned, but was still hitting the side of the nozzle hole. Fought it for half an hour, then went inside to veg in front of the computer. Went out the next morning and had it spot on in about ten minutes.
The sliding mount was a bit of a PITA. Russ’ design that’s sold on Cloudray wouldn’t work for my machine, the brace on the slider hits my return belt. He was kind enough to send me his cut files, and I was able to fabricate a bit of a different design that cleared my belts… after more than a dozen prototypes. With the new slider and his MK2 head aligning the #3 is a breeze. Just posted the picks and cut files on my Google Mod Page.
So an update on the reverse laser alignment process:
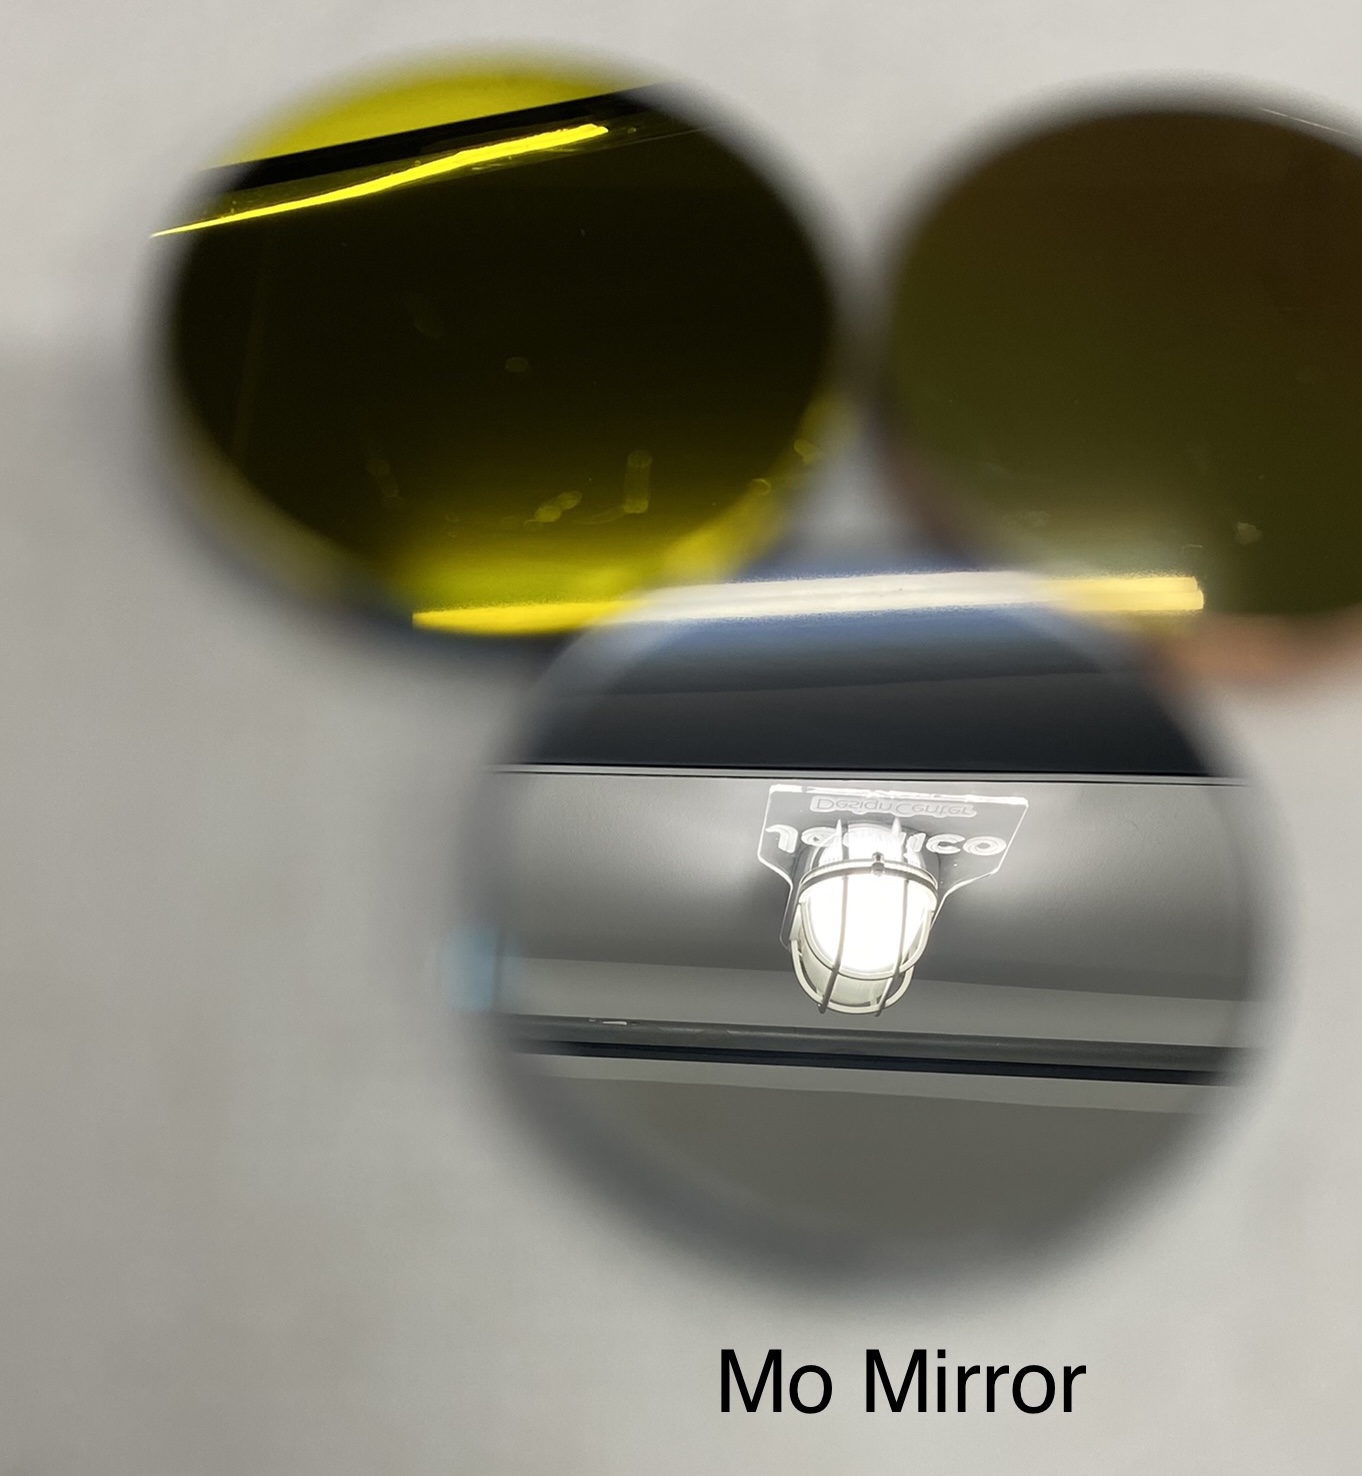
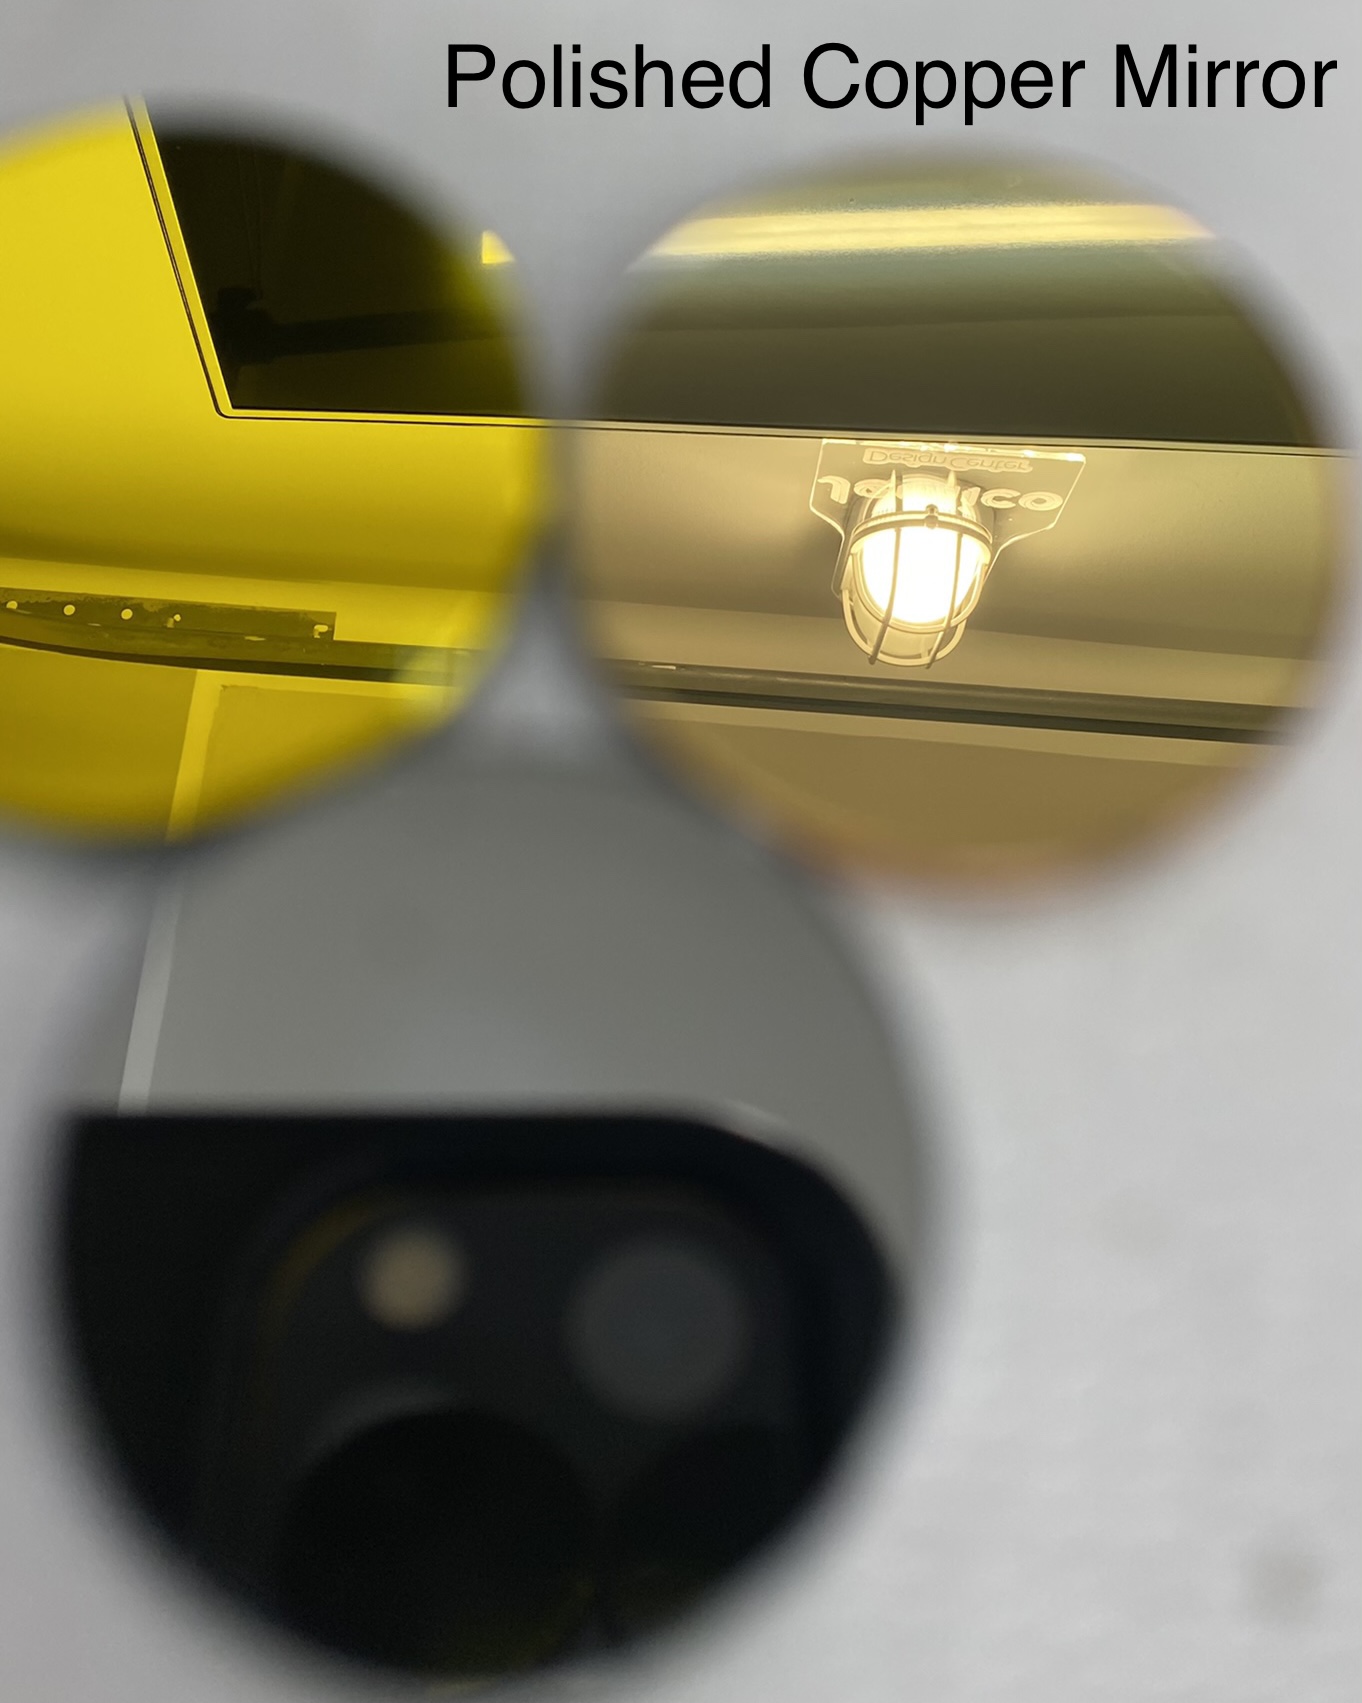
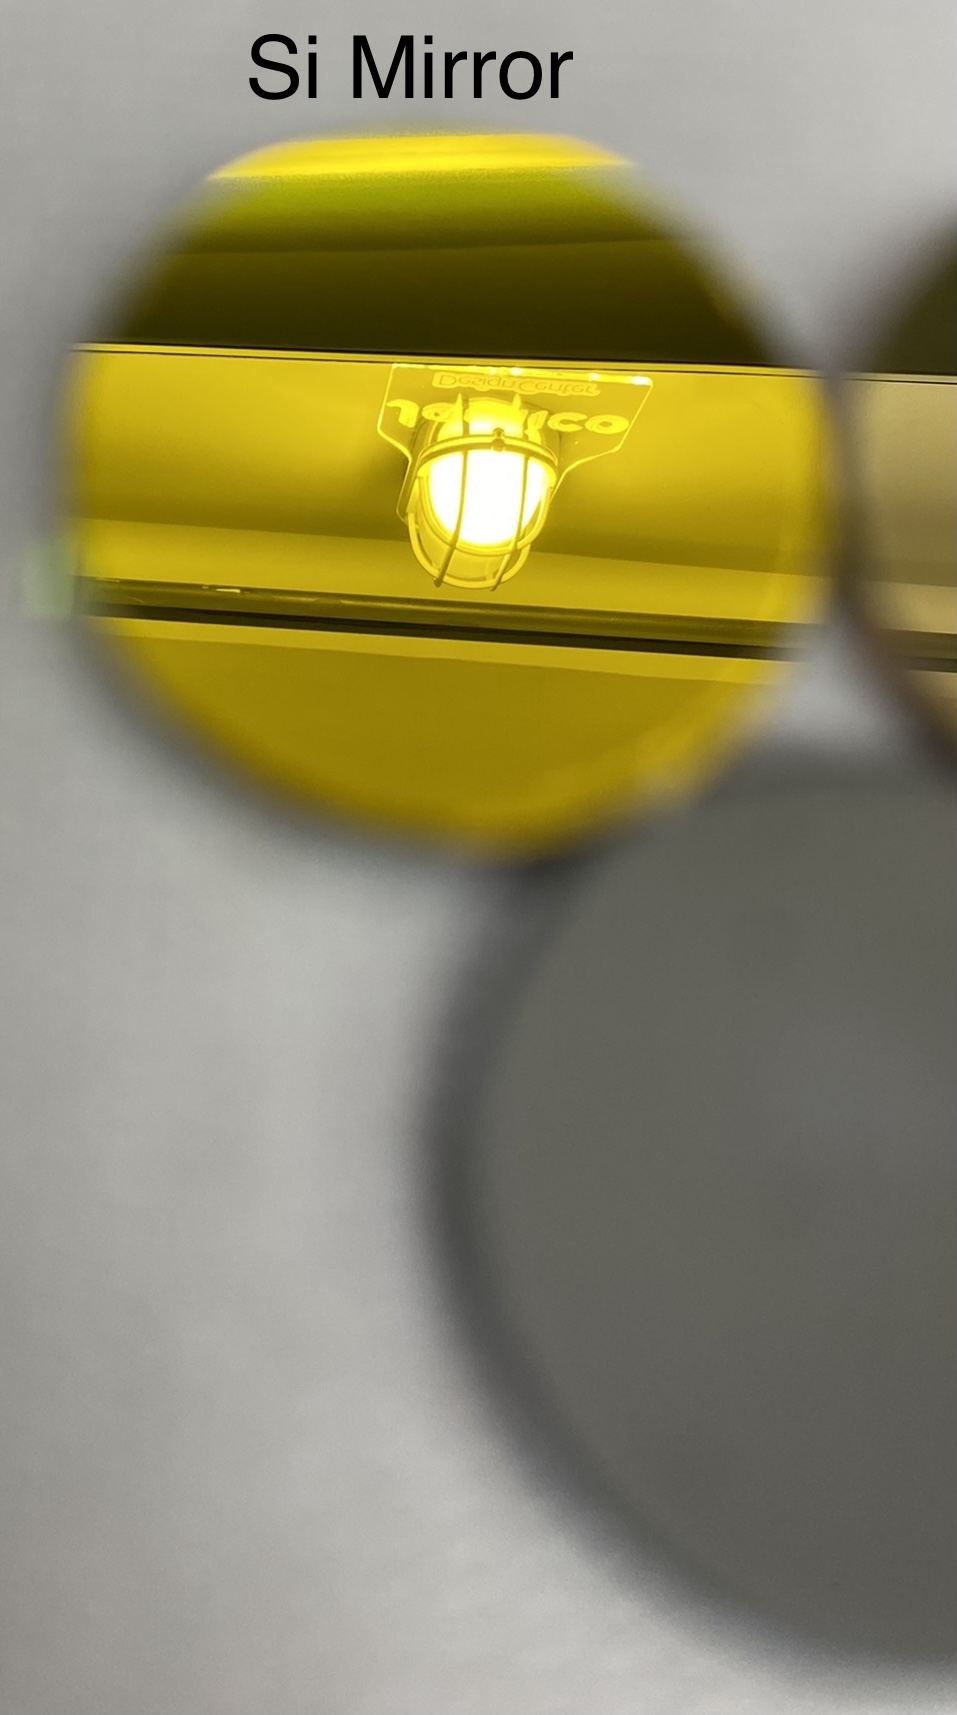
Today I installed new copper mirrors in my machine. I had actually been waiting to install these mirrors before making a true completed attempt at alignment. What I discovered in the reverse laser alignment process was pretty amazing.
The red laser reflects off of the laser tubes lens (the small glass window output of the laser tube). This is very helpful and after achieving complete parallel and perfect alignment, the red laser double backs enabling absolute precision alignment across double the distance.
Very happily, my alignment could not possibly be tuned better. I am deadlocked perfect aligned in every location on my 900 x 600 bed. That’s pretty cool.
Supposedly, these polished copper mirrors are supposed to be better reflecting than the Mo mirrors, but I don’t know.
 That would be so much better.