I am trying to figure out if its possible to etch away the reflective layer on a glass mirror, leaving an area that is just clear-ish glass.
At best, so far, I seem to be able to get down to the reddish backing of the actual reflective material consistently, but I cant seem to get through it without leaving a frosted effect on the glass.
And while taking steel wool to that and rubbing it off works, it is a lot of hand work and leaves the danger of damaging the edges of the backing material.
Anyone got any ideas on how to achive this?
using a Co2 laser, as a note.
Frosted glass is the results from a laser on glass. It shatters glass when it heats it.
If you can get the power ‘perfect’ you could, in theory, just remove the reflective layer, but that is nearly impossible. A slight change in focus would change the ‘damage’ on the glass or backing and change the results…
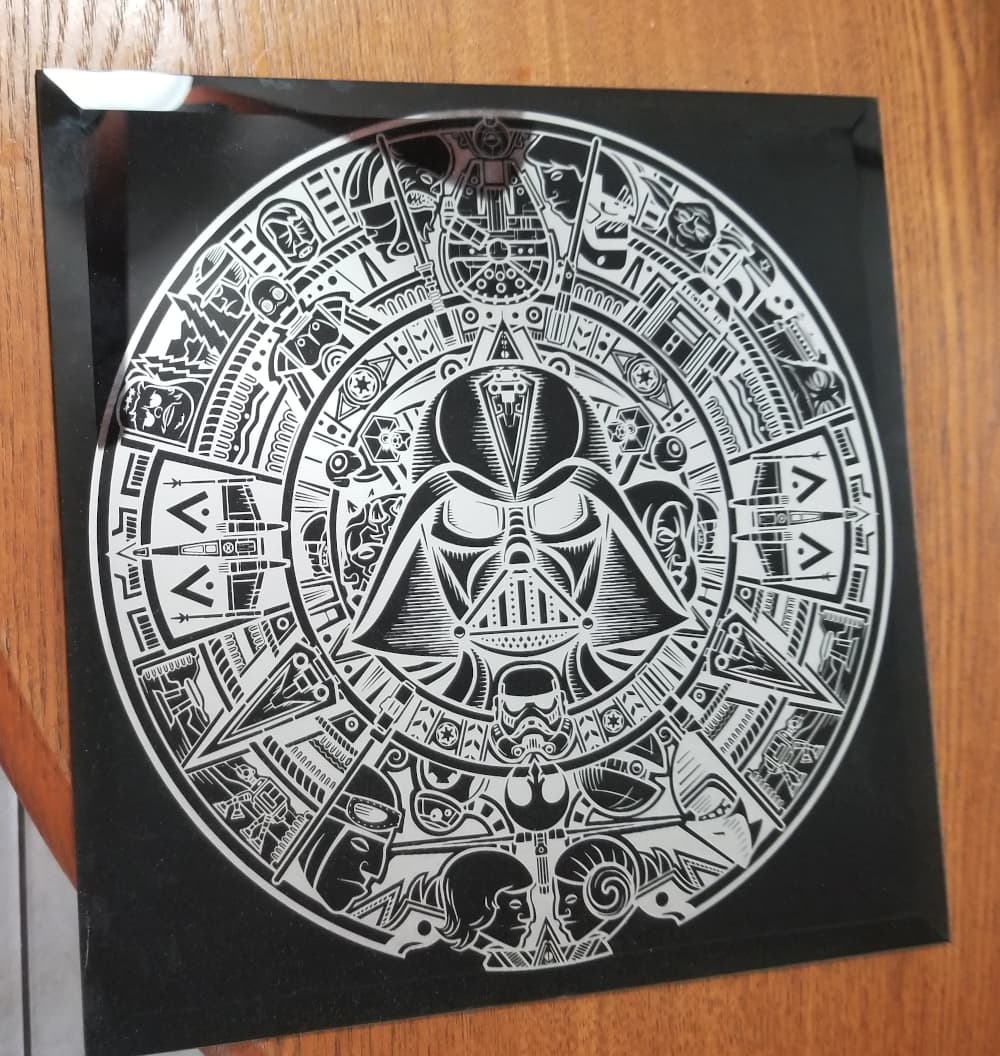
These are all 12" square mirror tiles, reflective material removed the ‘clear’ painted…
hah, yeah.
Like I said, I can get it to a stage where I can scrape the reflective off with steel wool and patience…but thats going to take a lot of imprecise hand working.
If you do anything detailed, scrubbing it with anything isn’t going to give good results…
At certain angles, you can see that it’s painted on frosted glass. It would be nice to be able to just get the coating off it.
The issue is that the laser vaporizes the material or at least heats it substantially to remove it. That coating will transfer some of it’s heat before it vaporizes, that heat on the glass causes it to shatter leaving the frosted look.
I would like to see you do this, but I am dubious as many of us have tried this or something similar with other materials. It’s difficult, especially with glass.
I think this is what a laser does to glass…
Good luck … when you solve this, please educate the rest of us …
After removing the protective ‘paint’ layer with your laser you could try a chemical remover. If it’s silver you could use something like this:: Mirror Remover- Safely Dissolve Silver and Copper Mirror or if it’s aluminium there’s this: Aluminum Remover . Possible alternatives if it’s aluminium are Hydrochloric Acid or Sodium Hydroxide. Just use appropriate PPE!
Edit: Another thought… maybe ferric chloride or sodium persulfate might work too.
I’ve got no experience of doing it myself, I just thought a chemical option might work better than an abrasive one so I did a bit of Googling. Yes, I think that’s the way to go, use just enough speed and power to remove the protective paint layer then apply the appropriate remover. From what I’ve read during my very brief investigations it appears that silver usually has an additional copper layer whereas aluminium doesn’t.
Let us know if you try it and what your results are like. BTW, loving the mirrors you posted above, they look great. I bought some mirror tiles recently to play with but haven’t got around to it yet.
Though I haven’t tried on a mirror, the technique is very similar fro what I use on copper clad printed circuit boards.
Normally these are made by applying a UV sensitive “mask” film (either a film or a paint). The film is exposed to UV light through a black/clear pattern printed on overhead transparency media with a laser or ink jet printer. The UV hitting the film converts it into an acid resistant barrier.
This pattern is placed on the film-applied copper clad sheet and exposed to the UV for a few minutes. Anywhere the pattern is black, UV won’t penetrate and the film remains “soft”.
A wash in plain washing soda removes the areas protected from the UV leaving the desired pattern. Place the copper clad board in pool deck cleaner (HCl acid) with some hydrogen peroxide and the unprotected copper is etched away. Even plain white vinegar/salt will work, just takes longer.
I’ve replicated this process with gloss black spray paint applied to the copper clad board and used my diode laser to burn off the paint where I wanted the etching solution to reach. The gloss paint is a sufficient barrier to the etchant to protect the copper.
The laser alone won’t affect the copper where I burn through the paint.
I Laser my pattern on the copper board. clean off any residual paint dust, then etch.
For a mirror the same process should work, just maybe a different etchant for the reflective backing.
I’ll have to try some tests, clear-etched mirrors sound like a great way to get “artsy”.
I’m doing something similar at the moment with a brass plaque. I’m using Sodium Persulfate as the etchant as it’s cleaner than the Ferric Chloride I’ve used for PCBs in the past. I’ve also used the CuCl2 method on PCBs and might go back to that in the future. On the plaque I used black spray paint as the etch resist but I did put a few coats of primer on first as the brass is already polished and wanted give it the best chance of not flaking off during the etch. I also plan on making my next PCBs using the same method rather than the UV film you mention that I used on my PCBs previously. I’ve also thought about using some ‘arty’ stuff with copper clad board like you have but it’s another one of those things I haven’t managed to get around to yet. That looks great btw.
I gave up on the Ferric Chloride long ago due to the $$$. Paint as a resist is easy as long as it doesn’t flake off as you point out. I have also used “permanent” adhesive vinyl shelf liner and it works well but needs some attention to keep crisp edges where the burning occurs. Doubt I’d try in on a mirror since it might pull the reflective layer off
I’ve not measured the depth yet but I didn’t go as deep as I would have liked. I was giving it a wash and a gentle rub and the paint started coming off so hopefully it’s deep enough. I plan on filling it with coloured epoxy then varnishing it with a special varnish for brass called Incralac.
Well, I have A result that is successful, though its only after a bit of elbow grease.
I dont have the mirror remover yet, because it has to be ordered in from abroad, so I only had methylated spirits, rubbing alcohol and steel wool to clean the back.
I put a layer of masking film on top of the backside, and set the layer to 500mm speed, 30% [of a 100W rated tube] power and with 4 passes.
After washing the residue off and cleaning most of the mess I was still left with a lot of reflective material, so a good 20 minutes of scrubbing it, with the masking film still on the back to prevent it from spreading and damaging the back, I was left with a good clear circle shape.
Not the magic solution but, if it works, it works.
I did yes. though I think on a second try I will start with a cut of the area and lift the mask off, since the smell and mess it leaves around it is quite bad.
And yeah, its a bit of trouble getting the right chem treatment so far locally.
I have an Ortur2 and have etched the back off of mirrored surface with little frosting. I would have to look in my material library for setting but my max power is 15W.