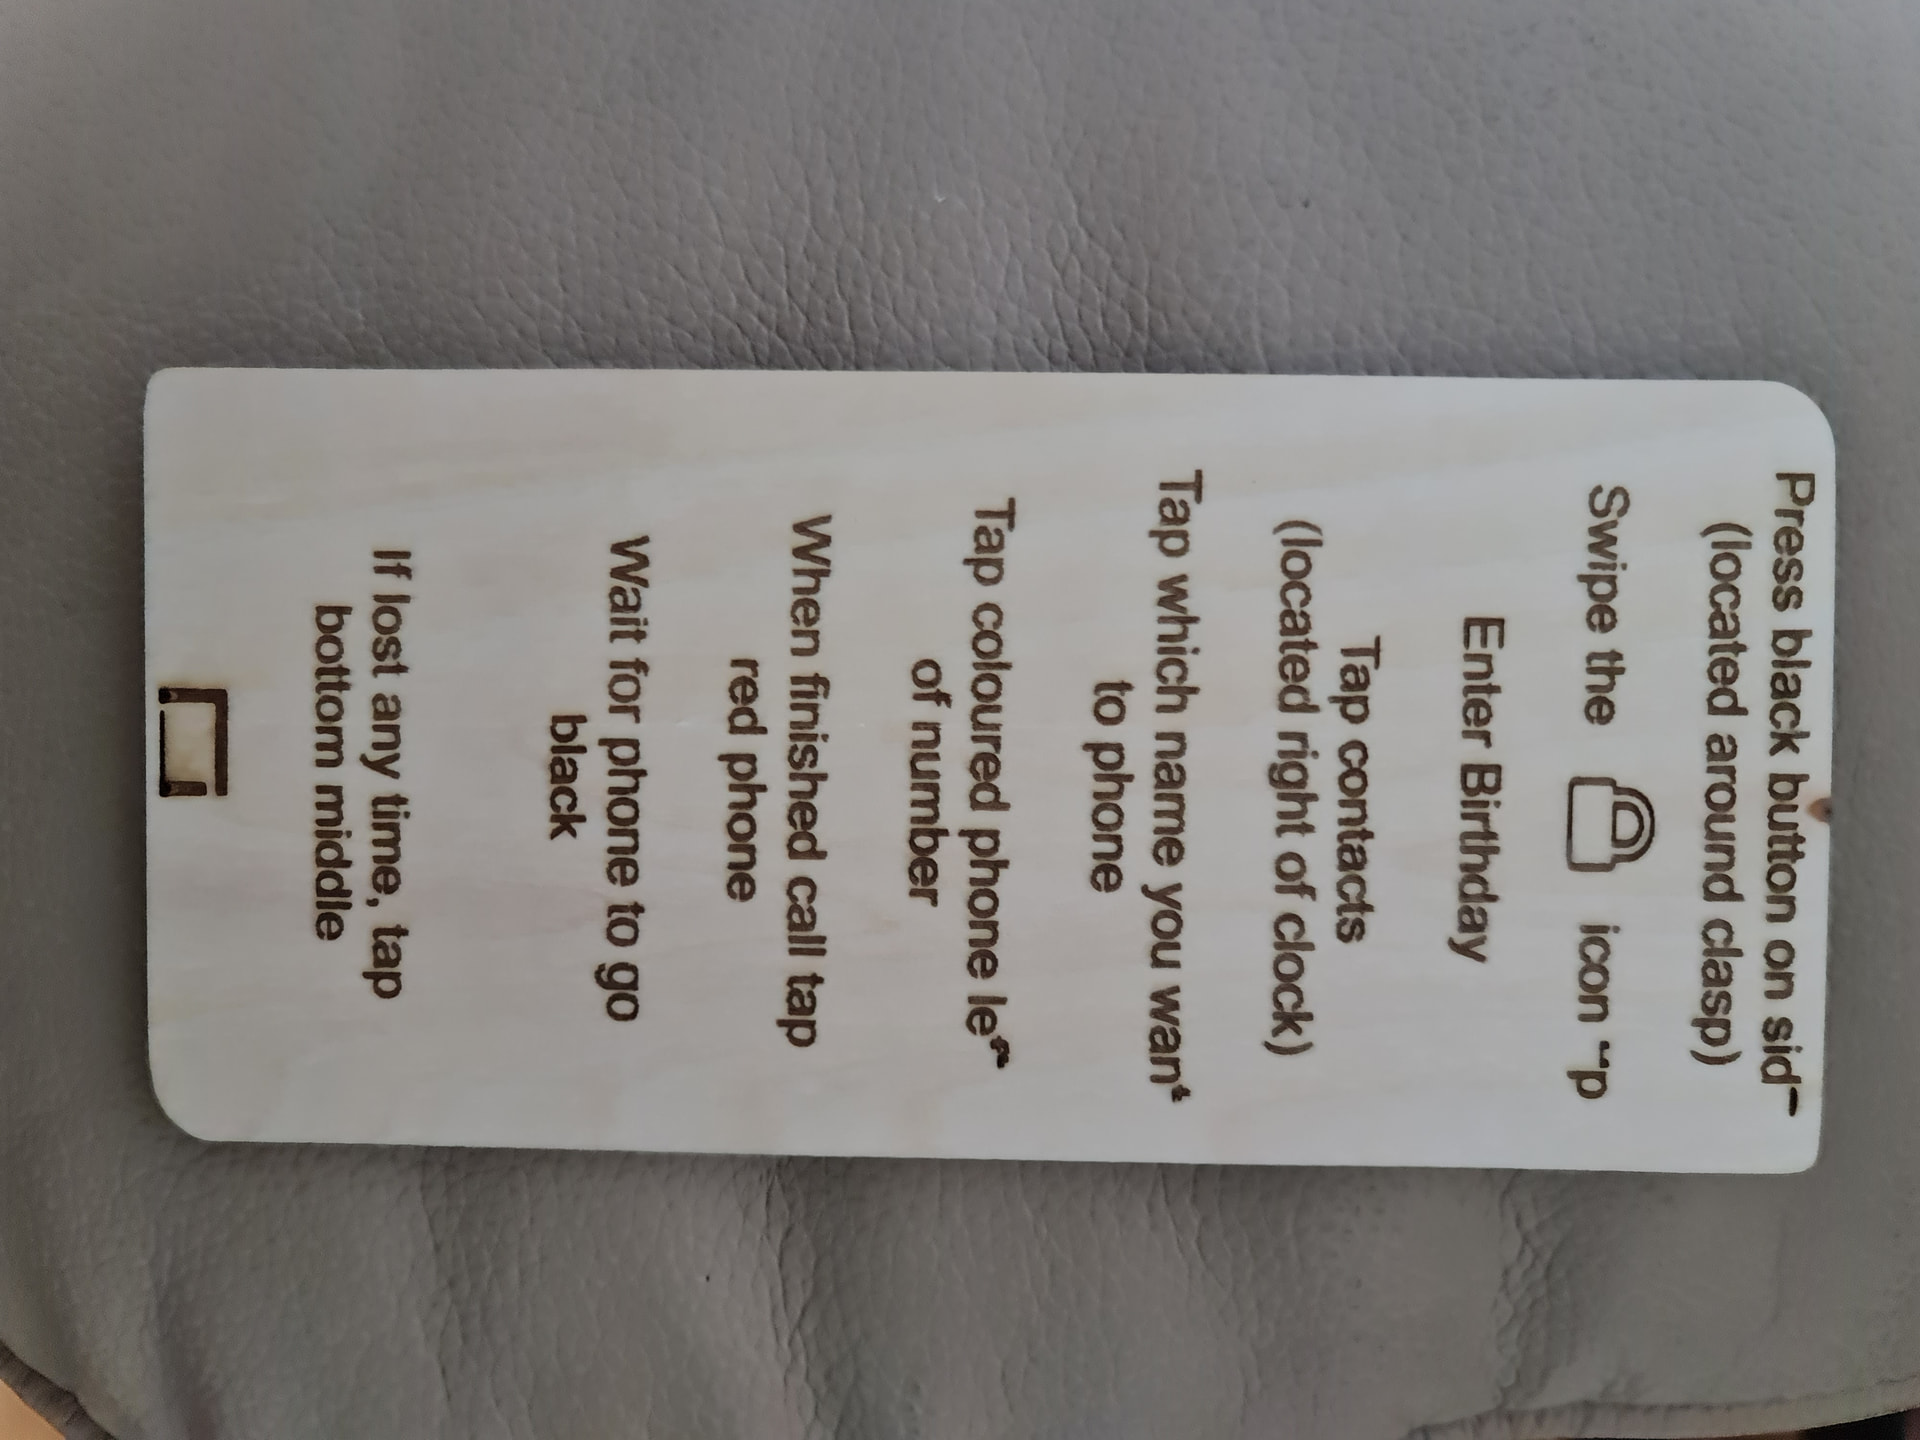
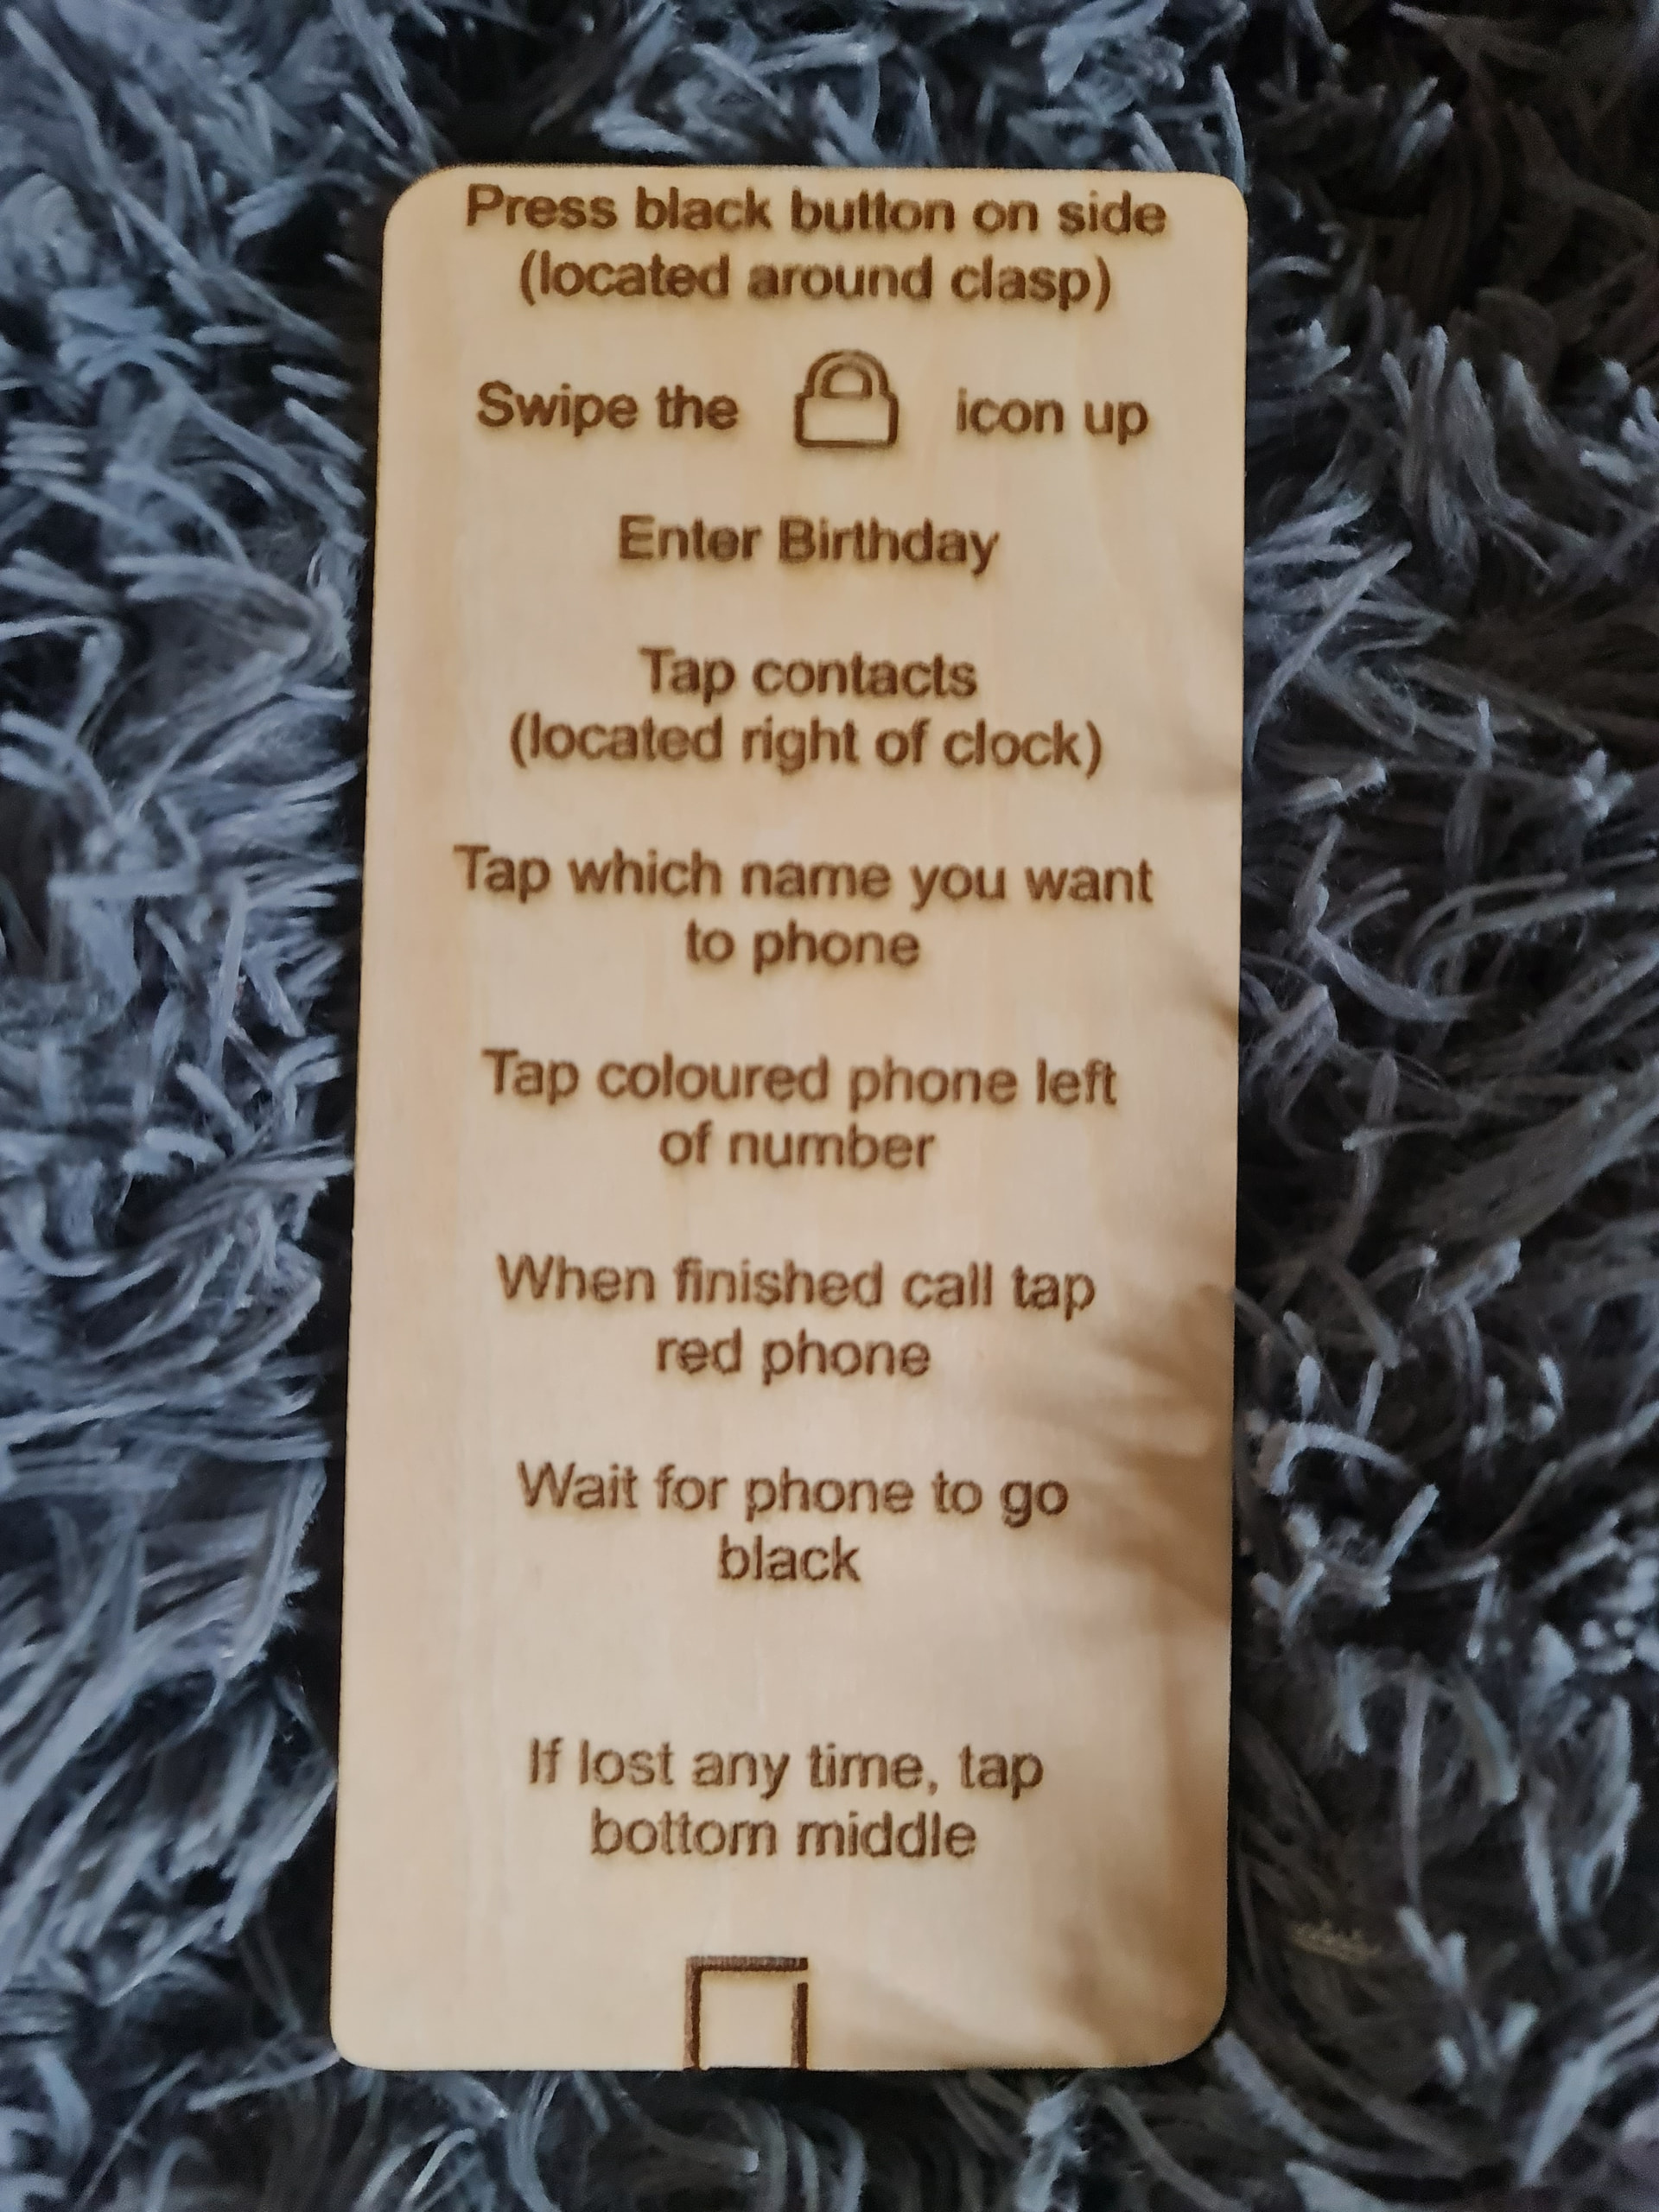
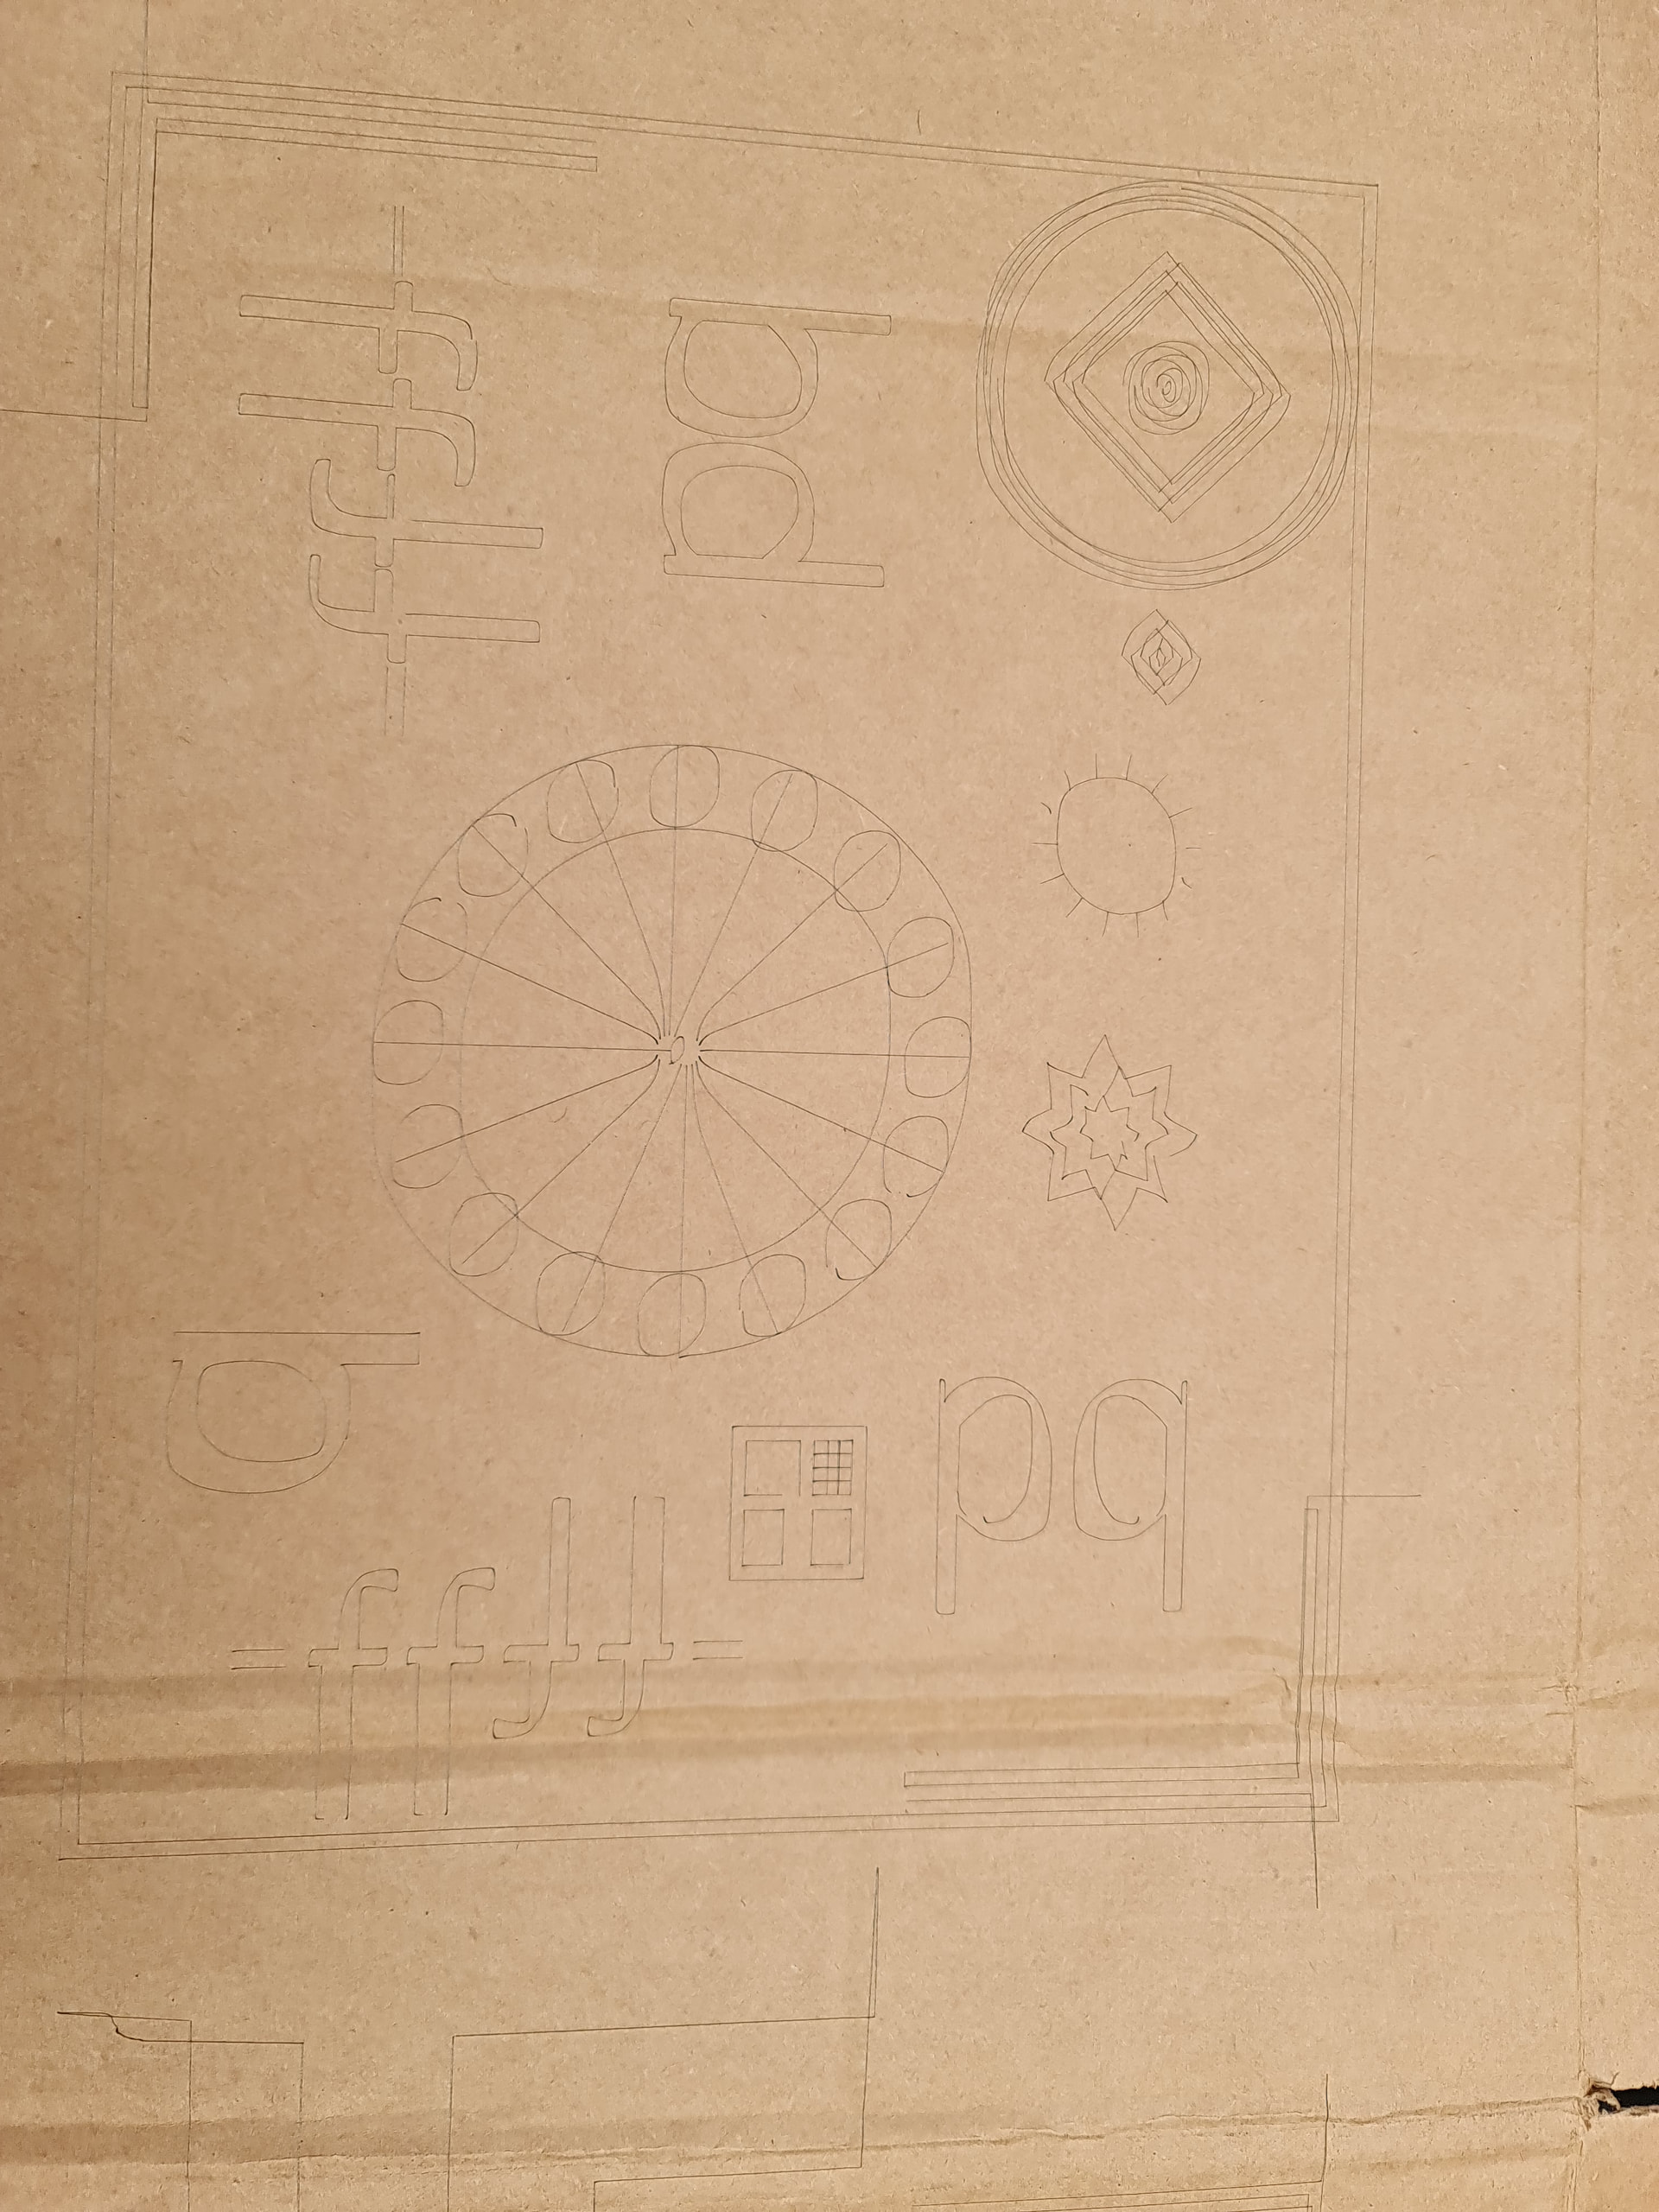
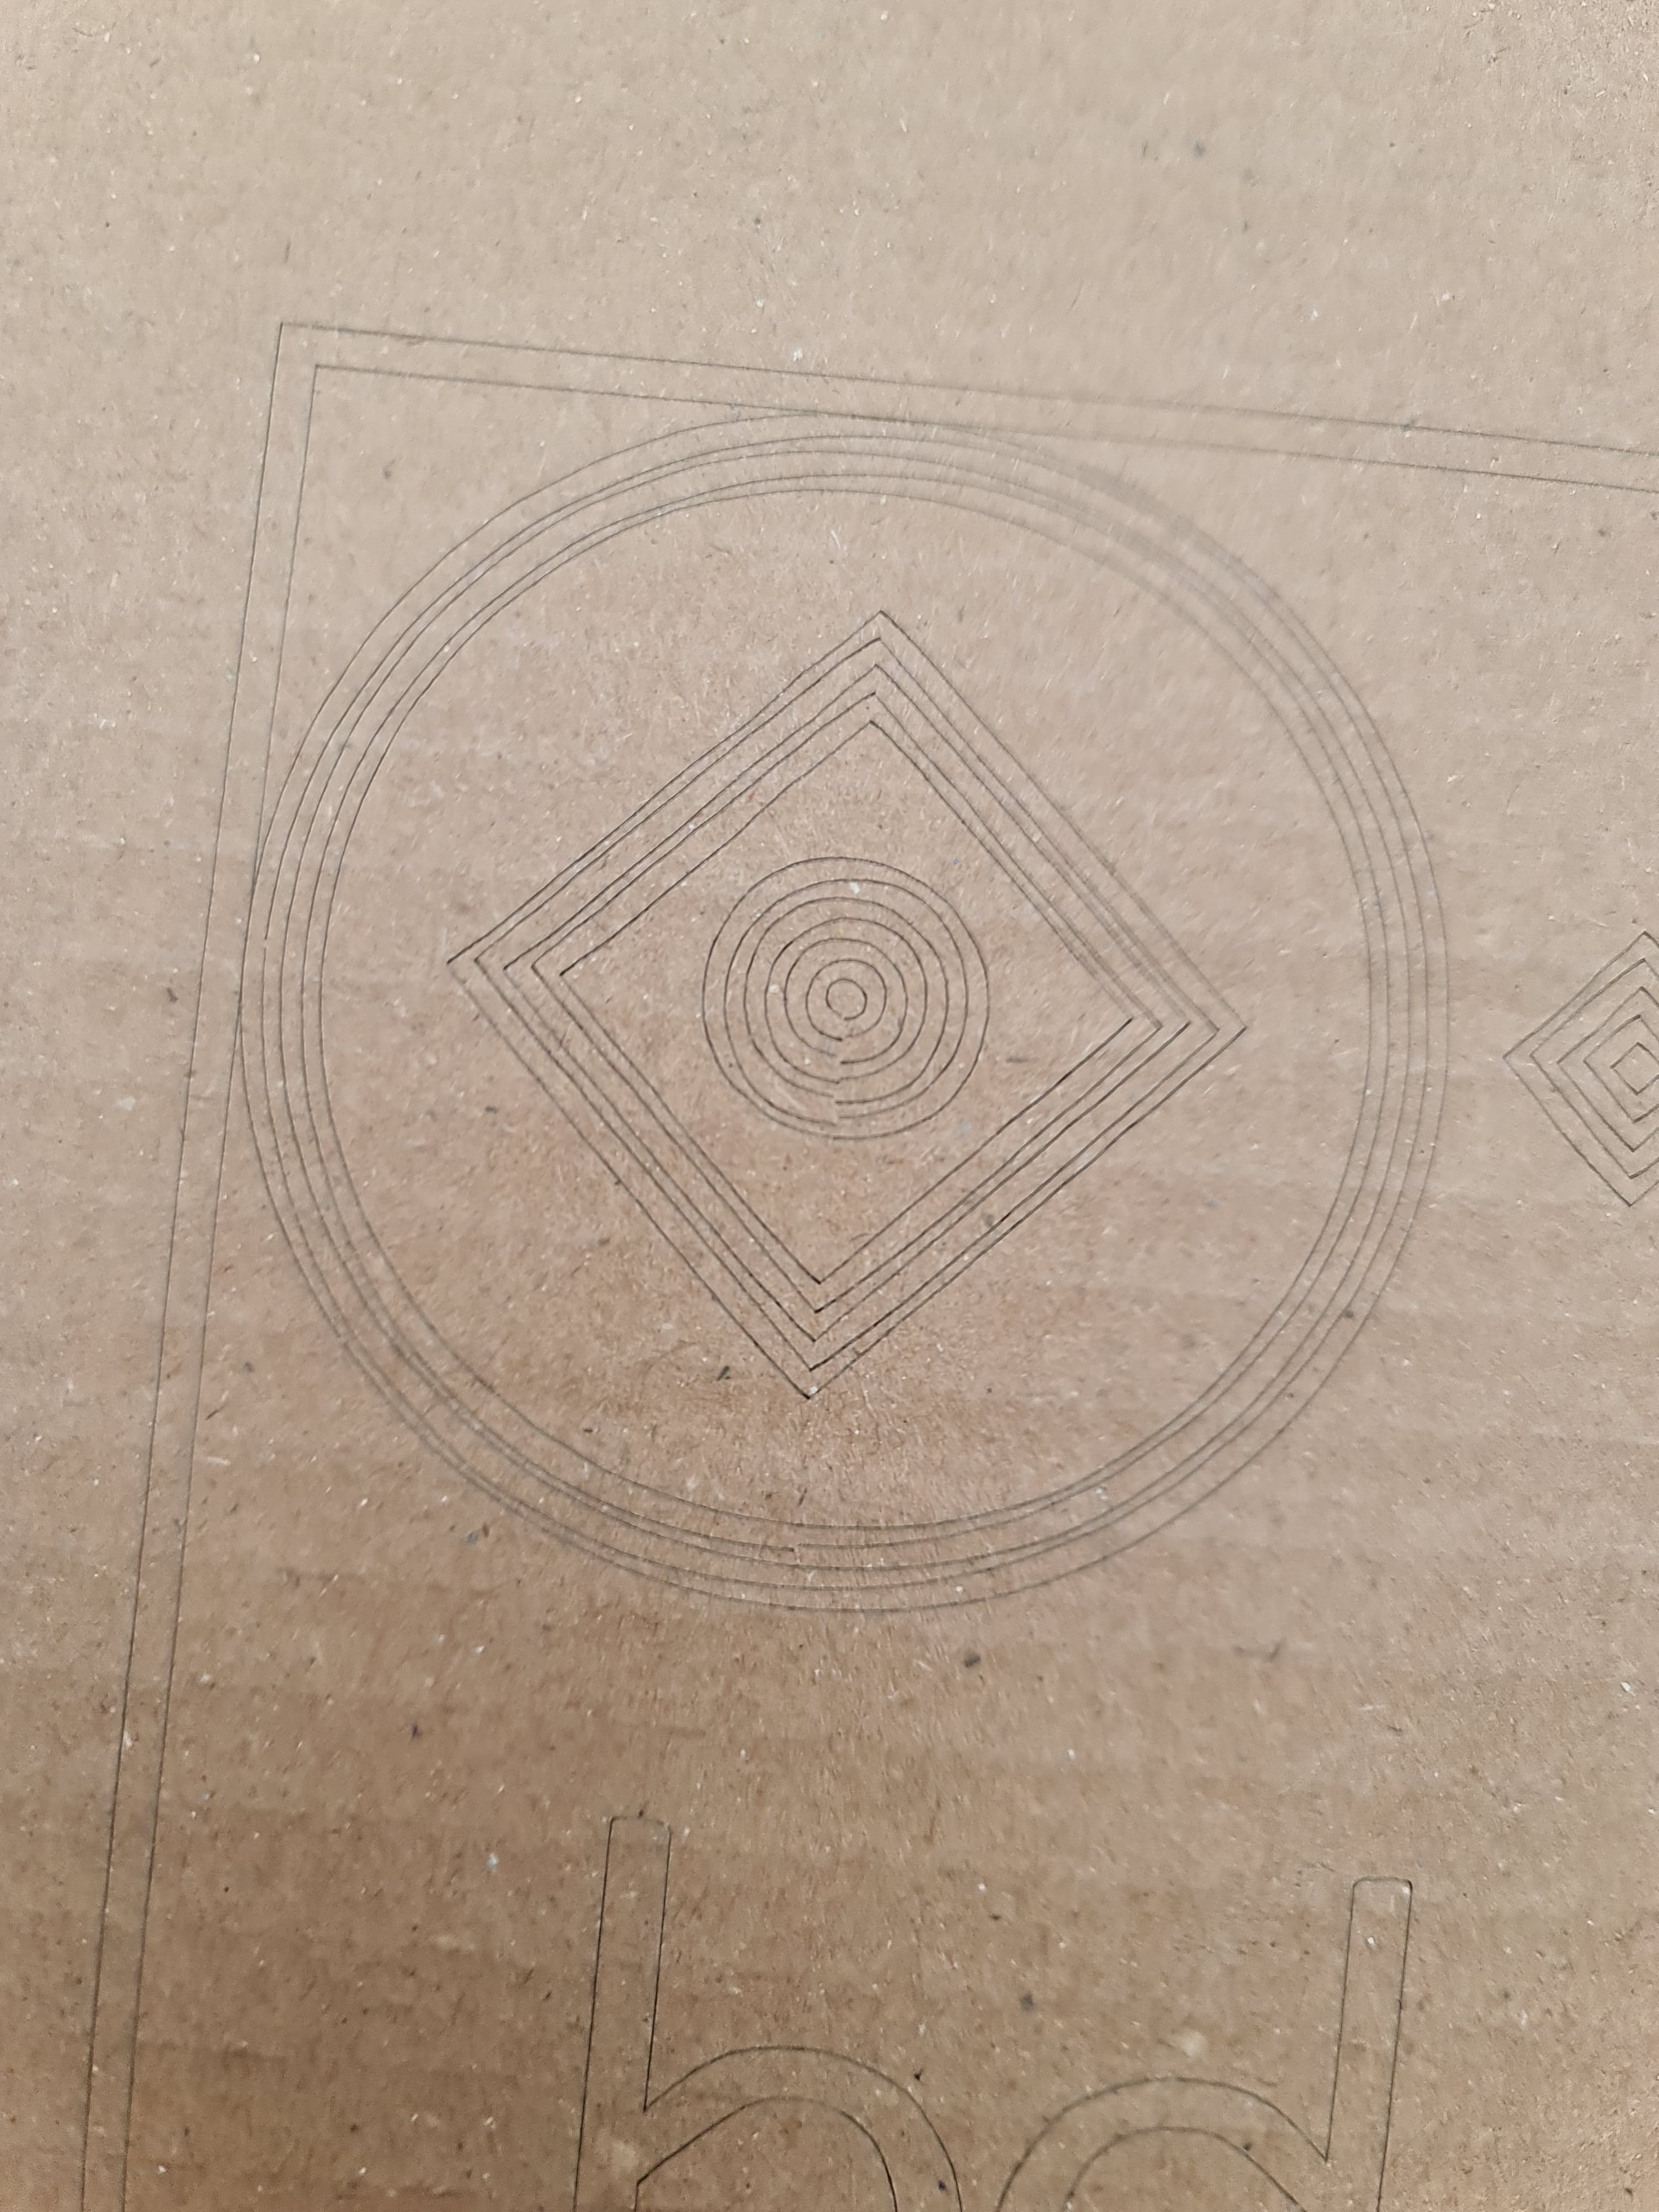
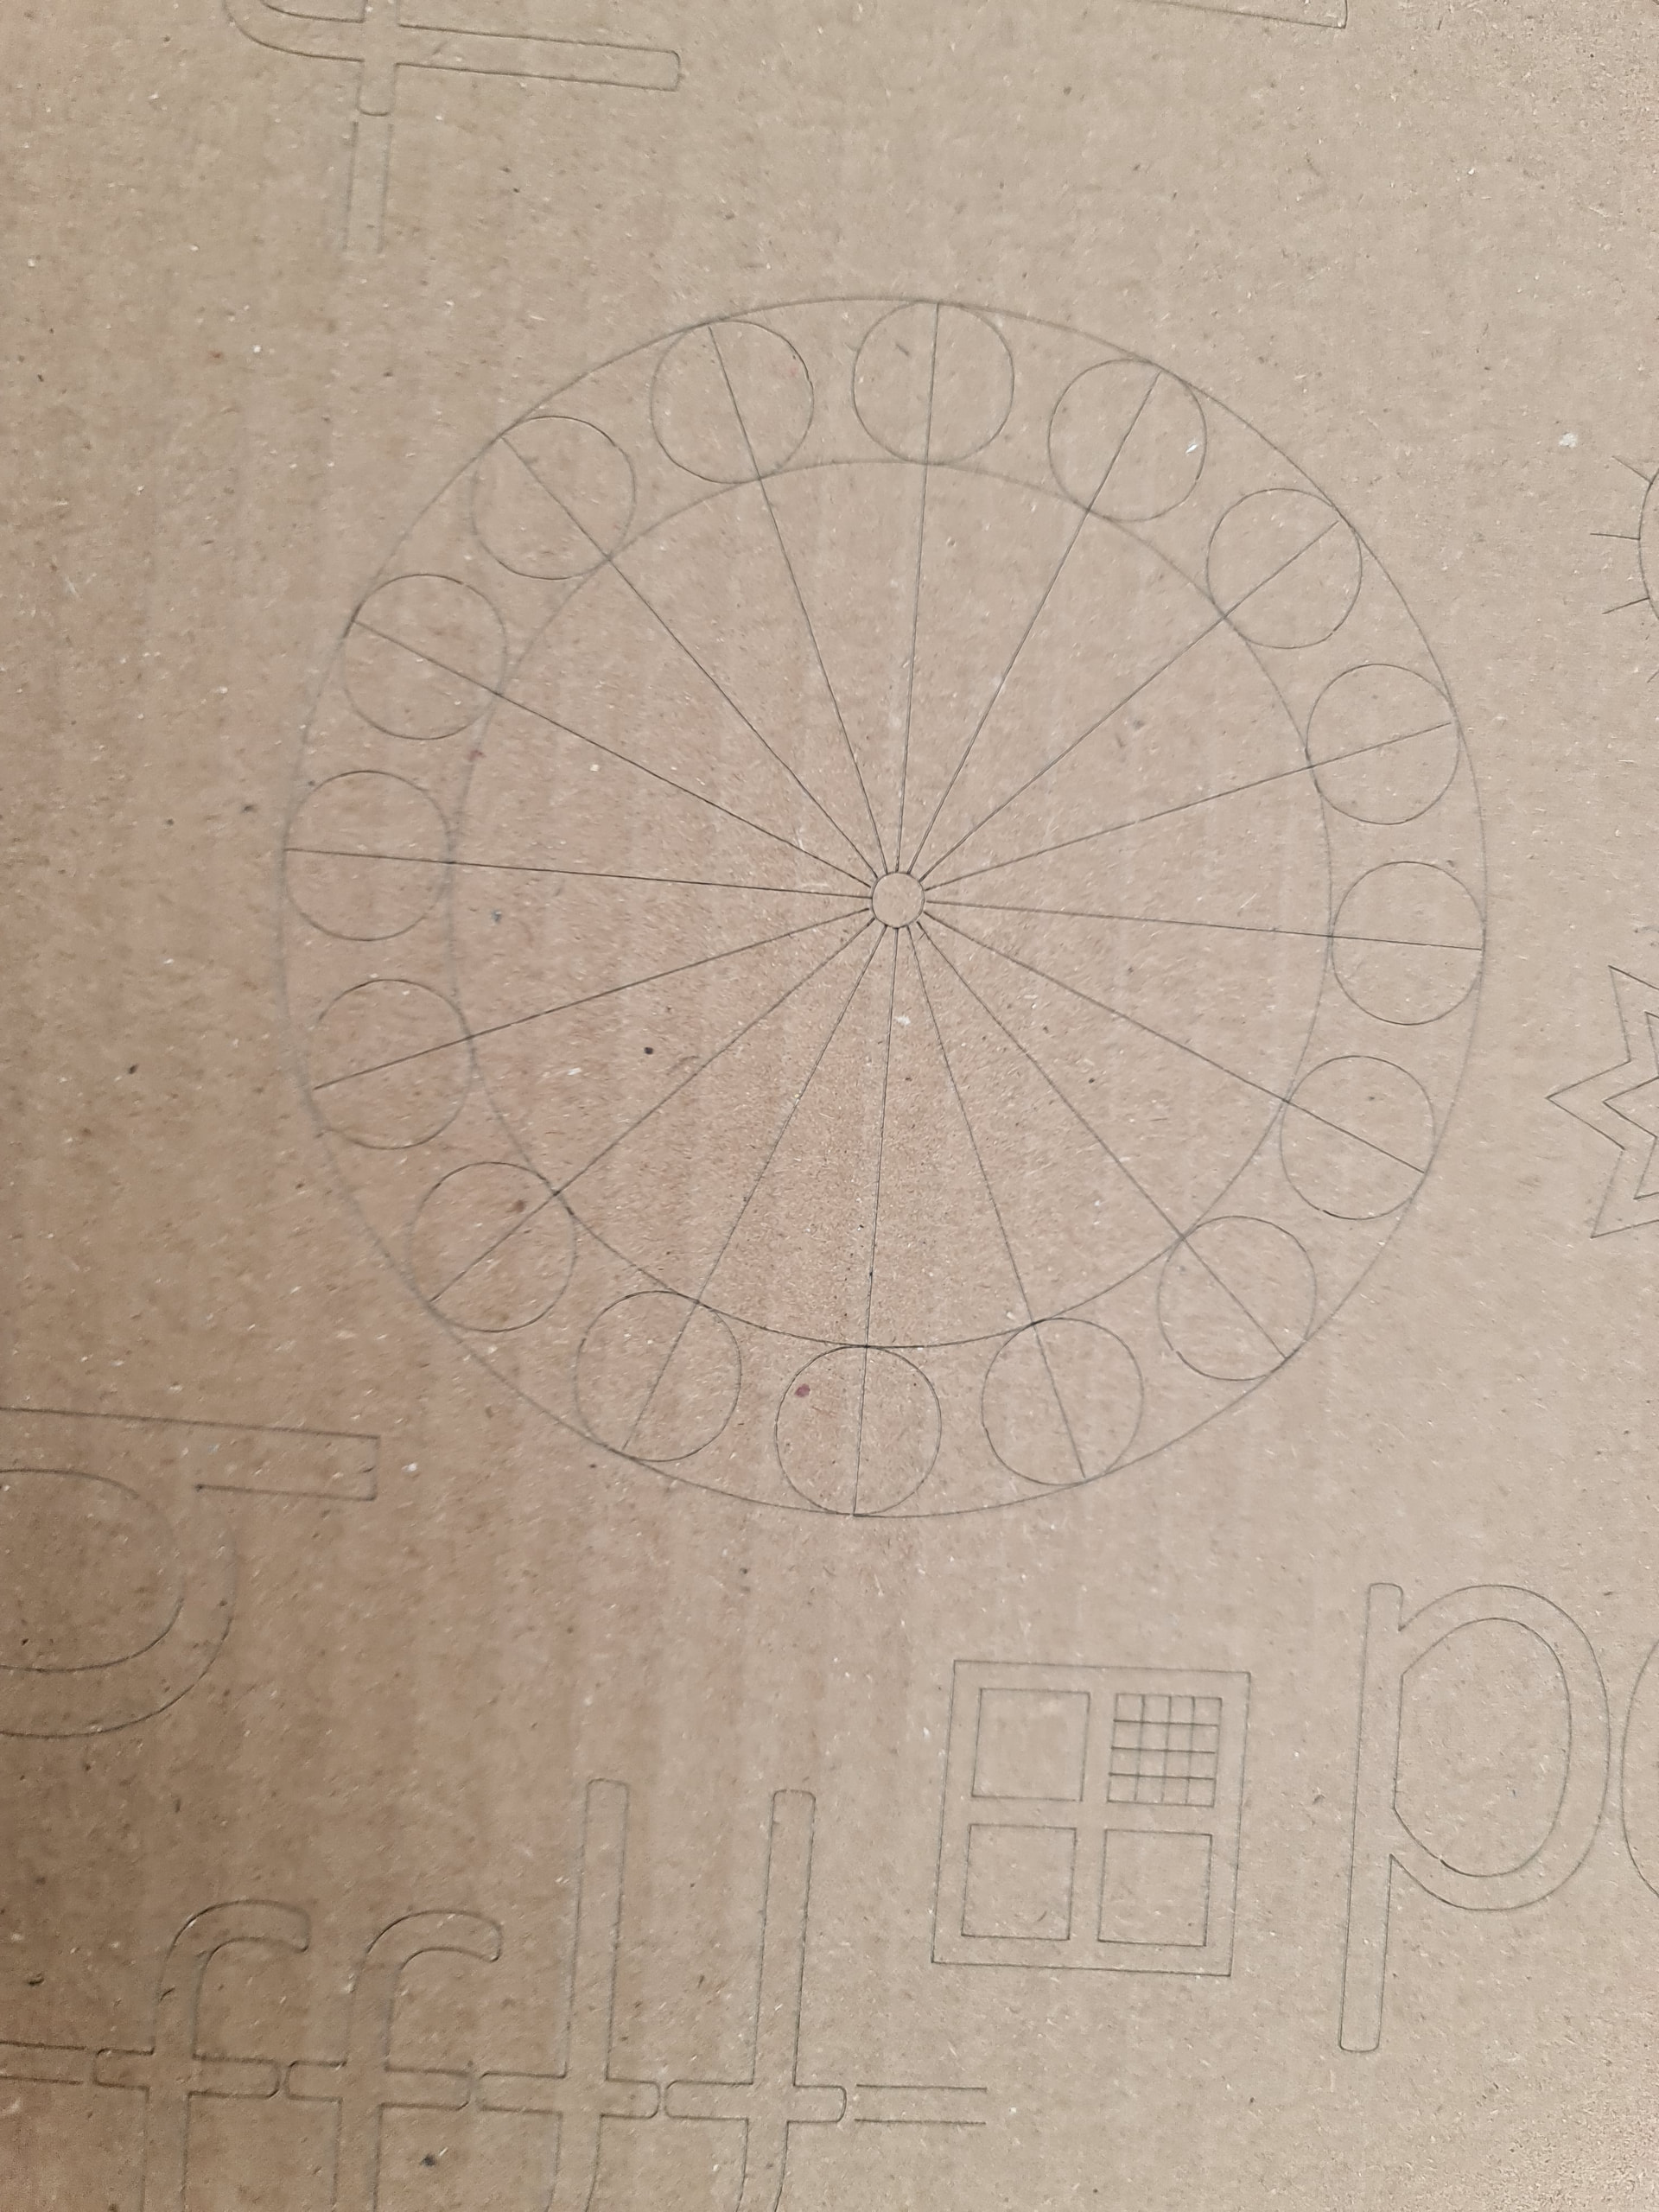
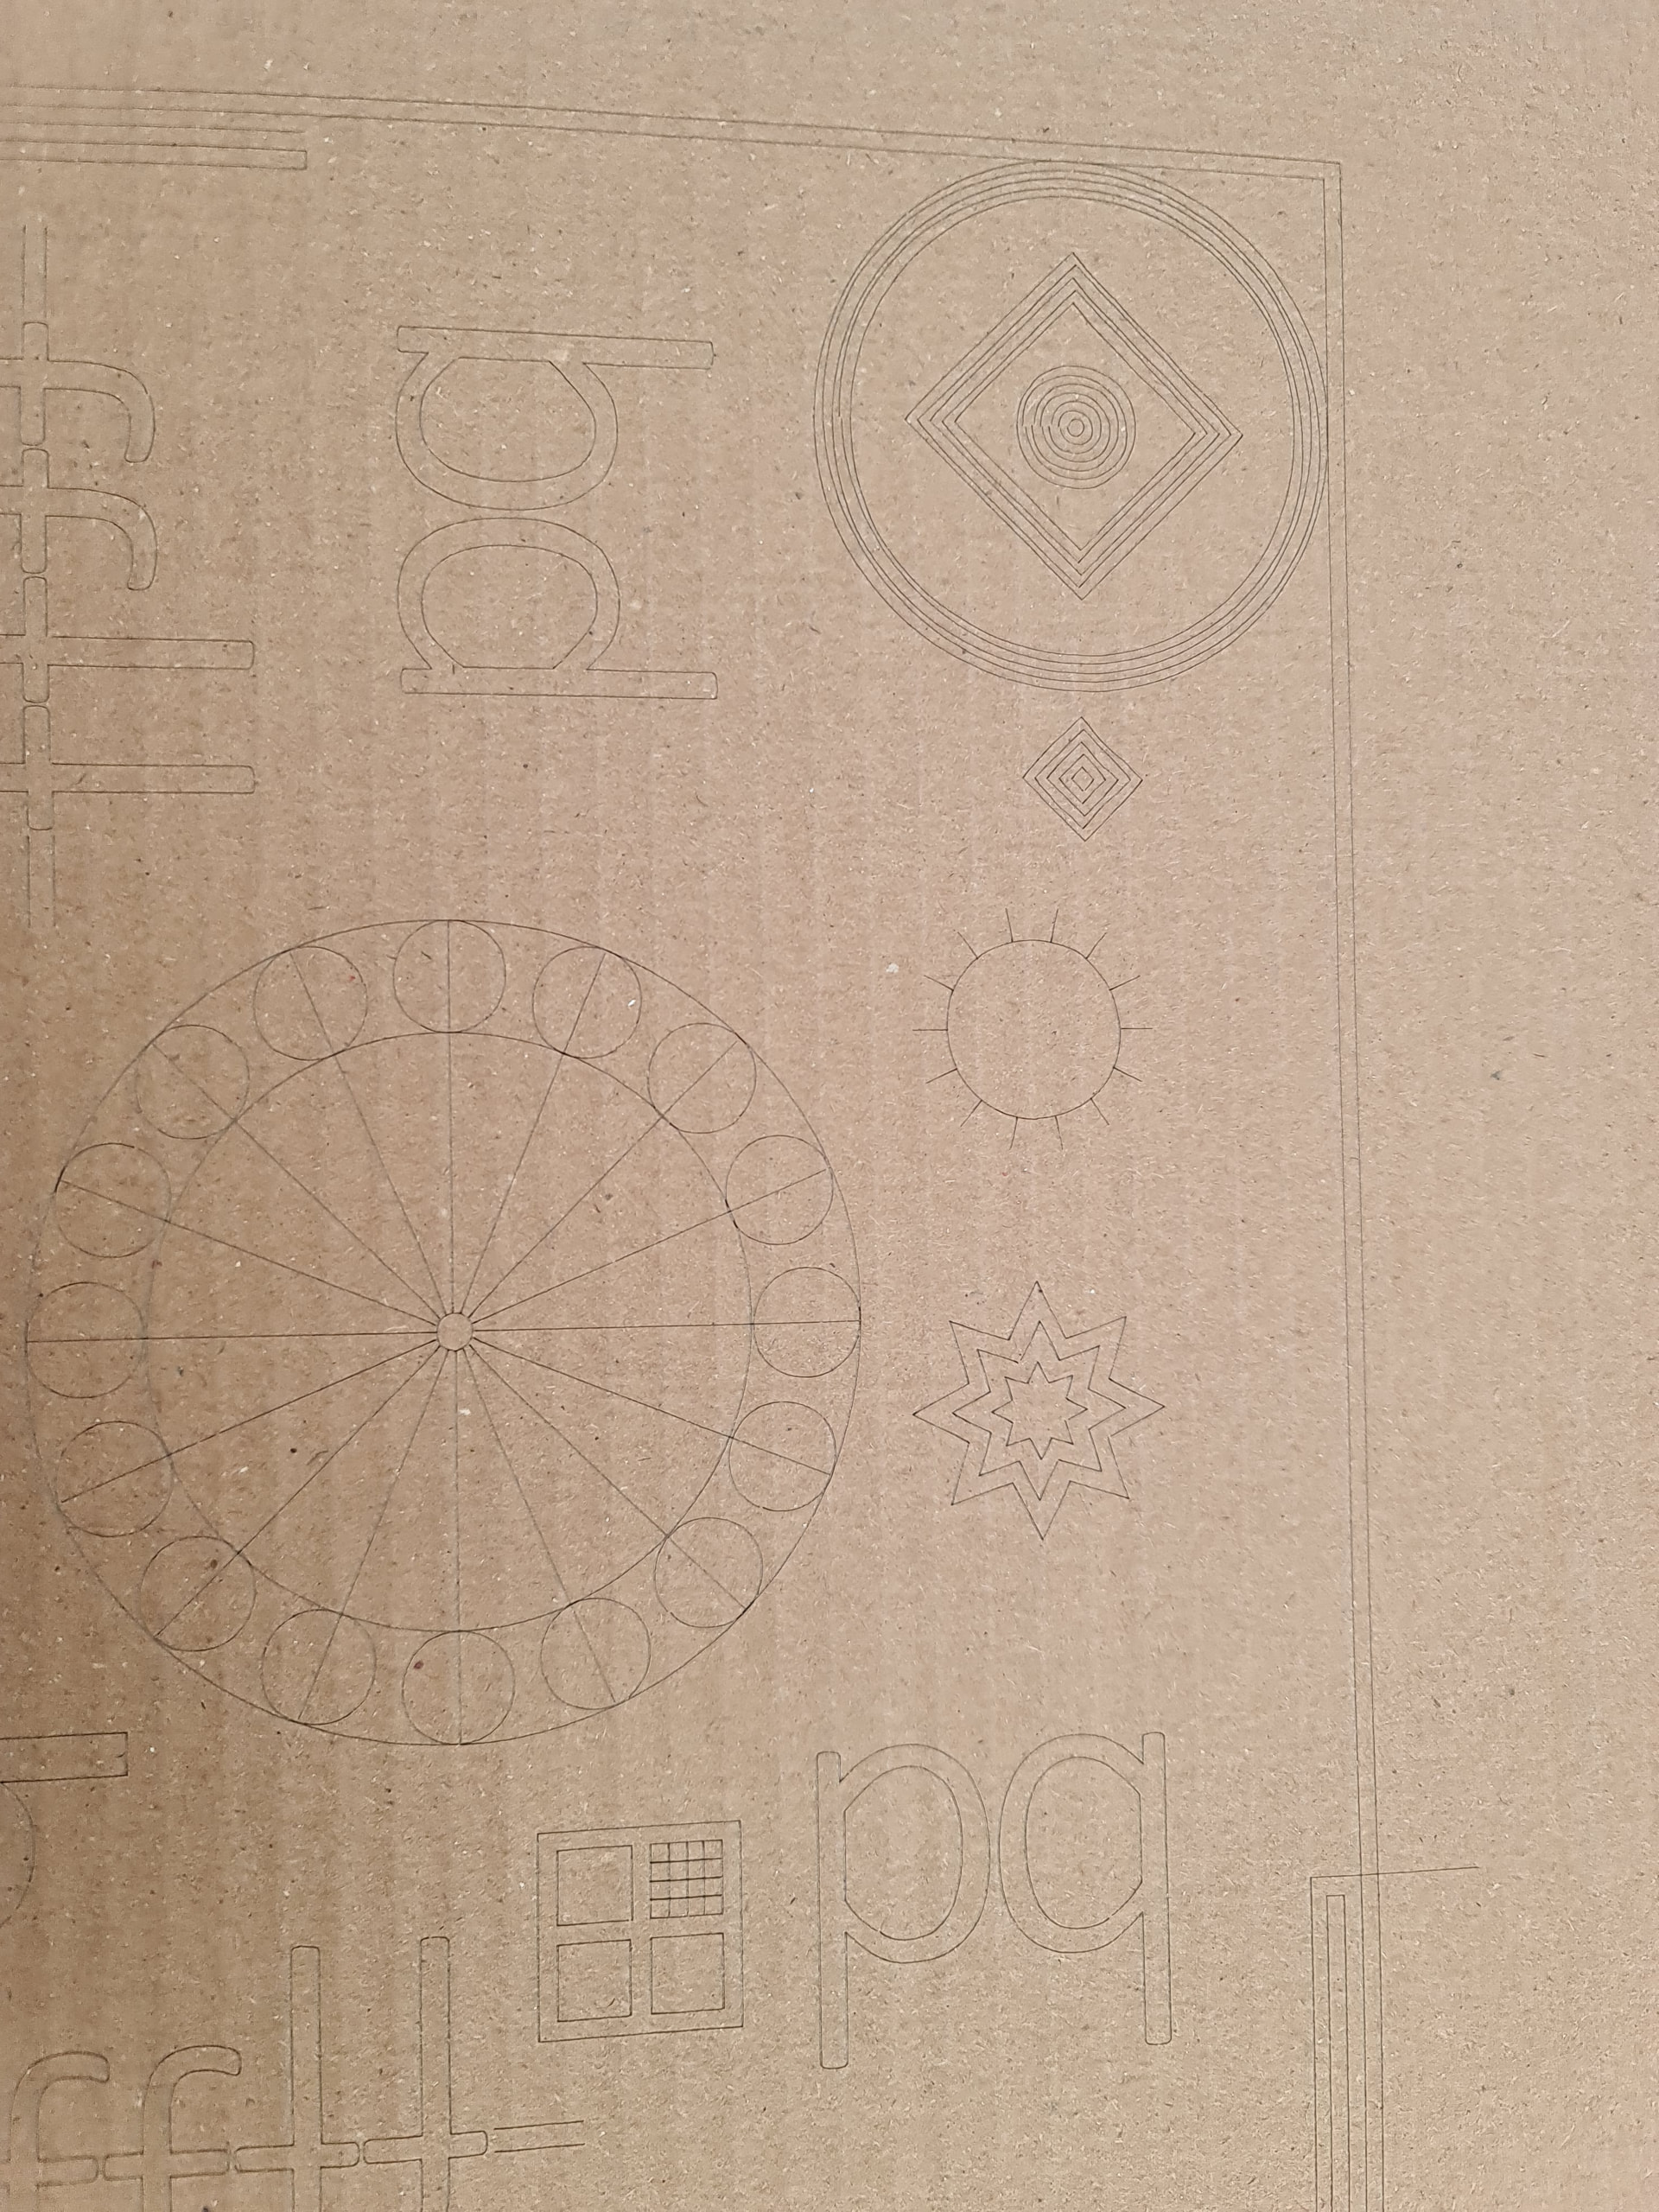
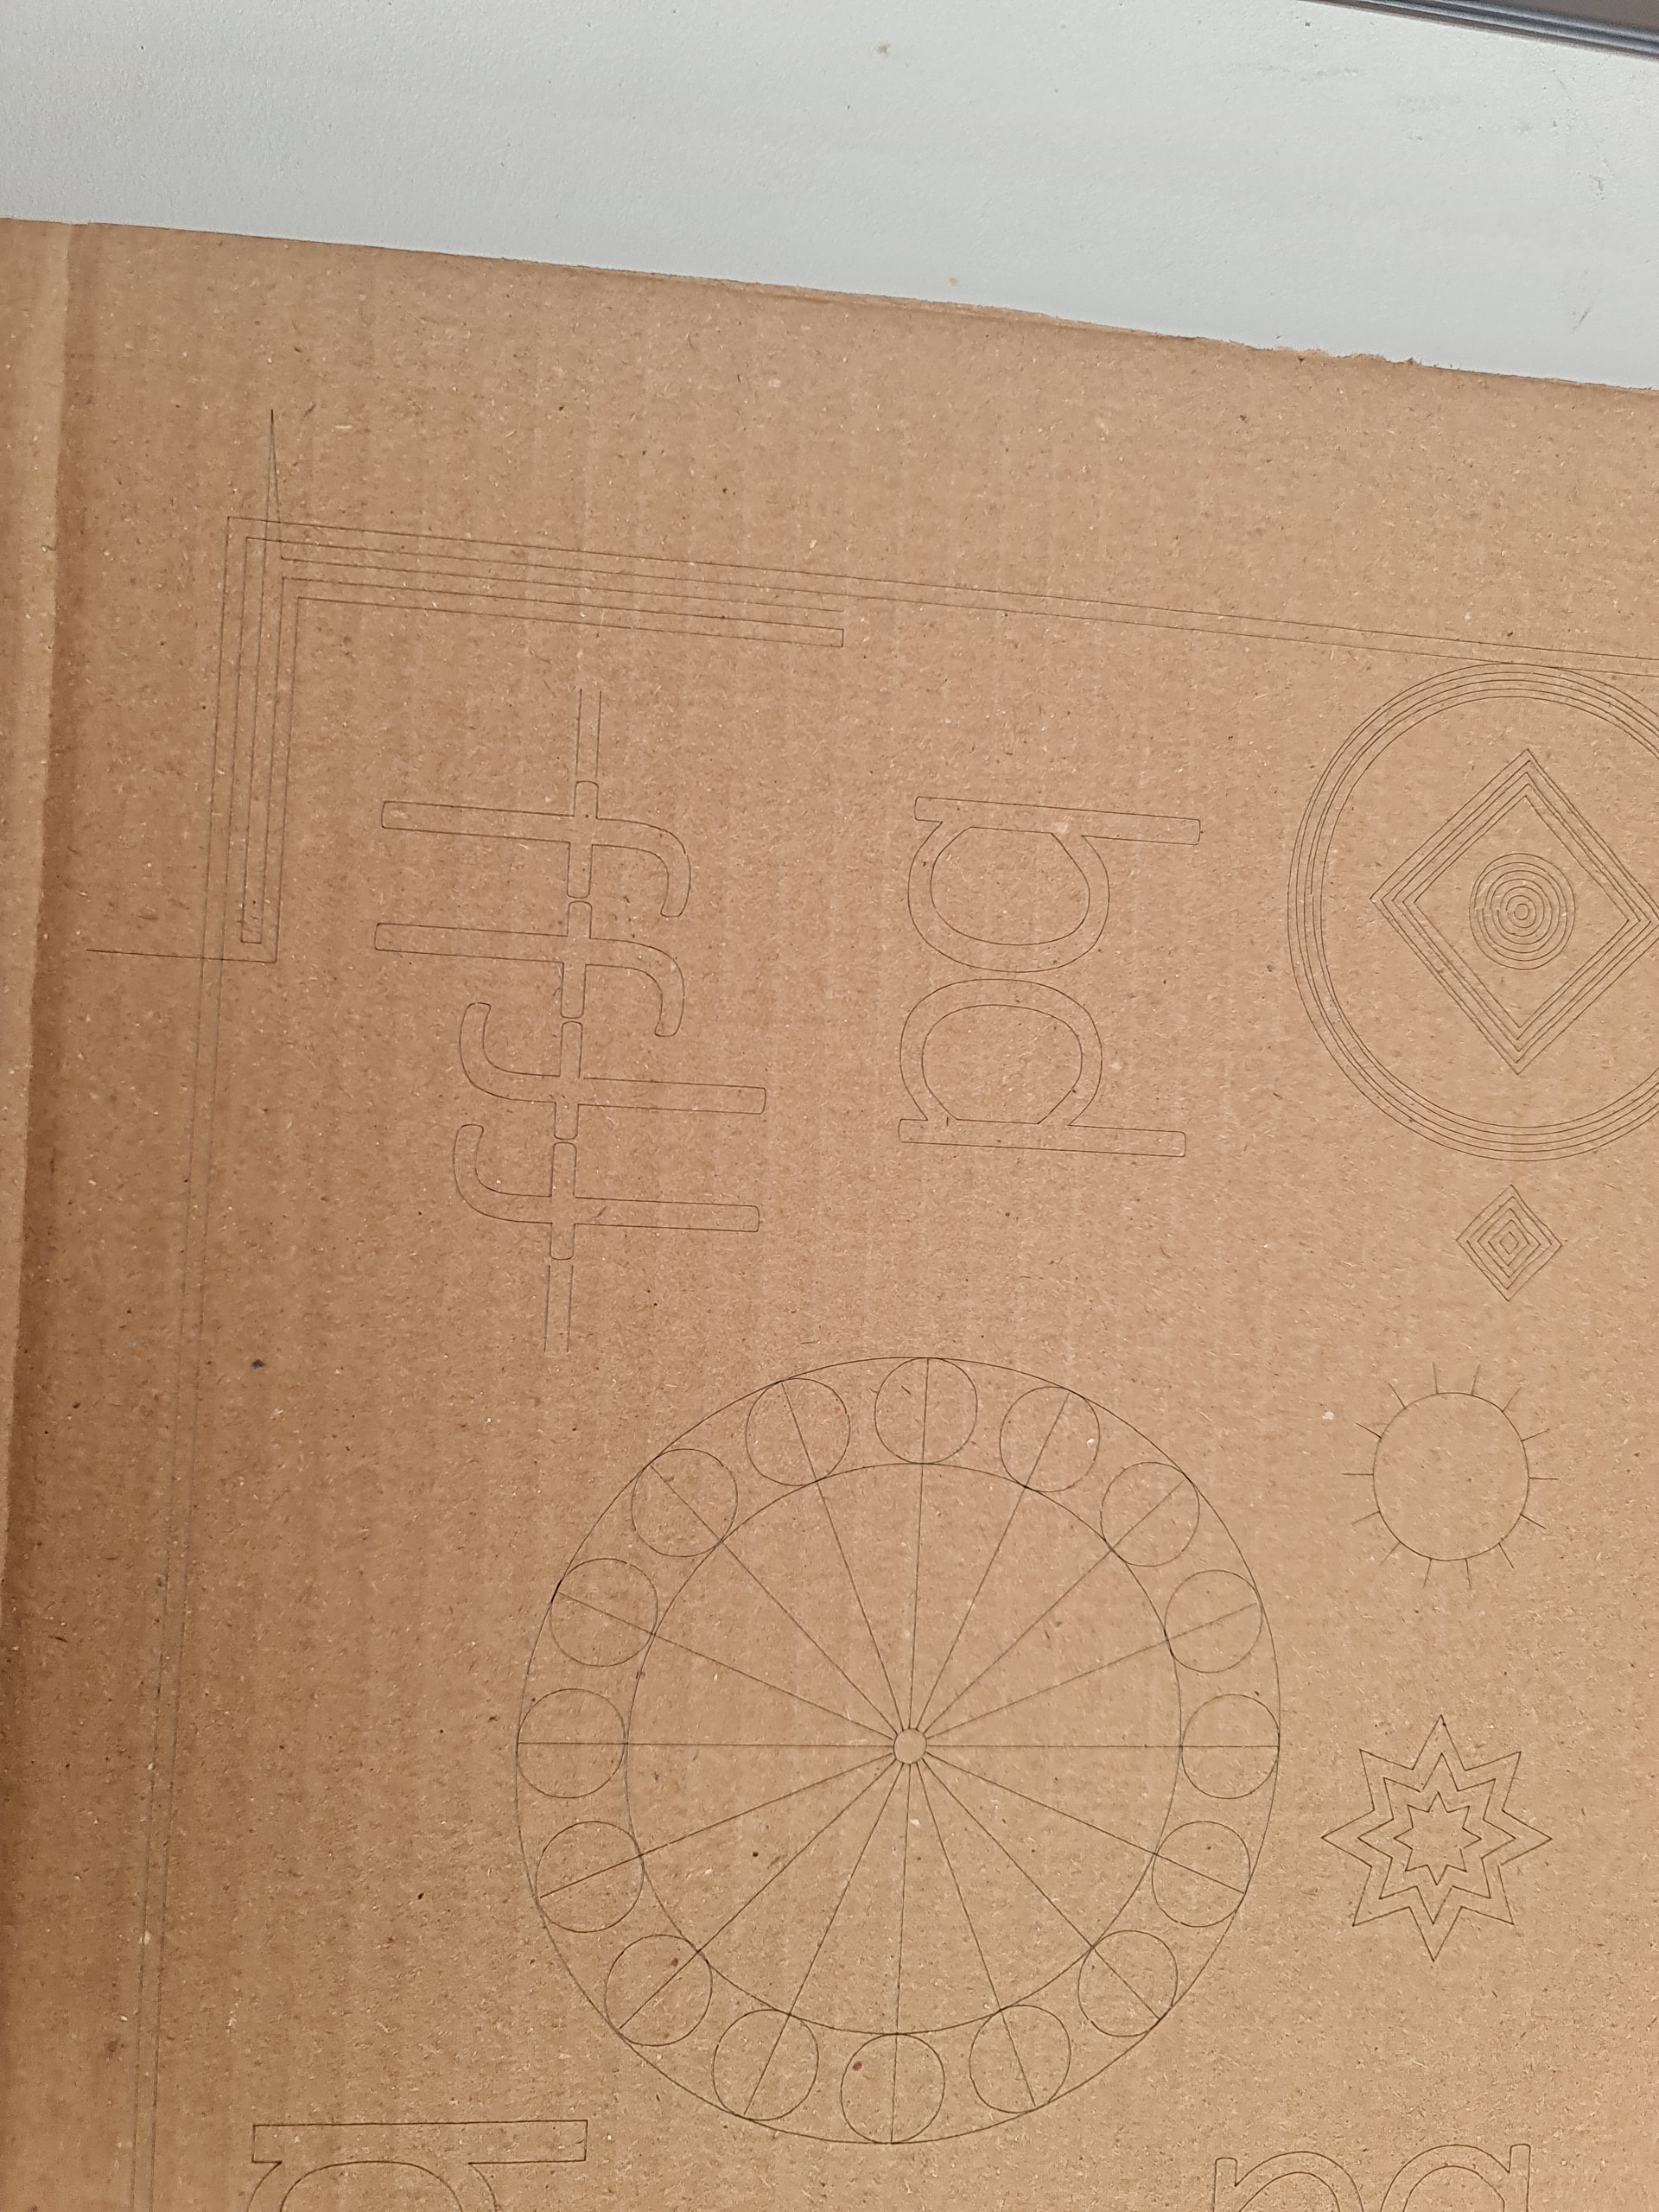
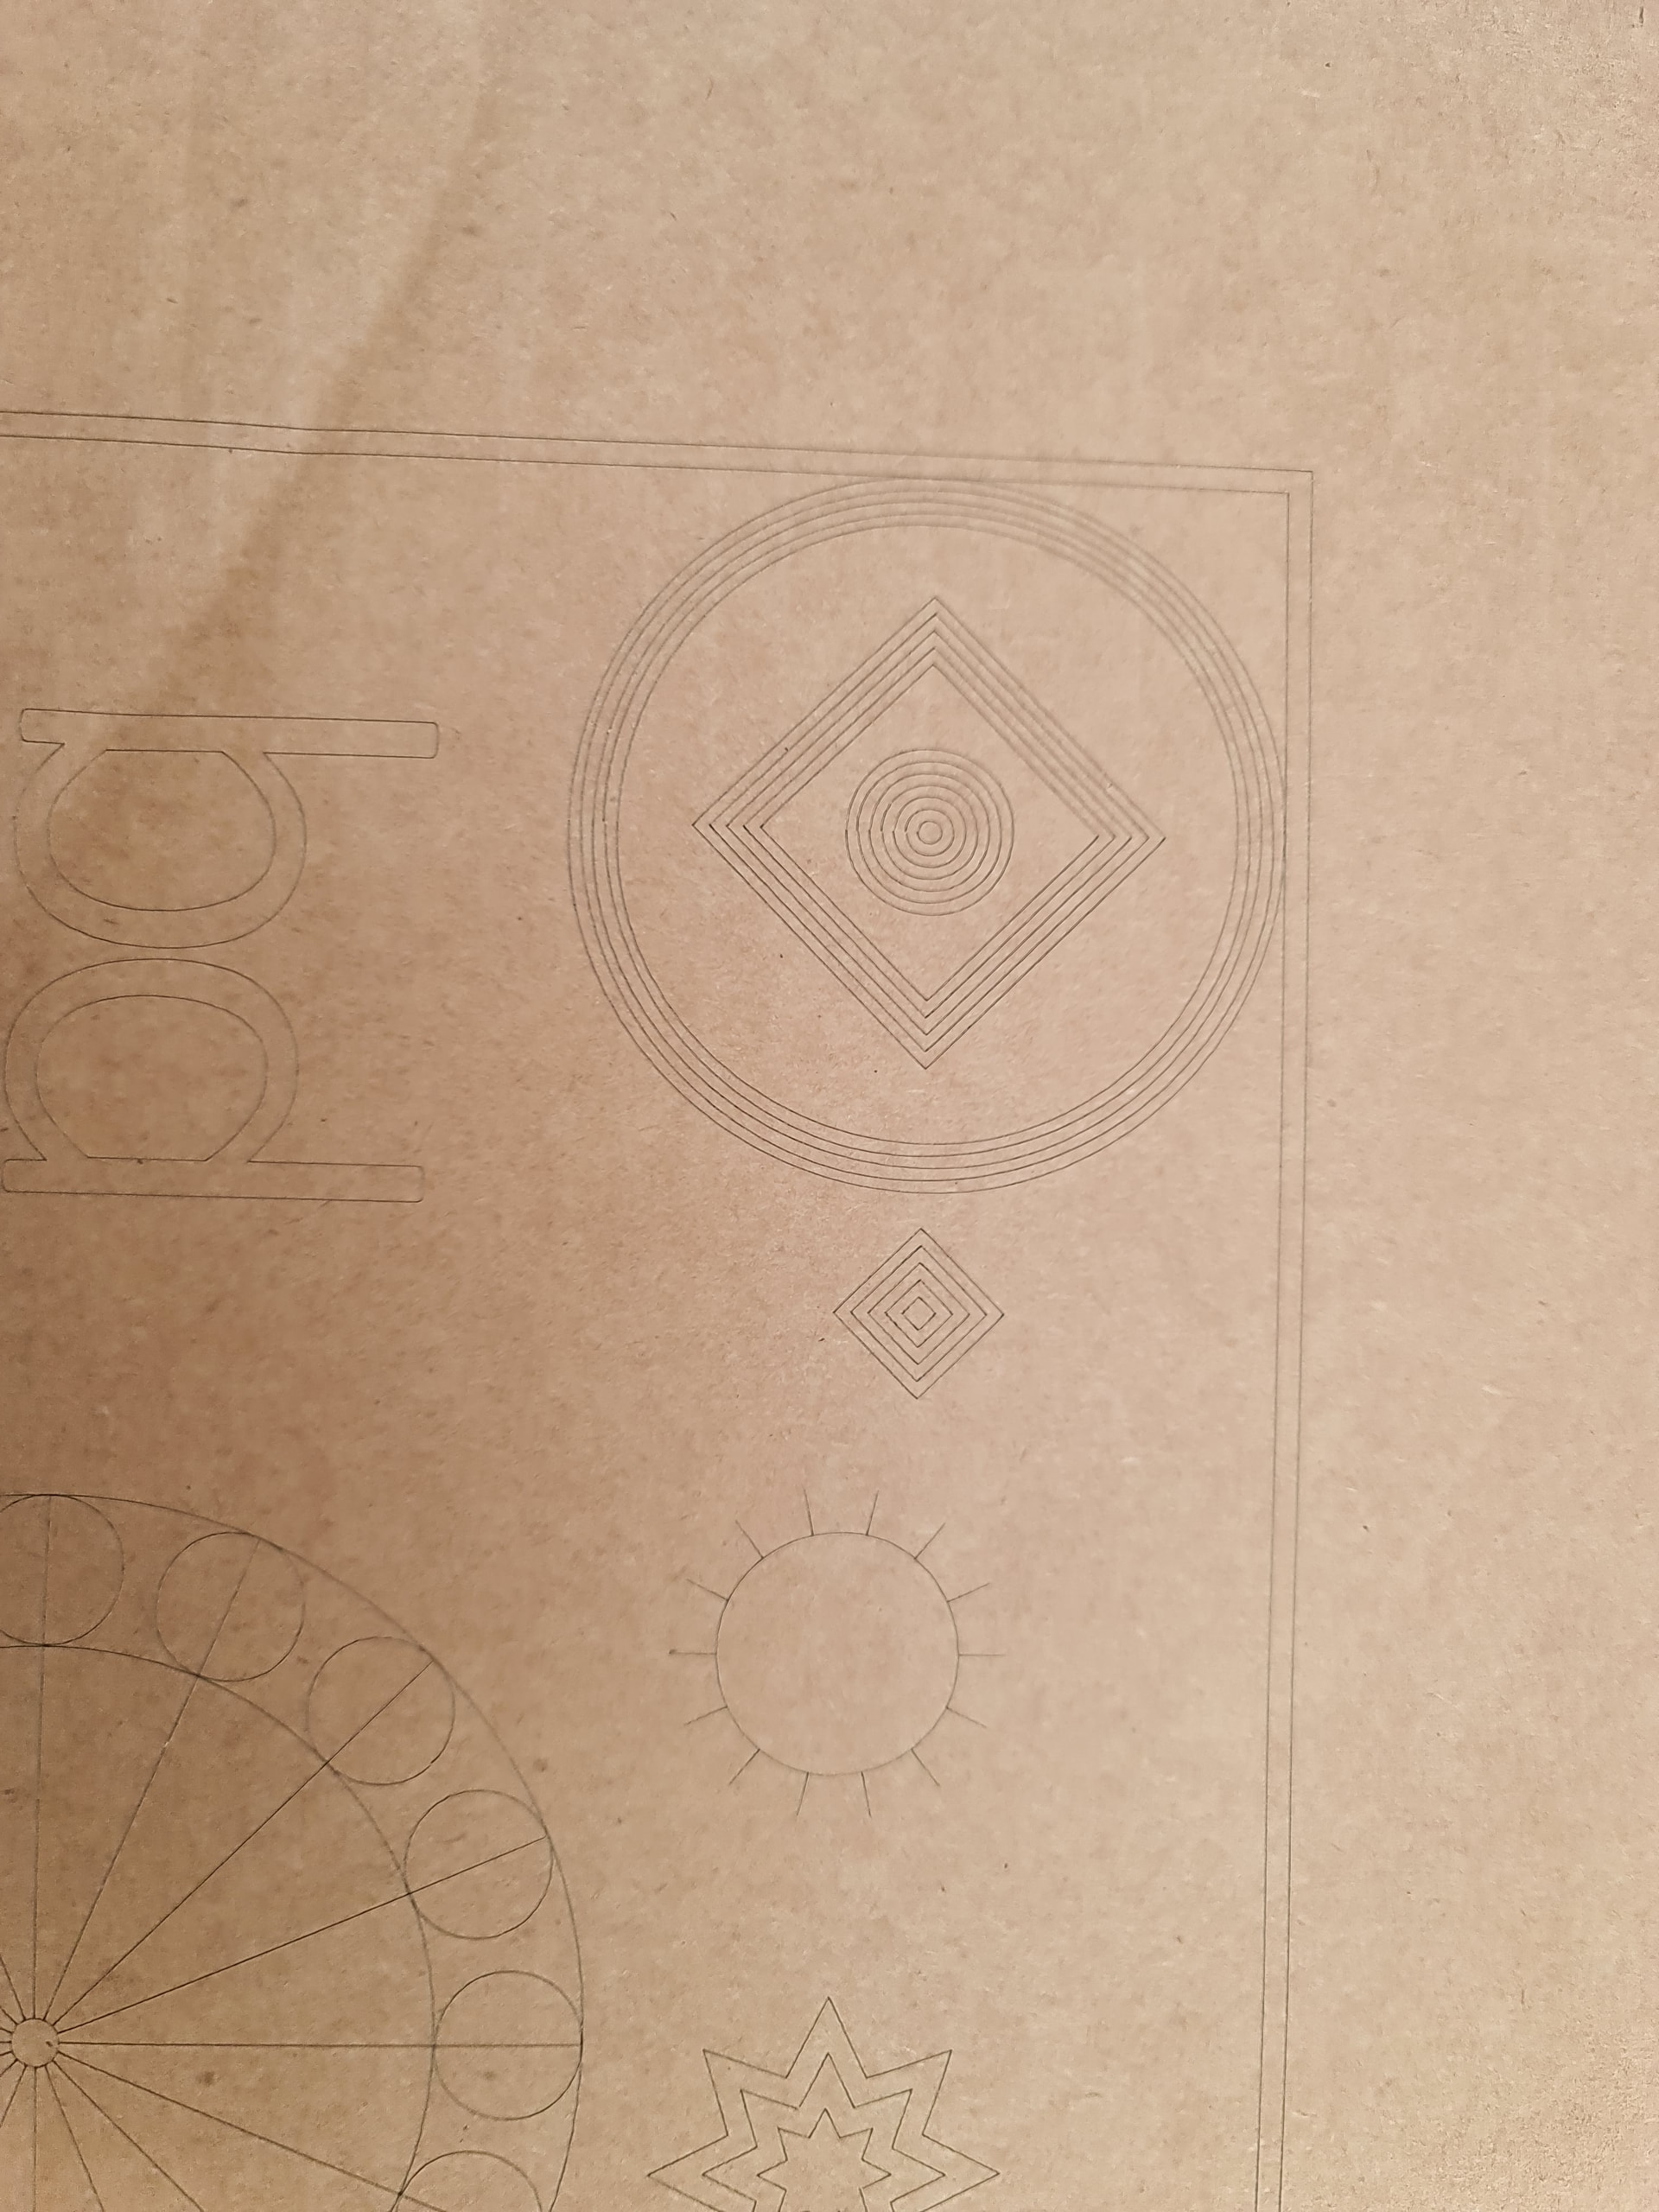
Hi all, probably a very simple issue, but new machine, new user. Excuse the subject matter, long story short thought i’d start with text, instructions for elderly person to use phone on something they cant lose. Anyway, I tried to include symbols along with the text, and suspect that is causing my issues. First try i did lines of text, each one a separate entity, and outlined icons, put them in. Came out with a lot of letters fine, but some with squidged lines.
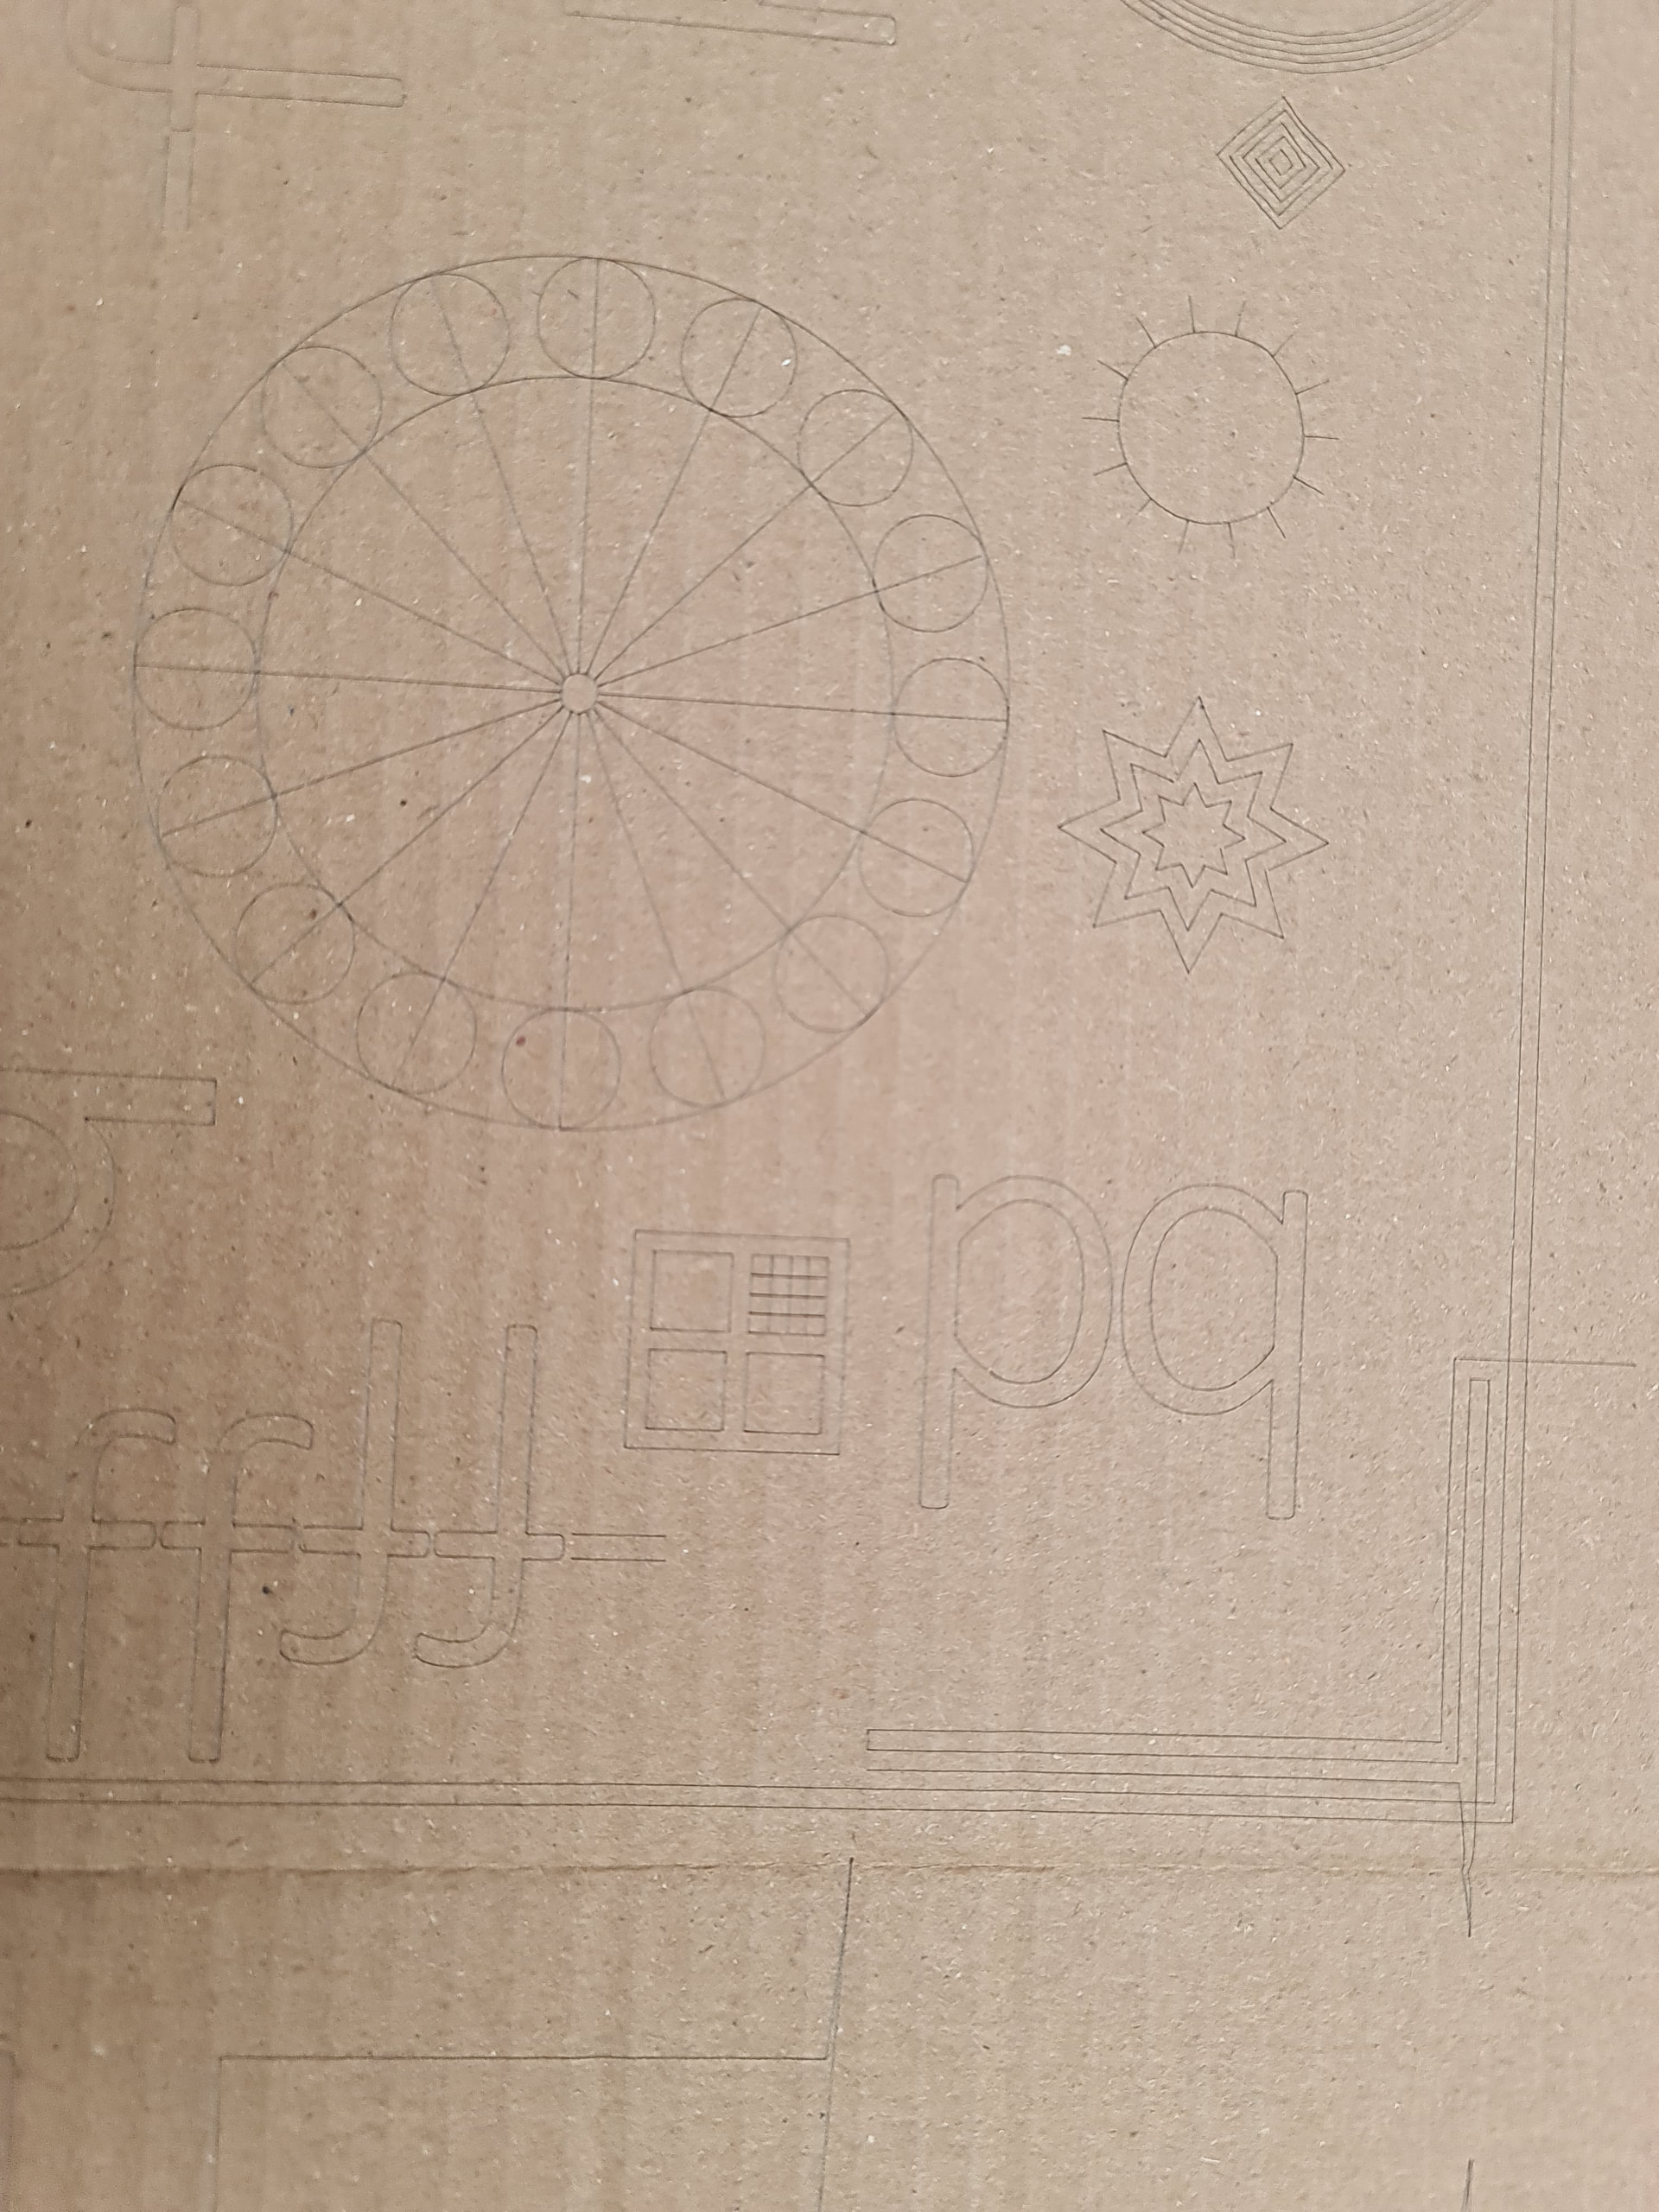
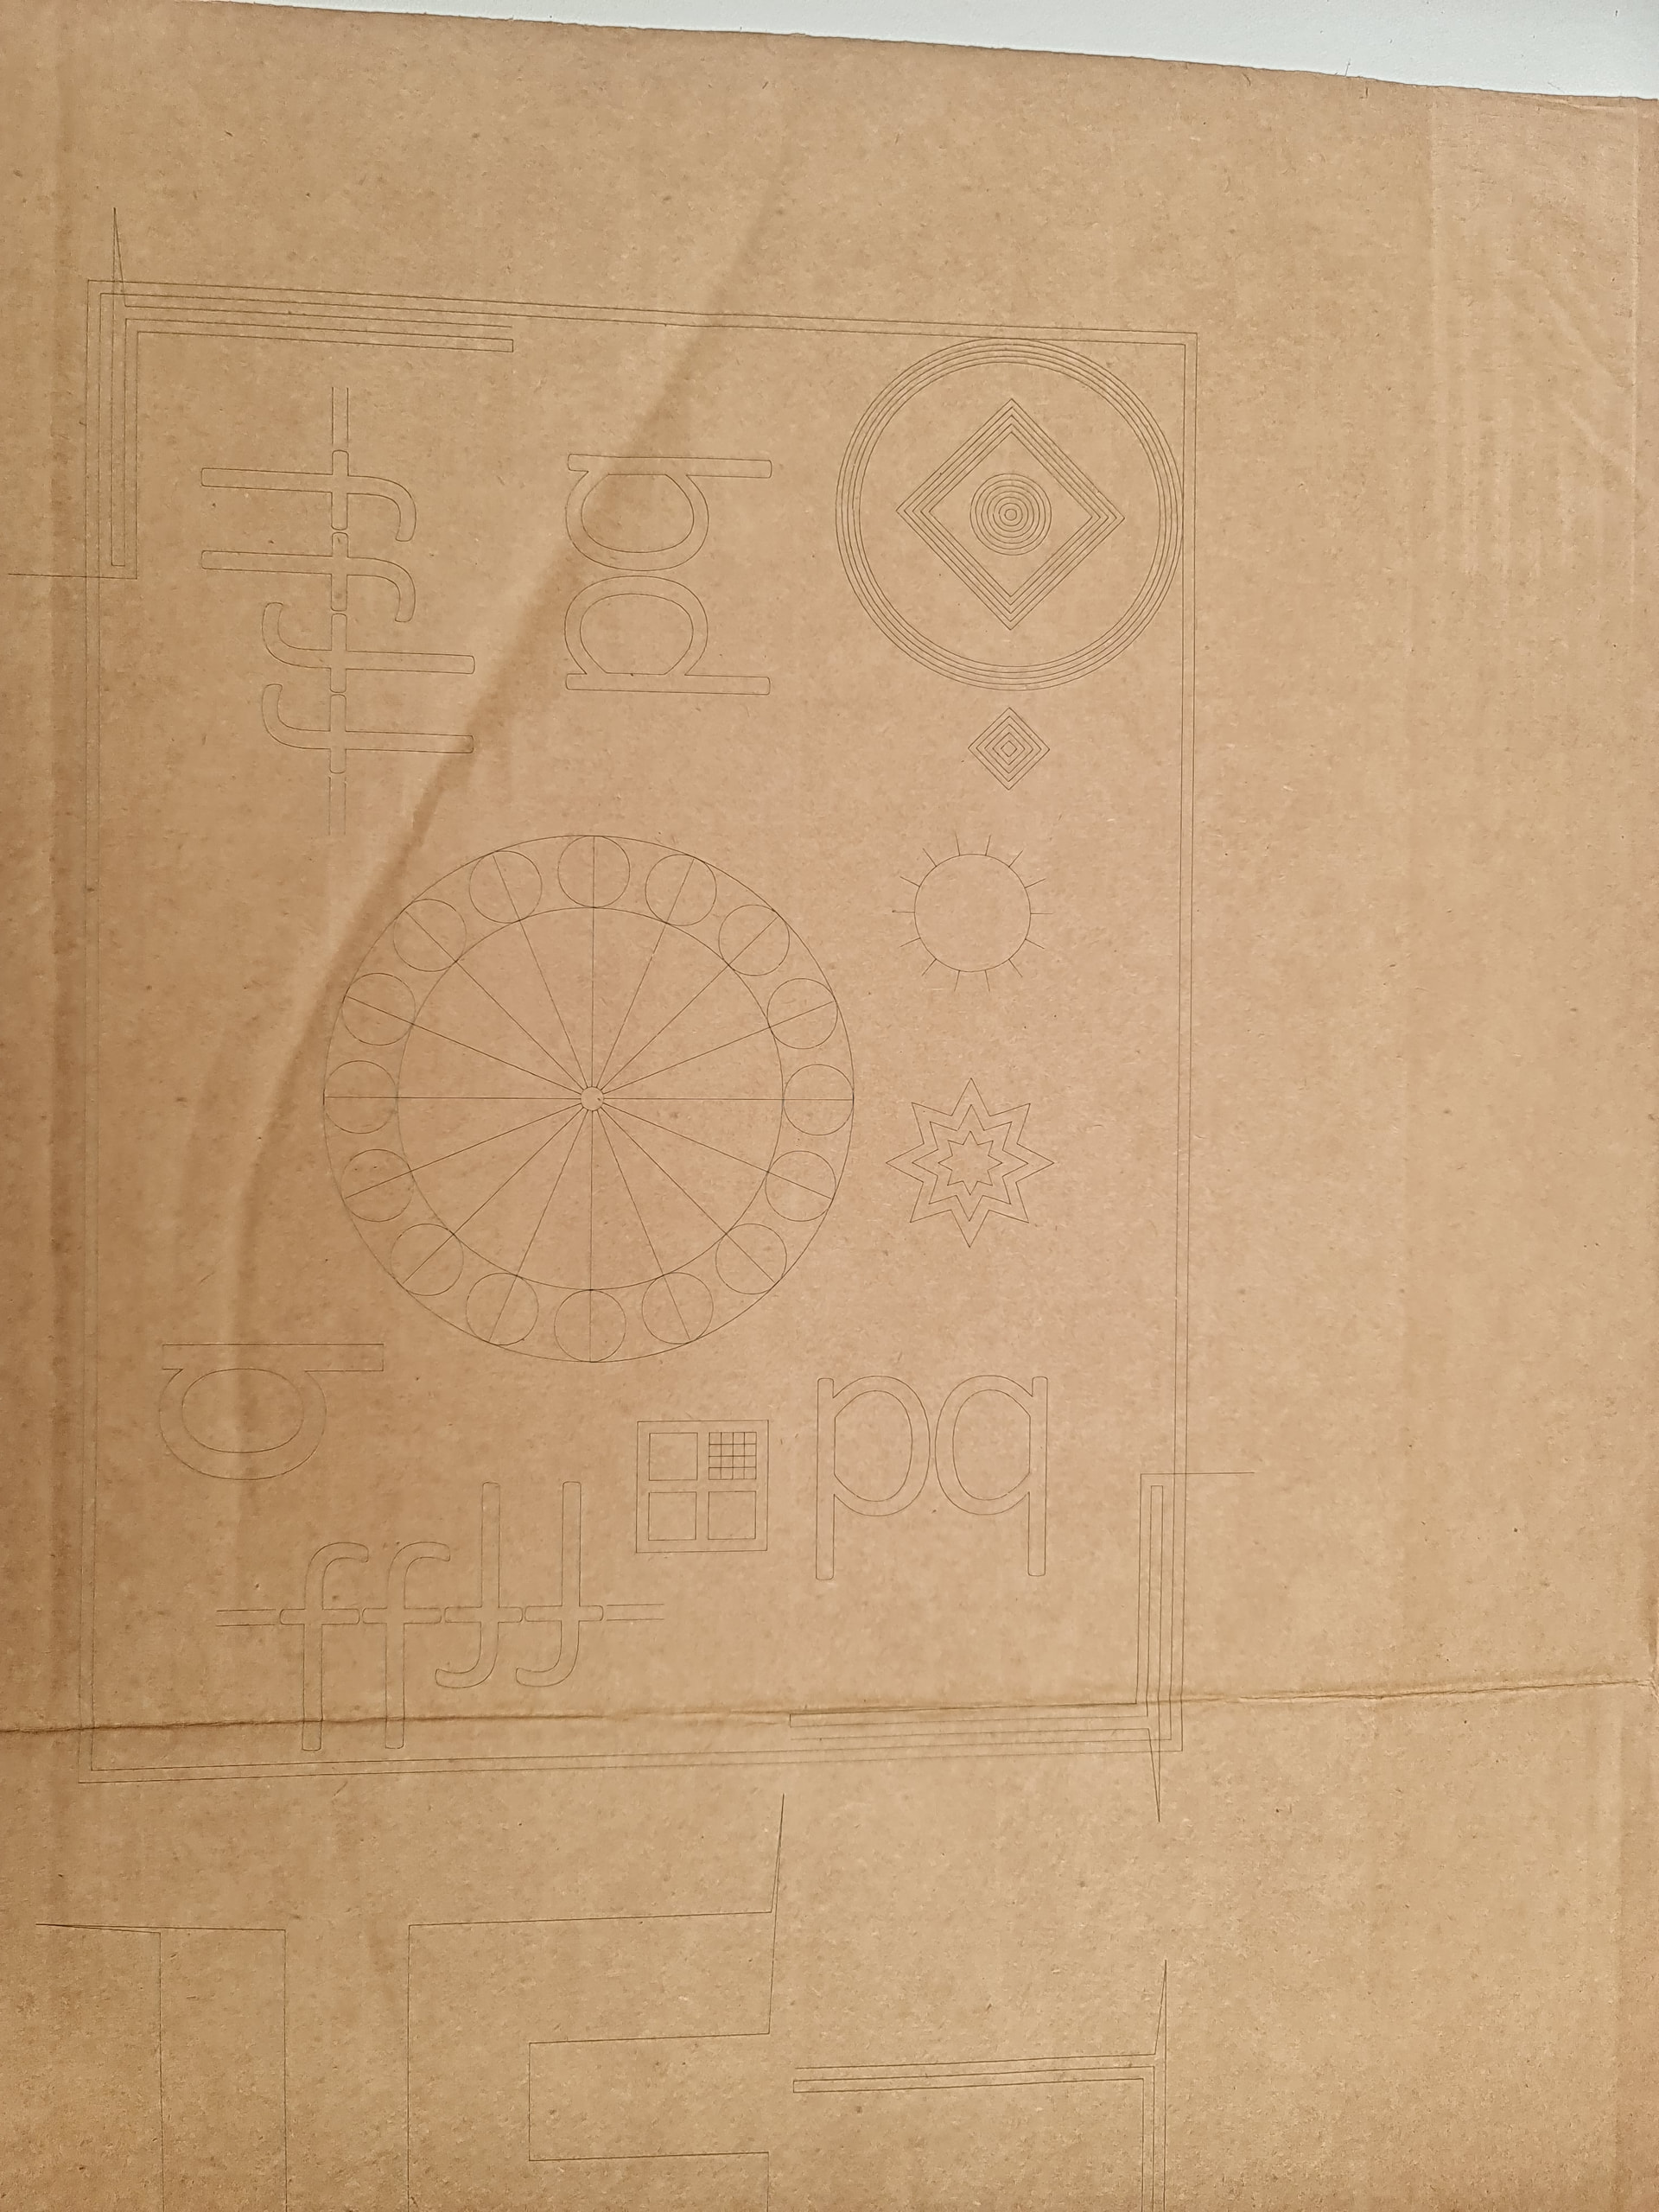
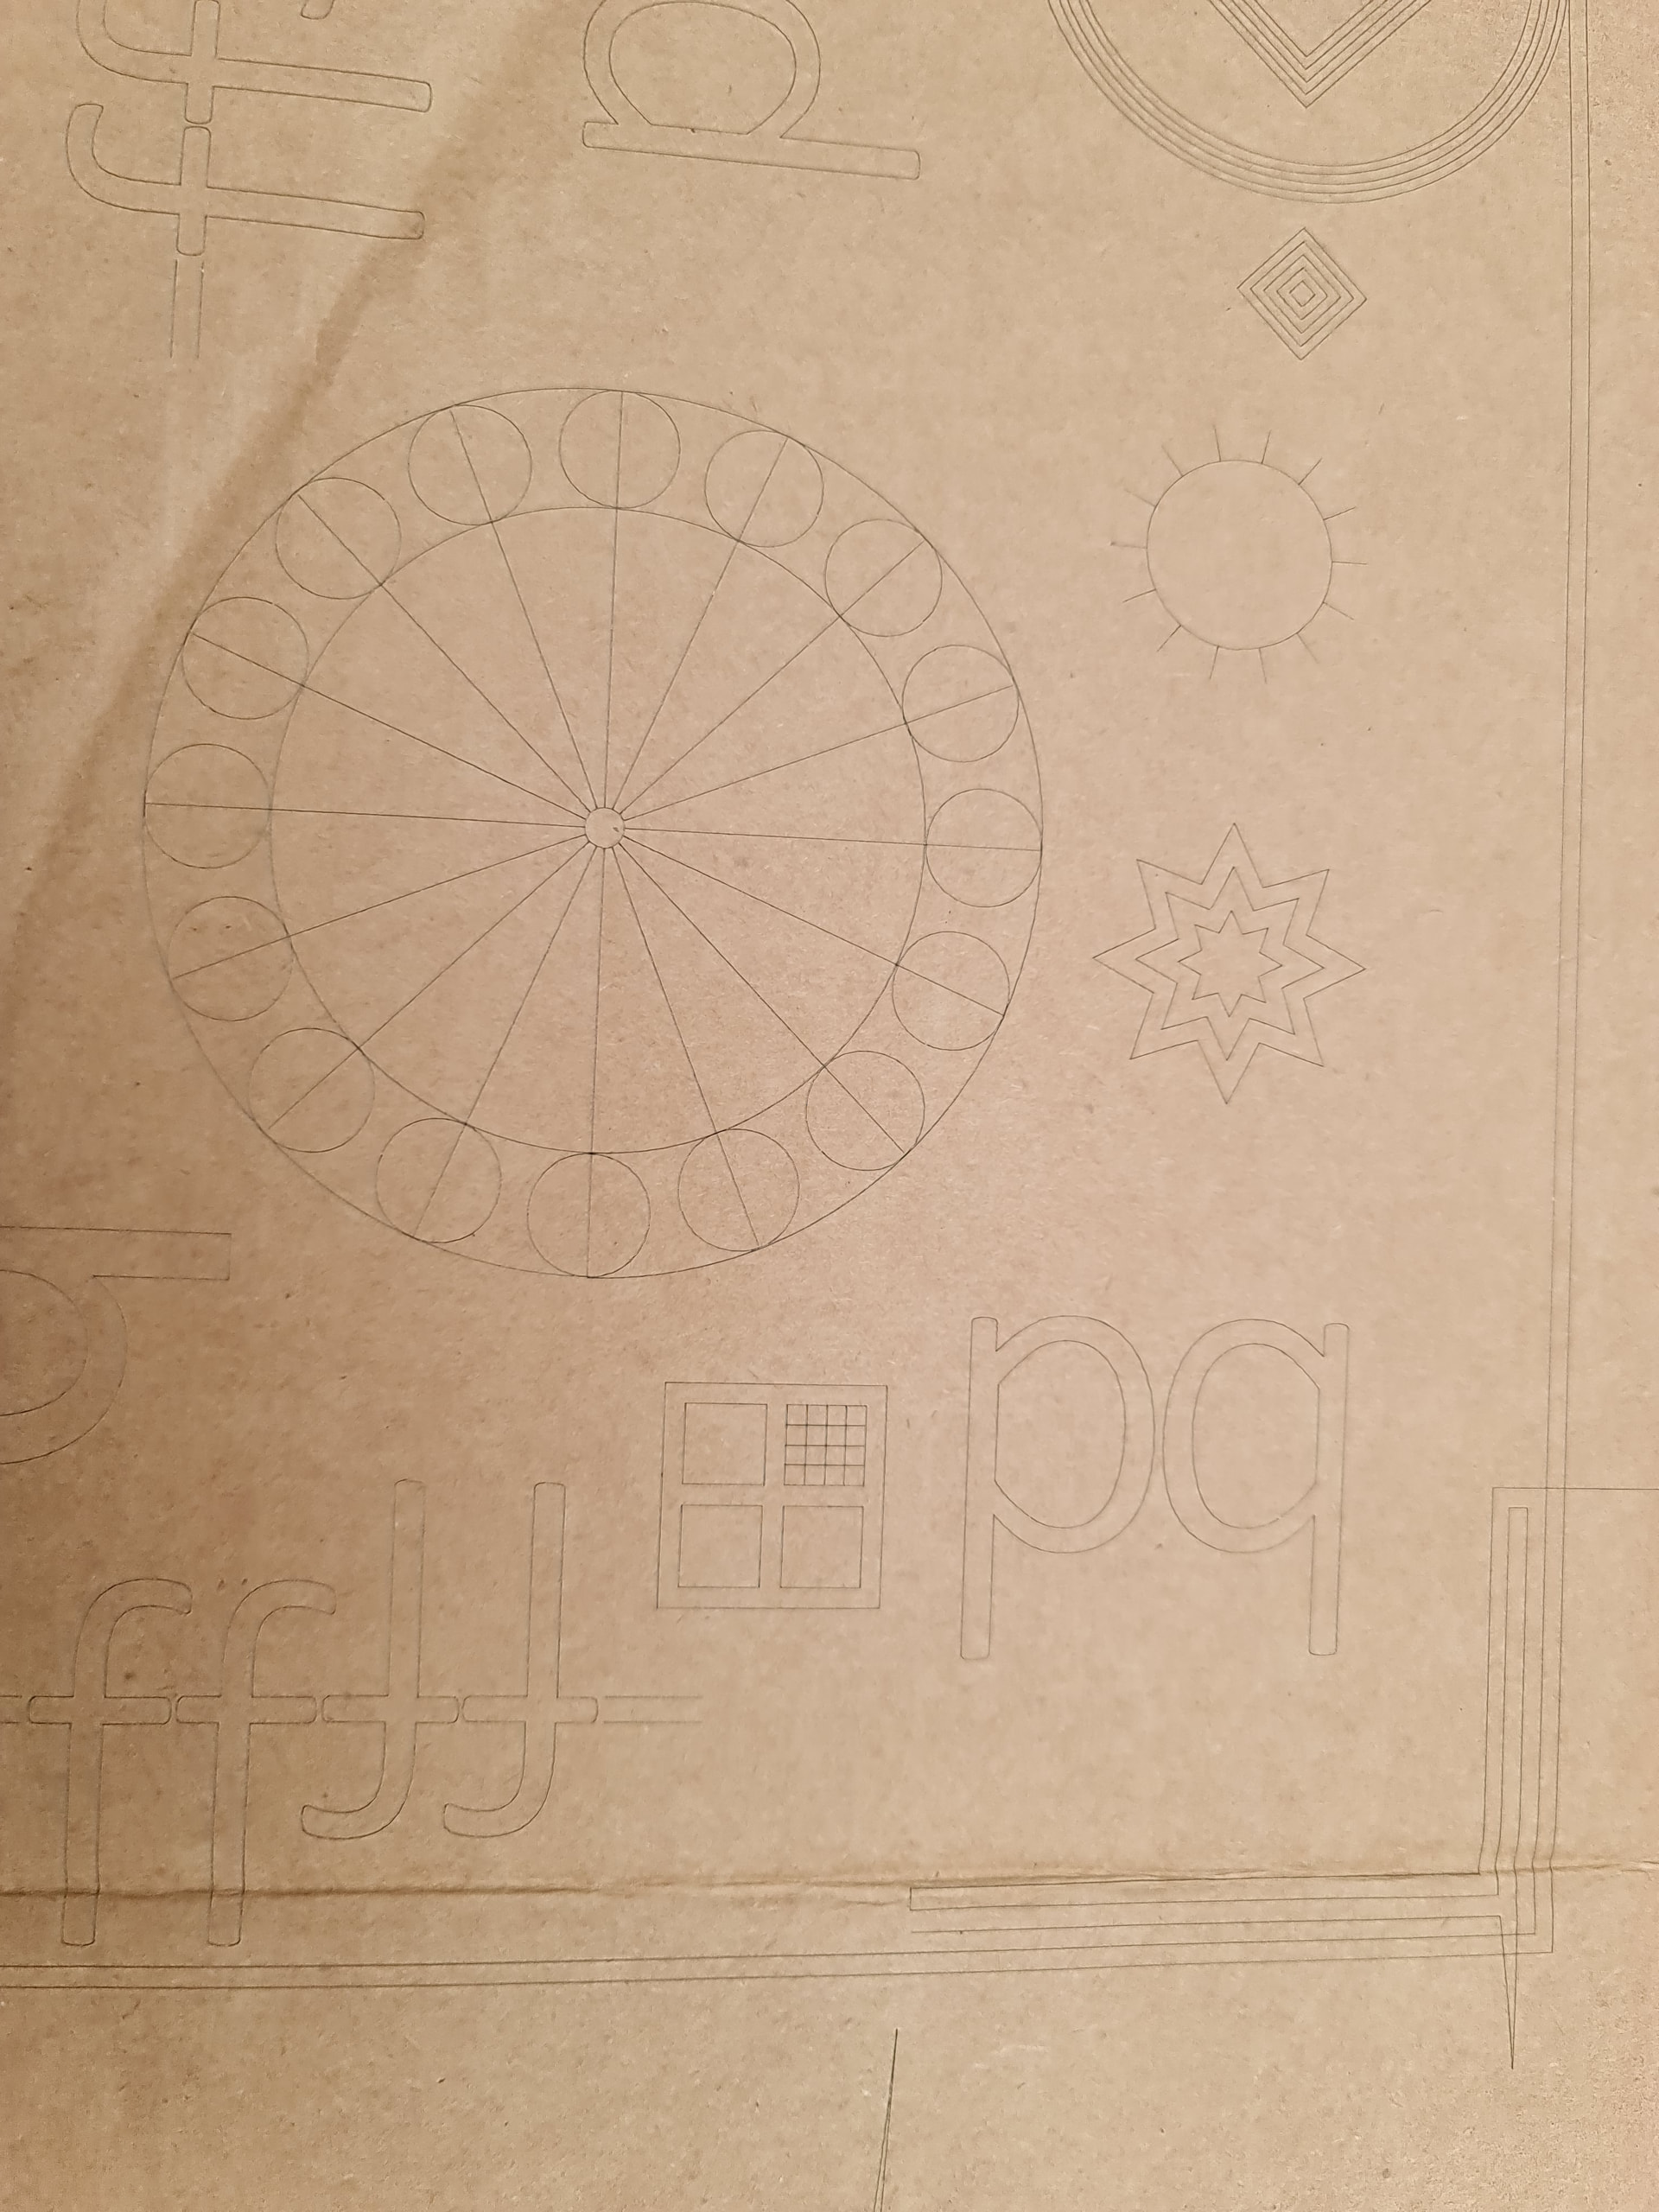
I suspected down to overlap issues, so formatted all the text in one, and tried to leave space for the symbols. I also googled and saw for text issues that i should right click and something path. Also that i should boolean unite, and/or weld. I cant remember if i welded, but couldnt boolean unite. Second attempt came out better, but parts of letters missing. It started engraving at the extreme right, before switching to the bottom.
First try started engraving in the middle.
Its probably something very simple i’m doing or not doing, but any pointers would be greatly appreciated, missing letters dont seem to have many fixes on google. Thankyou in advance
At first glance it looks like a mechanical problem. Something loose. I would start by checking the tension of the belts and the tightness of the bolts on the stepper motor pulleys.
Thanks for taking the time for those replies, I shall check at the first opportunity (am not near the machine at the moment). I had assumed with the laser starting its scan vertically at the right hand side and putting those dodgy letters in, then switching to the bottom and going horizontally seemingly perfect that perhaps I had done a booboo in the path to make it start vertical. I shall check things and see if anything is loose and rerun, and report if that has fixed. Thanks
I checked the mechanicals and everything seemed tight, so I ran it again, this time it started from the bottom and all looked to be good, up until the same letters firstly missed, then picked up on the way back down, again distorted. So I moved the text inside the project and found the letters that had been distorted were left behind, I guess I missed them during the welding. I’ve fixed that, and running the project again. I still dont really understand how that would have been an issue as they werent distorted in the project, or the preview window. Will post soon if this try is successful. Thanks
The latest cut with finding that I hadnt grouped the subsequent letters, and welding those, has fixed the letter issue. The surrounding cut though seems to be offsetting. I will include the original file, and the newly welded file. Apologies in advance if its something simple I’ve done/not done. Thanks, Bryan phone structions.lbrn2 (264.8 KB) phone structions welded.lbrn2 (285.7 KB)
Not quite understanding what you mean by this / why you did this. I see that you converted the text to a path and welded / grouped them. This is really unnecessary as text engraves wonderfully without converting.
I don’t see any issues with the file itself. One thing I would do differently is to break the text up into individual sentences and space them as needed rather than having it all in one text box. I don’t think that’s the issue though.
Your original photo looks more like a mechanical problem as the squashed lines seem to be immediately following rapid movement. Your second photo, with the missed letters is something different though. Were you possibly engraving the letters individually here?
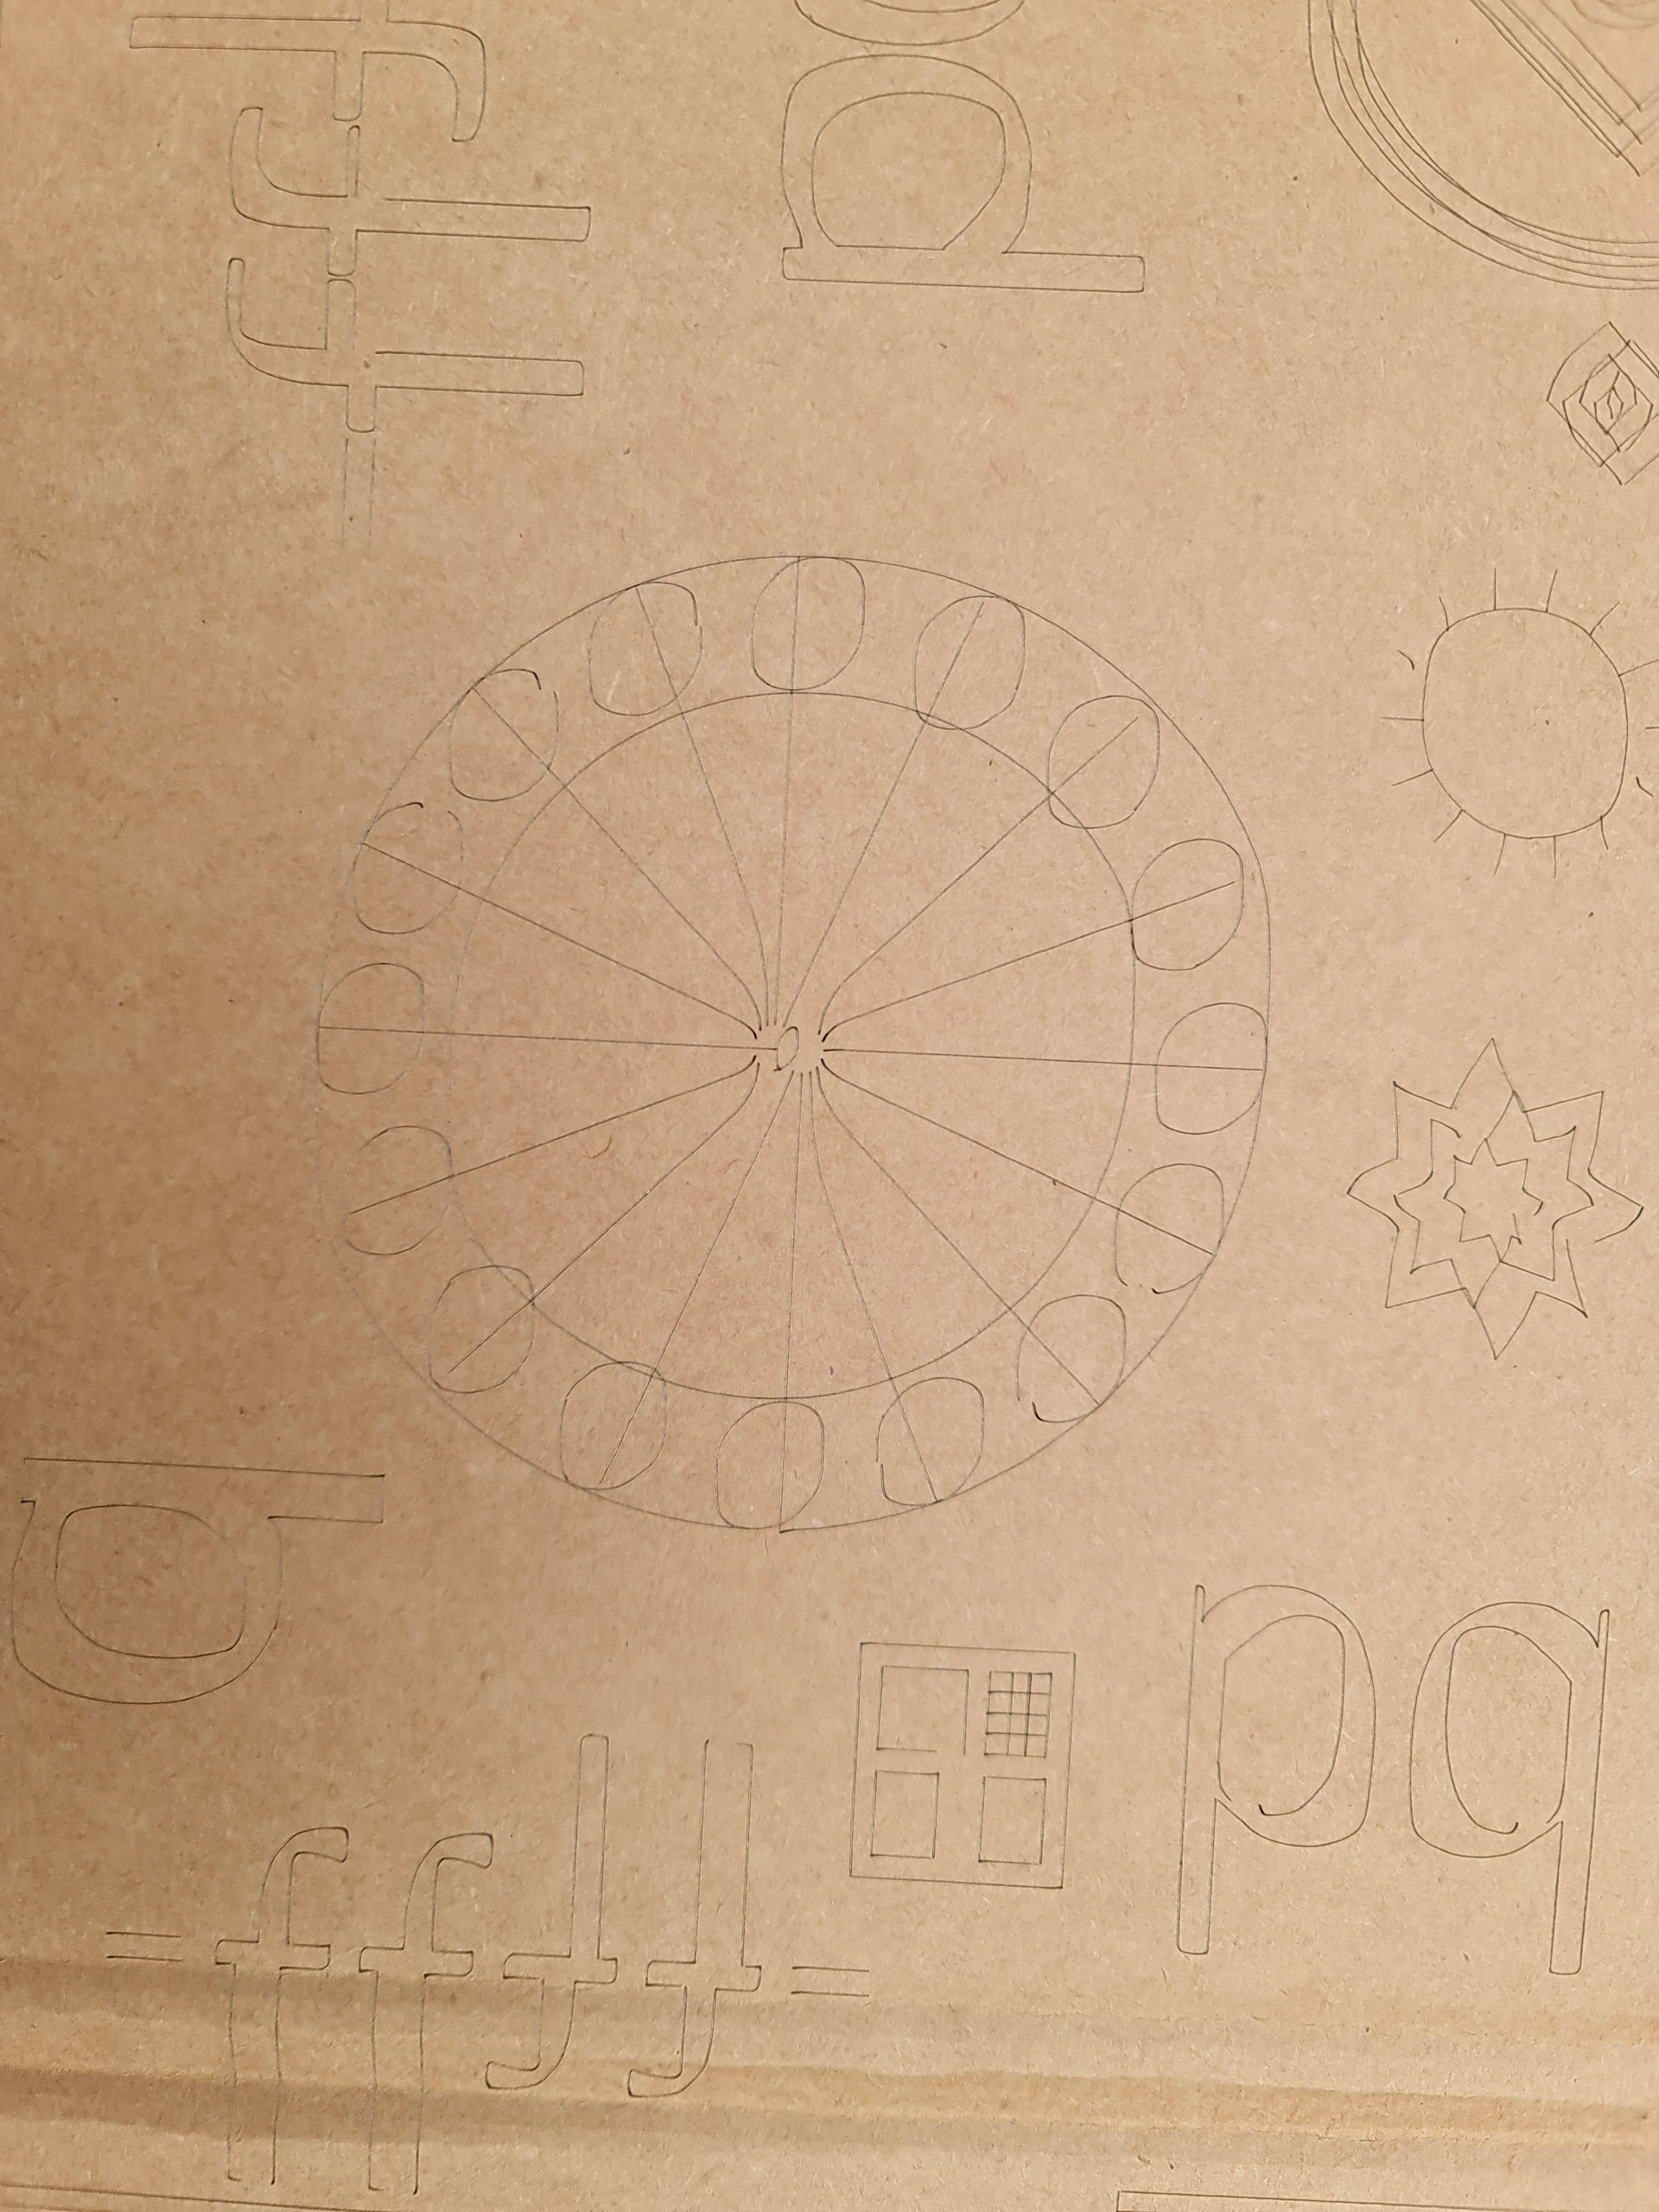
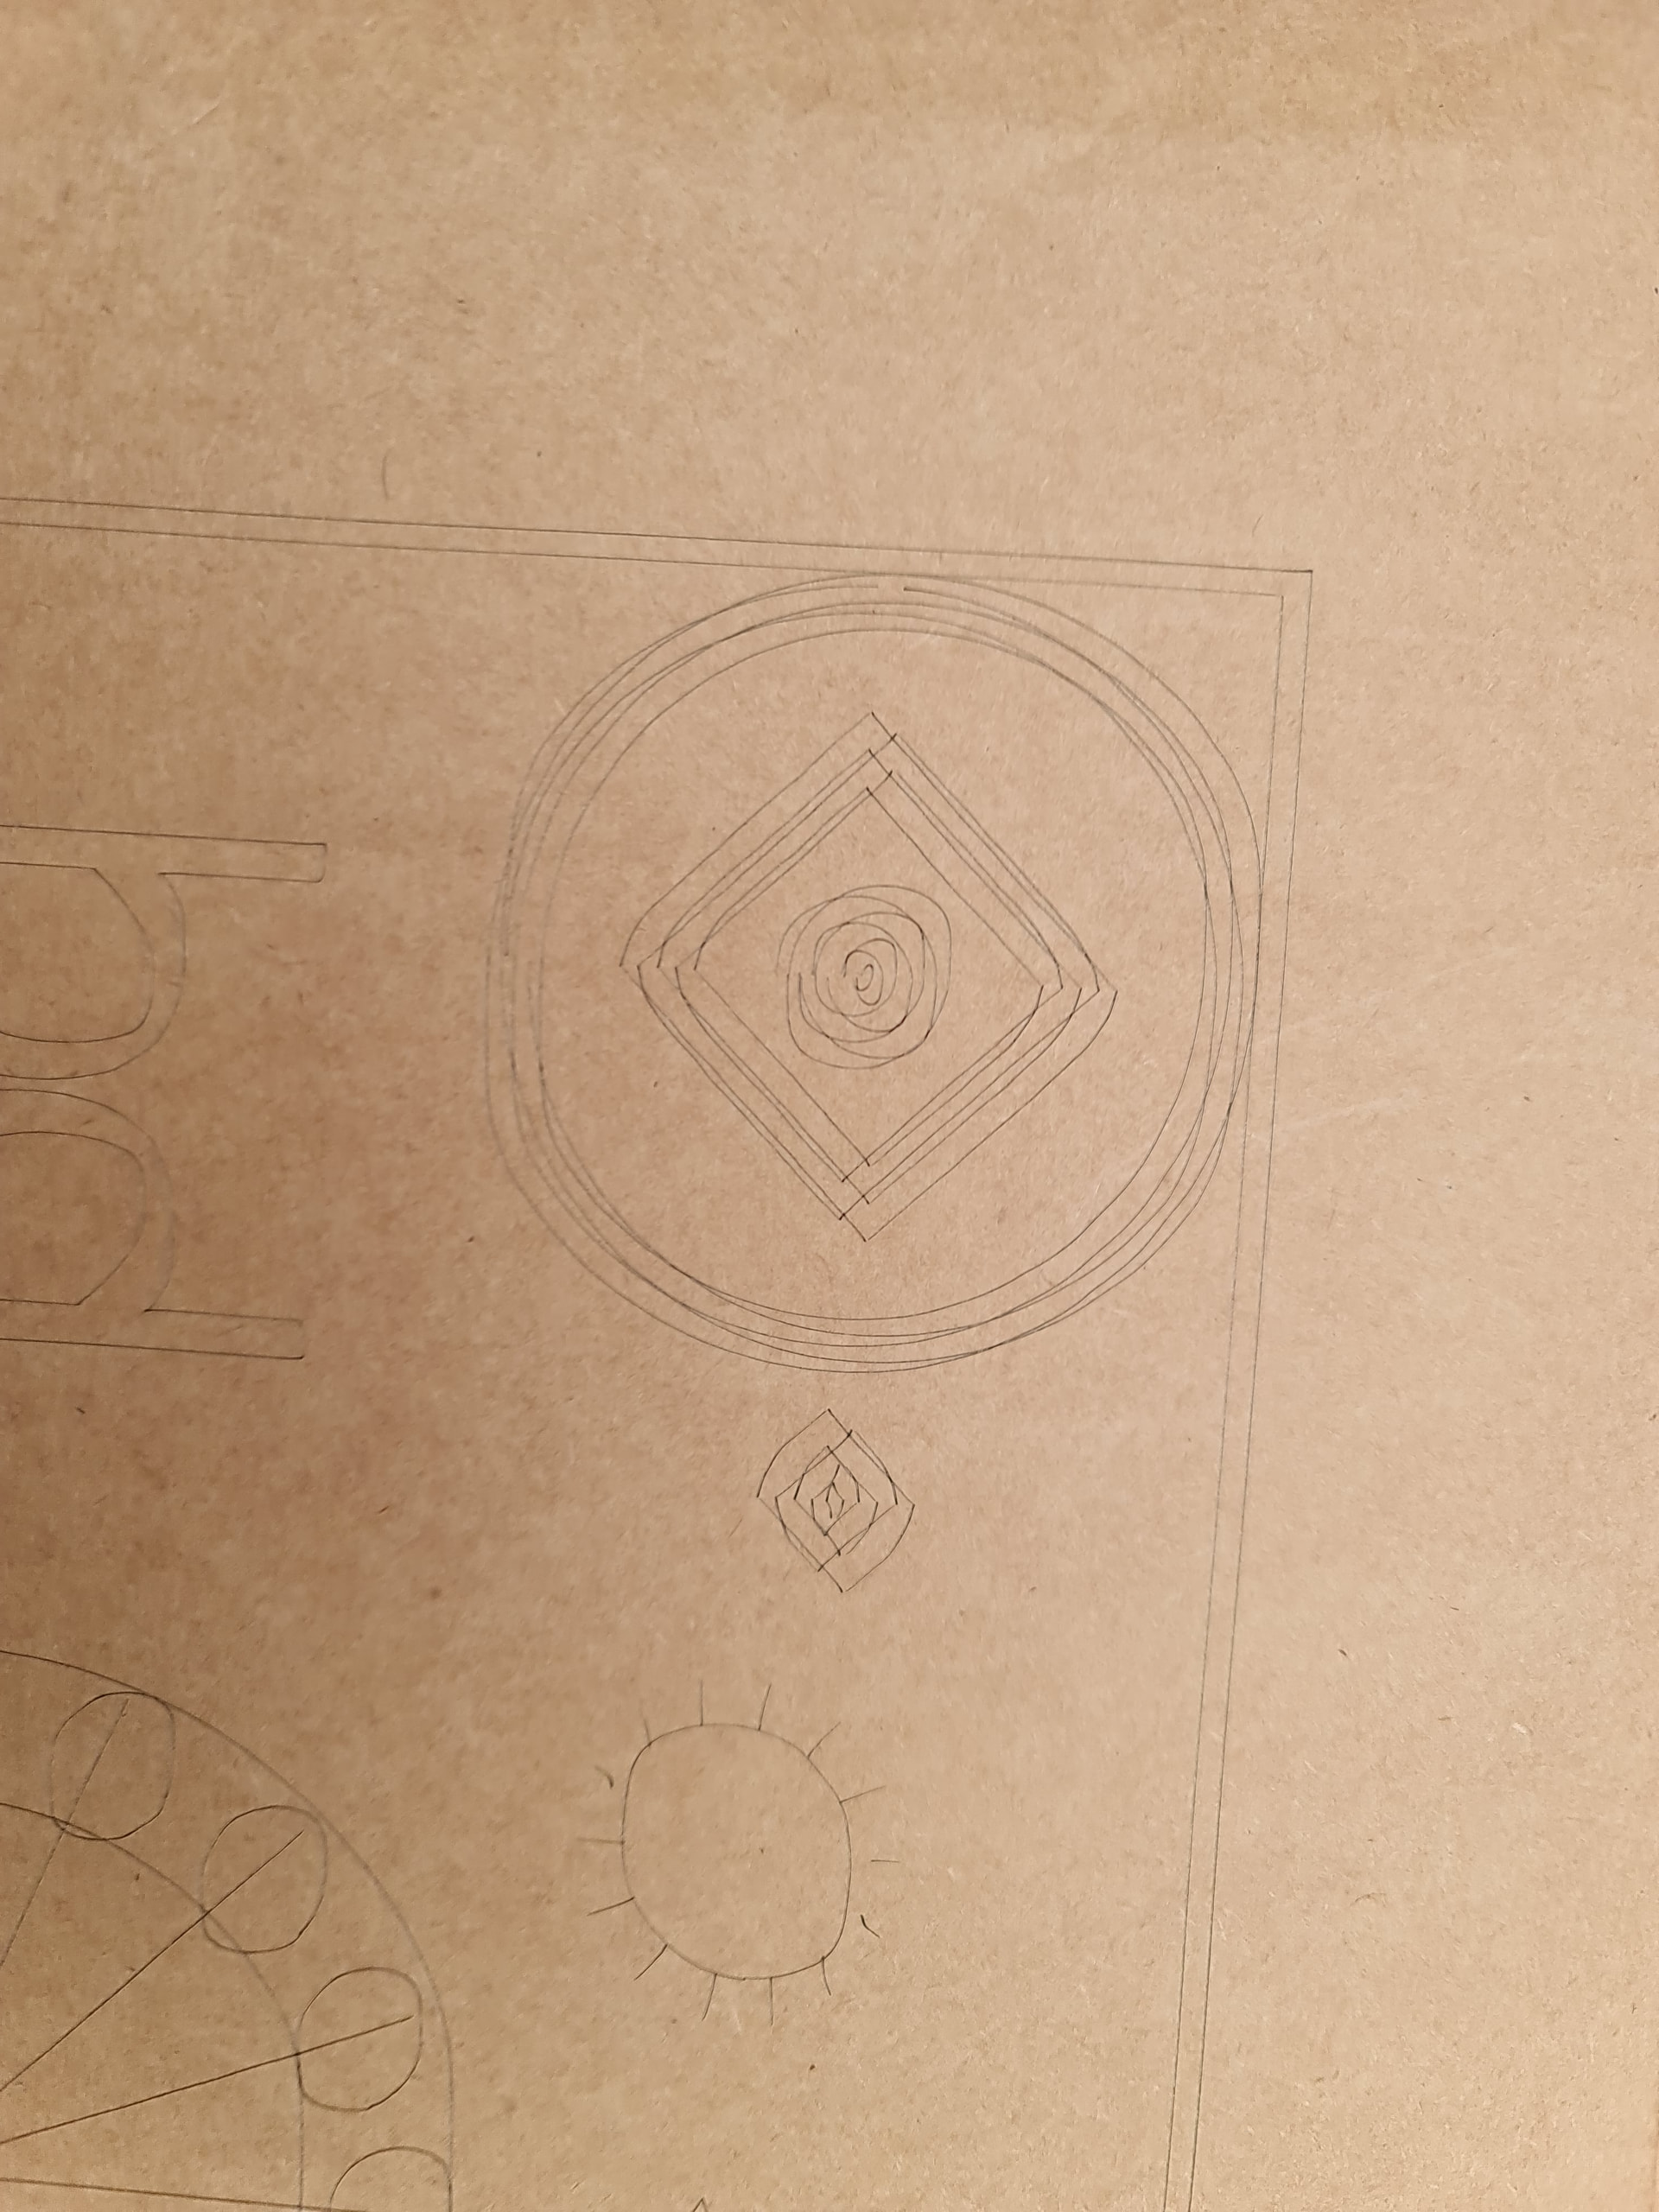
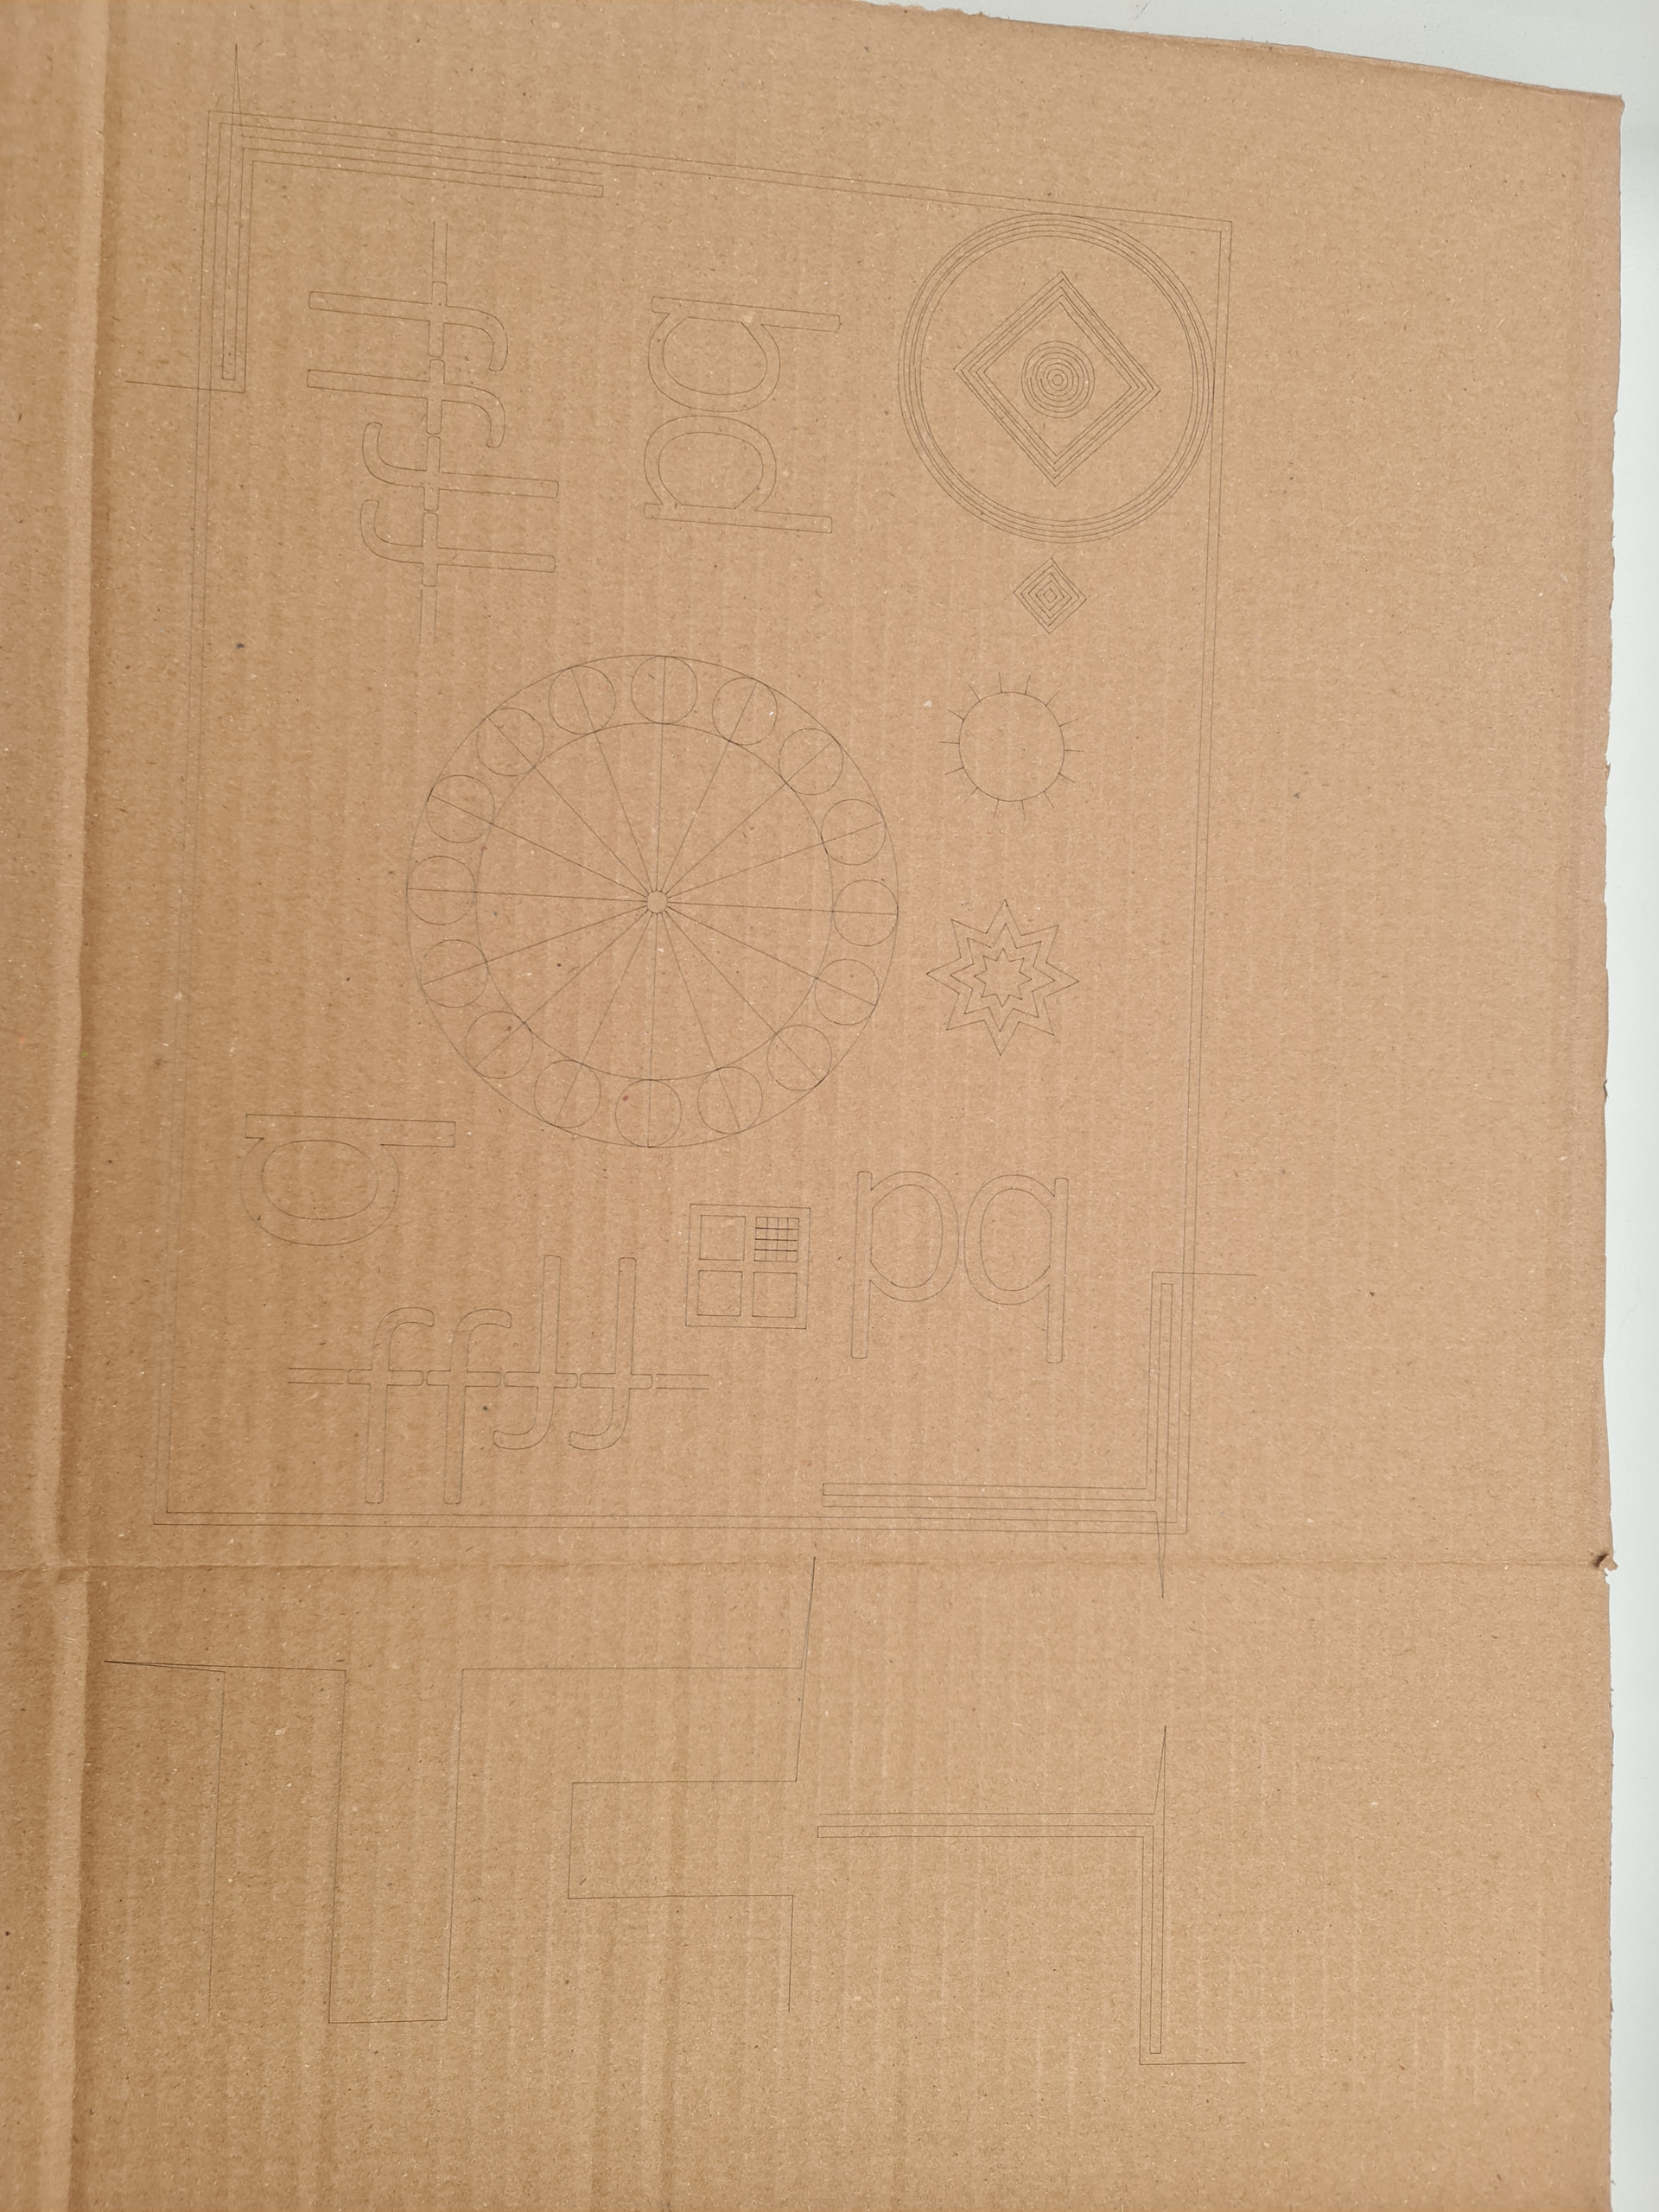
Just for kicks, let’s try to eliminate backlash issues. Load this file, scale it proportionately to fit your bed, turn off optimizations, and run it at very high speed with just enough power to get a good mark on cardboard. Any discrepancies from the file will indicate mechanical problems. Upload a photo of the results so we can look with you. BacklashTest.lbrn2 (68.8 KB)
Thanks for your response, I will run that as soon as I can and post the photo. Unfortunately the laptop running the machine has decided to have a hissy fit at the most opportune moment. If I can explain what I did, and why, it may help.
First go (first picture) i had each line of text as separate entities, and the clipart symbols on. It came out with squashed lines, so I assumed something to do with overlaps. A google amount of time later, for missing letters or squashed lines it said convert text to path and weld all. This I did, which led to pic two.
Try two came out with most fine, (first file I uploaded as I had modified the first file) except the end letters on certain lines. I wrote here, then checked everything was tight, ran the file again, same again. So checked the file, and discovered I had missed the end letters when I welded. So I corrected that (file 2 i uploaded) and ran again, fixed the issue with the text. However the outline cut seems to be moved relative to the text. I also noticed on each cut, two (diag opposing) corners have the correct radius, and two dont.
Although I probably did it all wrong and it doesnt make sense to an experienced user, thats at least why I did it. I guess assumptions and google are dangerous in the wrong hands lol. I attempt to solve problems myself before asking for help. I will post the results when the laptop gets off the naughty step.
I do appreciate the assistance, thanks, Bryan
It took a bit of tinkering with speeds and powers to get a mark without burning the place down. It ended up 7500 at 75%. Not sure if the figures are relevant.
Turning the bar under the x axis, there was a delay only on one side before it moved, so I’ve tightened that belt up, now on manual movement there seems to be equal movement. Rerunning to see if it improves things
You are definitely improving it. Be sure to check the set screws where the pulleys attach to the shafts at the motors. That is a frequently missed point of play. This guide will walk you through all adjustments.
Thanks for your time and trouble, i shall go through that and see what else there is. I didnt want to overtighten the belts etc when i got the machine, and while its a budget machine one would think it advantageous for an instruction like you gave to check alignment etc for the uninitiated. Thanks once again, Bryan
Many improvements stand out with the adjustments that have been made.
This allows us to understand the machine’s limitations.
Something I would still do is retighten the motor mounting bolts, as if they are not properly tightened, it can cause a slight movement when changing direction affecting the work.
Something that hasn’t been mentioned yet, and might help, is checking and adjusting the axis acceleration parameter. Too much abrupt acceleration is prone to this type of problem.