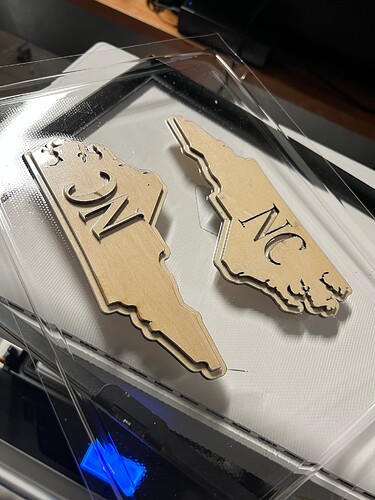
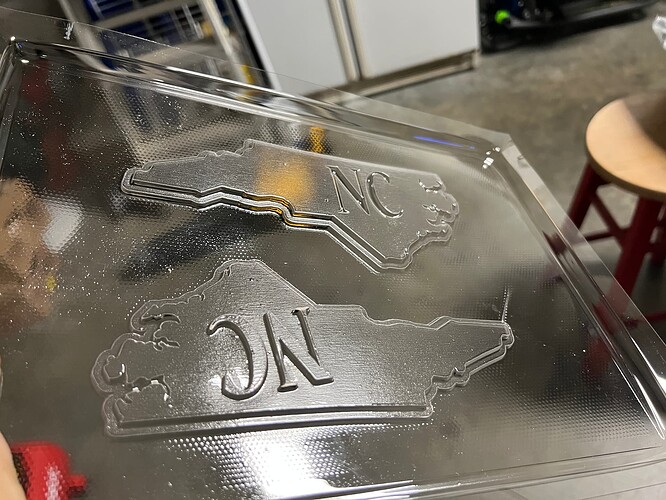
I make bucks that I turn into thermoform molds. I’ve circled the wheel of fabrication and for the most part found resin to be pretty on point. Laser usage has been really cool to work with. My usual depths are 1/4" so two 1/8" plates can give me that. Perforation mode allows me to have spot on draft holes that with offsets of shapes allow for dang near perfection.
Example of mold making:
So I’m gluing up these plates to give me a whole. I have a few issues I haven’t solved yet easily.
- Without draft angles or a galvo laser (diode 20w here) I can’t make chamfers or filets. Sanding can somewhat handle this but not perfect.
- Drafting angle of the extrusions is also missing and I can’t fake that. Makes demolding the bucks a real PITA. Delamination is common on pushing the molds out. Luckily when I use the molds its for chocolate and chocolate shrinks as it cools so they demold naturally.
With mold making anyone have tips for better release?
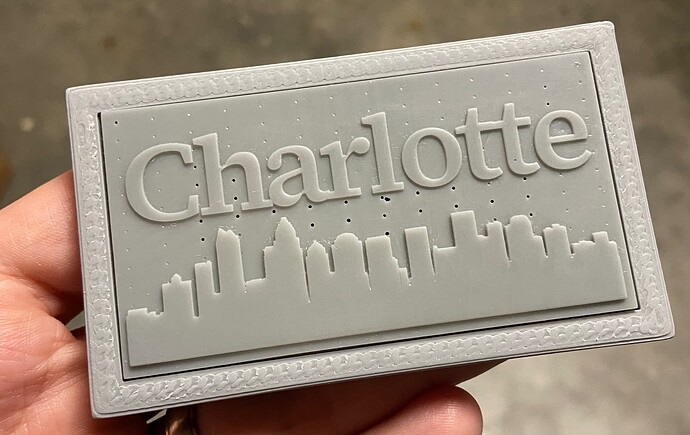
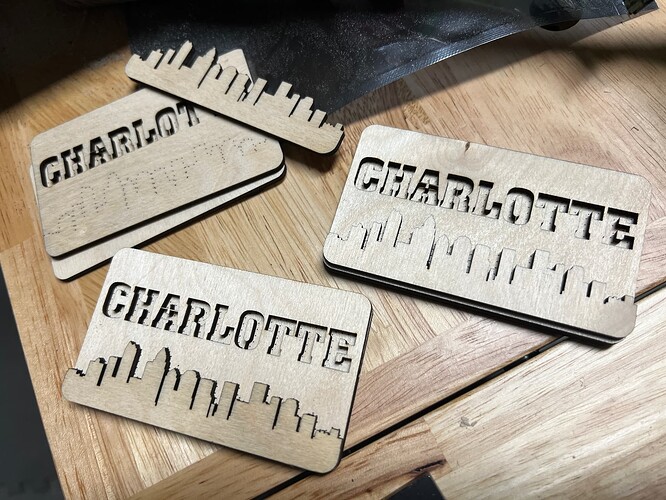
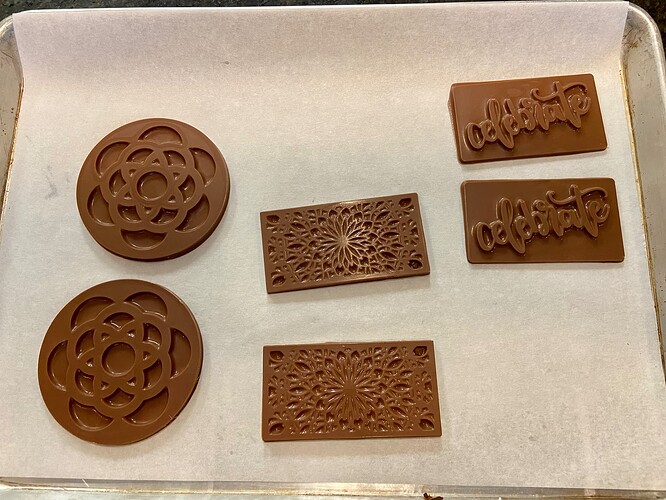
- Words. They need bridges or stencils or they need to be inset. I’m used to making them on a resin plate I slot into a jig and then mold those. If I use the laser to pocket, thermoform picks up the pocket lines, so that doesn’t seem to be a good way of solving. I feel like I’m stuck with forms of cursive fonts to make any text work right. That or I need to do individual letters and kern them all by hand as I glue them down. Might not be a bad idea but when you break a buck freeing it from a mold I lose a lot of time remaking the buck.
Resin variant:
Wood variant:
With my diode and the methodology it gives this might just be my limiting factor, mostly inset lettering, or cursive pads/extrusions and if I want other pads I need to use resin plating as my buck.
Since I’m new enough to the modality I thought I would ask for some community think because I know enough to know I know nothing. ![]() Thanks everyone!
Thanks everyone!
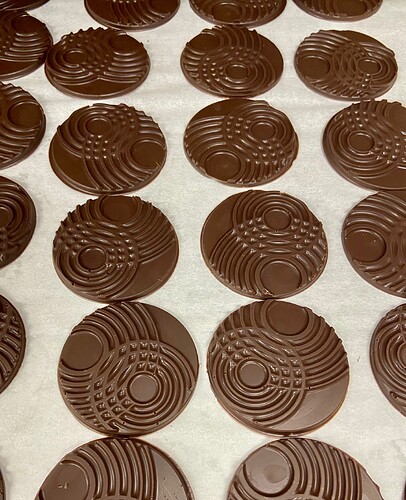
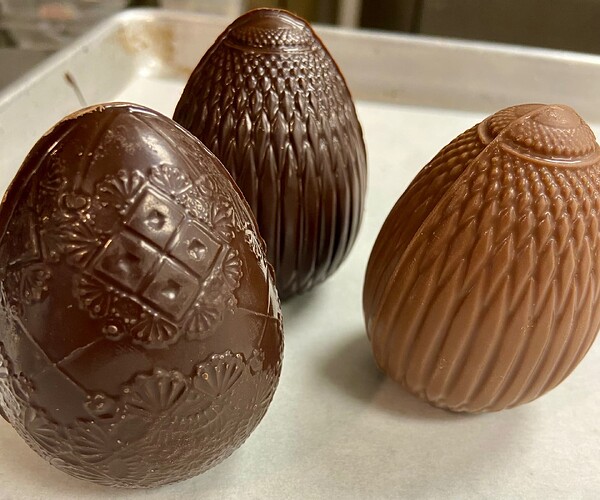
Here’s some chocolate!
(resin made)
(resin made)
(wood made)
