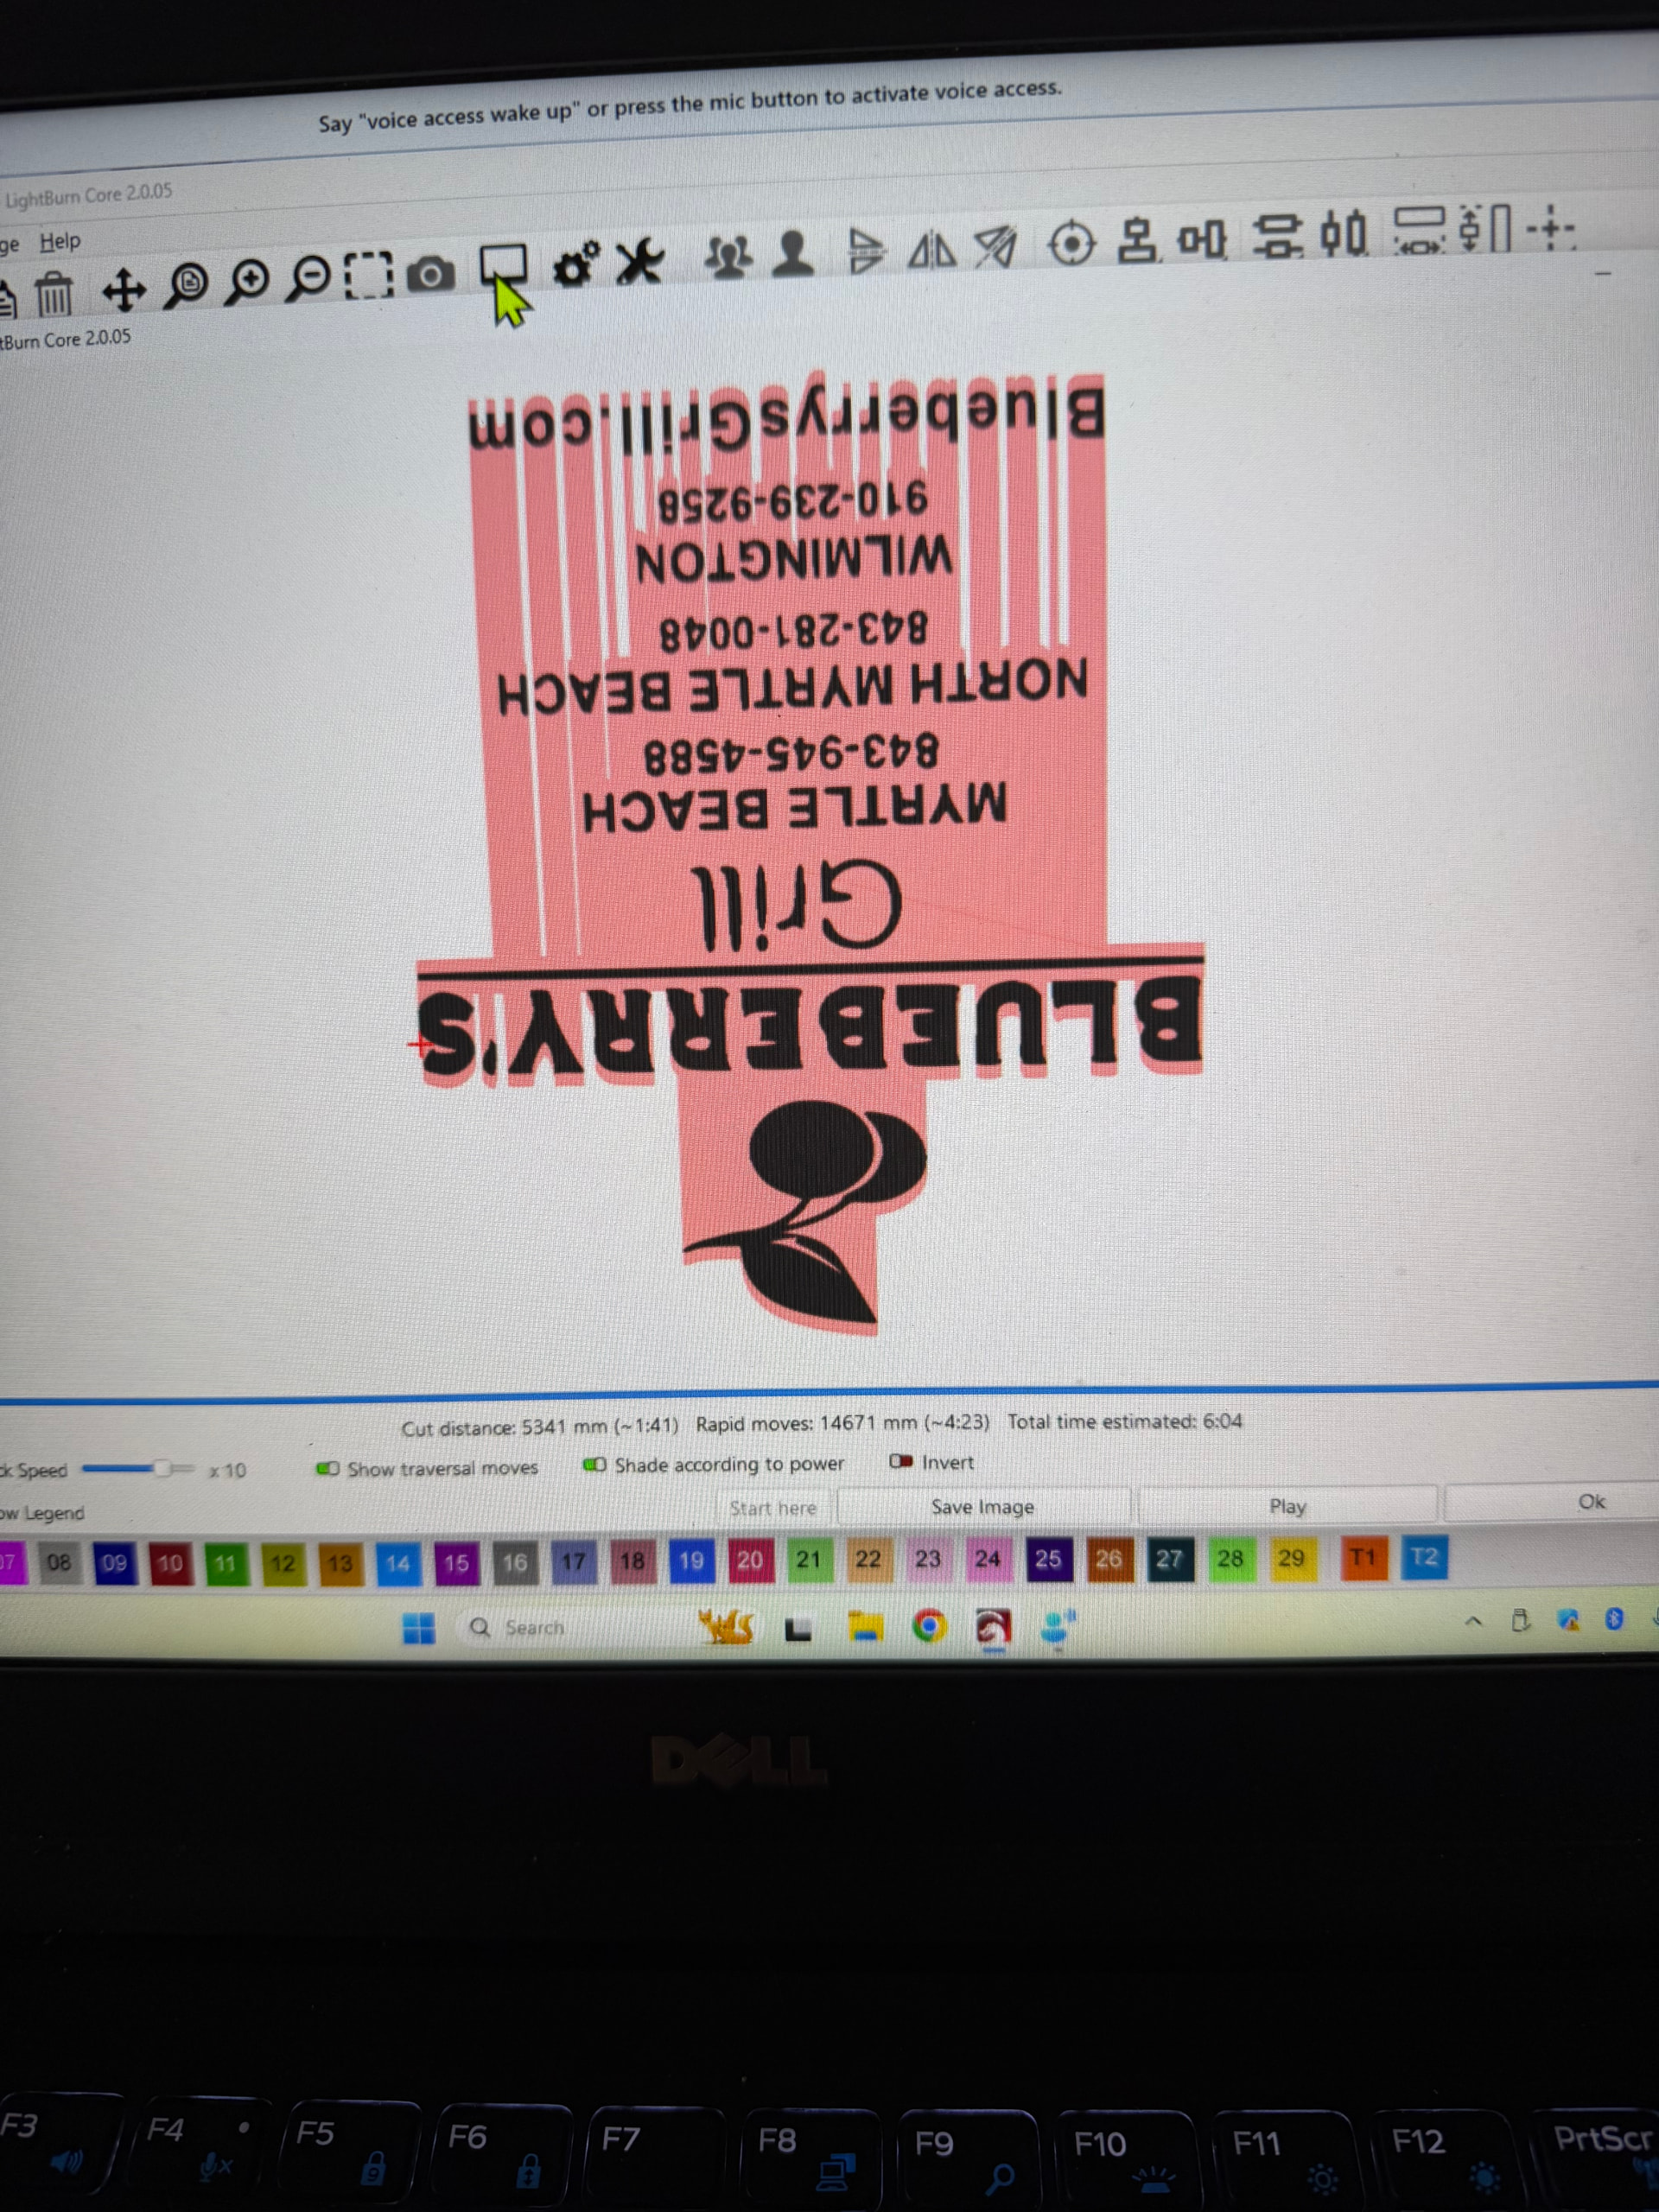
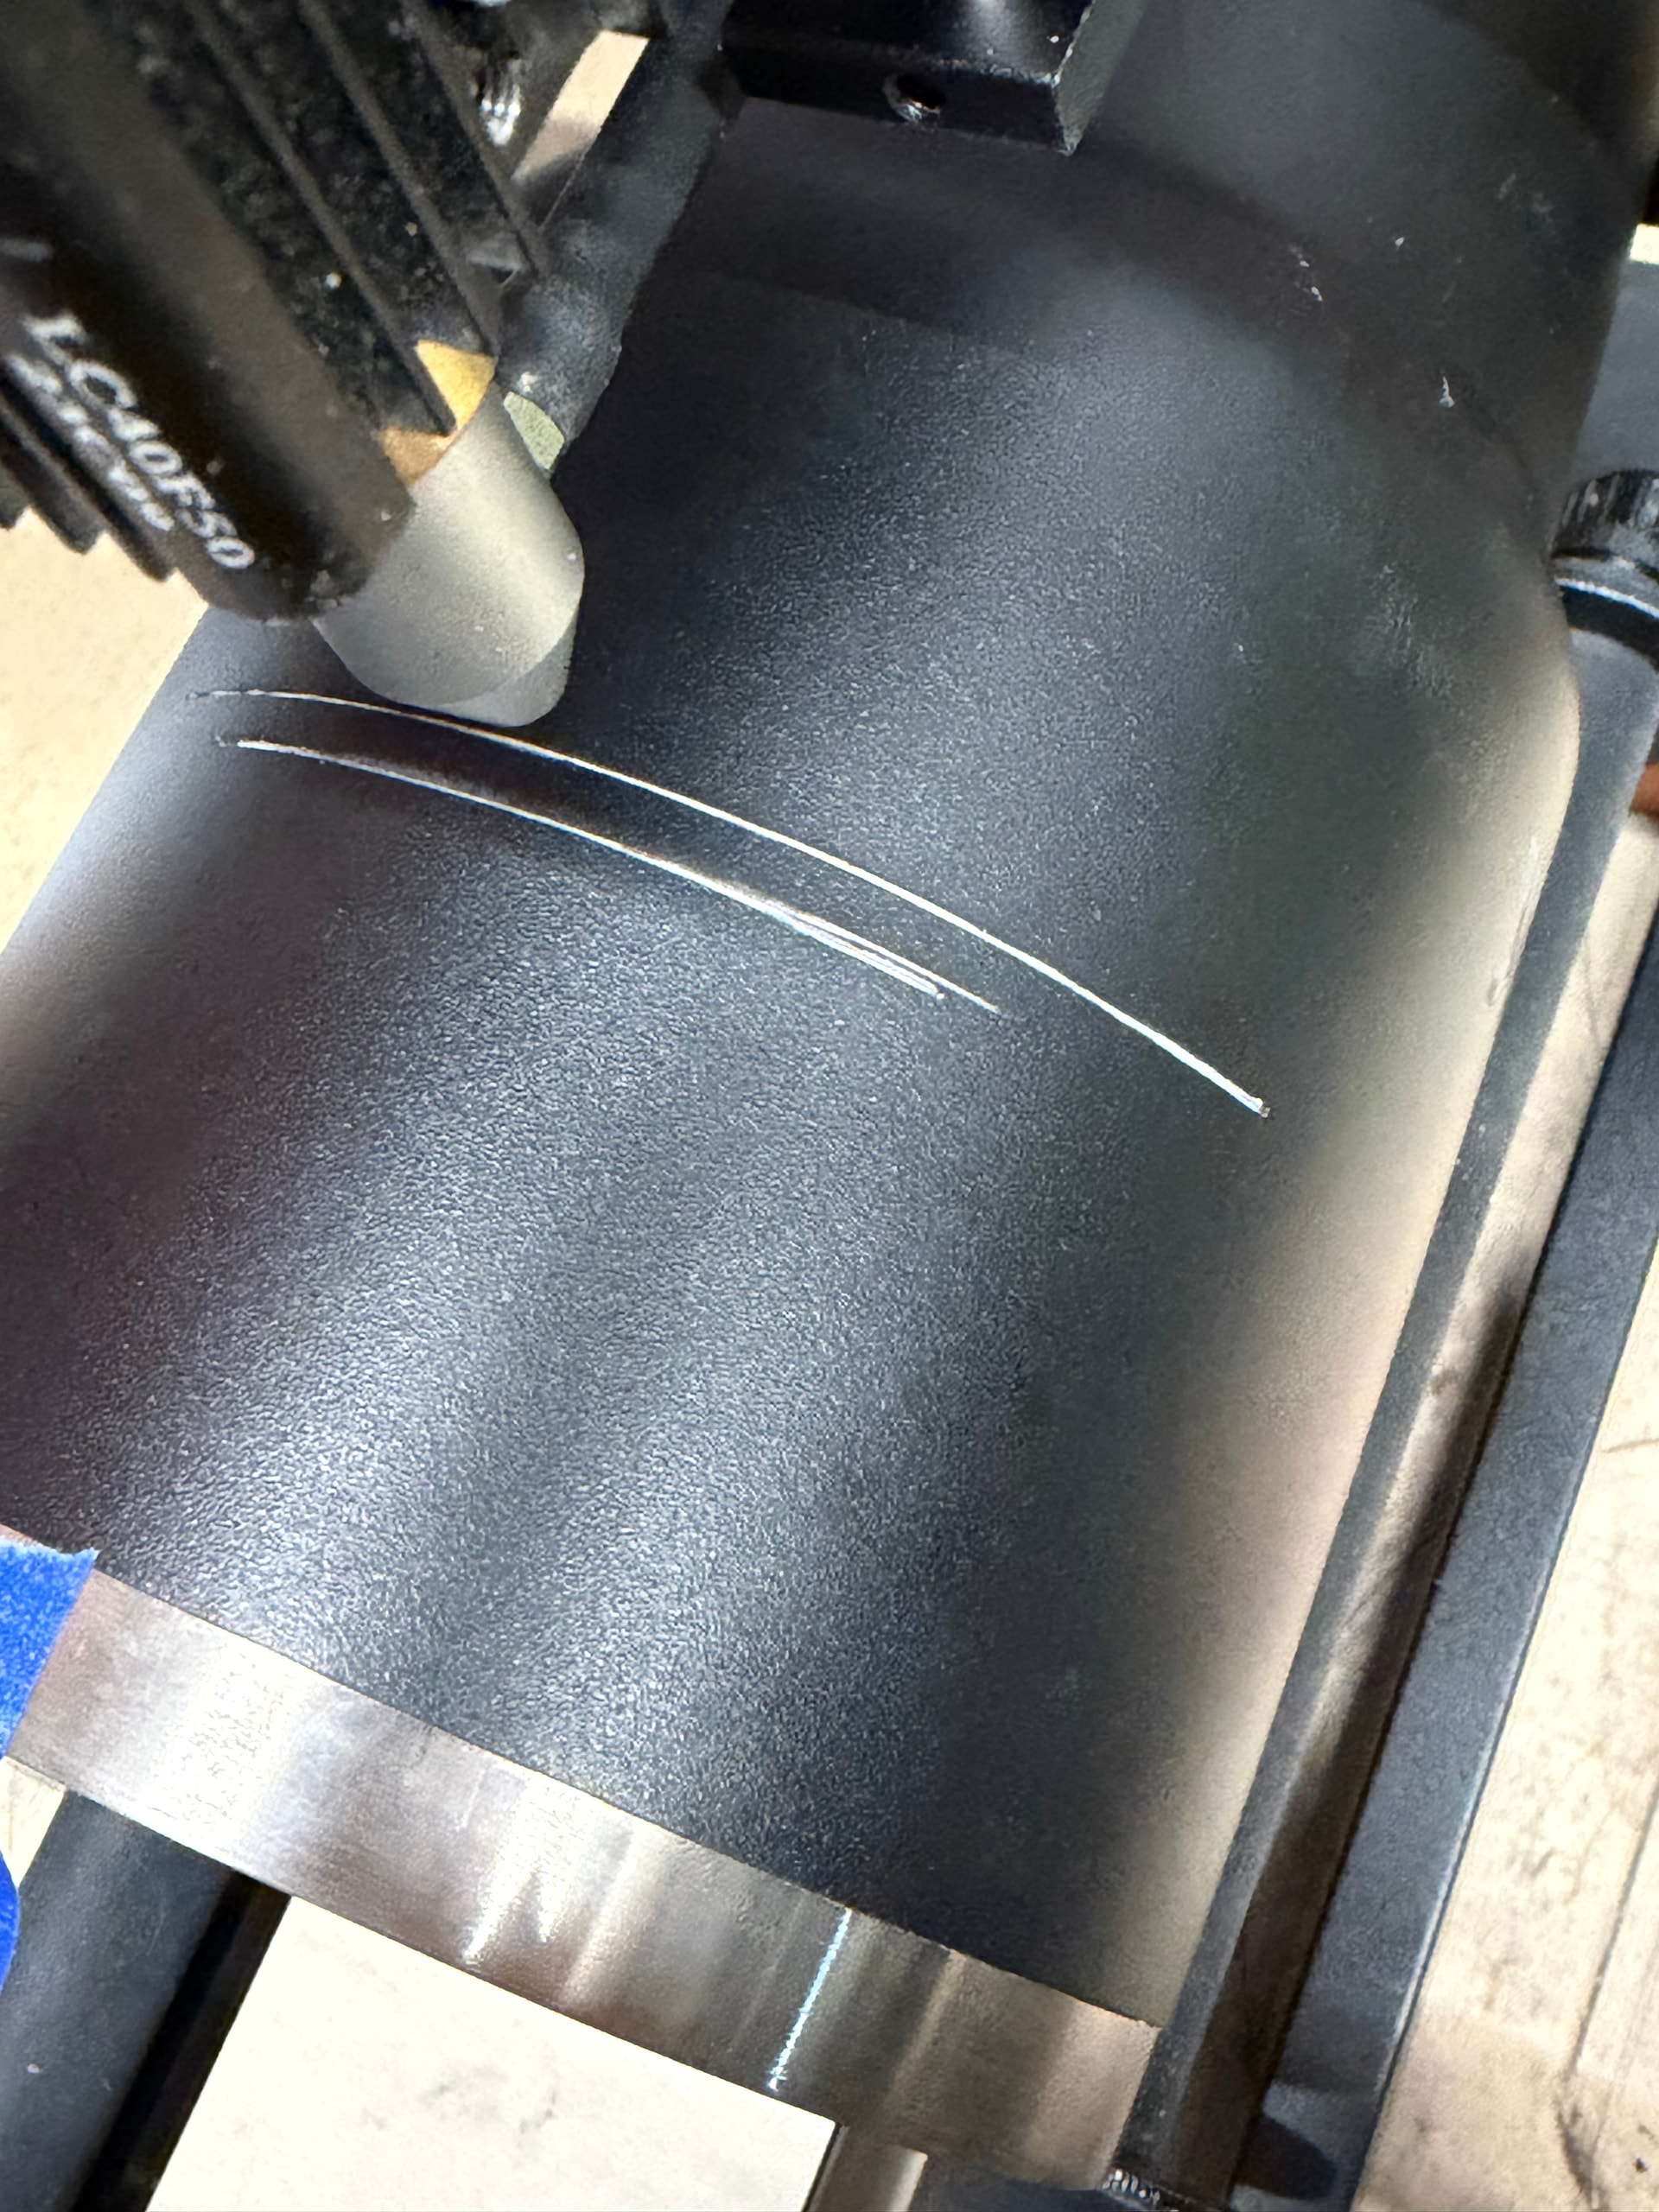
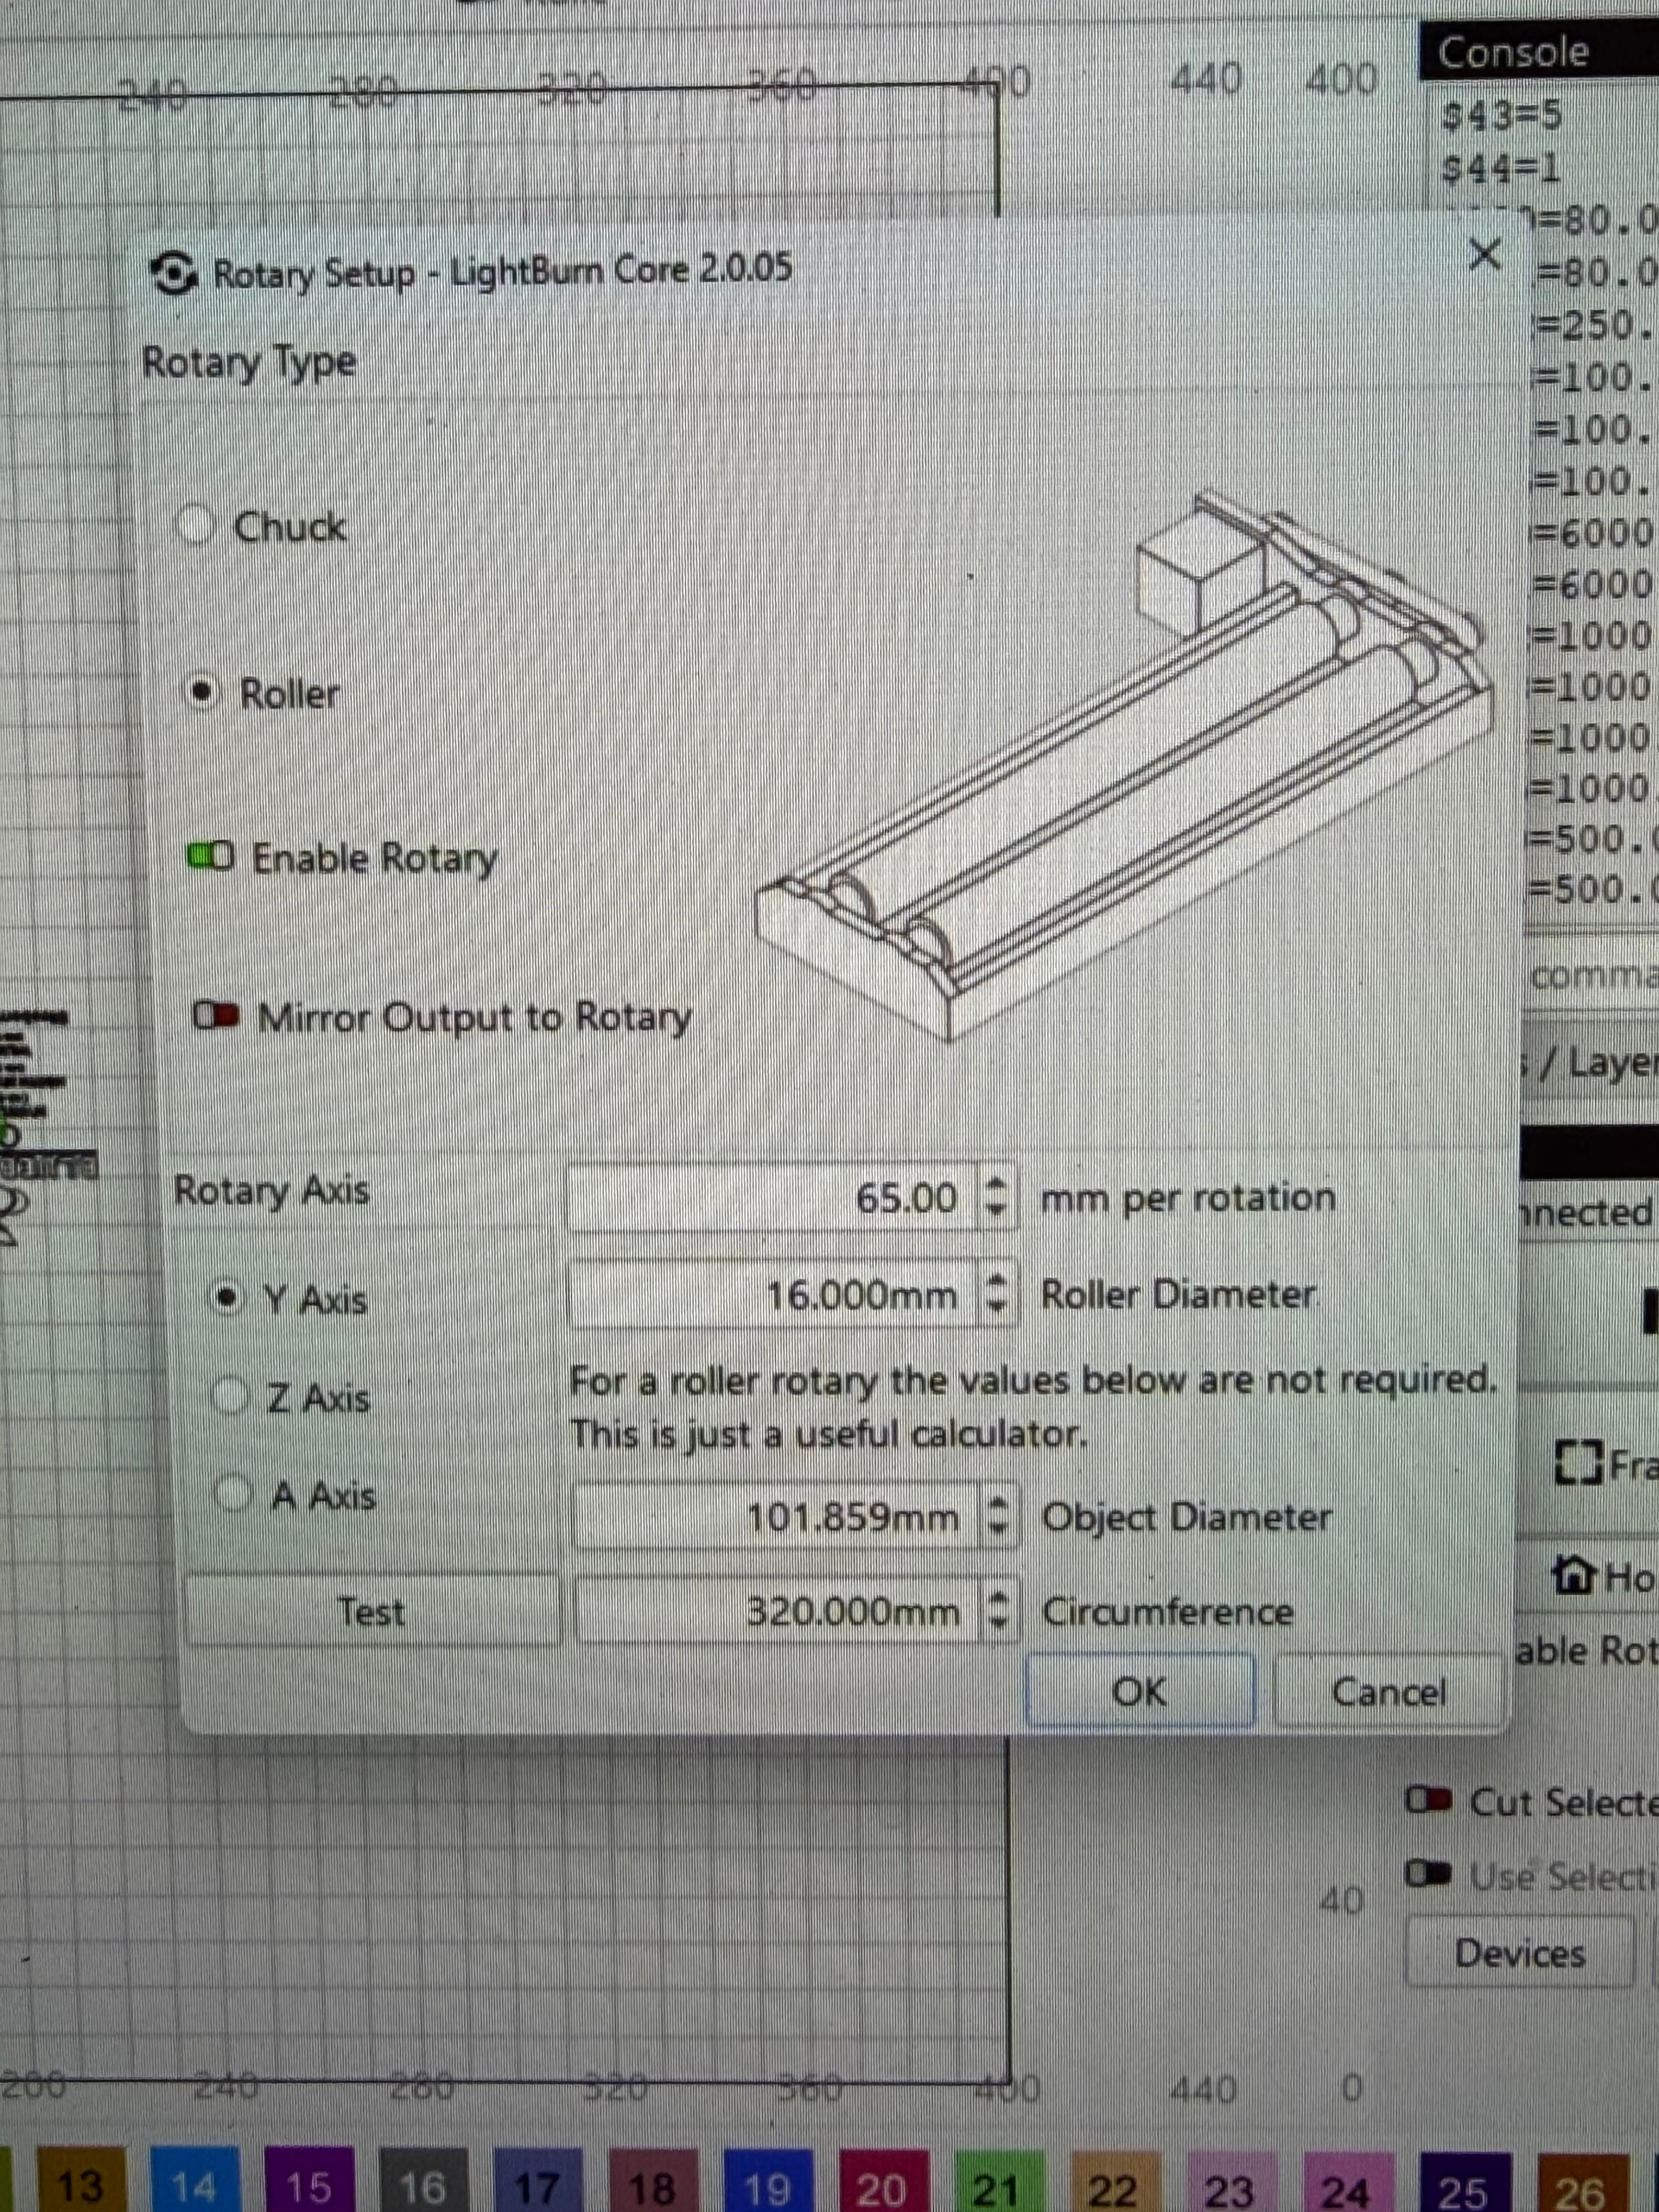
New Acmer rotary roller was connected to my Ray5 10W - and I used the proper adapter cables to get it to rotate properly [not a grind/buzz sound], set roller diameter correctly, mm per rotation, and set as Current Position. I then tried to etch an image onto a 30 ounce tumbler - setting the circumference to 320 mm which is the correct size. When I check to see how it will come out it in Preview it shows it being etched properly, but when I set Origin/Finish - then select Start, all the does is create a line on the tumbler back-and-forth. I can’t seem to figure out what’s going on because it shows that it’s going to work in Lightburn in Preview - but when I hit start, all it does is go back-and-forth etchinmg a line. Attached are photos. I’ve always been able to figure things out because I have six lasers, and a rotary chuck connected to the Ray5 - but I figured I’d try a rotary roller. What am I missing here?

Can you Jog the rollers using the Ymove buttons?
When using a roller type rotary, the diameter isn’t needed by the machine/software. It’s nice to know what kind of room you have, but doesn’t effect the engraving.
Roller to mug means the surface of the mug is already running correctly without knowing the diameter. The computations and measurements are handy to use for making a tool layer for alignment or creating the artwork to fit…
Why is it upside down? I can see it being turned 90 deg, but upside down?
Is the rotary oriented with the mug along the X axes?
Can you jog the Y axes?
This is where the knowledge of it’s orientation is needed. It’s marking a line over which axes?

I was able to deselect enable rotary and the roller works and the laser moidule moves in the appropriate direction, but when I want to test with a 1 inch square - fill - it comes out racked, angled. See pics. The tumbler is level - as I used rollers on the narrow end, on the right that’s not shown in this picture, to raise up the right side to get it to be spot on level. I just don’t know why it’s not doing a 1 in. square but doing this kind of trapezoid angled etch. When I Frame - the laser module and spot on the tumbler is square - but etches this angle. If you need more information such as pics of the roller set up or things like that - just let me know. The roller/tumbler is now oriented - parallel to the X axis.

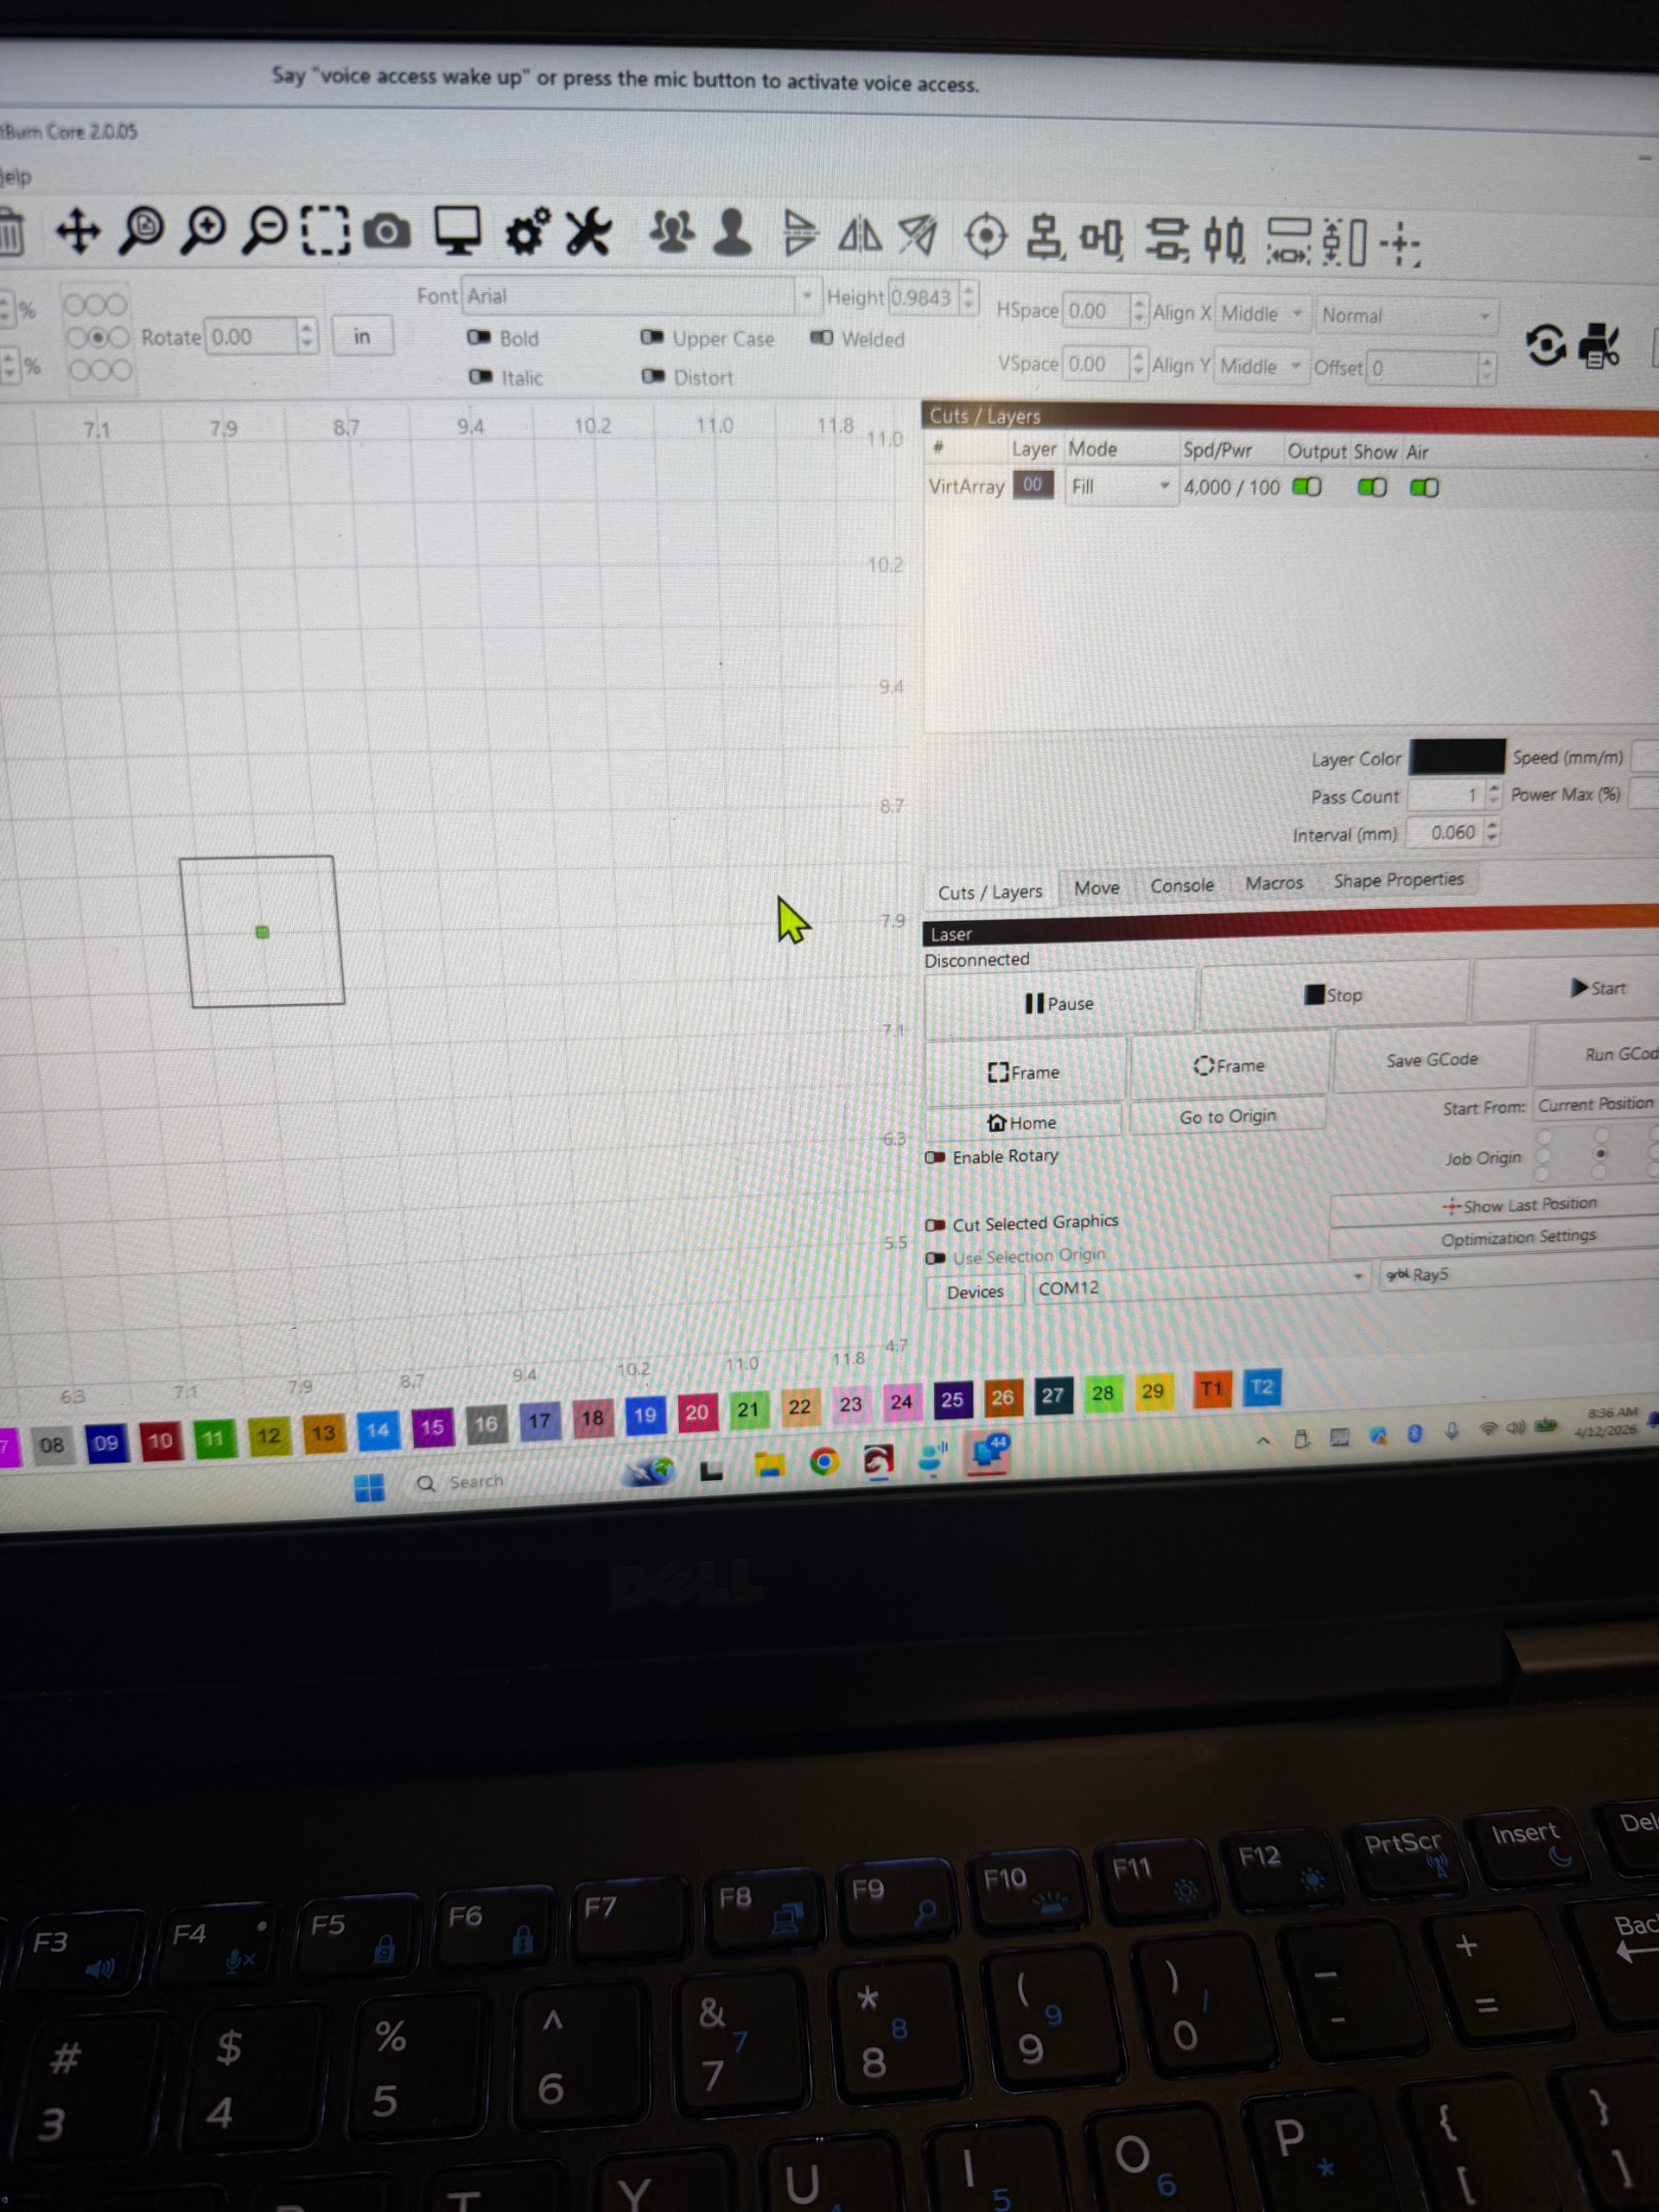
Does the tumbler appear to be traveling along the Xaxis while engraaving? Odd shaped products are best processed with a chuck rotary.
What changed between that trapezoid and the other engravings, which seem okay?
I’d suspect the parallelogram you’re getting is from the mug slipping on the roller drive when it changes direction and accelerates up to speed going the other way.
To solve this on my Ruida, I slowed not only the acceleration but also the speed. With grbl you might have to increase the overscan so it can get up to speed.
I thought about this last night after I went to bed thinking of ways that this issue could occur and I came up with the same comment you just made. I think that the speed is too fast and it’s slipping on the rollers. I’m going to possibly put some sand inside to weigh it down a bit, and also reduce the speed. I have a rotary chuck set up but I was just curious about utilizing a roller - that I was able to get for only a few bucks. Appreciate the insight and information from everyone, and especially yourself - as you’ve always been prompt in replying to issues on this forum.
This always sounds good, however look at what’s happening.
The reason the mug slips is because the mass of the mug can’t be accelerated fast enough so it looses traction with the rollers.
Adding extra mass to an issue where mass is the problem can very tricky. There’s a certain point that the extra mass now becomes the problem…
Good luck.
I slowed down the speed to 500 mm/min without adding any additional weight to the interior of the tumbler - and I still get the racked square. I’m attaching a picture. I still believe it has something to do with slippage. My next attempt is going to add some weight to the interior of the tumbler to see if that helps. It’s the topmost attempt. Any other thoughts, ideas, or whatever 
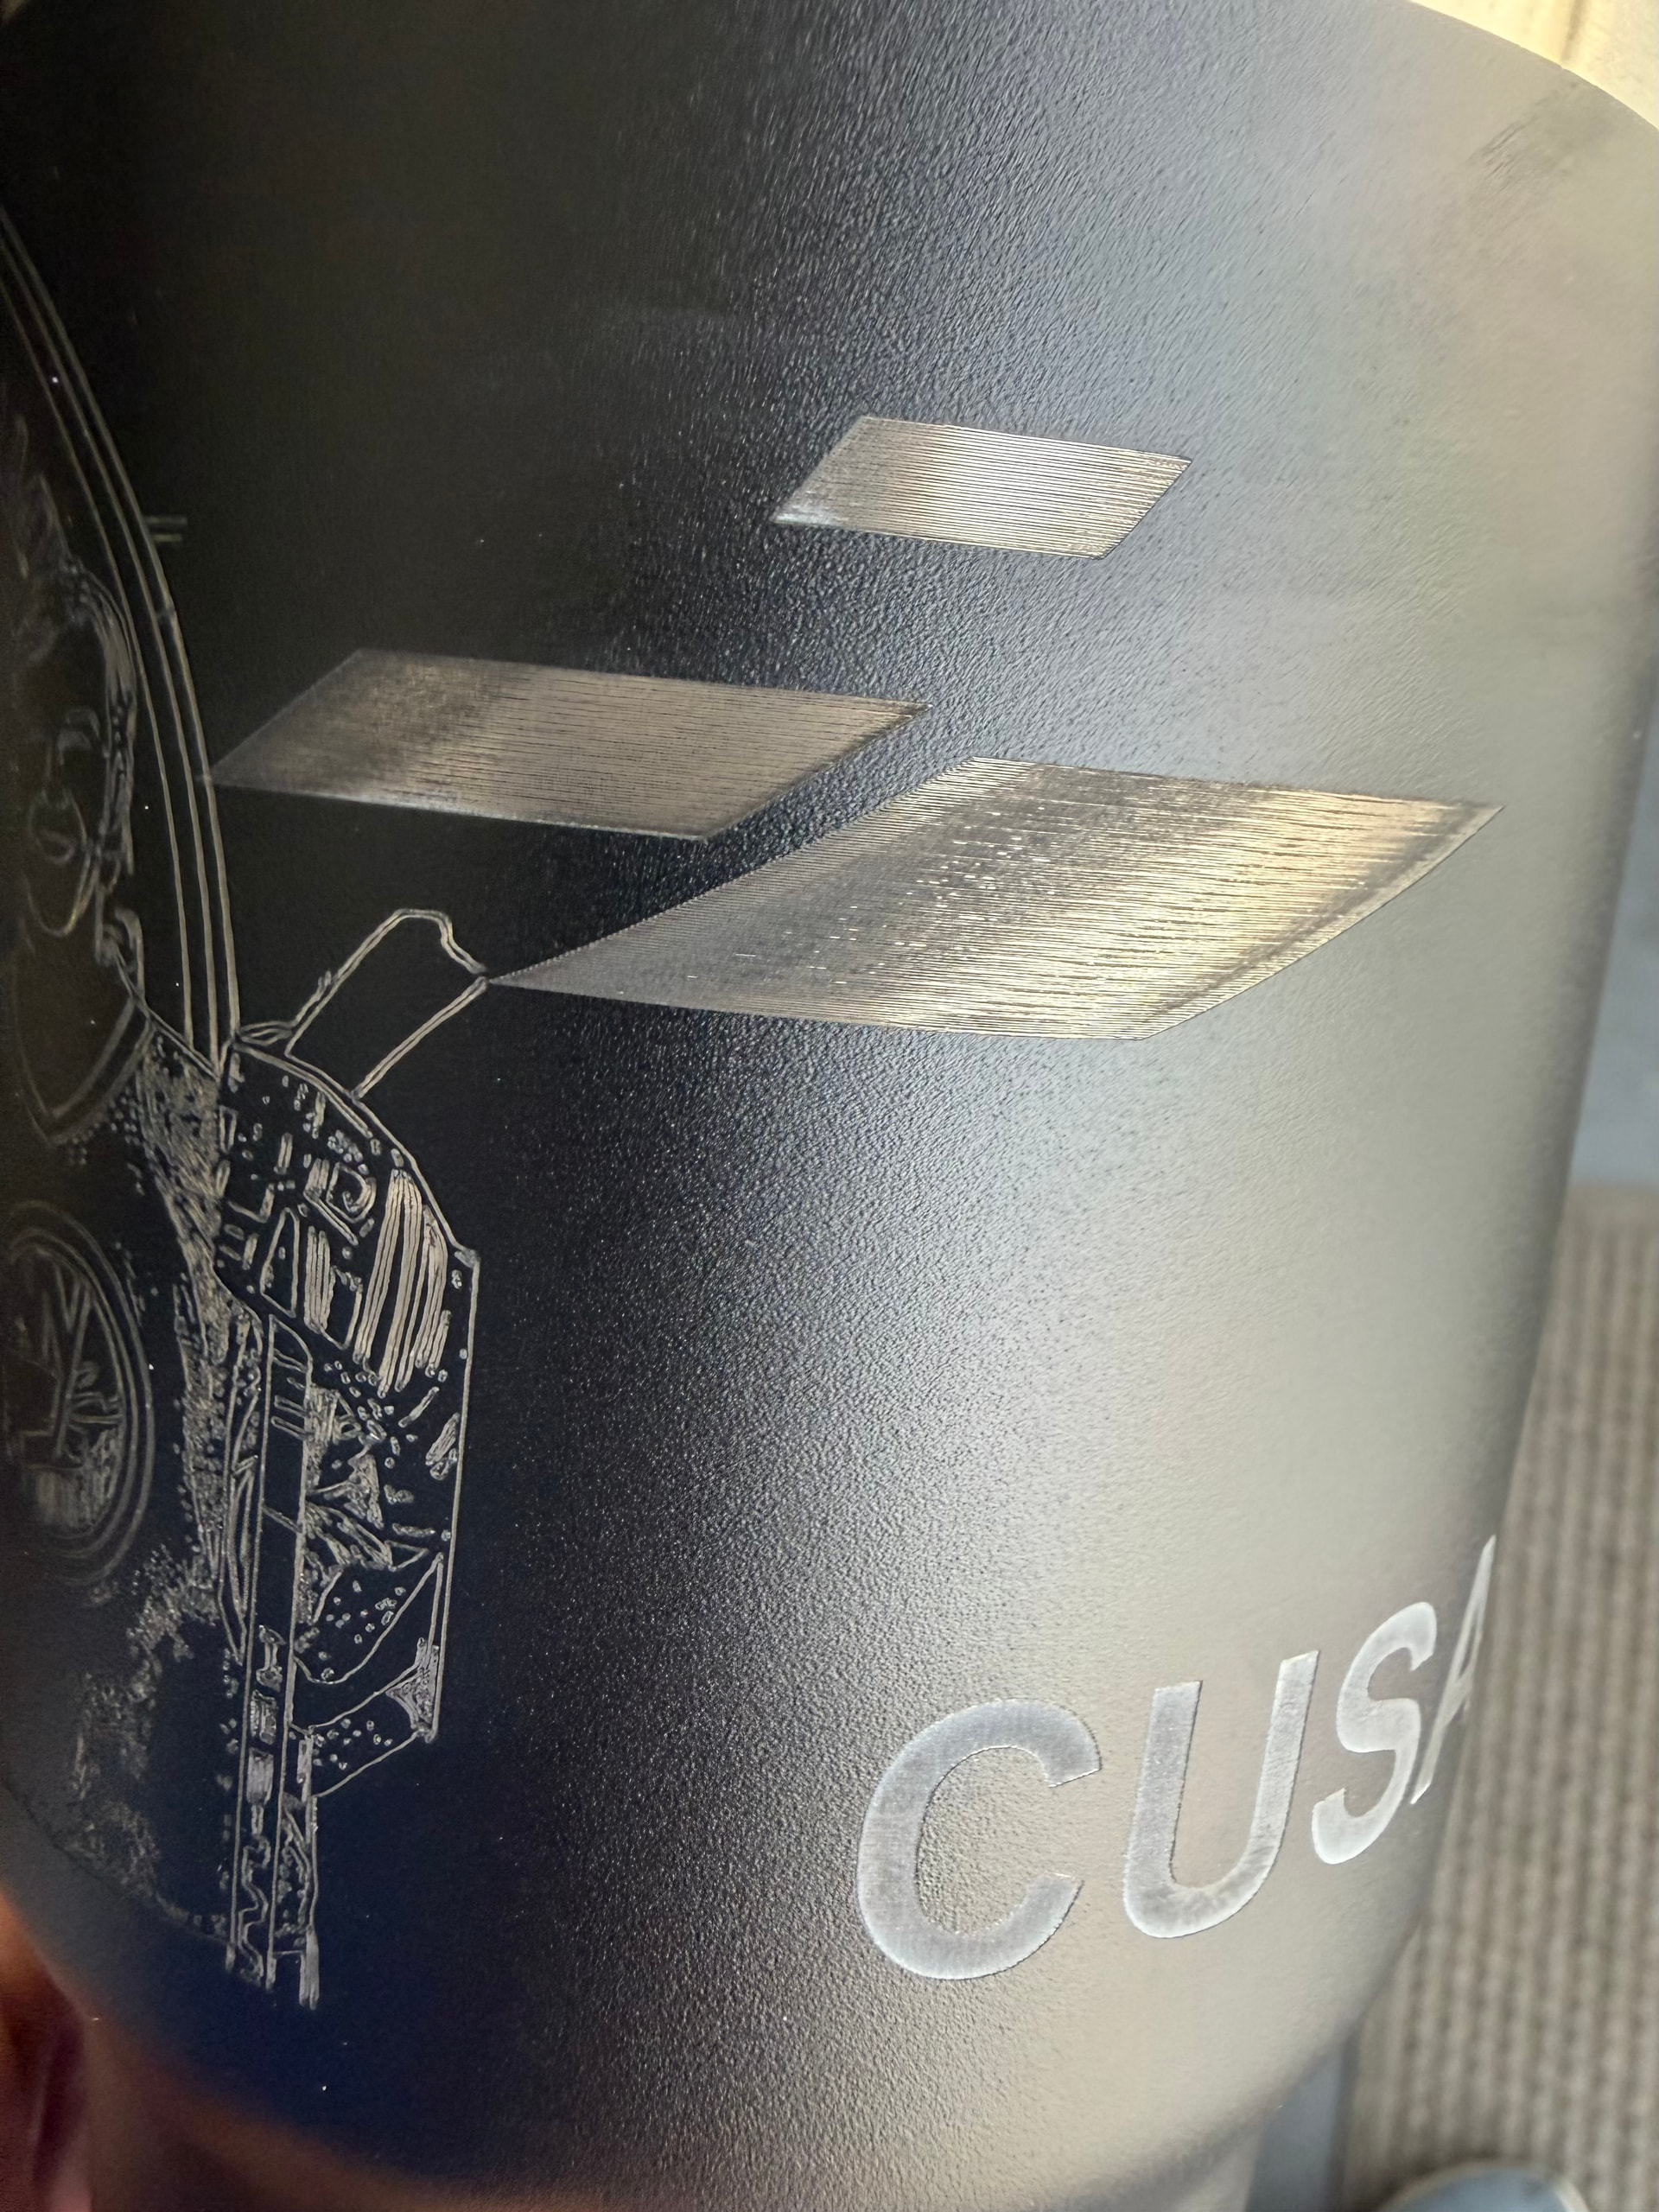
It appears like you are scanning on the Y axis (across the circumference) rather than the x axis (along the length) That will most certainly cause this issue on a roller. You don’t want the tumbler rotating any more than absolutely necessary to avoid slippage.
Looks like @thelmuth might have the answer…
There is no reason, other than what I stated, that you can’t add mass to the inside, just be aware.
The rotary I use, a PiBurn V3, has a hold down arm that goes inside the mug to help keep it from slipping.
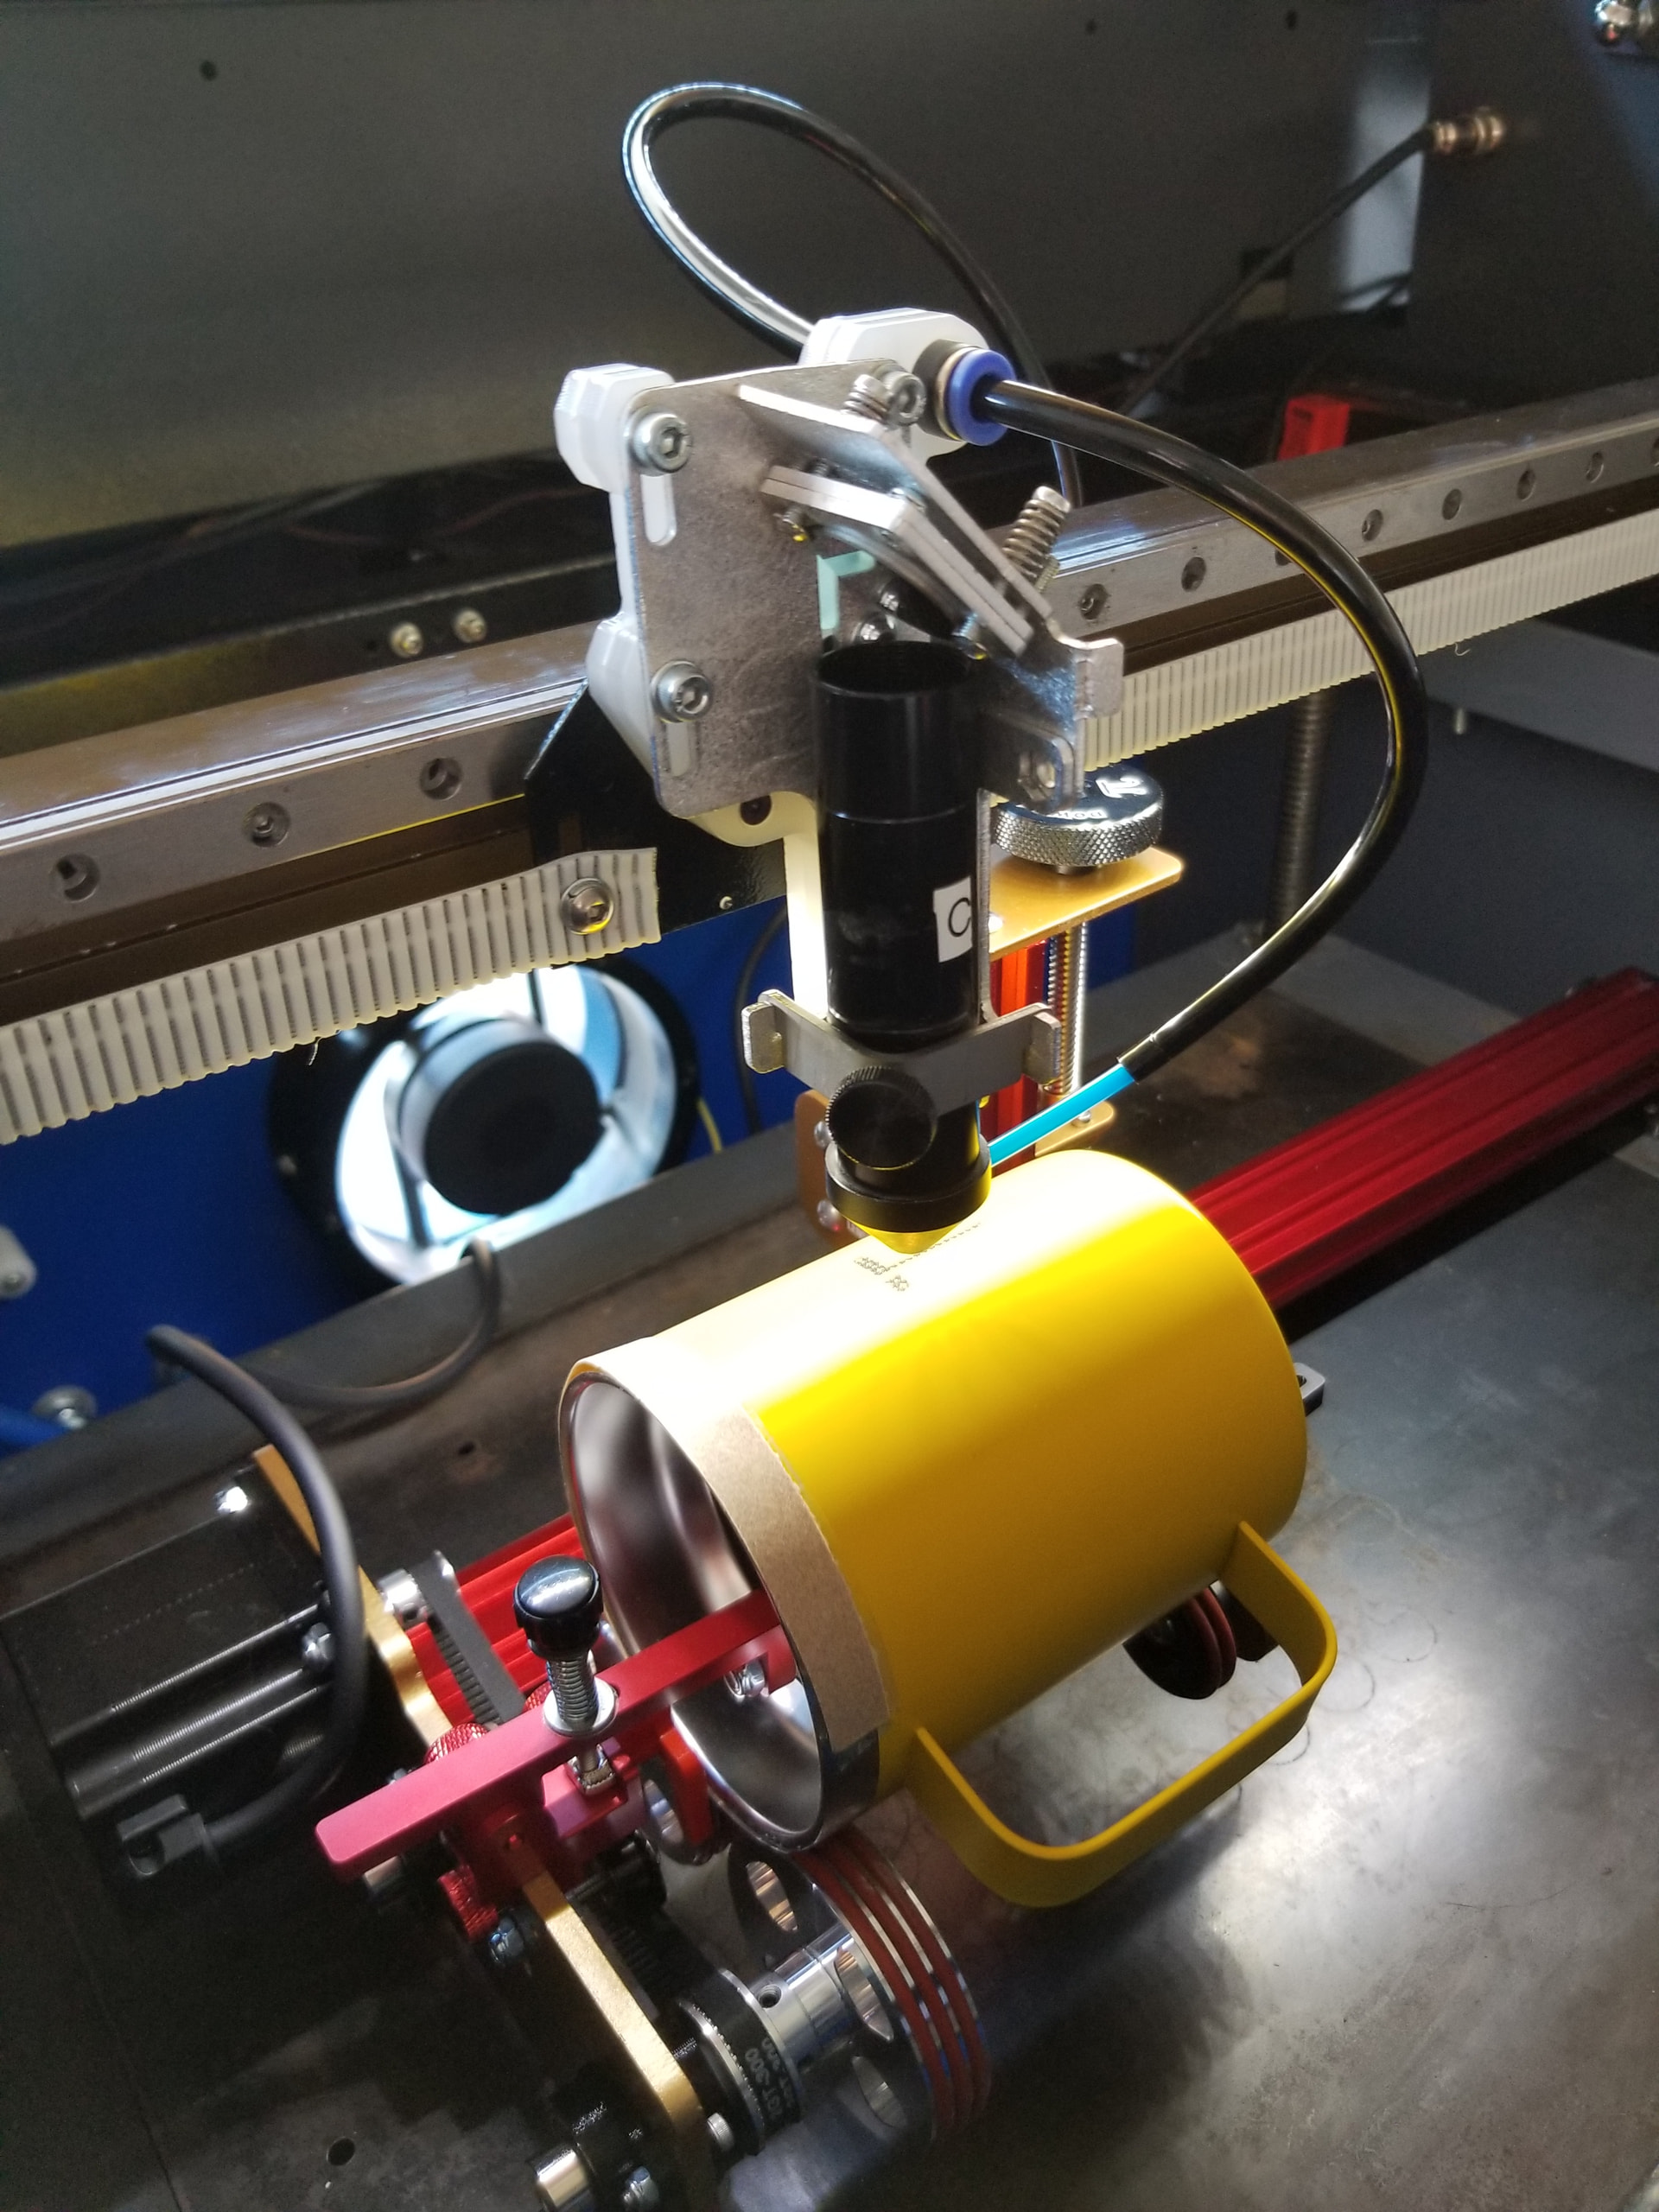
The roller is set up parallel to the X axis gantry, left to right/right to left. Not up and down or down and up paralleling the Y axis. But I think I know what you’re saying, I should set the scan angle to 90 - so the laser module moves left to right which would minimize the slip, or completely eliminated. I hope that’s what you mean.
The roller is set up parallel to the X axis gantry, left to right/right to left. Not up and down or down and up paralleling the Y axis. But I think I know what you’re saying, I should set the scan angle to 90 - so the laser module moves left to right which would minimize the slip, or completely eliminated. I hope that’s what you mean. So I think this is what Tim means
You can put some rubber bands around the tumbler.
I found out my F-up. I had the scan angle set to 90 degrees - once i set it back to 0 - all is well
I found out my screw up. I had the scan angle set to 90 degrees - once i set it back to 0 - all is well
That second image appears that it is perpendicular to the Xaxis. The axis of the rotary should be parallel the gantry, so that the rotary rotation is in the Yaxis.
If you do, you can get into pattern rotation issues with other projects. Bandaiding the issue is not a solution.