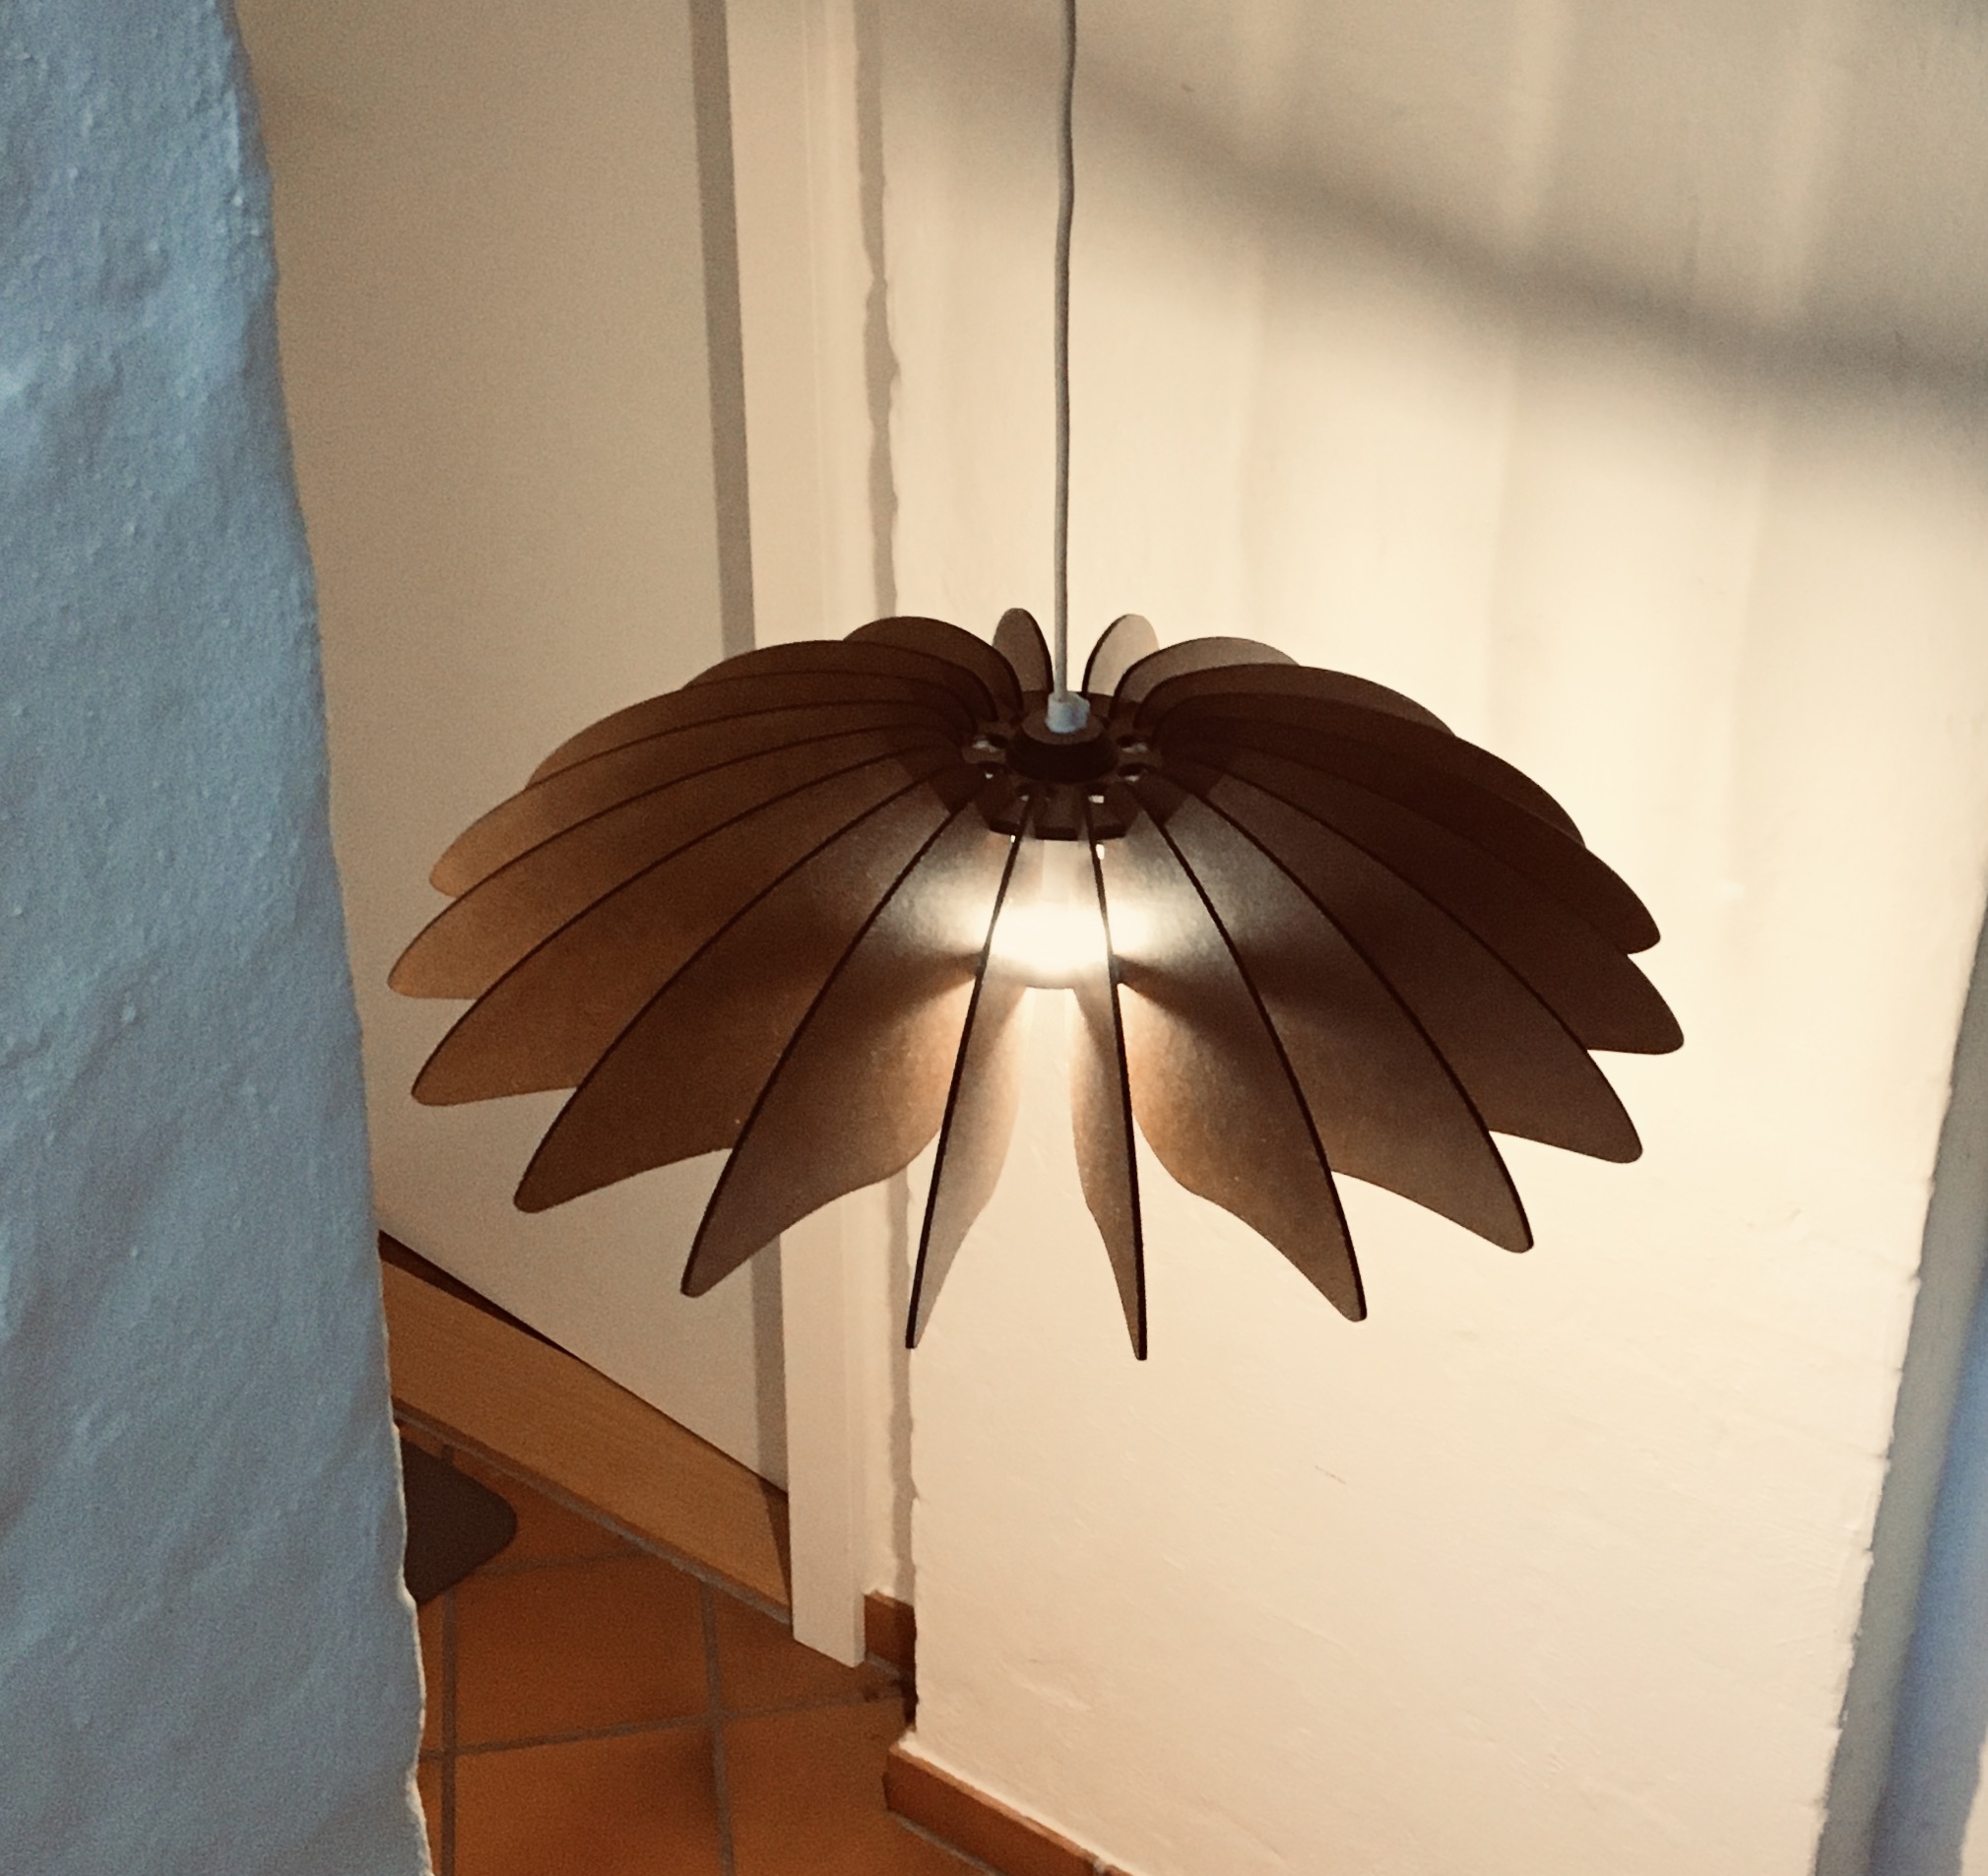
This is my last lamp. Everything is done with Lightburn (and my K40 ;-).
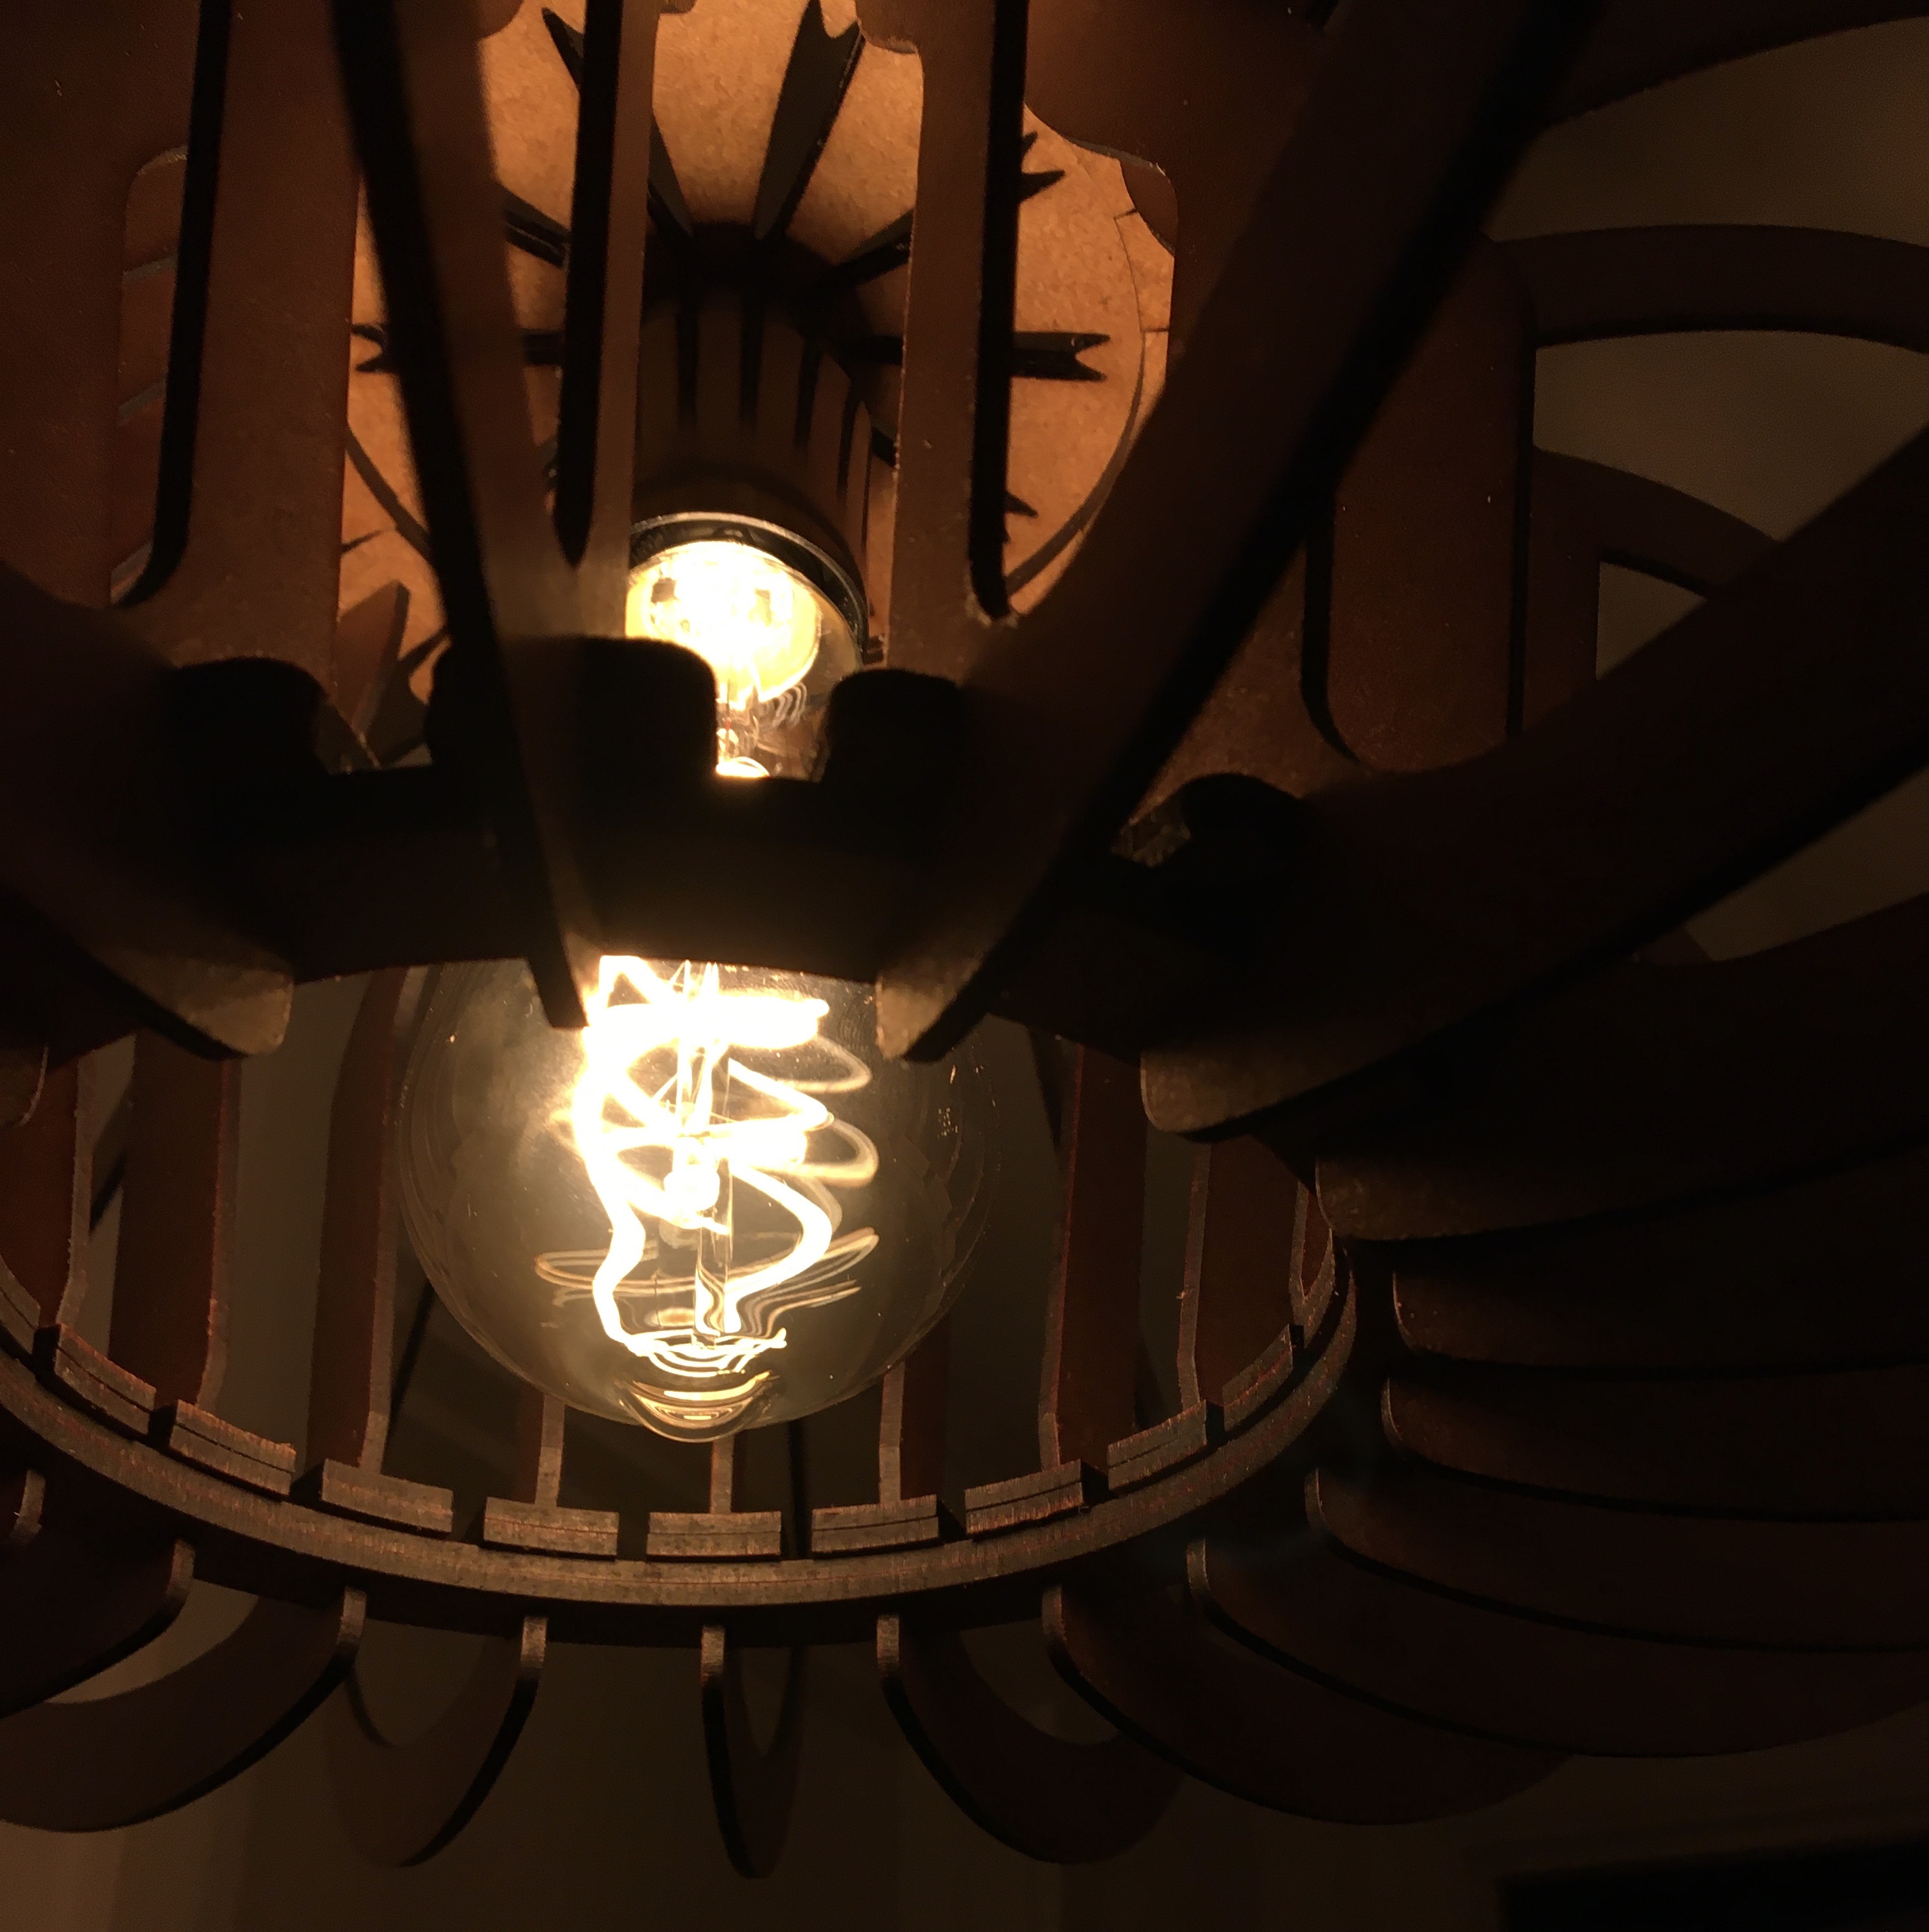
The material is 3 mm MDF, cleaned with household alcohol for grease tracks from the MDF, and “impregnated” with my own beeswax. The light source is an Osram Vintage 1906, E27, 5Watt, 140lm, 1800K.
Laser parameter: 2x450 mm / s with 20% (7.5 mA) for cutting and 1000mm / s with 17% (5.5 mA) for some engraving. Water temperature below 20 degrees Celsius.
MDF has many advantages, it is much more uniform as plywood, is very stable and beautiful to look at. The disadvantages are that it develops very greasy smoke by laser cutting and the material must be kept dry afterwards (also applies to plywood and wood).
By the way, MDF I can also cut with 1X 350 mm / s and 28% power but I think the result is a bit nicer with 2 turns.
I’m in the process of testing HDF, it’s very interesting. It requires some more power and slower cutting speed. But it is also a lot harder as MDF.
I’m new to laser cutting - I just got my first laser (50W CO2) aligned and working a few short weeks ago. I’m interested in learning to design creations like this (3D, pretty/functional shapes that primarily slot together, though I’m not opposed to some glue or screws if they make life easier). Could you (or another community member) suggest any resources that will help me get started? It could be a pattern (happy to pay for it) that I could make/learn from or more of a tutorial.
So happy I found Lightburn and this community - Thanks!
Hi Jen, I have only read everything here on the forum and have seen all the videos from and about Lightburn that exist. In some cases I use Inkscape but not quite often. I play a lot with the features found in Lightburn. The way of constructing things with Lightburn is perhaps not the most effective and not in the same way as in a CAD program but in return it is very intuitive and simple.
There is also learning material online for Inkscpe and anything can be done in Inkscape and subsequently converted to Lightburn.
You need to start with an idea of what you want to do with your laser. Make a sketch and divide the project into individual parts. Keep it as simple as possible in the beginning. And then try again, again and again. I enjoy the learning process as much as the product itself. Ask here in the forum if you do not understand a feature or do not get the result you want, if you can not find an answer here in older posts.
Most here start with small boxes, it is in my opinion also a nice topic to get to know one’s laser, especially everything about tolerances at finger joints and kerf settings.
I hope you have many good hours learning and doing things with your laser.
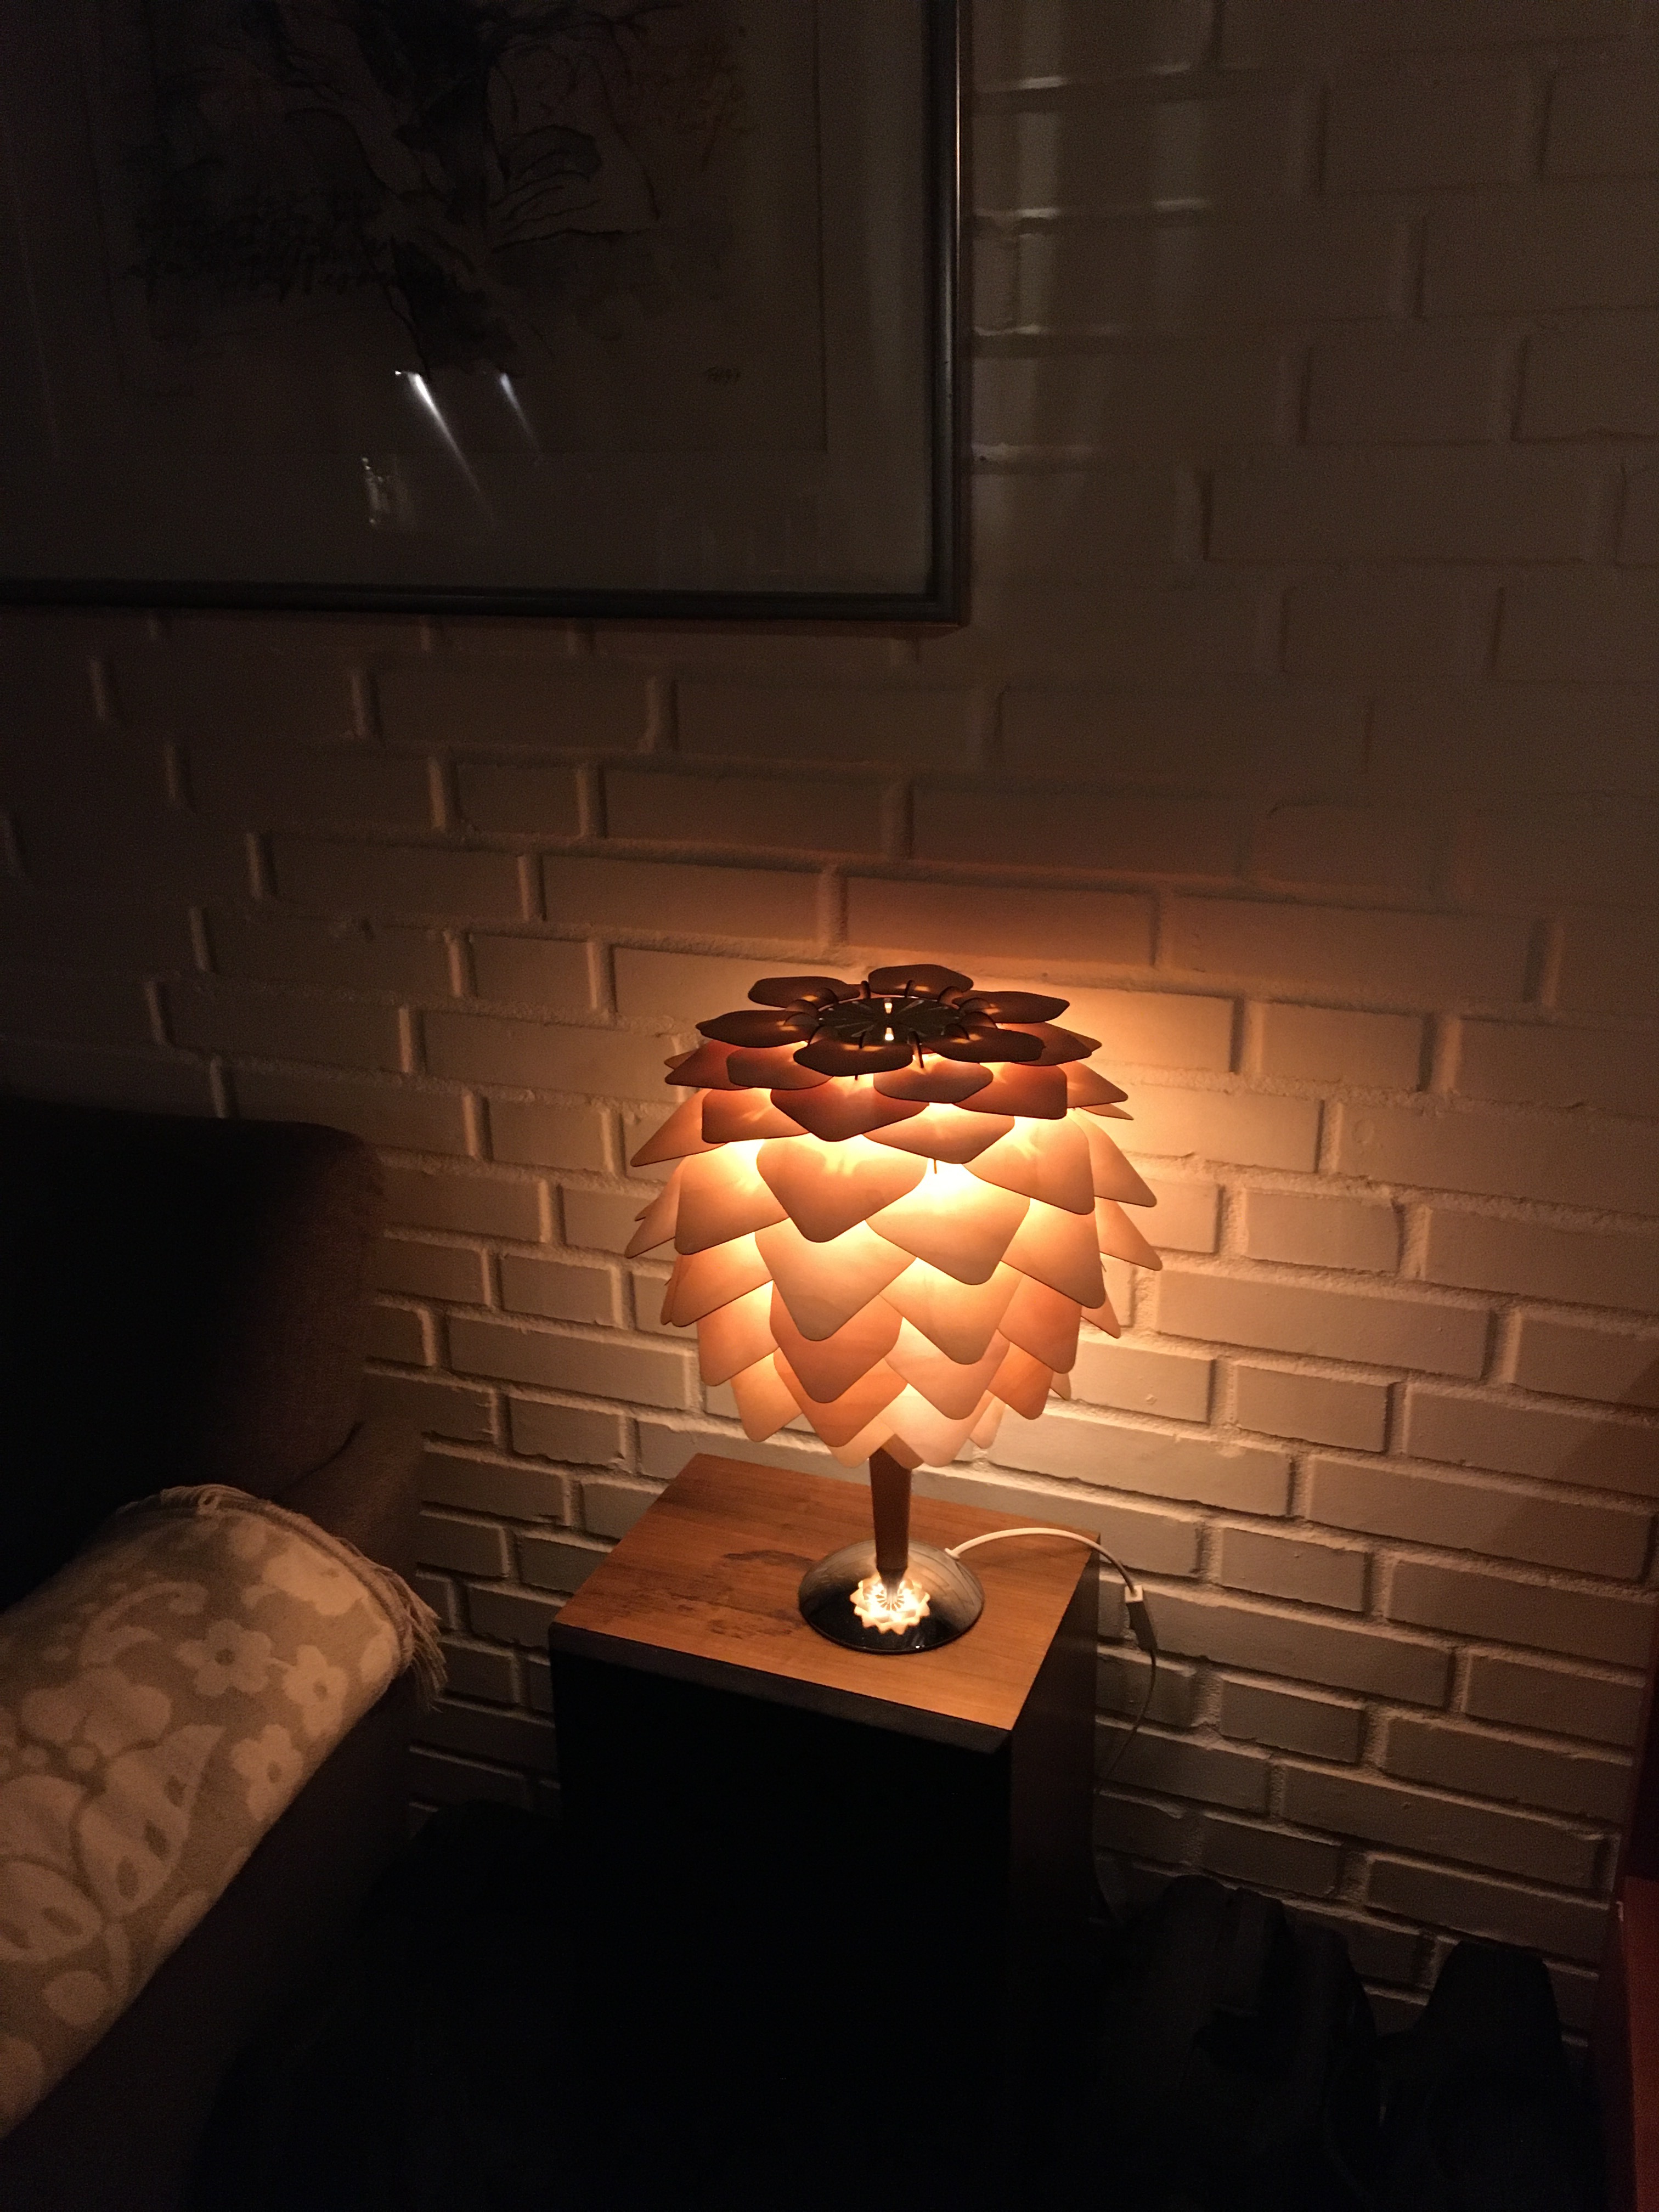
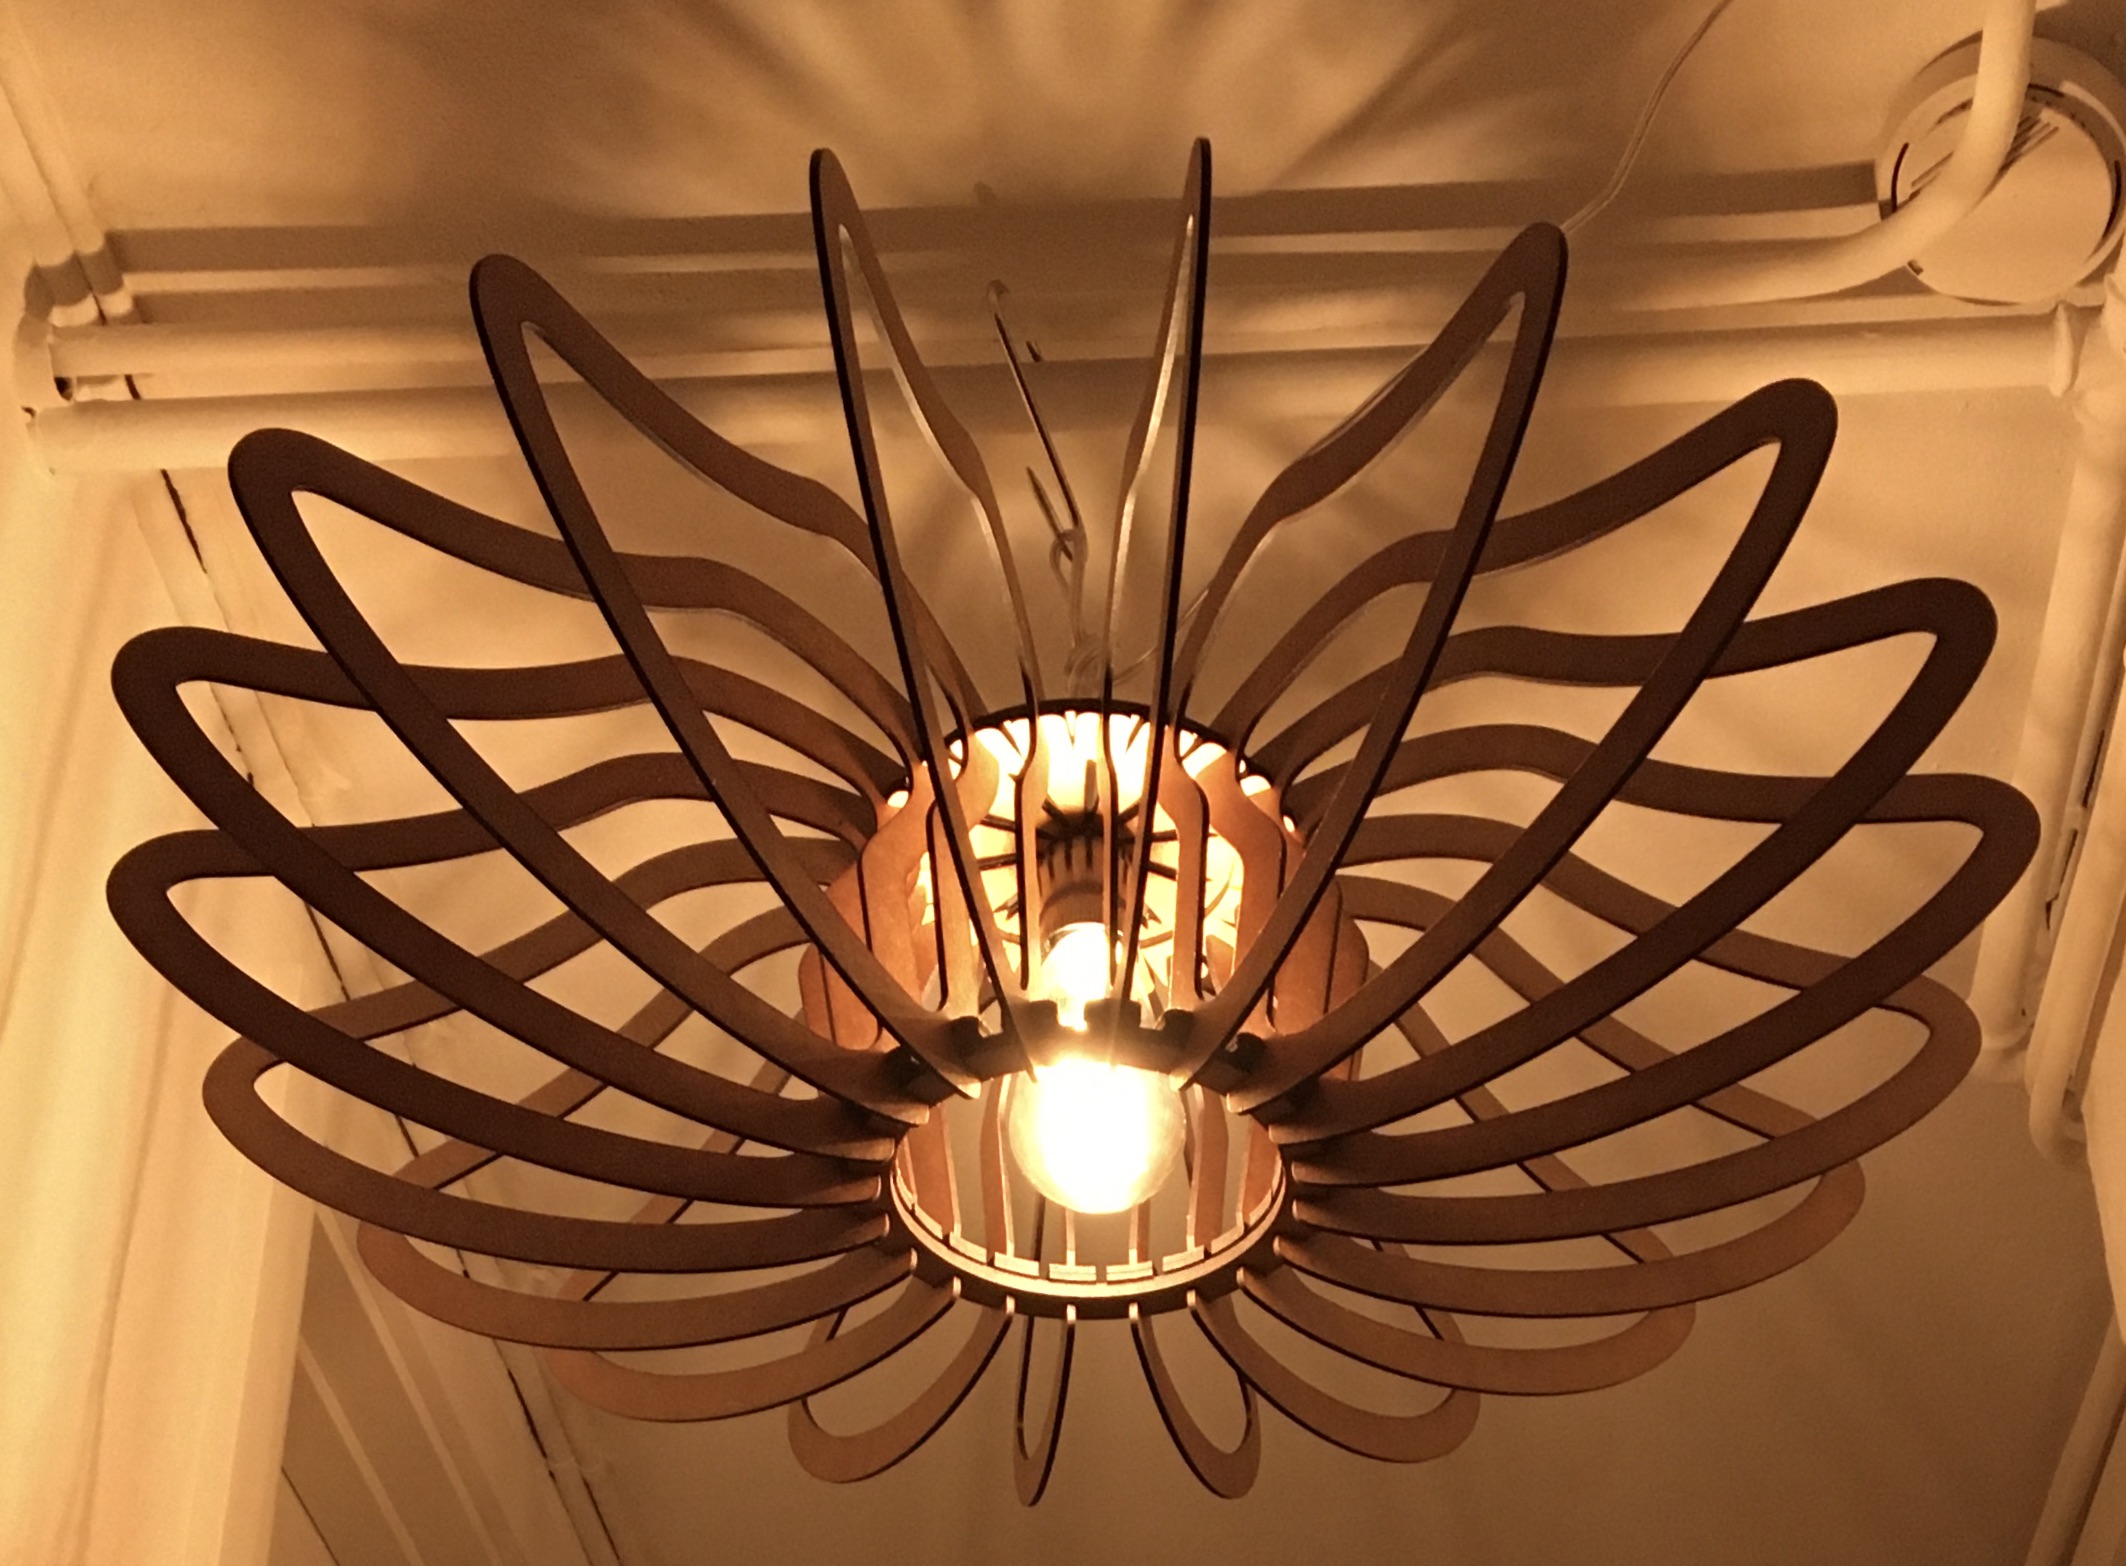
… and a new one again. I love the very warm light especially now in this cold season and with Christmas just around the corner.
oops, I almost forgot,
the leaves are 08mm baltic birch plywood (3 layers), the rafters and the bearing rings in the top and bottom are made of 3mm bb plywood (also 3 layers). And of course no screws or glue, not even in this lamp (top). The base is from my old bedside lamp, bought in a well-known furniture house from Sweden
K40 with minigrbl,
0.8 mm with 37.5% = approx. 11mA and 900 mm / min,
3 mm with 55% = approx. 15.5 mA and 750 mm / min
The lamp has been given beeswax.
I was asked how to get the pieces together so they do not fall apart without glue and screws.
I test for each material and each delivery my kerf settings. The workpieces must be press-fitted, but without them breaking during assembly. With the slightly thicker materials, I can design myself out of the problem by making small locks in the material, but it must be used with care as there is an extra load on the items during assembly.
below is a small sketch of my locking mechanism
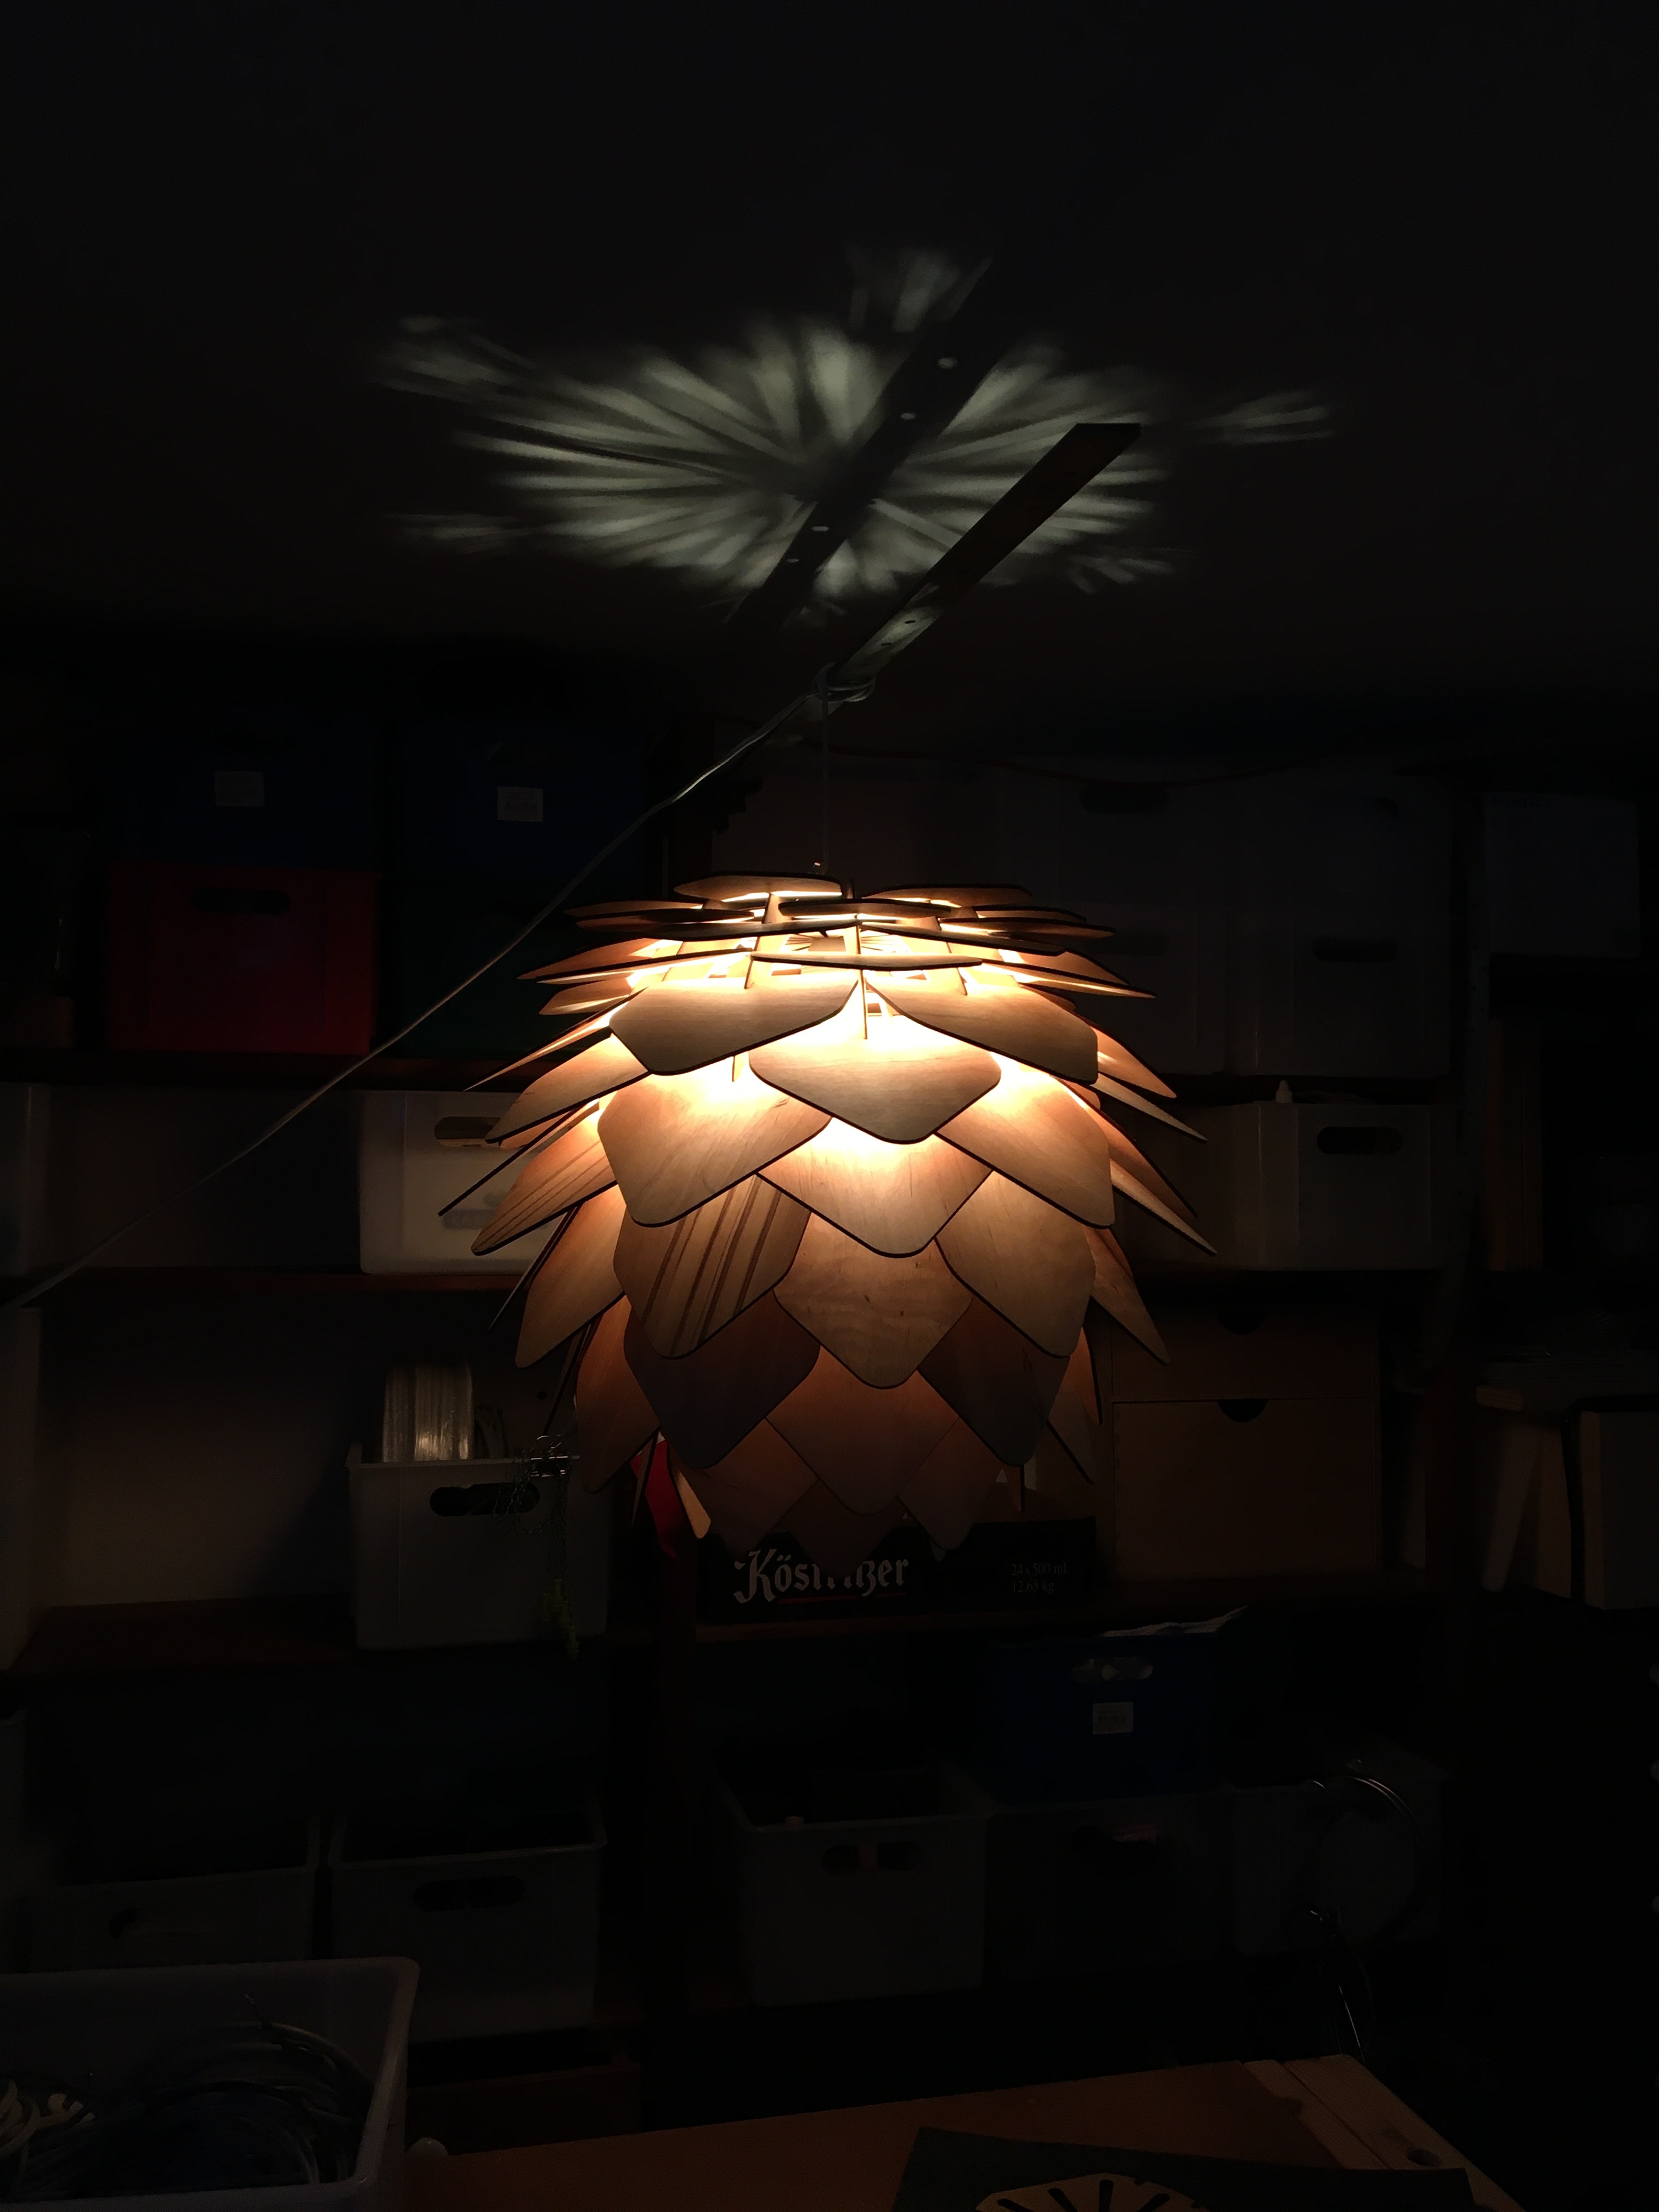
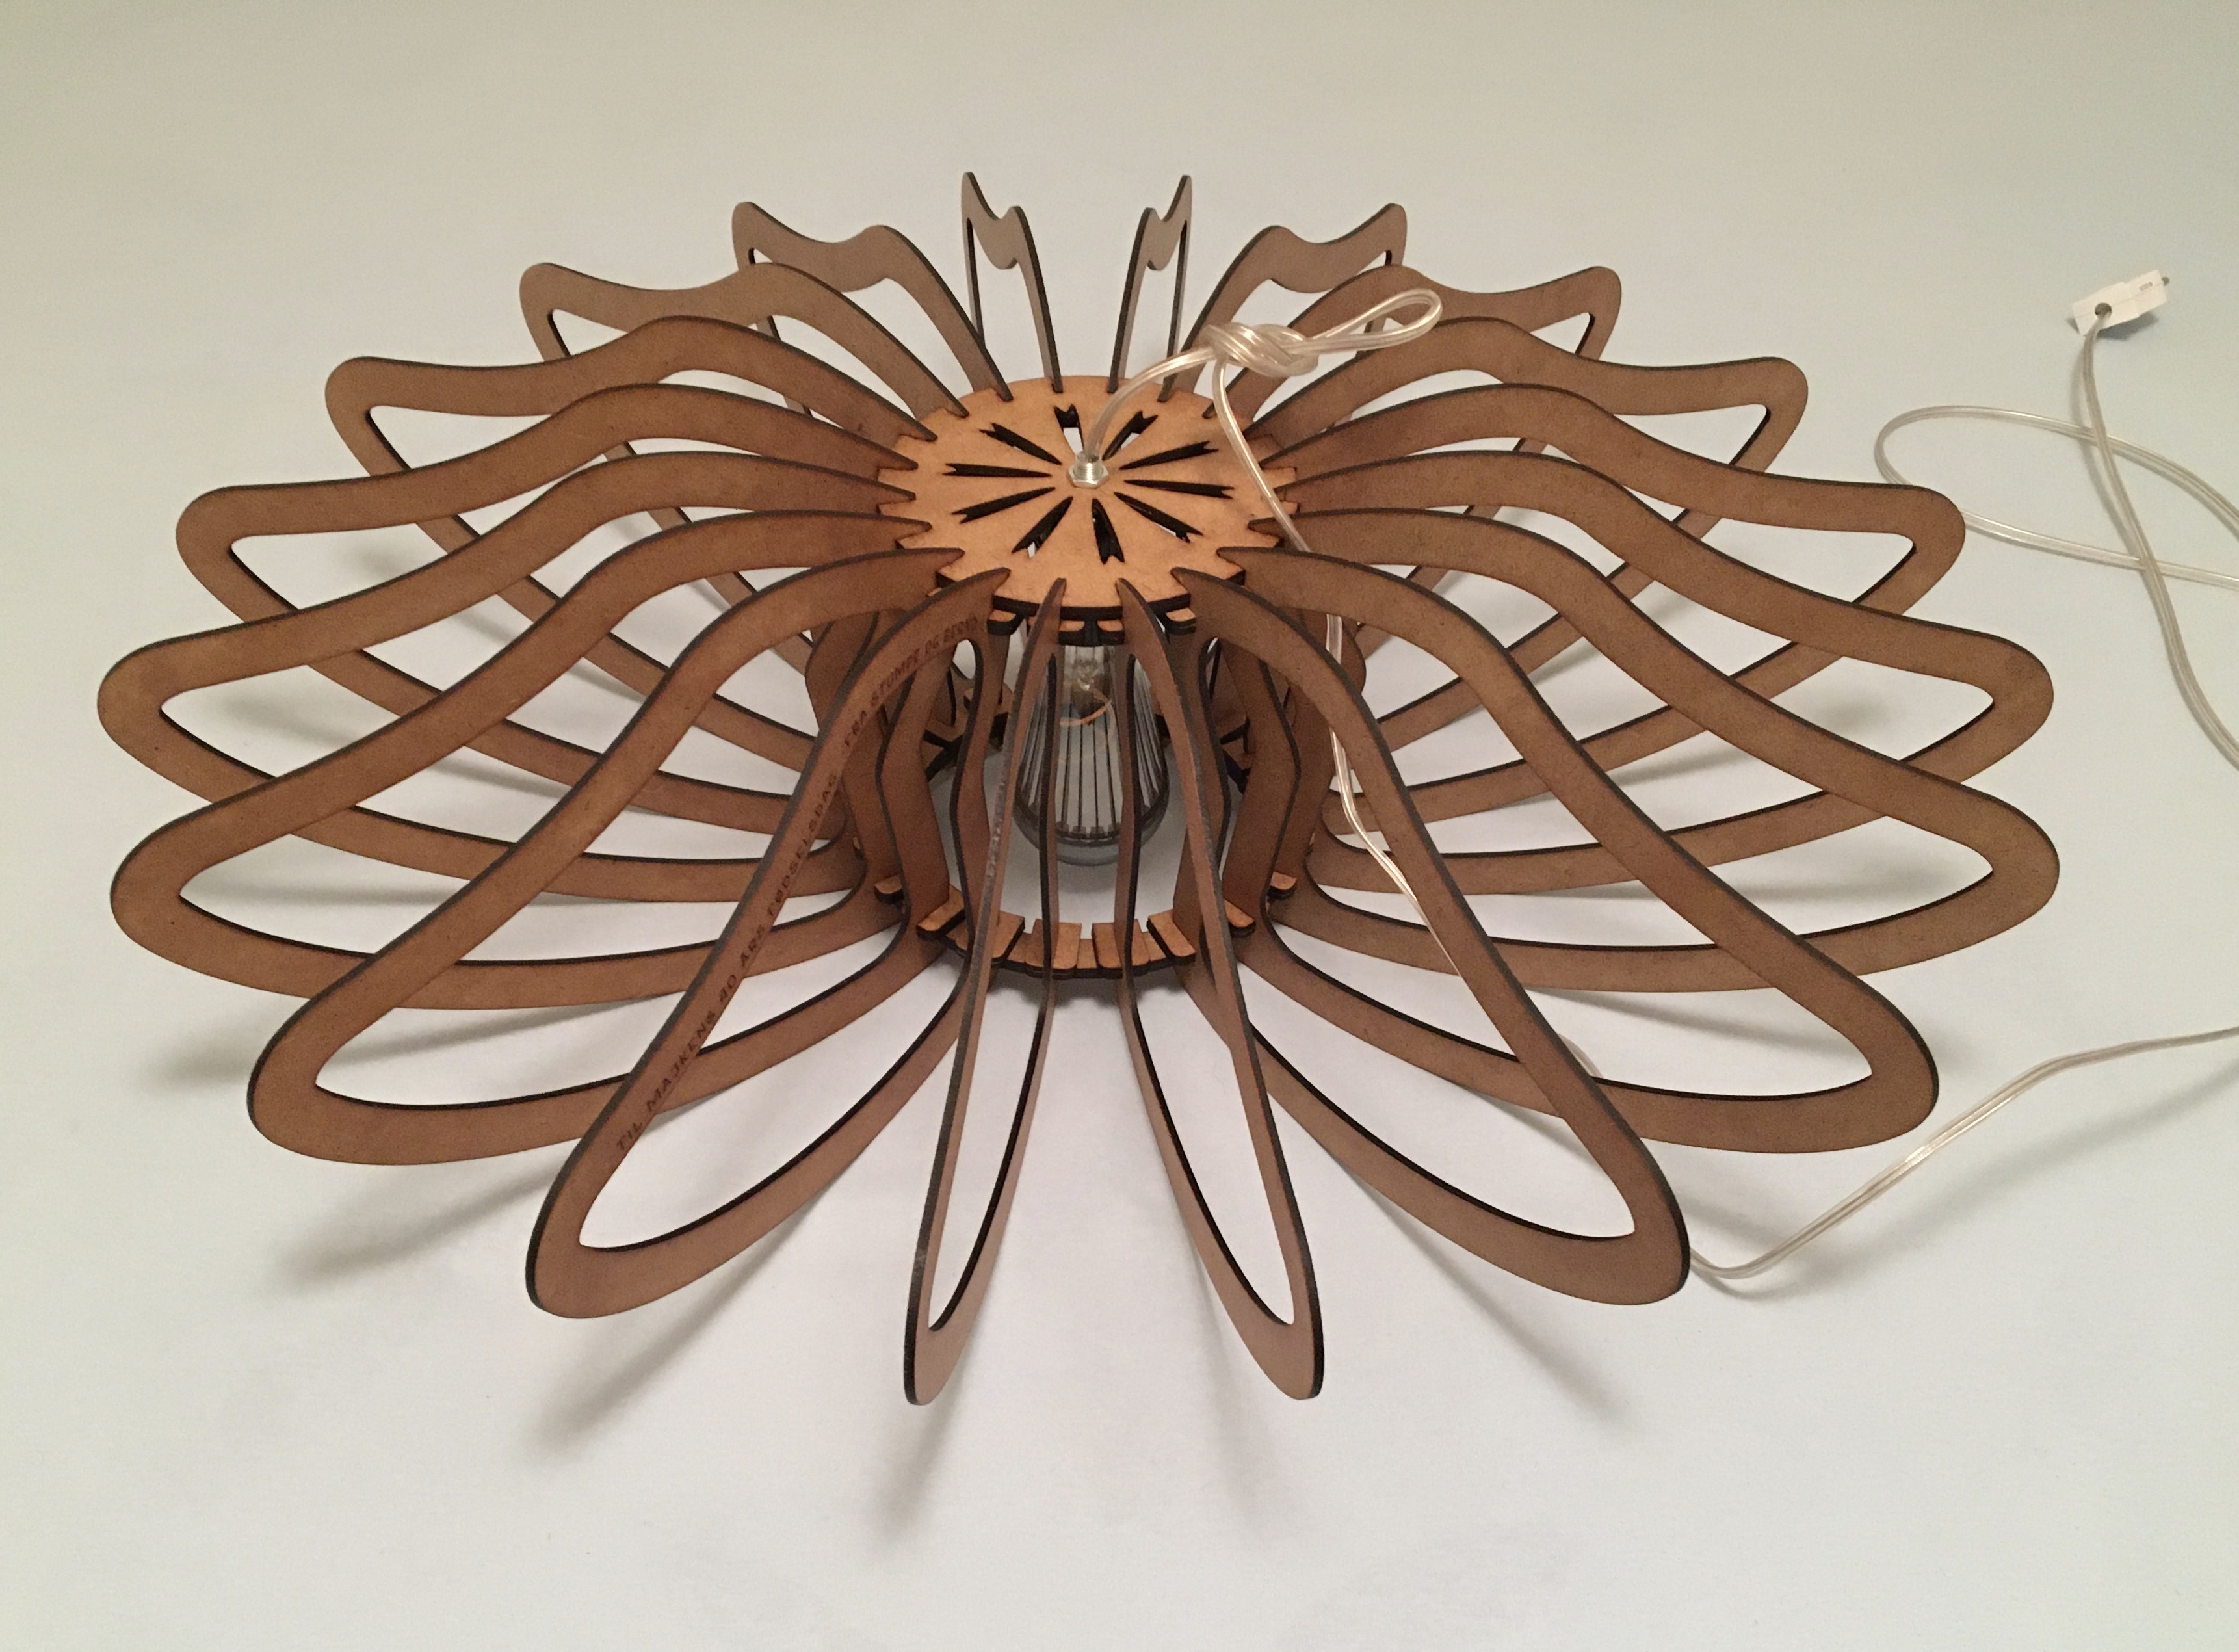
Then there is finally a new lamp
It is made of 3mm birch plywood on 4mm substructure, it measures 540mmx450mm the electric bulb is Ø125 topmirror 8Watt LED
There are now many similar designs online and my design is also inspired by a pine cone and a roughly similar lamp an Indian student in the usa has put online once.
However, mine is so much modified, the construction method is different and the choice of material is so unique that I have not seen anything comparable to “mine”. I sell my lamps in different sizes and variations, to order. That’s why I keep my design a little private.
But search for it on the web and if you find it, you can in LightBurn modify the design to suit your wishes.
By the way, all metal and electrical parts are prefabricated purchased with CE approval, it is to avoid safety issues.
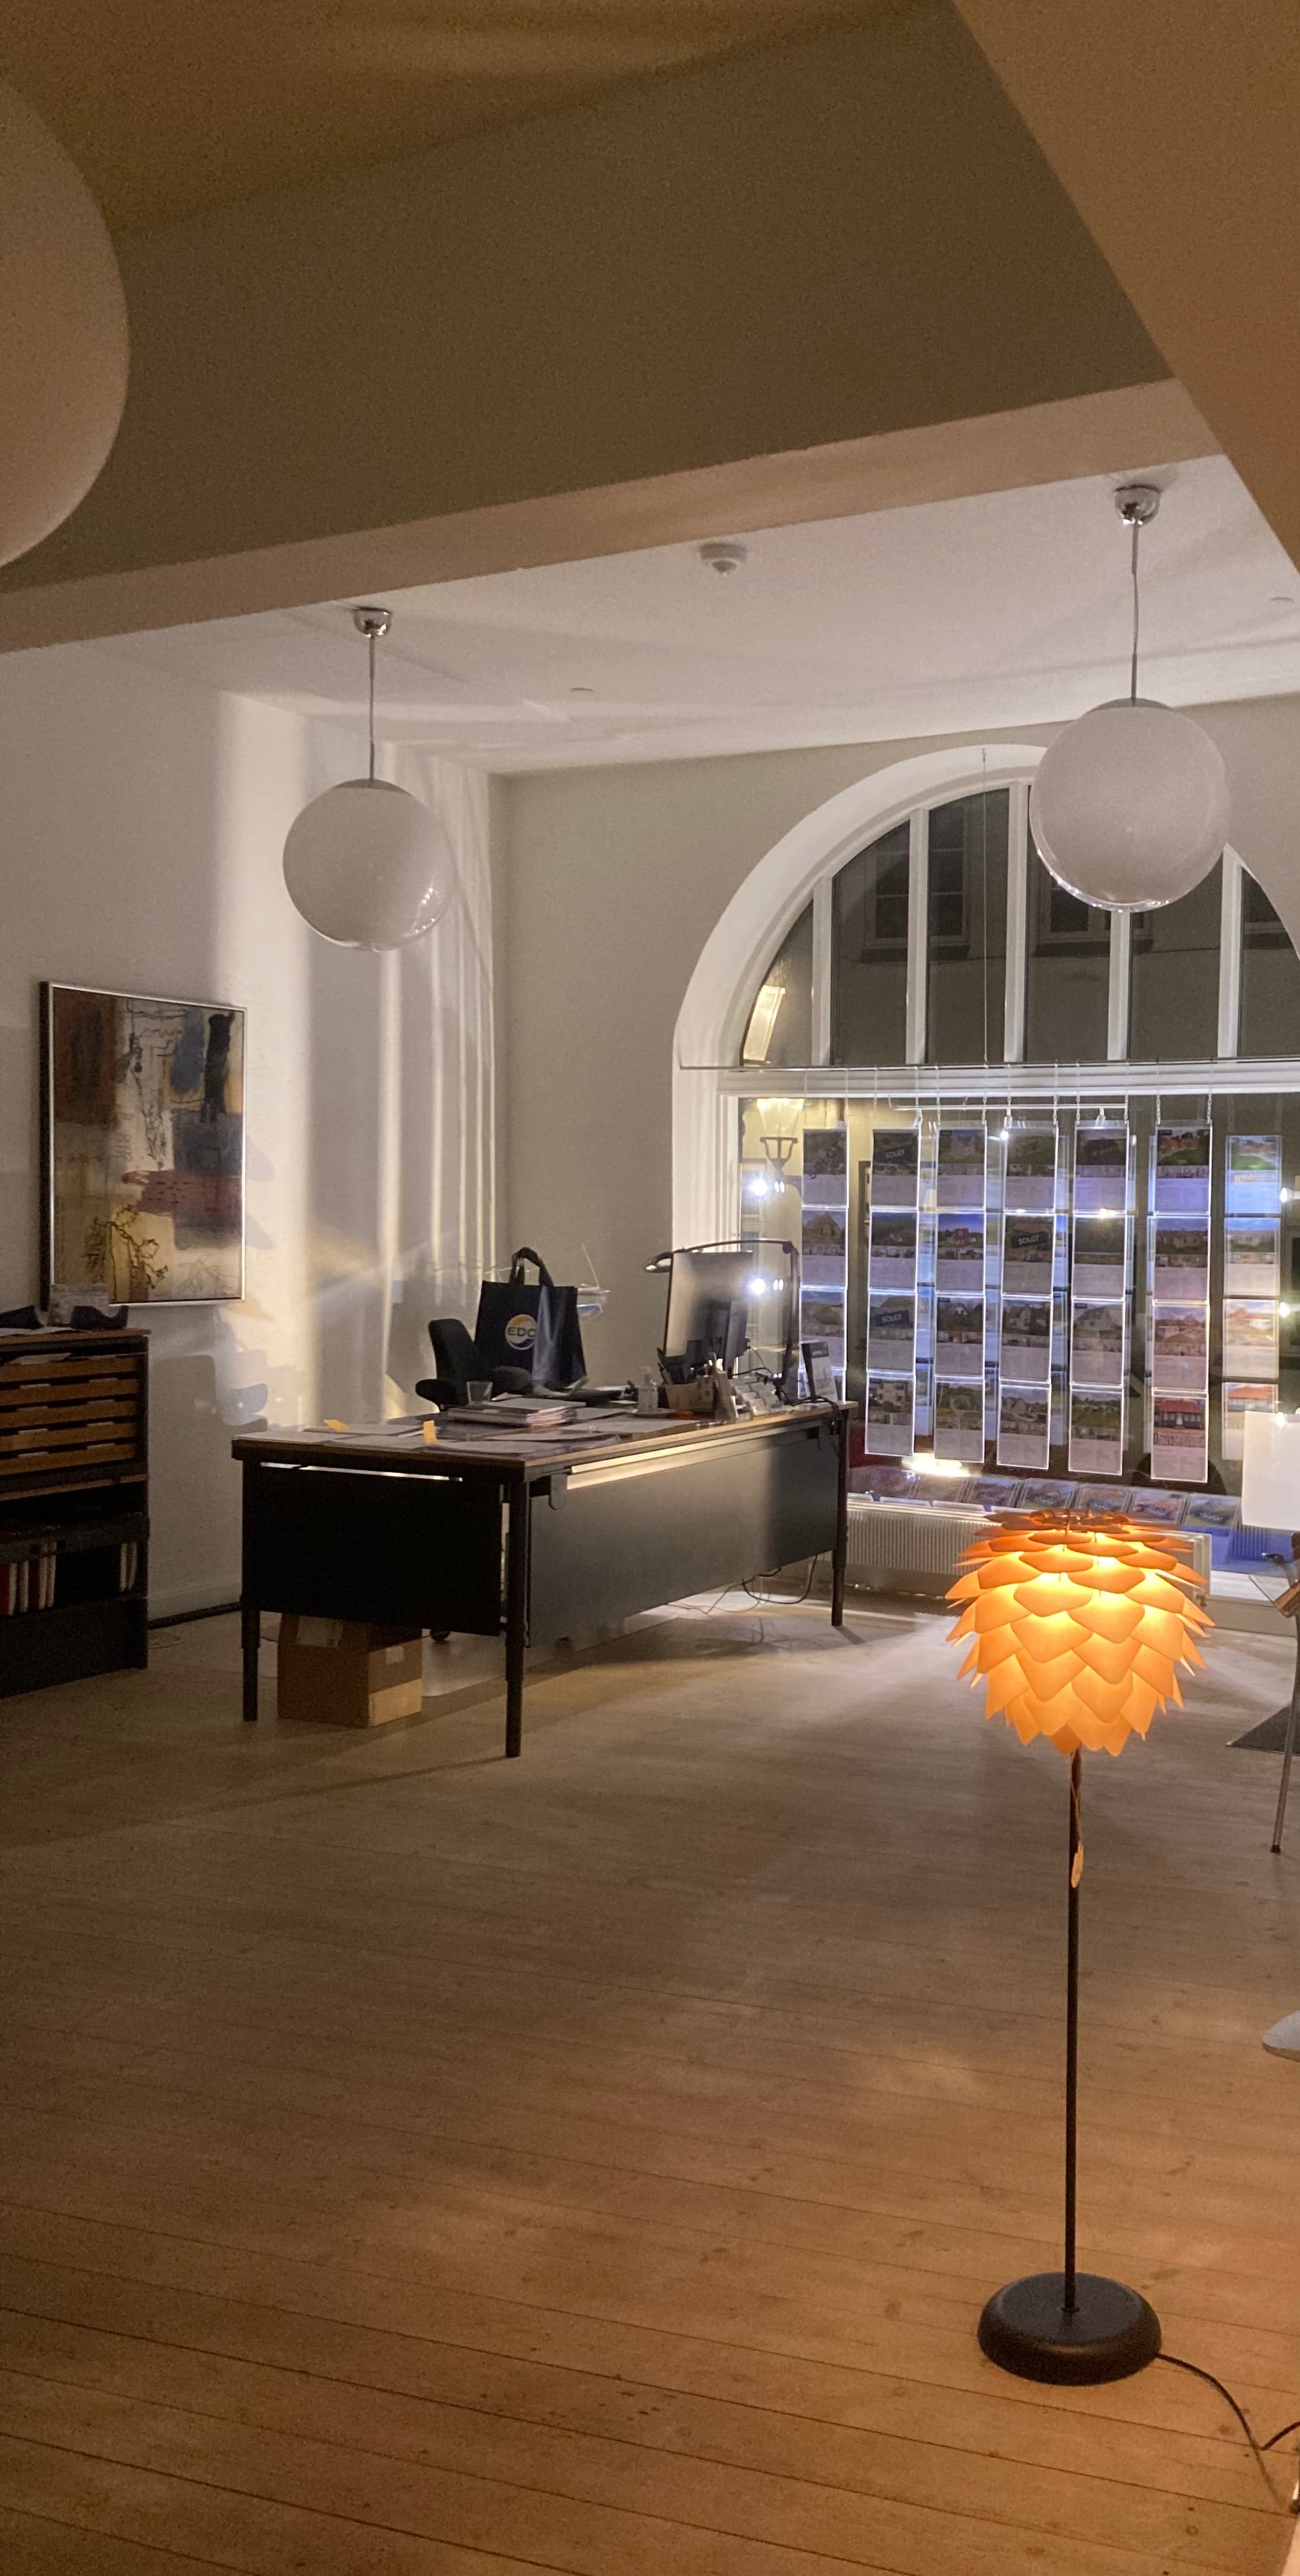
I am in the process of designing a new type and the process takes time and a lot of prototypes but I love the process itself. (And the lamp ;-))
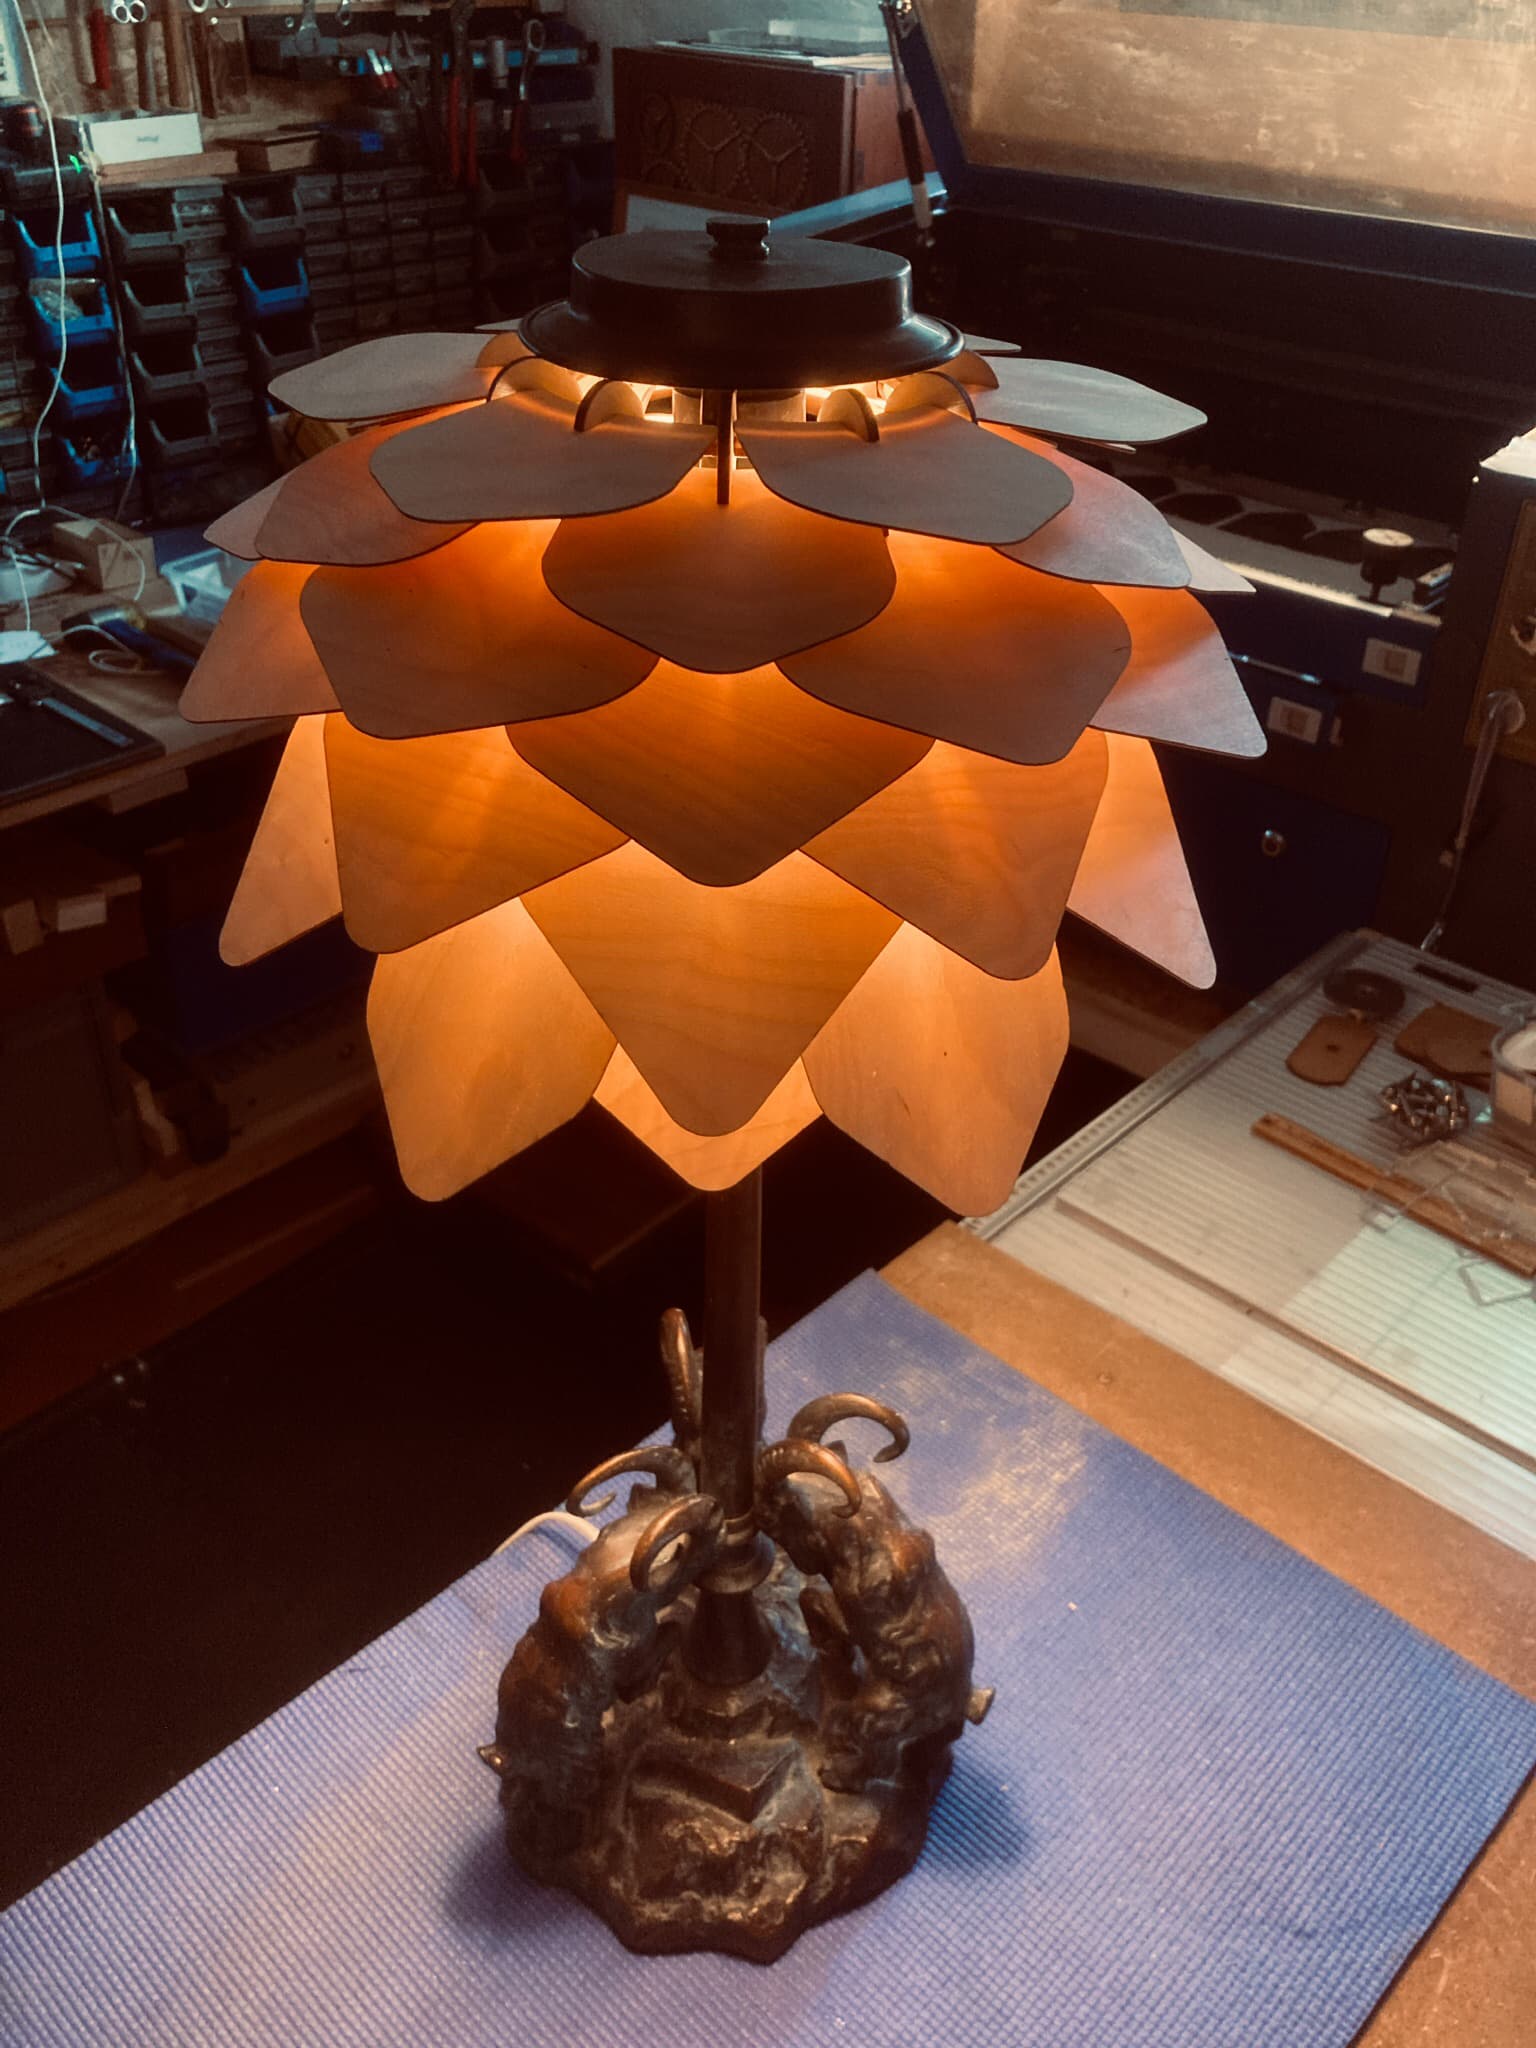
My last lamp assignment is this. To make everything scar fit a new design or size, each part must be changed. This applies to the size of the leaves and the curvature and size of the “barriers”. All plug connections must be broken into seperate shapes, changed in the angle and from 2mm to 3mm in the thickness and then reassembled. Although I am reasonably trained in LightBurn, it is a process that takes me a working day. However, the customer who has specifically asked for this type of lampshade for his 100 year old lamp is very happy. It’s me in terms of shape and quality too, but I wished I had oiled the leaves, it gives them a slightly darker appearance.
 cool
cool