After I have finished with the internal setup of the camera, where I have hit the 4 targets as best as possible, I use some time for fine-tuning.
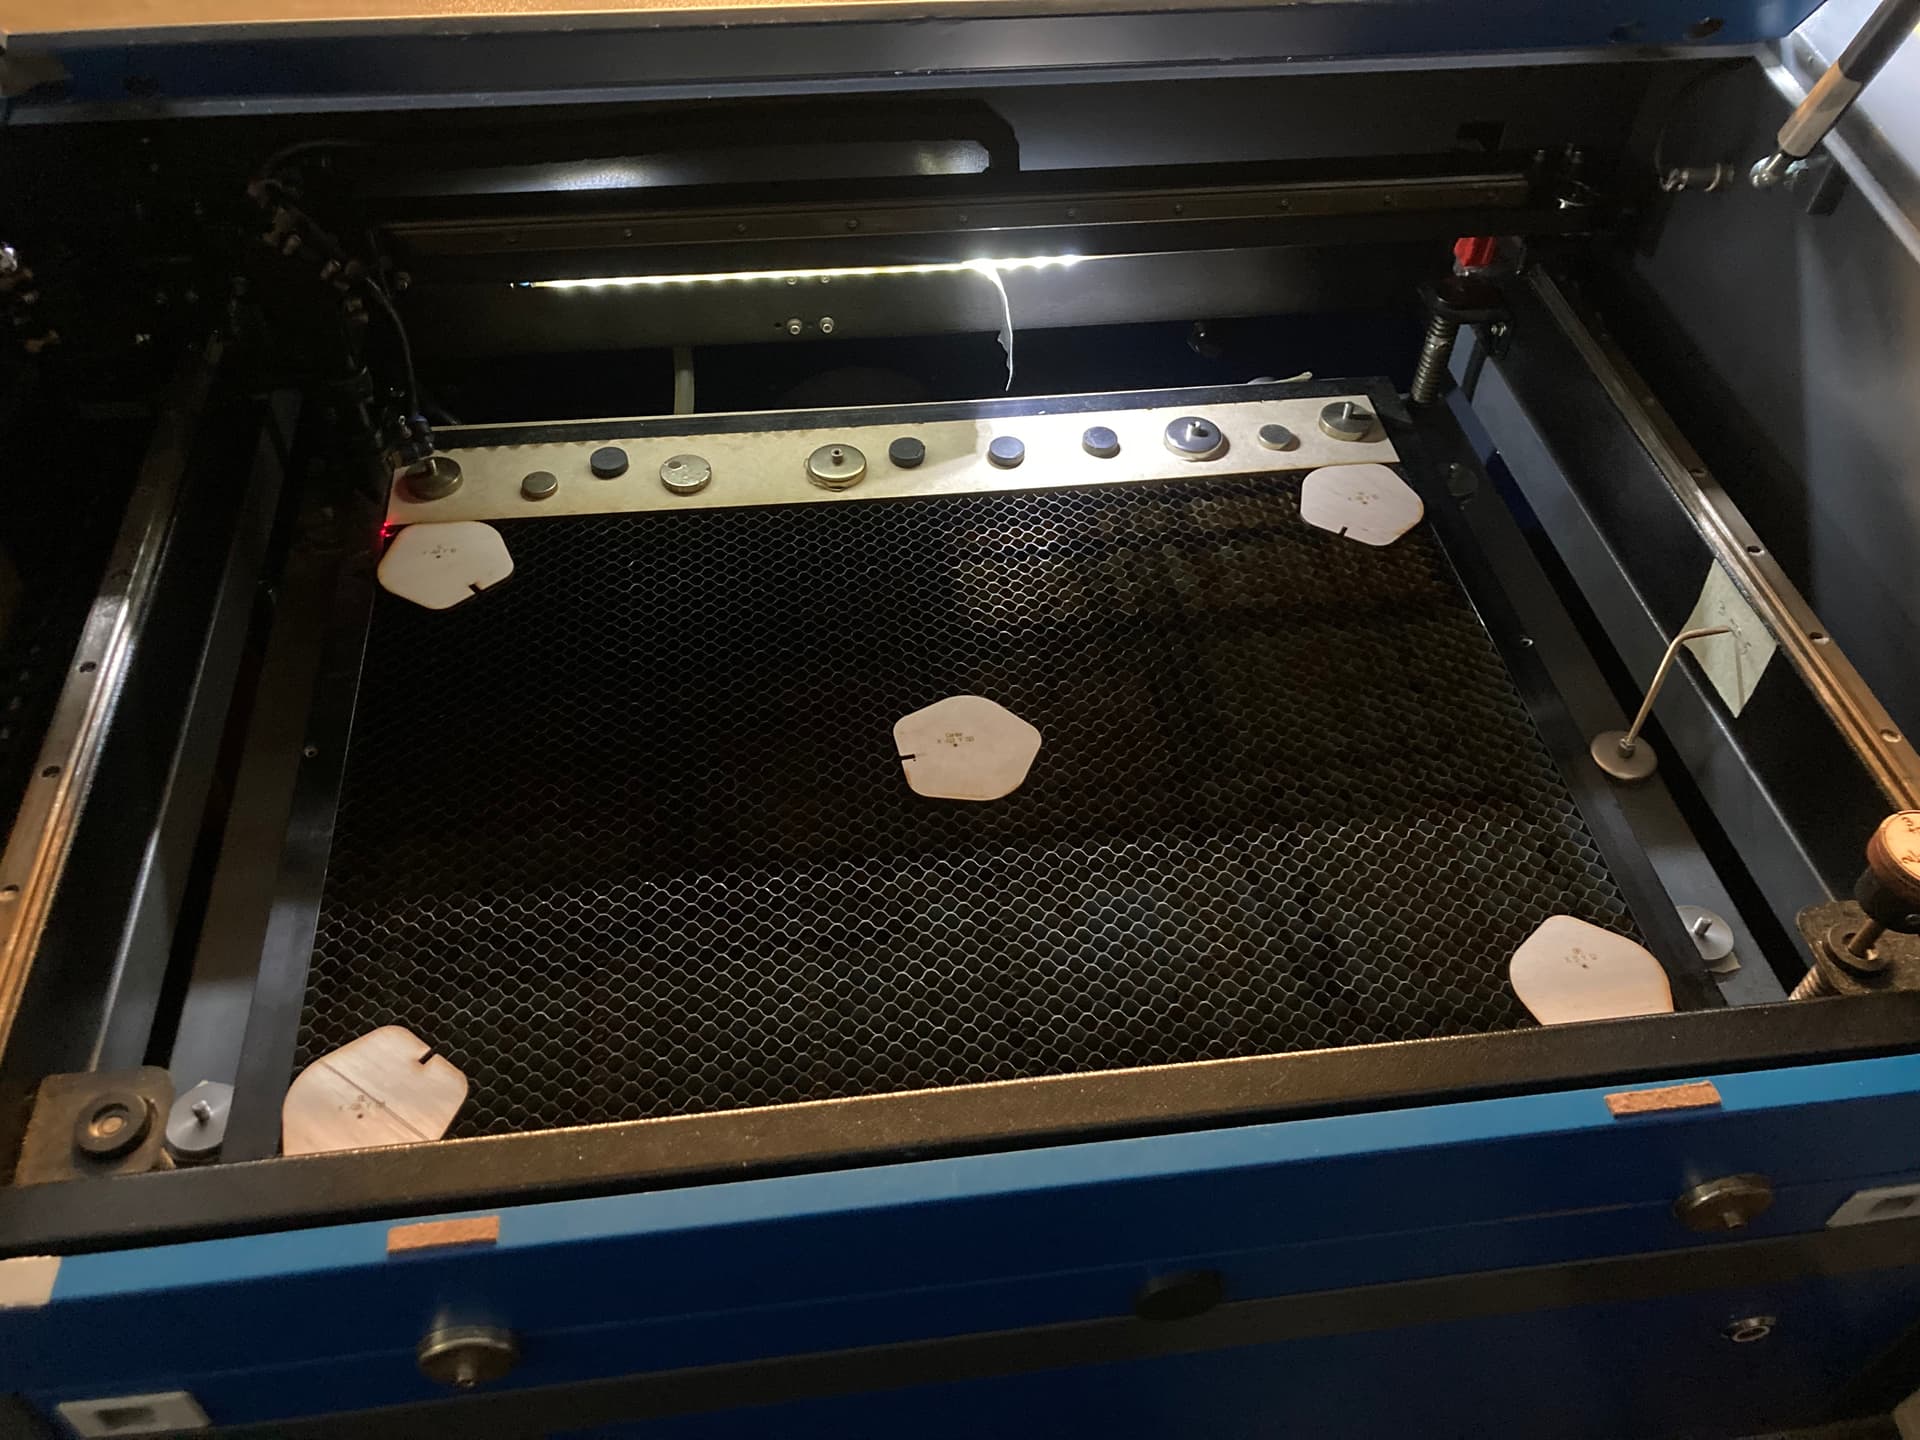
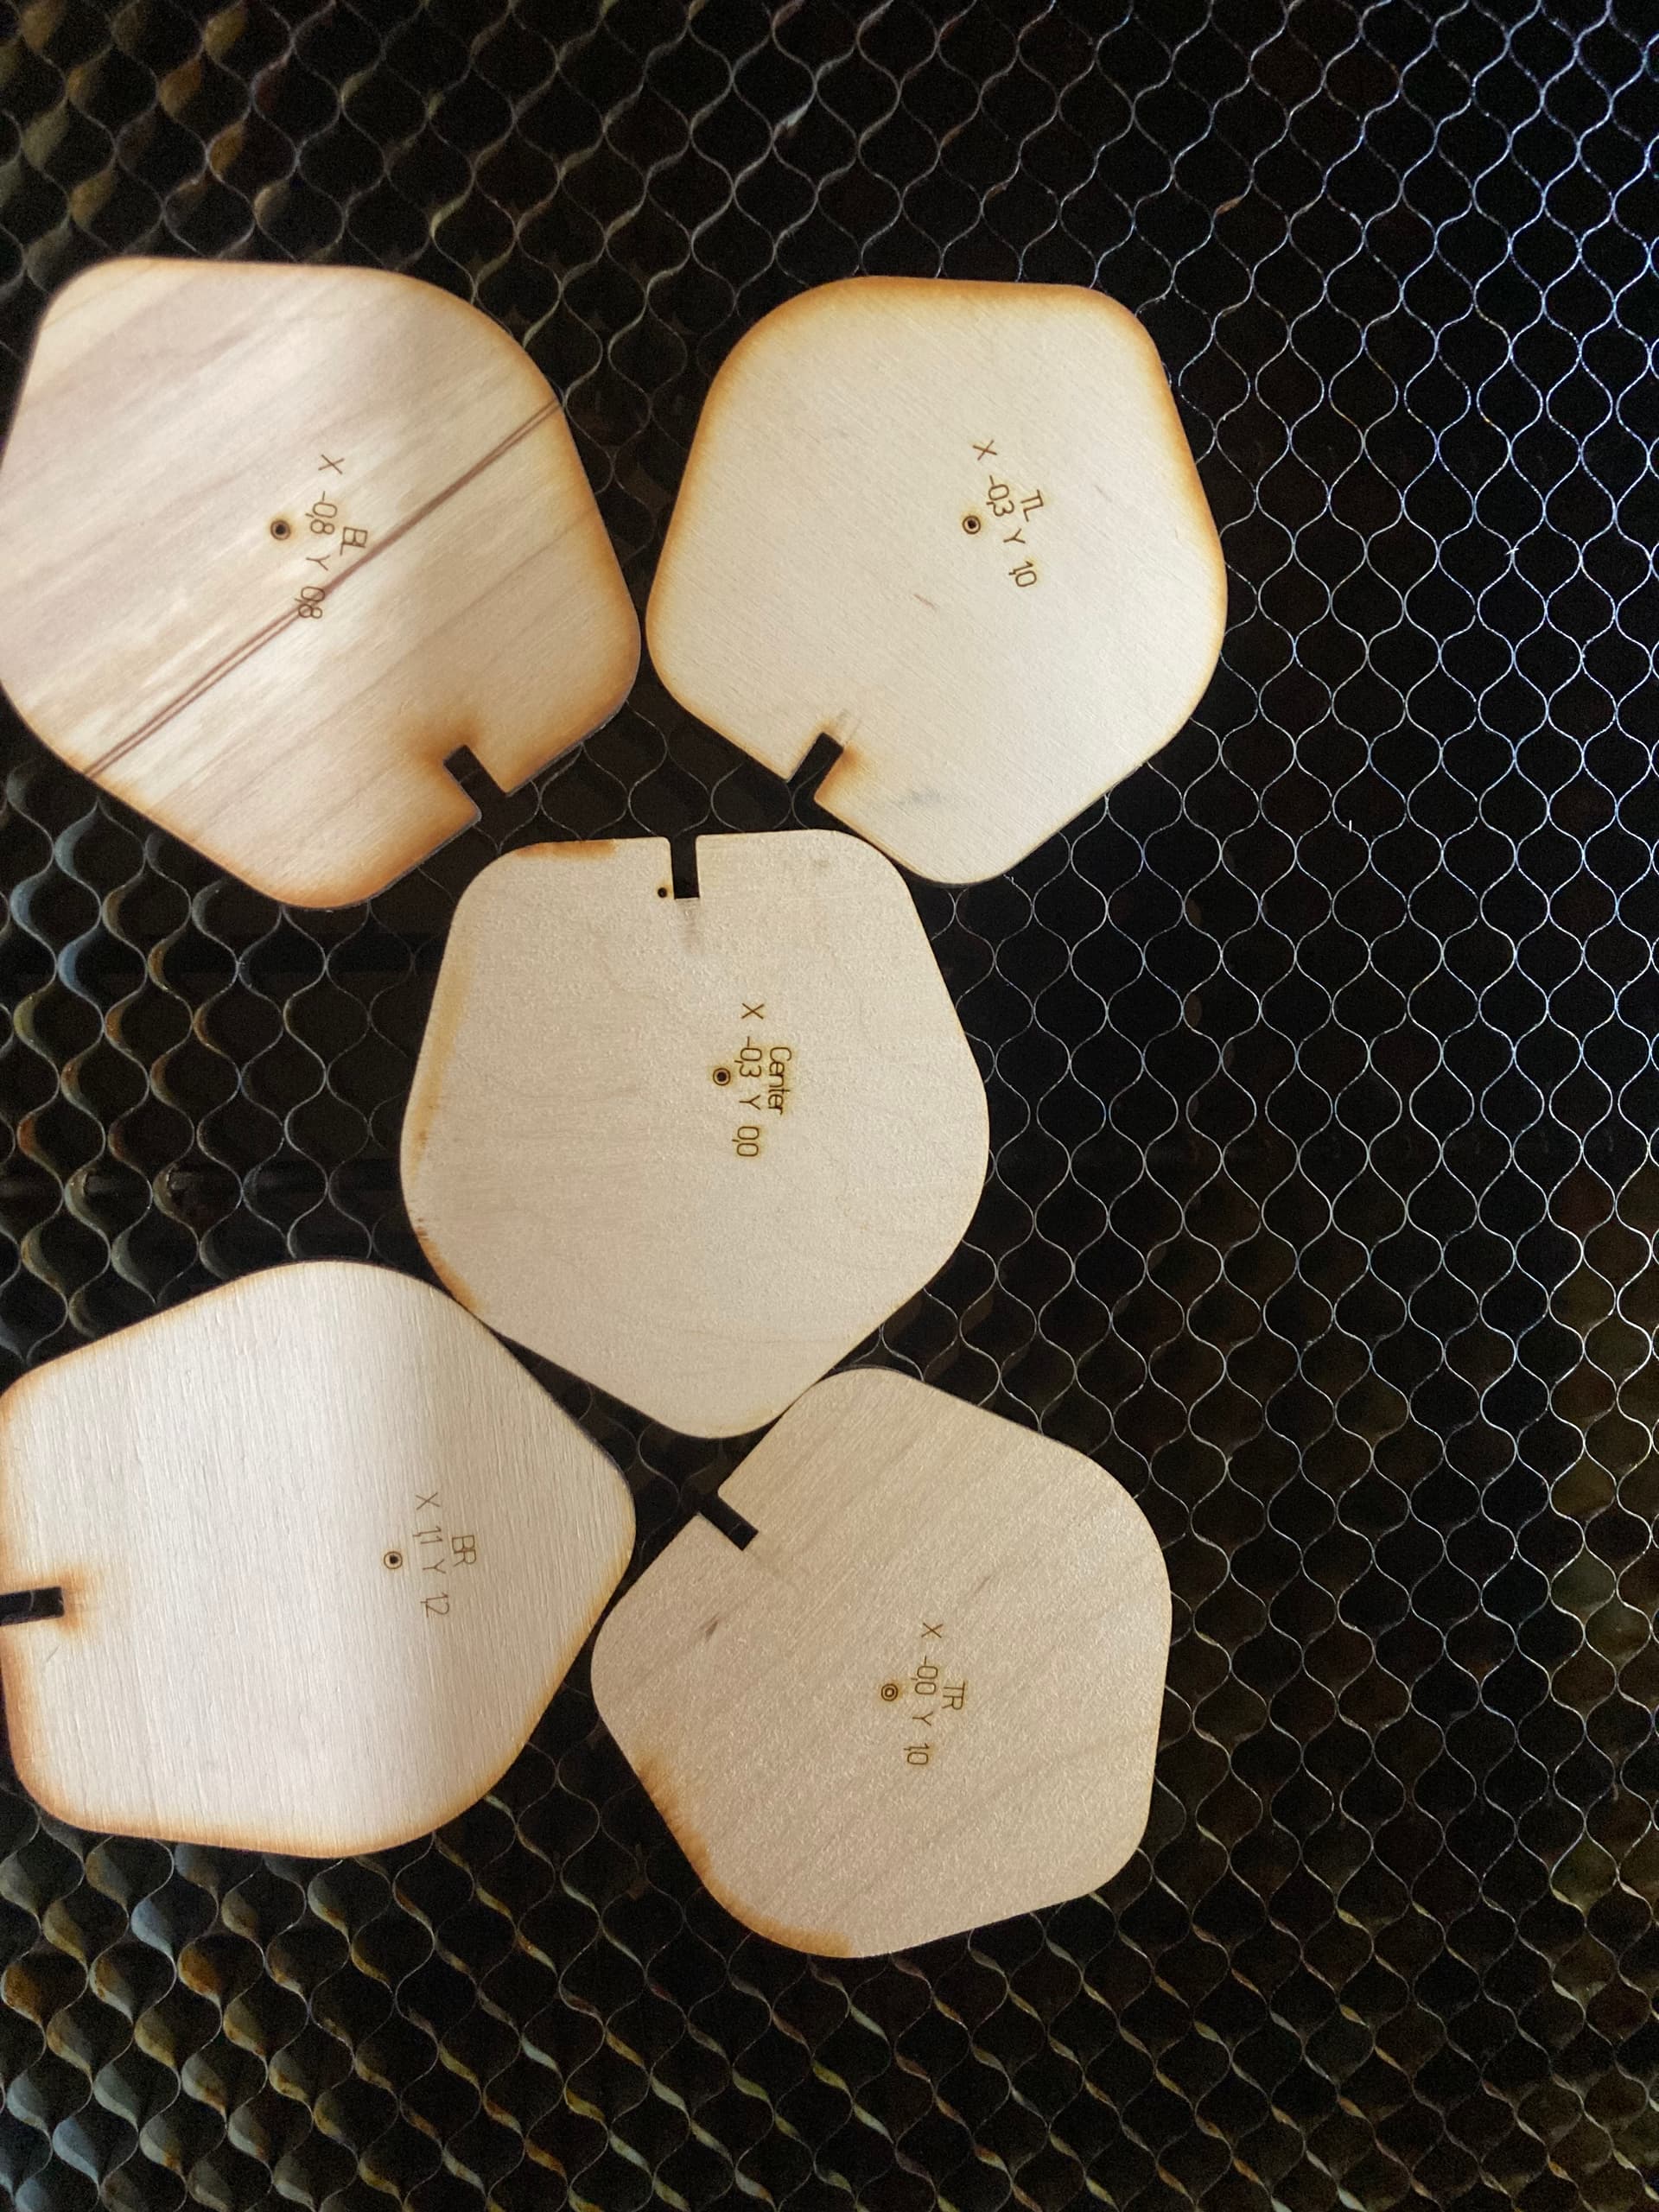
I position 5 pieces of wood as in the picture, which make up my test targets.
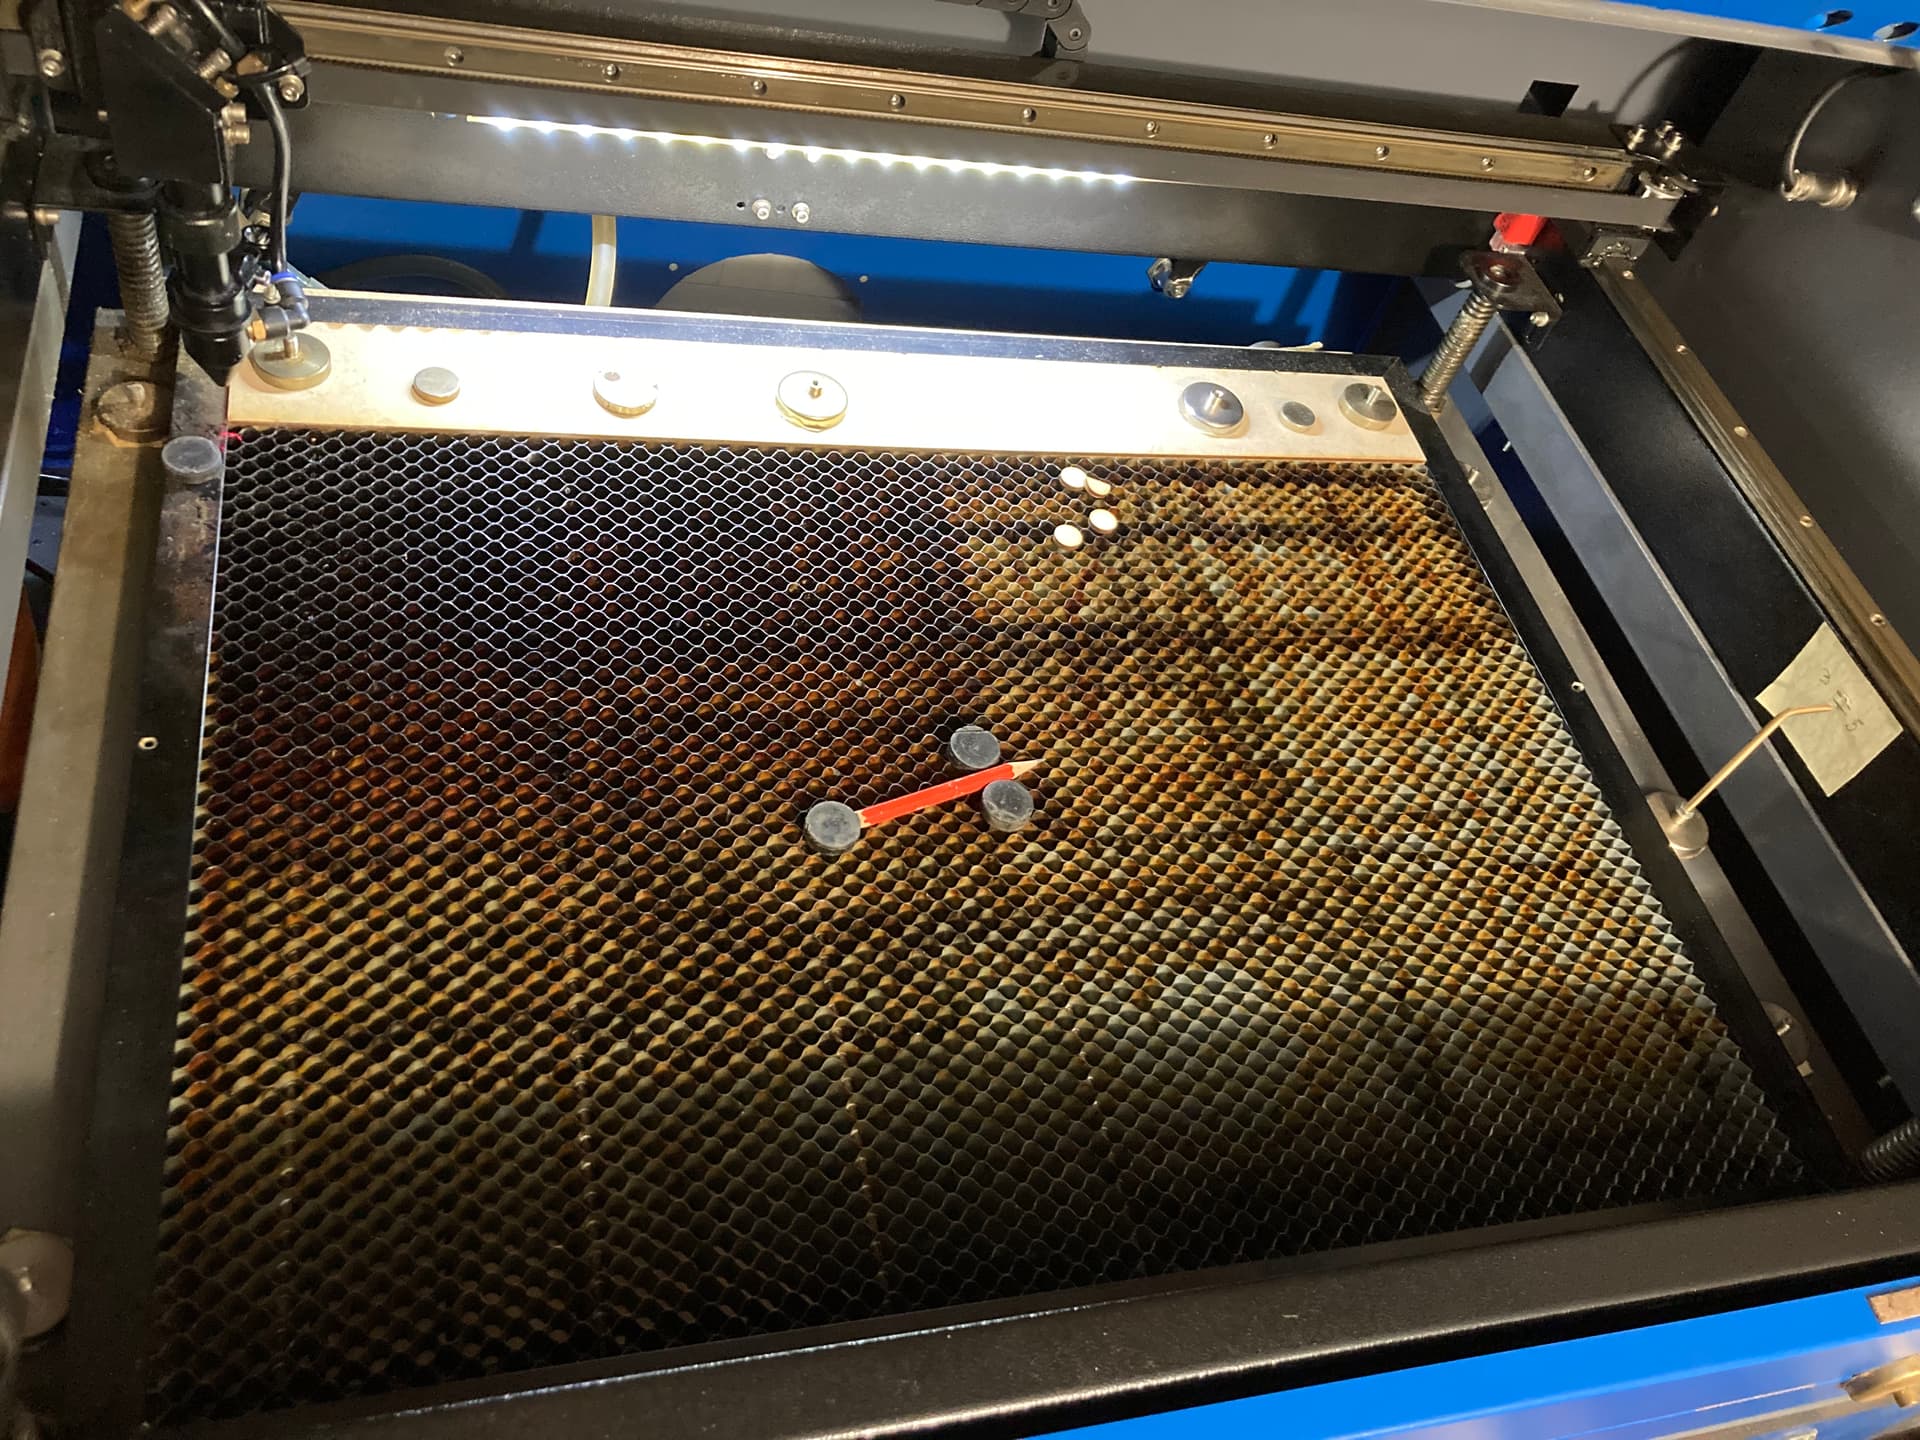
My biggest problem with this process is the light. Even the lousy original led chain is too bright and my marks burn out. Today I turned off the light and put some duct tape over the light chain, it helps to see the points with the camera but everything else in my workshop is now helplessly dark.
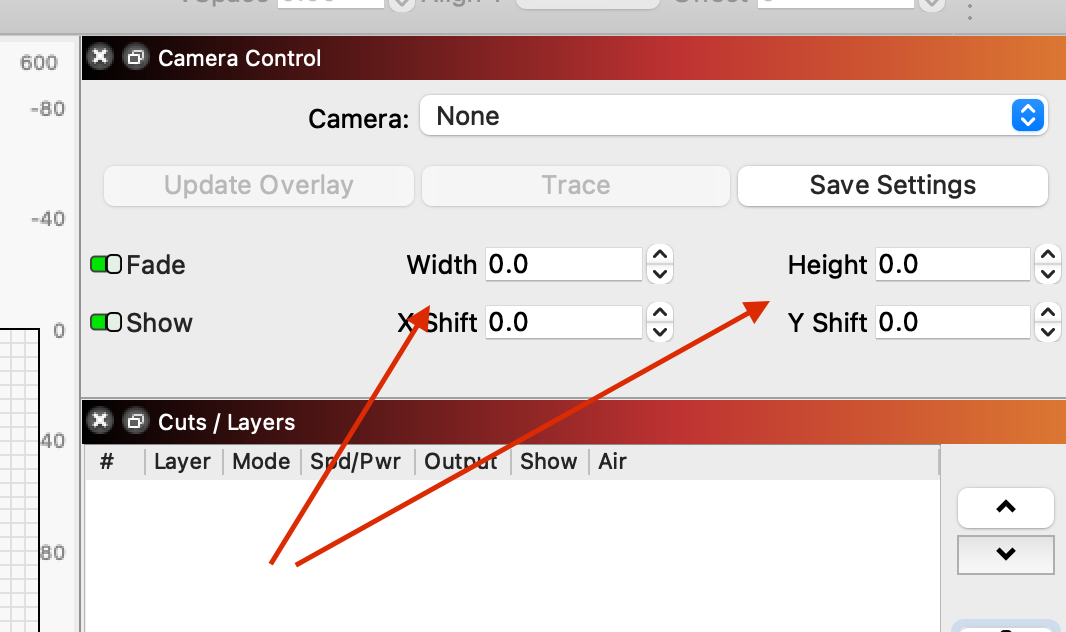
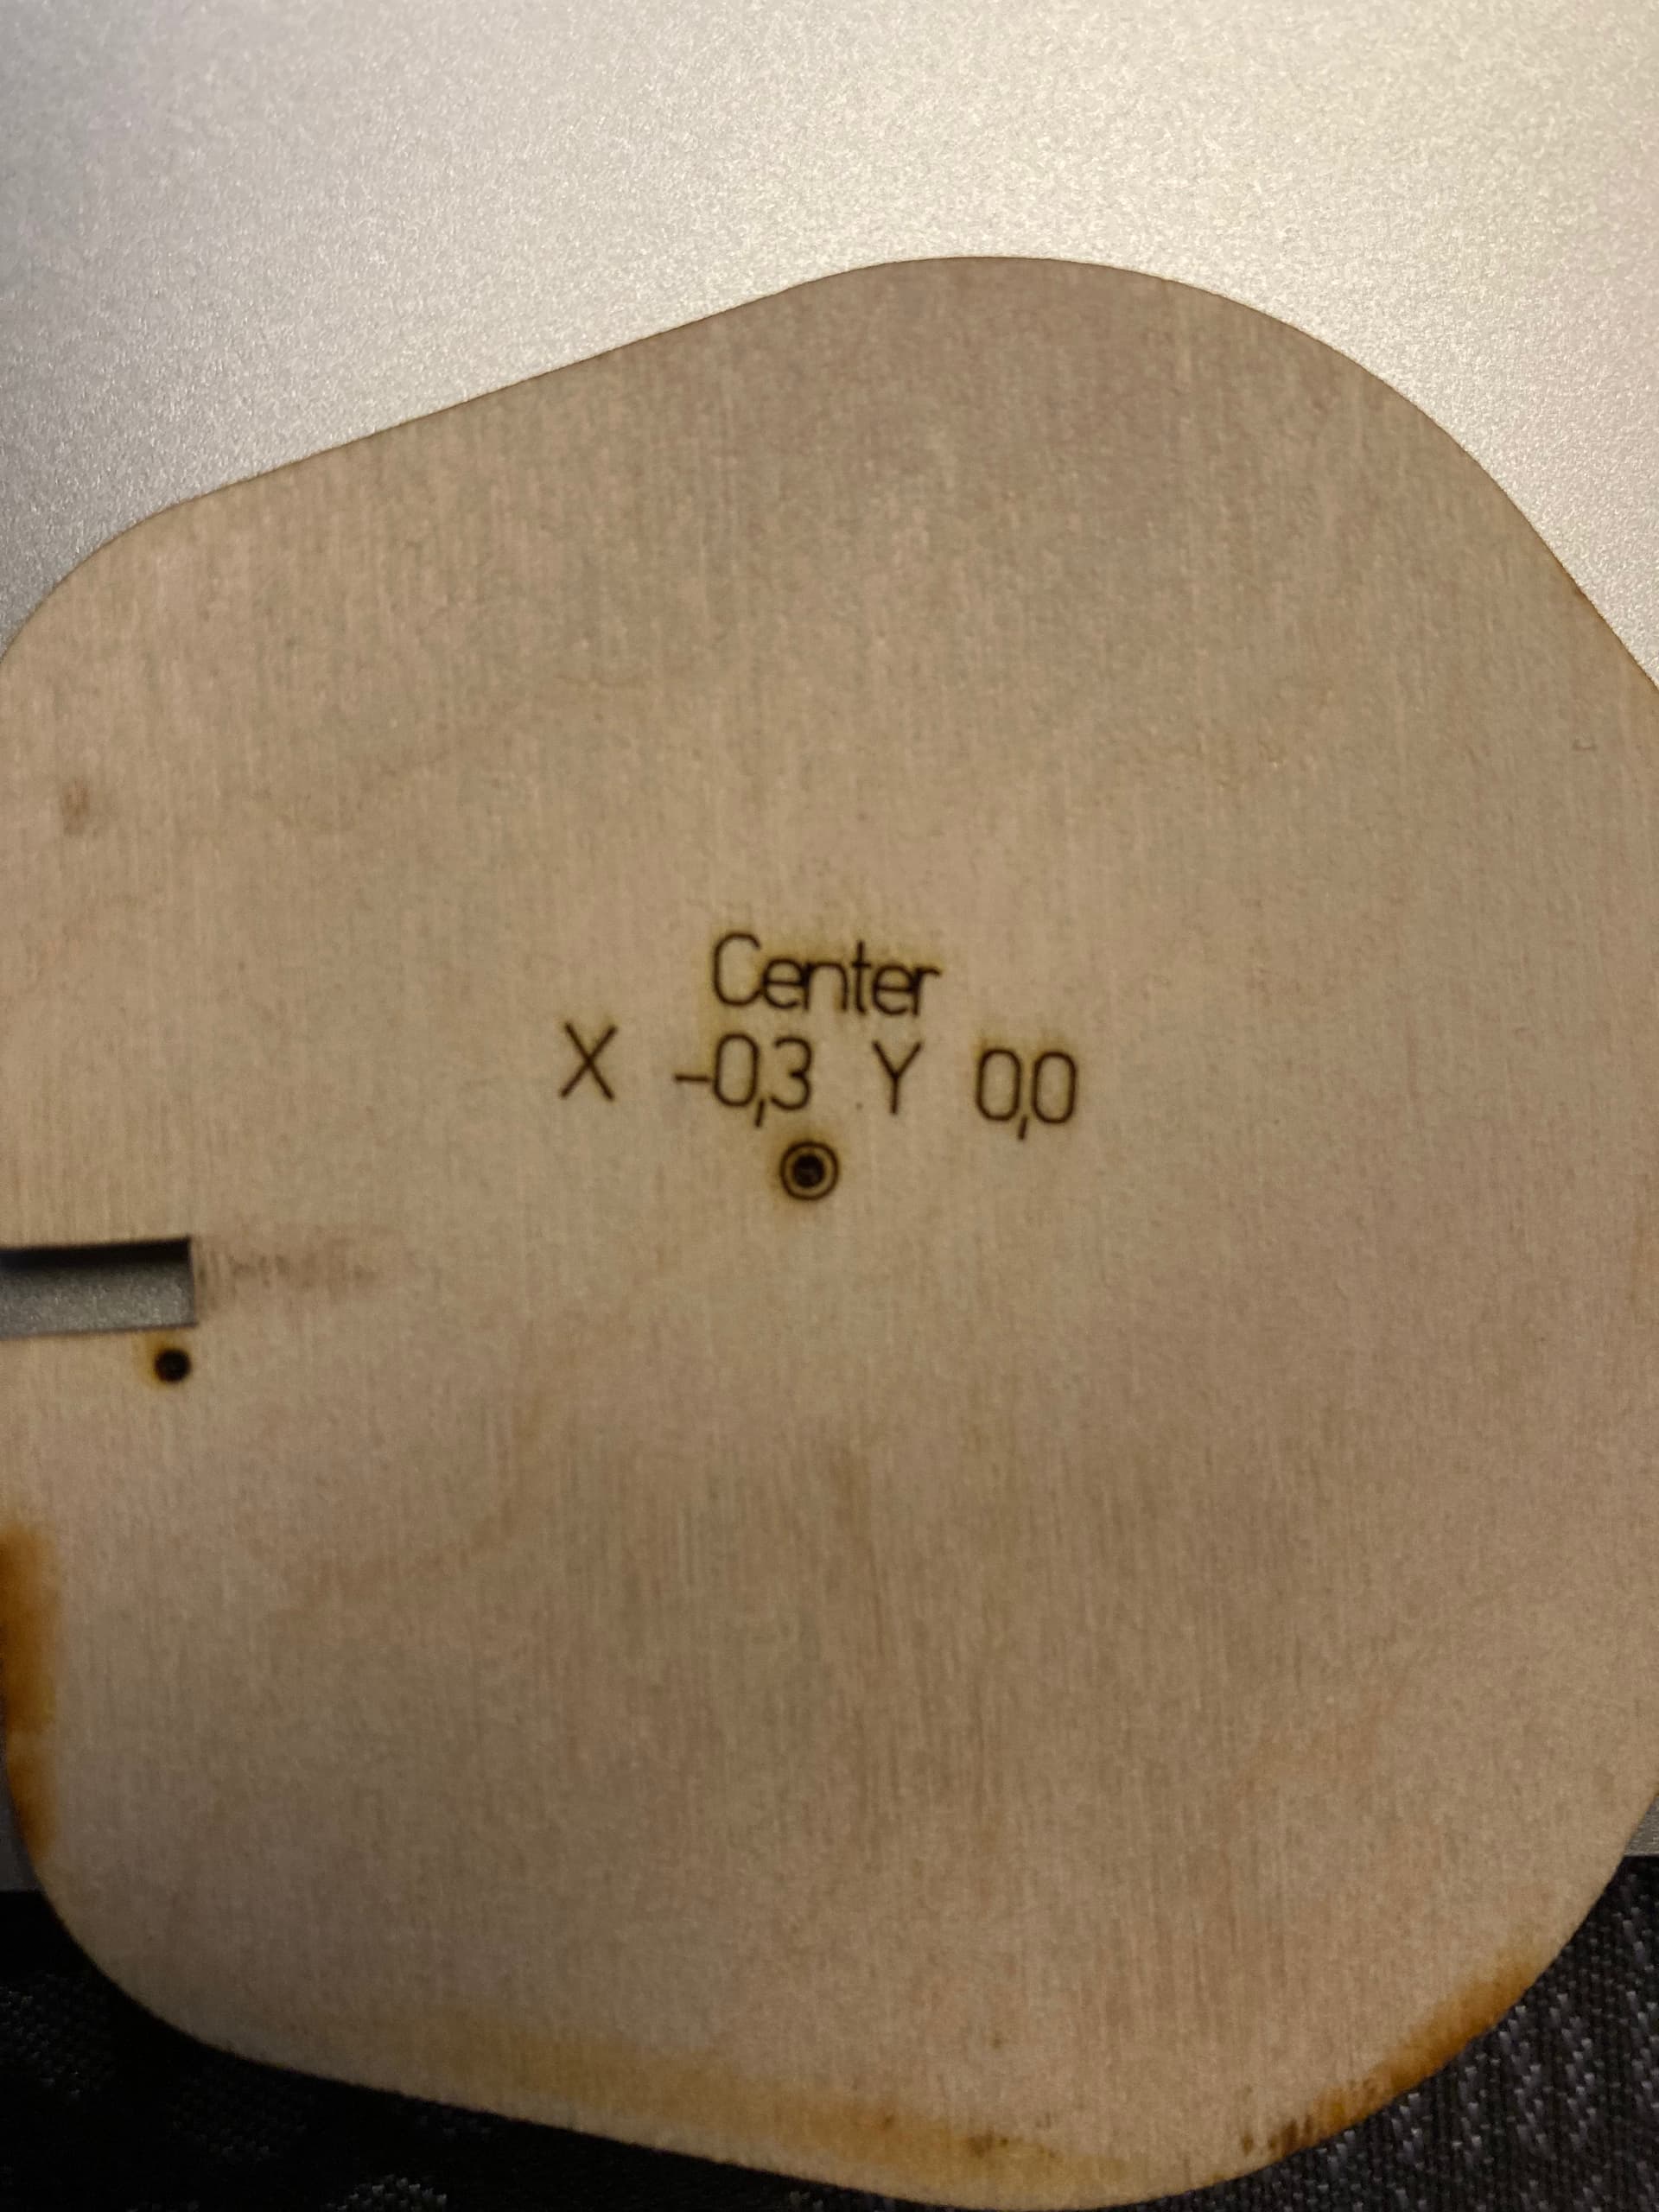
Now I engrave a 2mm circle, 100mm/s 15%, as a target. I update my overview with the camera after I have changed the target layer from fill to line, it gives a nice clear overview of possible deviations.
I fix X and Y and burn a 4mm circle around my original target to see the result. If it’s ok, I’ll burn data from the settings as well. Note that the font size is 2.5.
I am satisfied with the result, but believe that with a better light control I will be able to halve the adjustments.
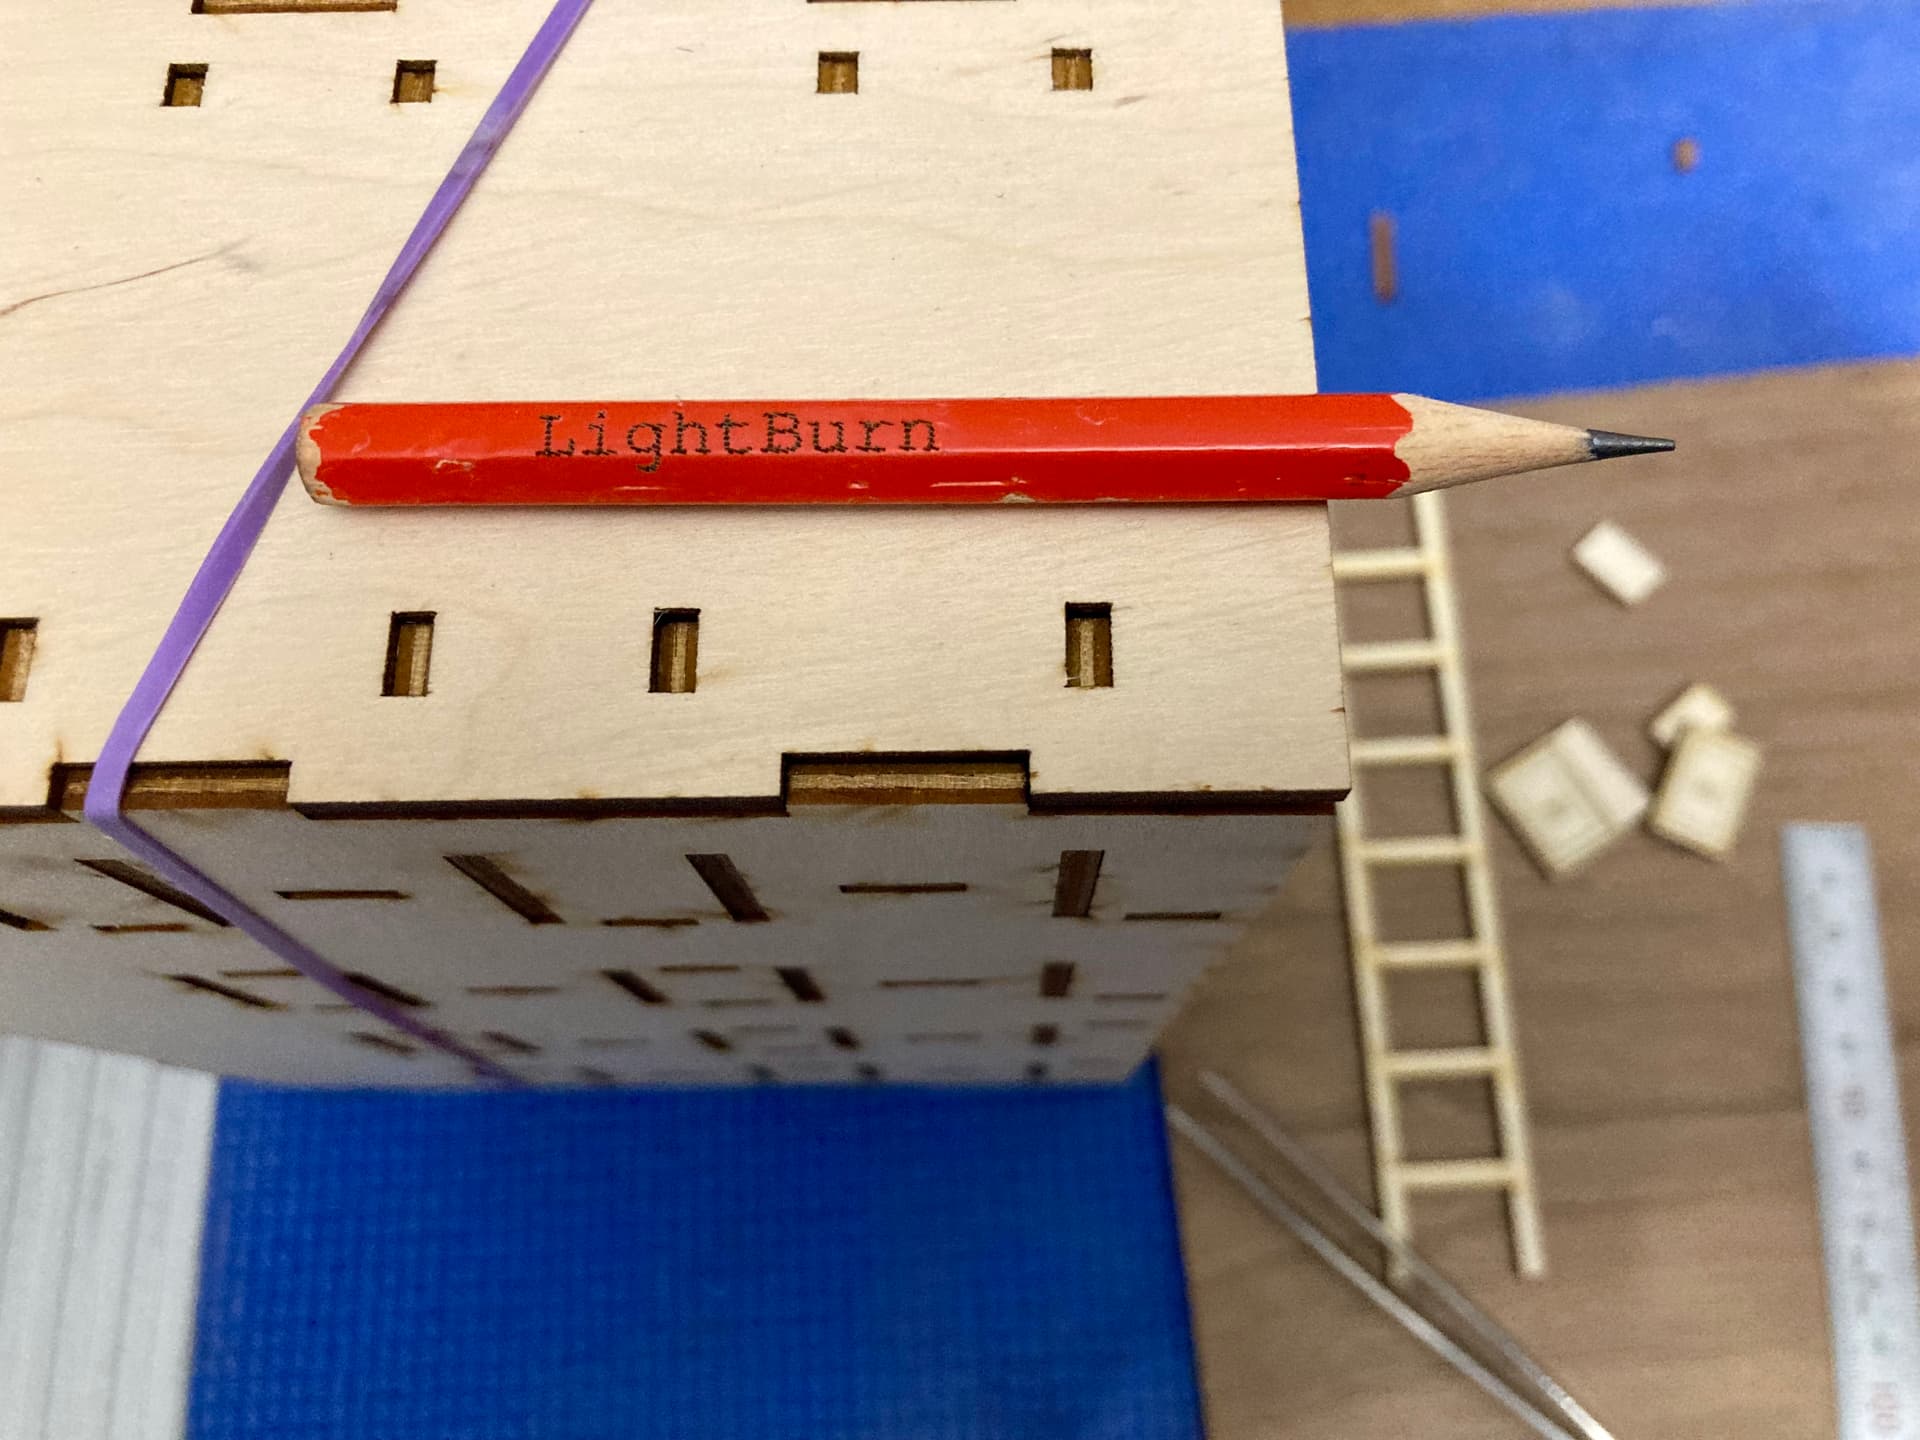
If only there was an option to turn down the exposure in LightBurn…![]()
Bottom line, the camera system is suitable for very precise tasks with the laser and LightBurn, - hitting “freehand” the surface of a 6-sided pencil and writing text - is fantastic.