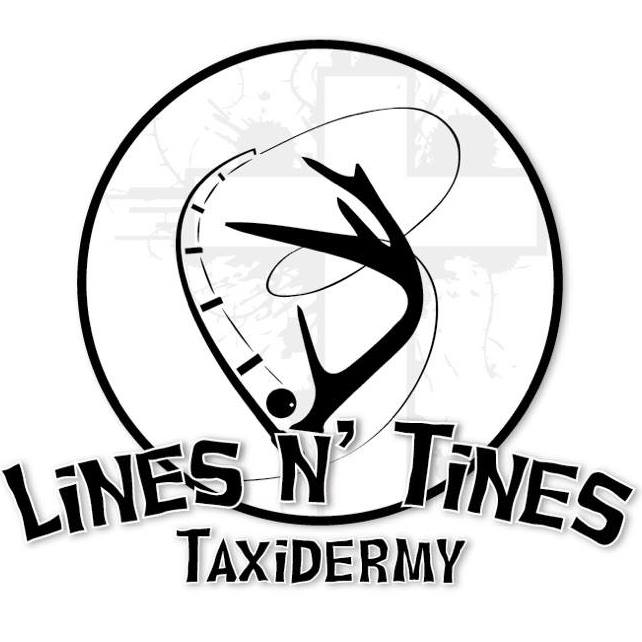
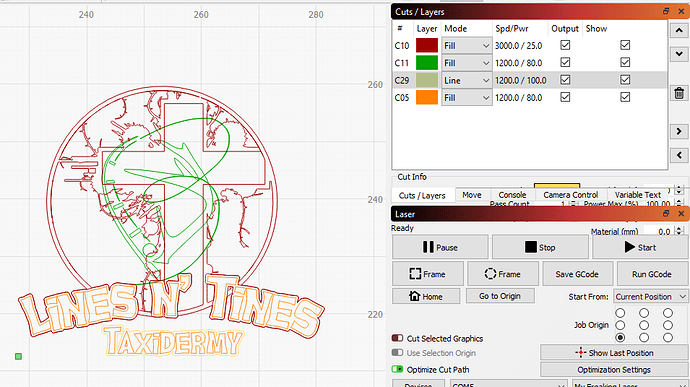
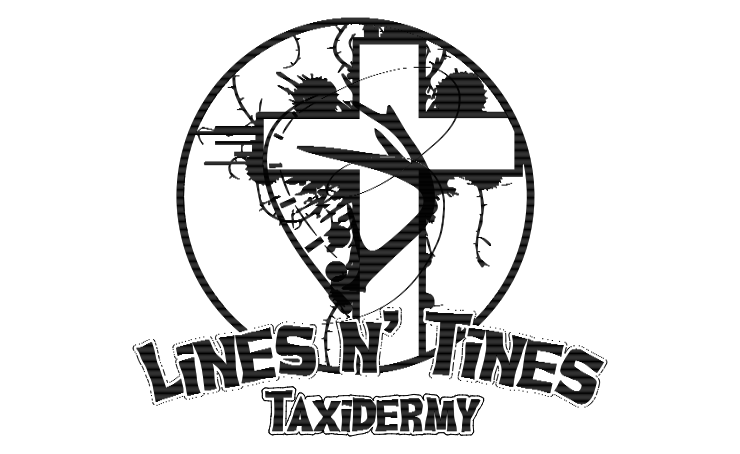
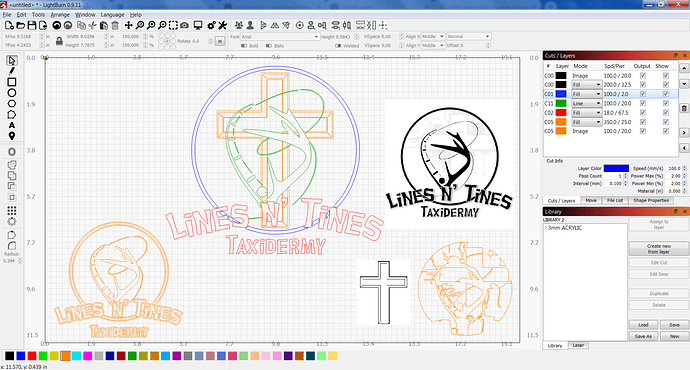
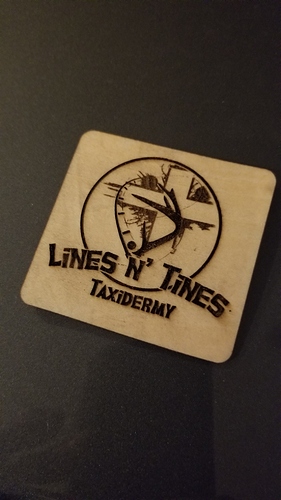
I have this logo in SVG and EPS formats. I am trying to vector burn this. I’m sure I took the long way around, but I have most of it the way I want it. The part I’m having trouble with is the light shading in the background. I got that isolated, but now I can’t figure out how to burn the circle. It wants to fill at the low power of the rest of the shading. Hopefully, you can see how I got to where I am (after lots of trial and error). Maybe you can even give me some easy ways to do what I want to do!
(I really don’t trust I understand correctly but I’ll take a stab)
The Circle (Outer ring) you want to be engraved, yeah? It should be a separate object, just pretend the text isn’t there to help with my mental picture. So you have the two circles that are able to be selected & welded and given their own layer. This layer can then be set to Fill & engrave at whatever setting looks great.
Ok if that was helpful & I’m not barking up the wrong tree, then move backwards in time & tackle the text. Depending on your design software (And/or Lightburn) you’ll intersect or slice away those parts of the Ring with the Text over top. Again that objective is to have that Ring selectable as it’s own layer. You don’t want it merged or part of those background parts.
In LB I would do what Robbie says except I’ll explain it a little different.
You need to separate the cross image from the circle. So you will need to break them apart everywhere they join.
If I were doing it, I would separate them, move the cross image completely out of the circle for the sake of recreating your circle.
Once the circle and it’s little pieces between your text have all been created, save them all in the same layer.
Now work on your cross background and close it all up so that you can put it on another layer with it’s own settings and put it back in place.
You could also trick out the cross a little by adding another inside set of lines: never mind cause I can see what I would do but I don’t know how to explain it.
Hope this helps.
Came back to edit and add this note.
I think this is what I would do but I can not say it is the only way to achieve what you are trying to do.
If I needed this done it is where I would start because I use LB for 99% of my work cause I don’t understand and or can remember all the stuff in other programs.
Shoot, I know it can be done in LB because with enough time it could even be done using RDWorks.
Don’t pay any attention to power and speed settings as this computer is no where near a laser and only used now and then for this purpose.
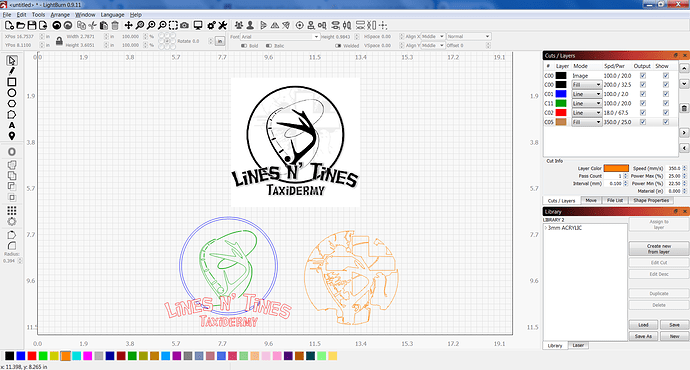
About 10 minutes in LB to get to this.
Now the harder and longer part of fixing up the orange layer and then placing it back where it needs to be.
Scan the orange layer first with the lowest power setting and step up from there on the other layers depending on what your looking for.
Or something like this. Working on the new cross line by line and node by node to put the cross in the background behind the rest of the image but this take a while.
Thank you all SO much! I was able to follow what you were saying, believe it or not! I needed to make several copies of each of the parts (Cross, Words with circle and Rod/antler). I used 3 layers, one for each “part”. I overlapped the Words on the Rod/Antlers (properly aligned) then subtracted the Words. Next, I put the Rod/Antlers over the Cross and subtracted the Antlers. Finally, I put the Words over the Cross and subtracted the words. This created “space” for each part to have some separation. After some work lining all 3 together, I was able to get a burn the way it should look! Thank you, thank you, thank you!
Looks good, glad it helped.
This topic was automatically closed 30 days after the last reply. New replies are no longer allowed.
