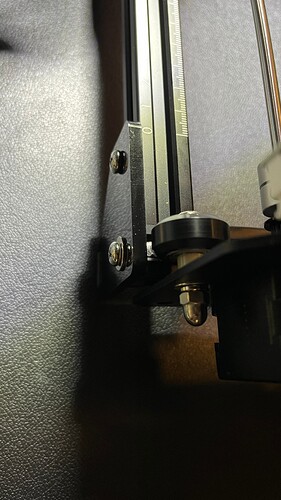
Hello. I recently upgraded from the Ortur Laser Master 2 (4.5W) to the Laser Master 2 S2 (10W). During assembly, I noticed the x-axis gantry was not aligned to the assembled frame. The instructions state to ensure both back wheels make contact with the back legs at the same time, but only one side would touch unless I pushed the opposite corner back. The attached photo shows the gap at the back left corner, at the same point that the right corner makes contact.
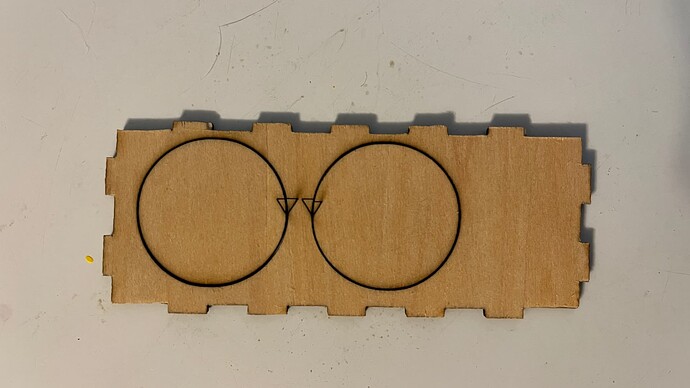
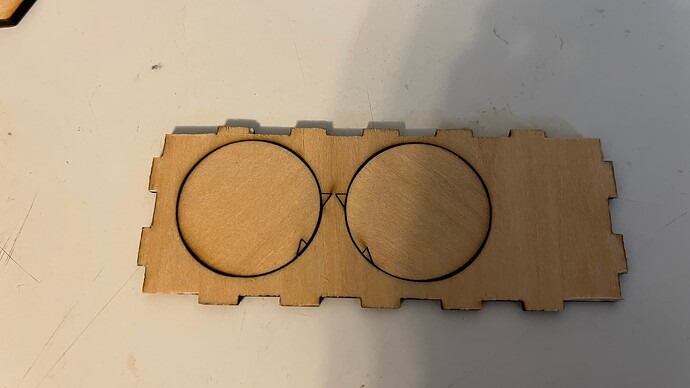
I finished assembly and ran several calibration runs, but the result is the same: squares engrave with extra burn in the corners, and circles do not engrave round. These pictures show a cut direction test, where I cut out two circles at 300mm/min in opposite directions. Each becomes stuck at equal but opposite points in their cutouts, and will not rotate fully around.
I had the belts tensioned and tightened the eccentric nuts, perhaps too tightly, but where each axis could still be moved by hand. I do not feel noticeable backlash, although the issue does seem to behave like backlash.
During setup, I noticed wavy lines on text engraving, and reduced each axis’ acceleration down from 2200 mm/sec^2 (x-axis) and 1800 mm/sec^2 (y-axis), to 600mm/sec^2 for both axes. This did improve the issue at lower speeds, although it is still present when engraving above 1500 mm/min (my typical engraving speed with my LM2 4.5W).
My questions are:
- What effect would the angled gantry have on the out-of-round cuts? Should I try to address it using washers to re-space the guide wheels, or attempt an exchange of this unit with Ortur?
- if the issue is out-of-sync motors, could this be a firmware issue, or related to the reduced acceleration? I ran calibrations for each axis separately, but is there something that can ensure the axes are in sync with each other?
Thank you for any help with this. I have also reached out to Ortur, but figured it made sense to tap into this knowledge base as well.


