I learned many things from this thread. This is the method I arrived at:
I mix up the paint myself. I take a food blender. Pour in:
- 175ml water – water based paint, so takes an hour to dry
- 25 ml ethanol (denatured) – solvent and preservative
- 0.25g glycerol – to help the paint to stick to the tile
I close the lid, start the blender and from the top opening add gradually:
- 0.5g xanthan gum – to help suspend the TiO2 in the paint liquid. good amount is probably 0.5g-1.0g (0.25…0.5%).
- 50g TiO2 – ~20% oxide content in the paint
- 5 drops of food coloring – to help seeing where the paint goes during spraying
This results in about 250ml of paint. Good for about 40-80 15x15cm tiles. If it has been sitting around I’ll give it a firm shake before usage.
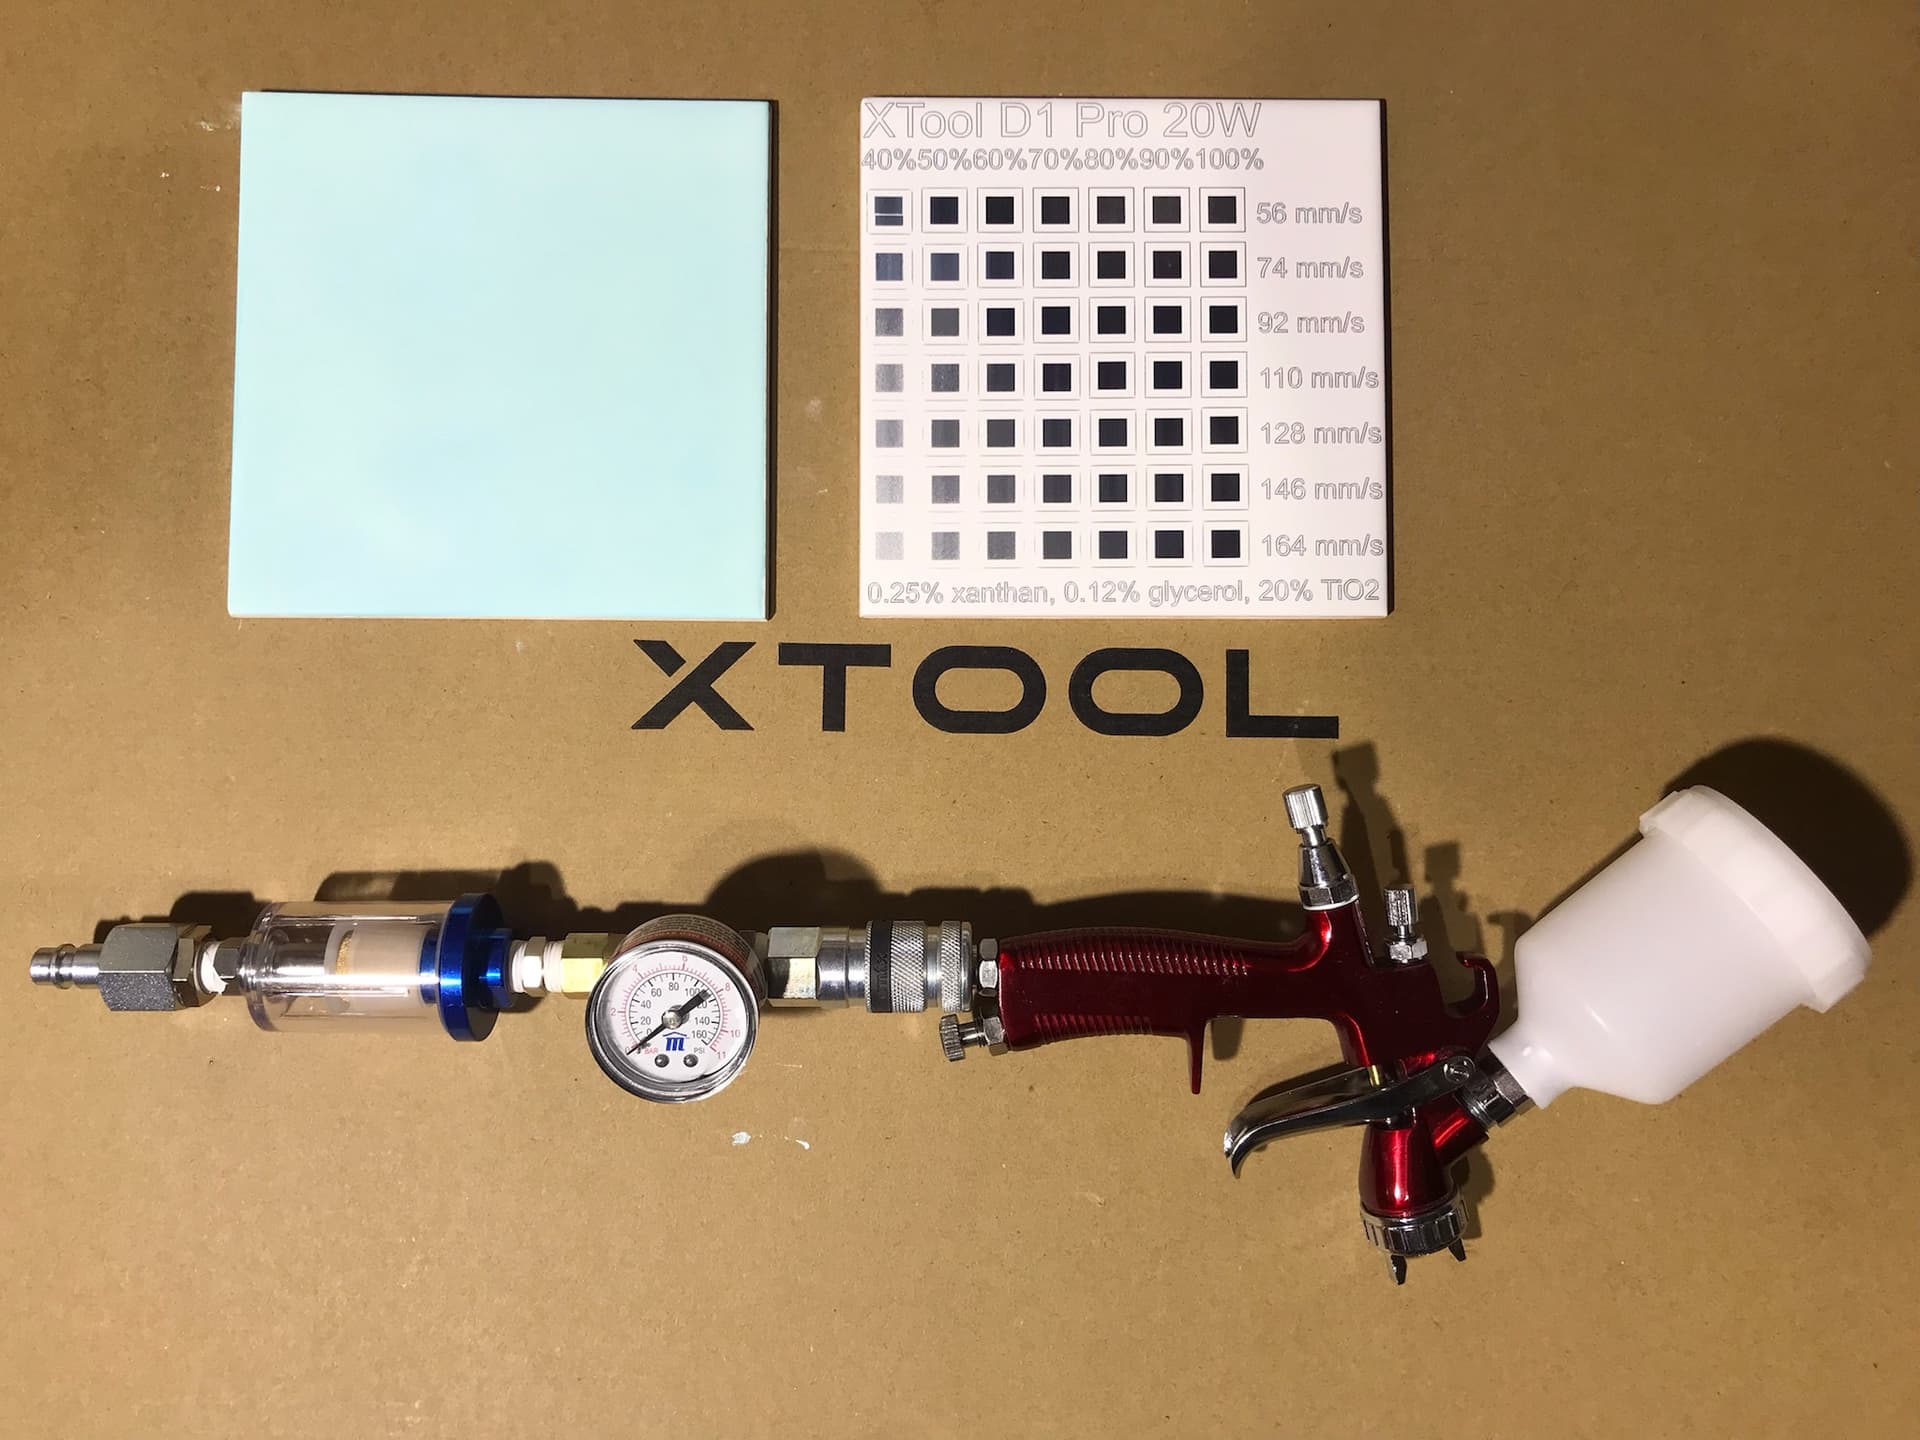
Then I got a cheapo small paint gun from the hardware store (120ml cup, gravity feed). You’ll need an air compressor of course as well. I spray the tiles with a thin coat and let them dry for an hour or two. Please use a respirator when you do this yourself. The results are very good – uniform coating, solid blacks, clear lines. The hardest part is cleaning the paint gun.
Paint can be easily washed off and the tools cleaned using warm water and soap/dish detergent. No toxic chemicals in the paint.
Some of the problems I’ve had:
Cleaning the tiles before painting. It appears the suction cups in the factory that are used to move the tiles leave a residue that does not easily come off. I got small rings in the middle of tiles where the paint does not adhere. I’ve tried all the solvents/cleaners. Need a lot of hard scrubbing to get it clean. The paint pulls away from the dirty areas. Adding more glycerol into the paint mix might help against that but it’s probably better to clean em properly.
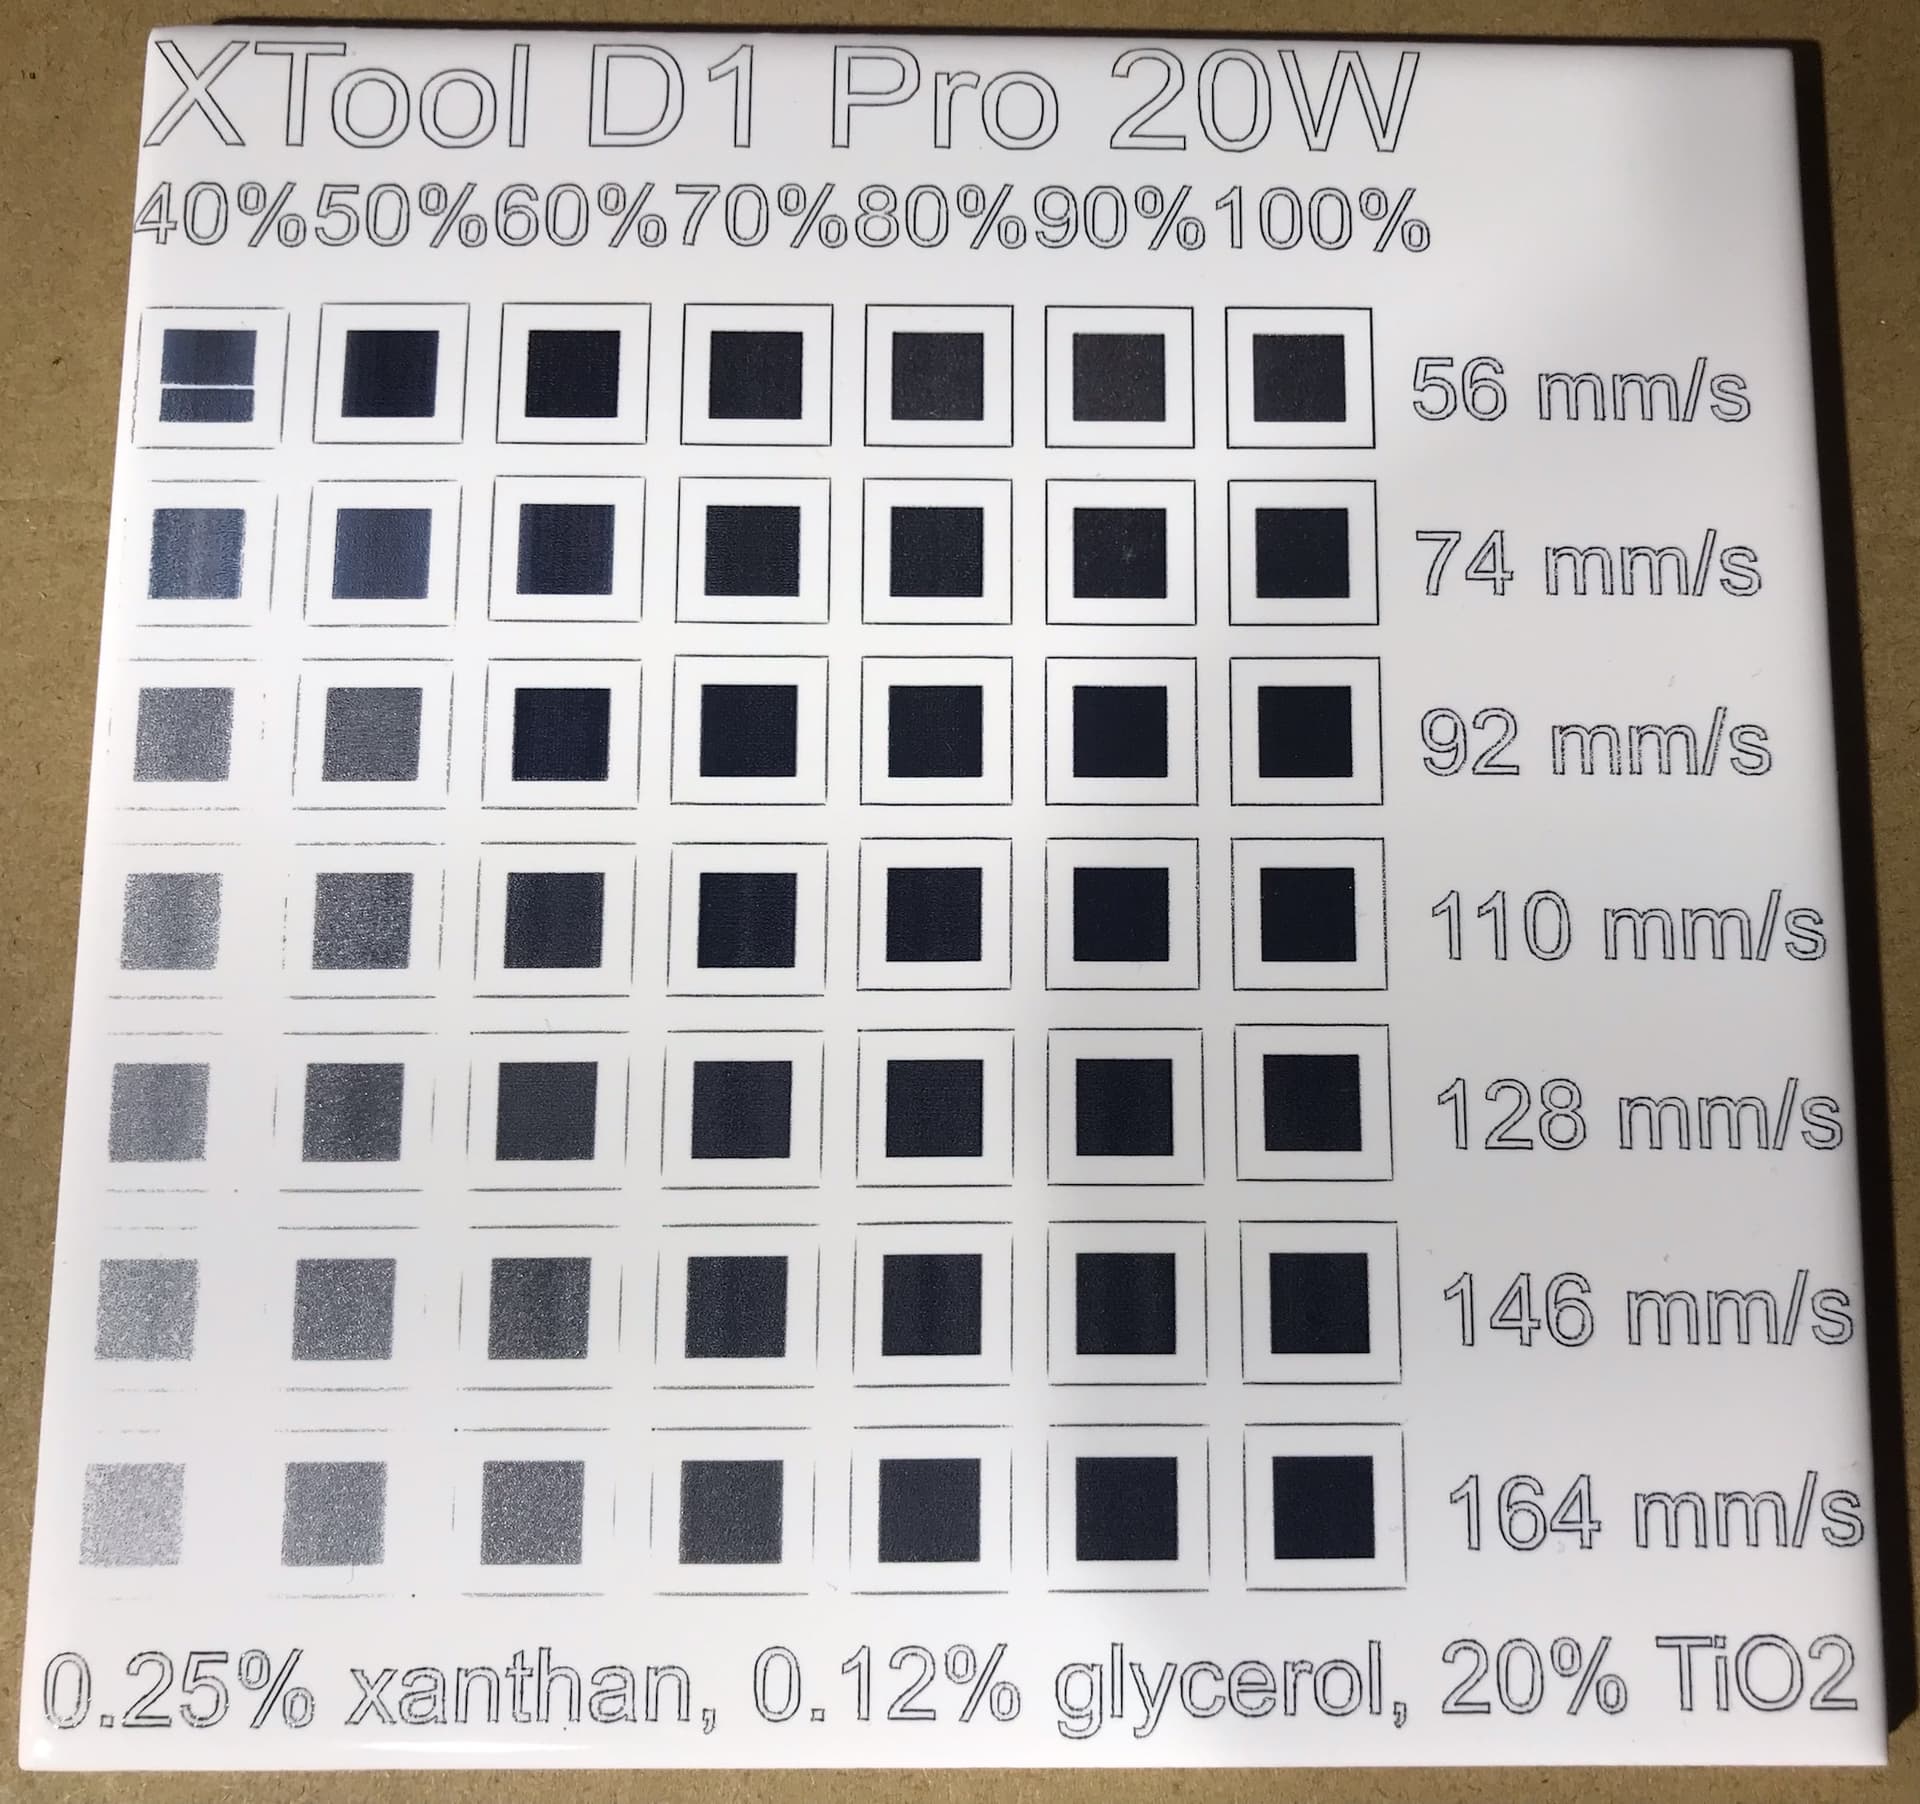
My xTool D1 Pro 20W seems to be underpowered – at places where velocity changes the engraving quality deteriorates, especially movement along the Y axis. I’ll try to upgrade the power supply to see if that helps. Horizontal fill works well though. I fill engrave at about 110 mm/s at this moment.
I had to adjust the fill line interval to get a more solid result. D1 Pro 20W is rated at 0.1mm output size but the blacks are more like 0.065mm wide.
In my first try I used 2% xanthan solution and a medical spray bottle. And a lot more ethanol. The result ended up flaking off during engraving. Adding glycerol fixed that but the result wasn’t too good – came out more gray than black.
My second try was 0.5% xanthan/0.5% glycerol/10% TiO2. This worked a lot better but still was grayish, especially if the coating was thin. Could be the problem was just too little TiO2. But note that glycerol is hygroscopic so could be it interfered with the burn by tying too much water into the mix.
The recipe here is my third try – 0.25% xanthan, 0.125% glycerol, 20% TiO2. It’s probably not perfect. But it works. The usual disclaimer: this is my first laser, my first time trying to make paint, my first time using a paint gun – exercise caution when following random stranger’s advice on the Internet.
This is quite a bit of work, but it does provide a consistent result and allows to scale for larger production. But if you just want to try couple of tiles – get a small 100ml transparent medical disinfectant spray bottle (from drug store, 80% ethanol v/v), add some TiO2 powder, some food coloring, shake, spray the tile, wait 2 minutes – and you’re done. Results can be pretty good if a bit inconsistent. Don’t forget to shake. And the spray bottle will likely clog eventually. But for couple of tiles to play with, it works very well.
Thanks again. It has been a fun Christmas/new year’s project.
The error at top left was caused by me stumbling and bumping into the machine enclosure. Sorry about that ![]()
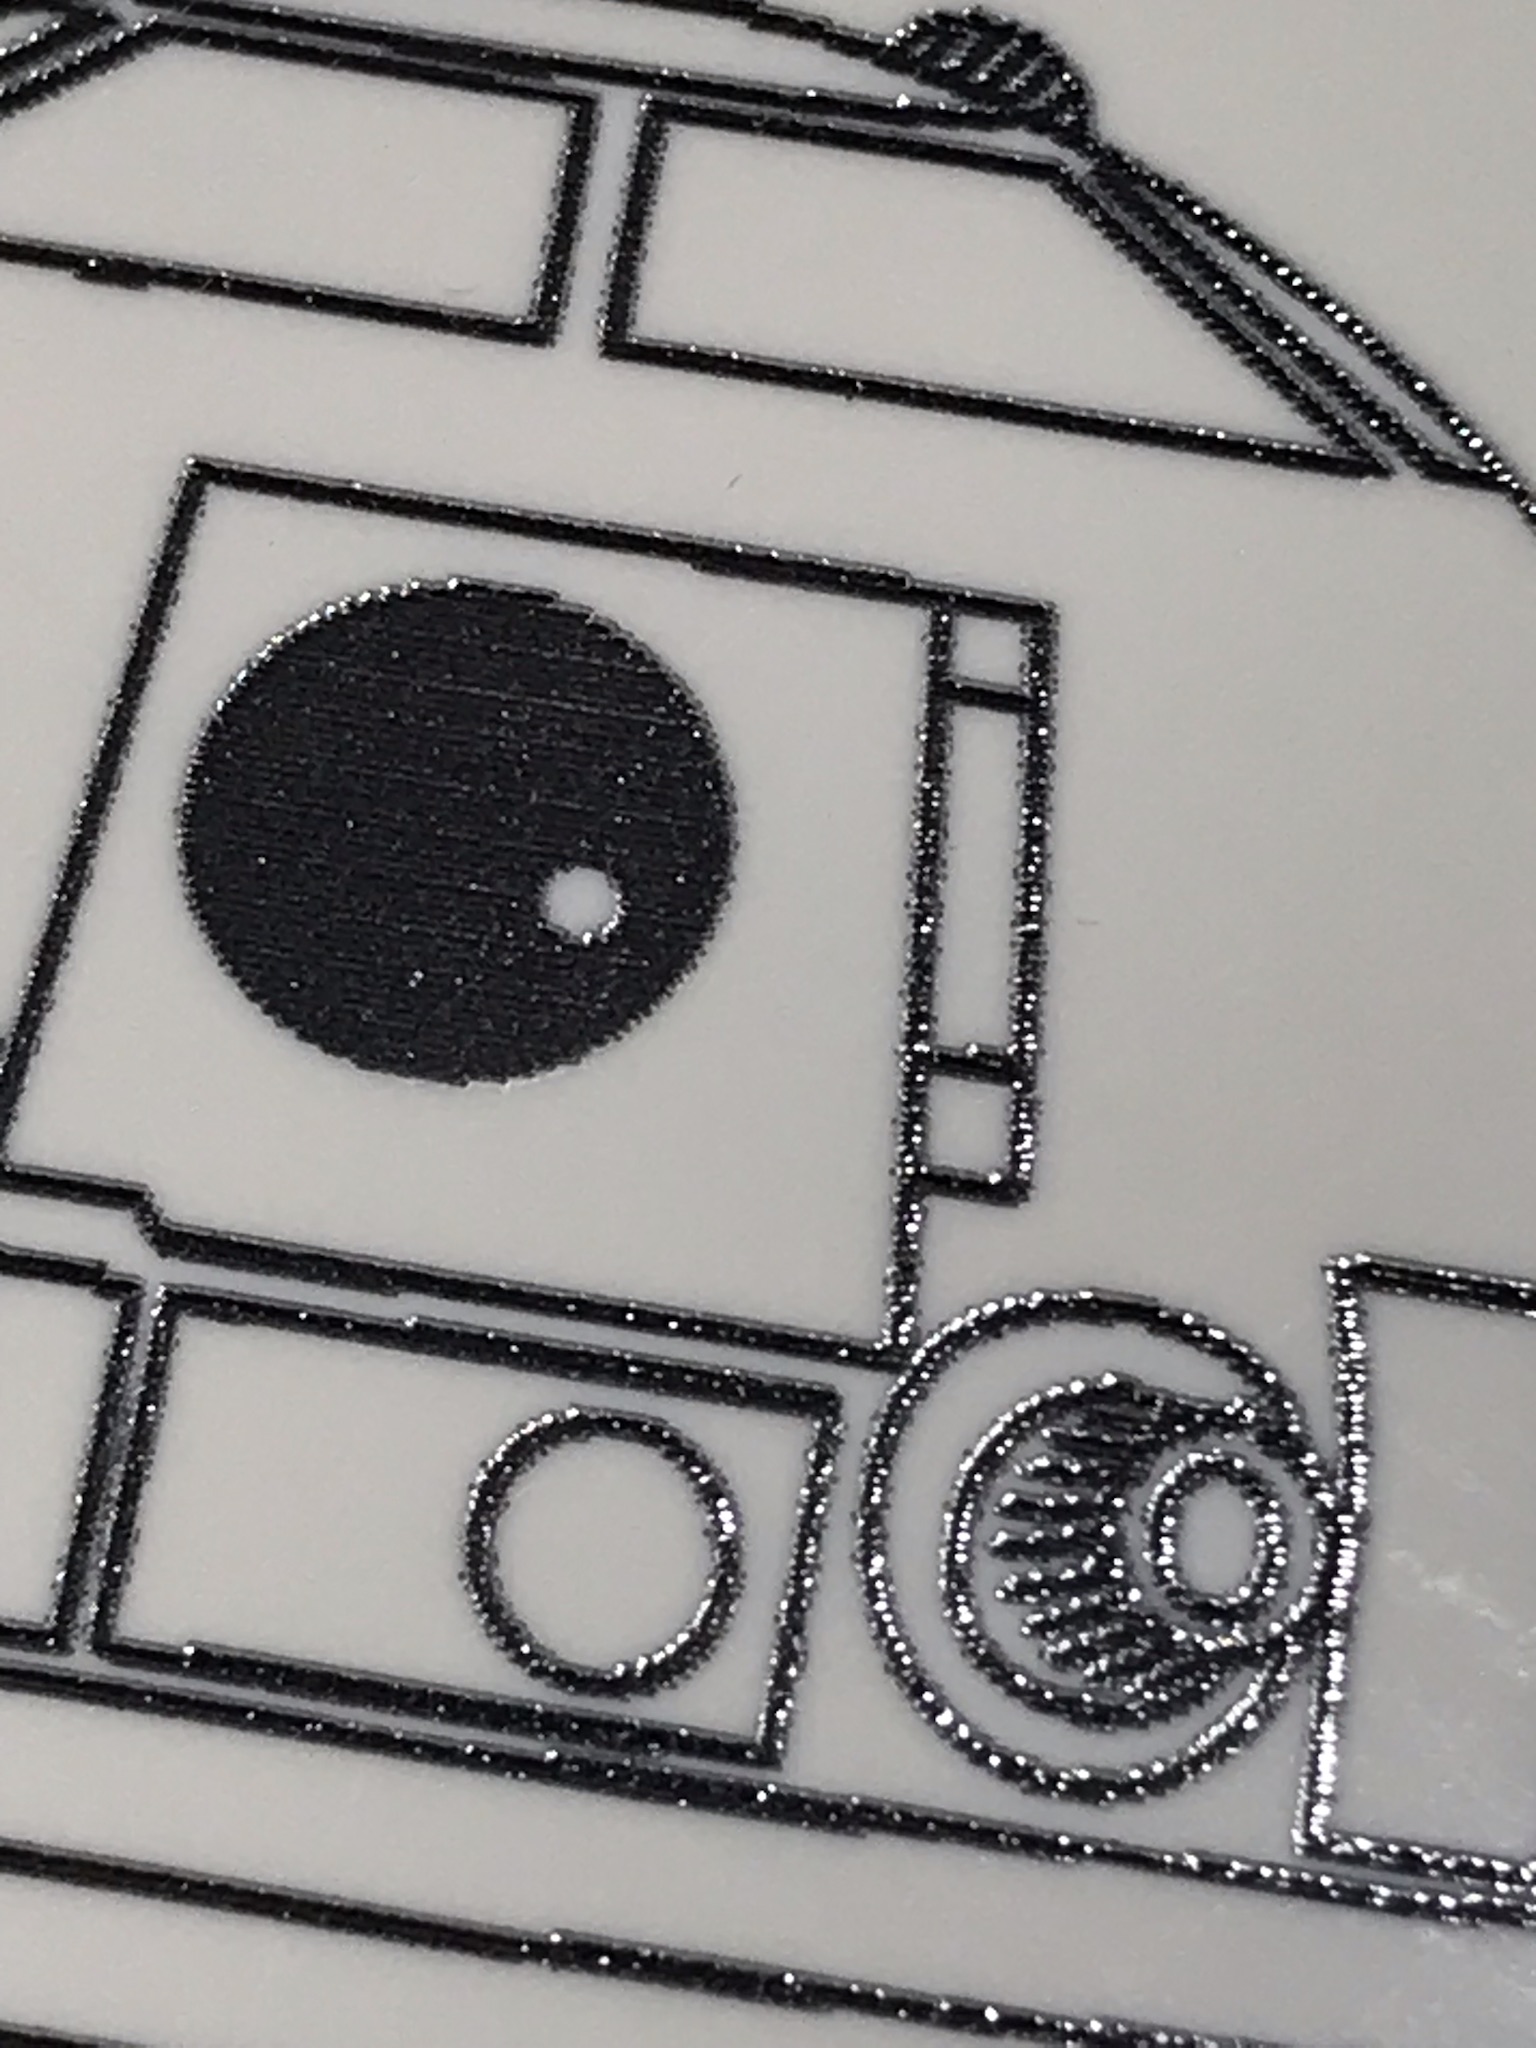
A closeup of another piece I did. This must be the adamantine/metallic luster of black rutile (or is it anatase?):