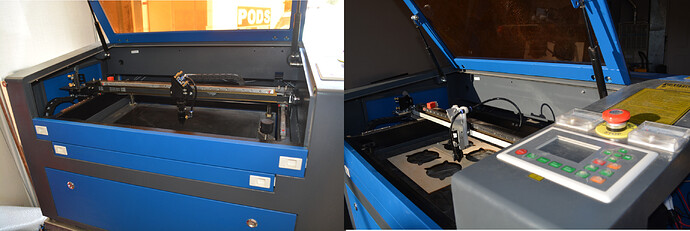
CloudRay says theirs is a rubber material, others online say steel reinforced. I was going to grab the reinforced belt, but then the little voice in my head asked “Why isn’t the CouldRay belt reinforced?” Did they just not state it? Are reinforced belts overkill? Am I overthinking this? ![]()
Some belts are nylon or polyester reinforced. In fact, none are just plain rubber; that would be a rubber band. Steel is less flexible and not necessarily stronger. Dyeema is really strong and flexible too. If you have the old belt, shave off some rubber until the reinforcing strands are exposed. Then go with whatever CloudRay used.
Most of these are automotive timing belts… designed to go one way…
You will probably do fine with any of the Cloud Ray belts that fit…
Probably more than you wanted to know… but here’s some information.
The_World_of_Timing_Belts.pdf.txt (652.4 KB)
Take the .txt off the end of it, it’s a pdf
I have mine flipped over…
Why do you want to change it out?
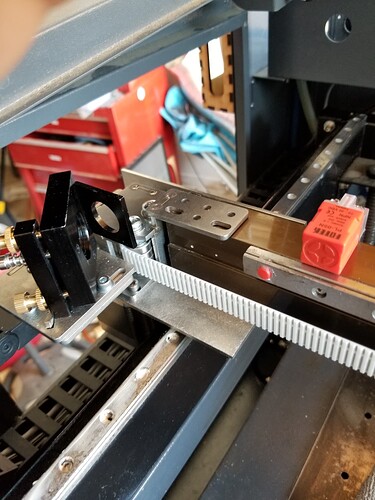
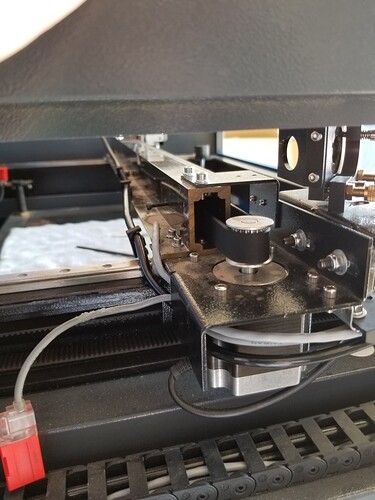
On mine it ran down the inside of the x axes gantry and I had to remove everything on the motor end to get to it… Look at yours before proceeding.
You can probably fish it through… in the photo, mine has an access panel on the left side where the motor is… it’s tough to get in there without an access panel on that side.
![]()
I asked only because I noticed the CloudRay ones didn’t specifically say they were reinforced when I think all others said they were. Seemed odd, but they didn’t sell other belts, so maybe there was something I was missing. It’s been known to happen. ![]()
I originally wanted to replace one y-axis belt as I couldn’t tighten it any more. Then, hours later in what now seems obvious*, I realized I can loosen the tension screws quite a bit, take up the slack where the belt attaches and re-tension the belt like normal. But now that I’m typing this, I’m thinking if it’s already at that point, maybe I should replace it after all. Or it could be that the belt was always a little too long (from China) and the tensioner was already nearly maxxed out… round and round I go. lol
*My laser was used in a woodshop for over a year with minimal maintenance. Now that I have it out of there and it’s all mine, I’m giving it its first deep clean (Yikes!) and finally seeing how everything’s connected. Can I just power wash the whole thing? ![]()
So,… I was open a new topic about belts and this one appears as suggestion! Great!!!
Last weekend my laser machine starts to make a very big squeak on the X axis during a 6H project (this was my longest until now). The stepper motor was very hot compared with Y axis so I interrupt the job.
I know Y axis as much less movements (in this precise project) but at the time I played safe. So, after loosen the belt, check the stepper motor and the squeak disappears. Mounted a spare belt I had and silence returned home. ![]()
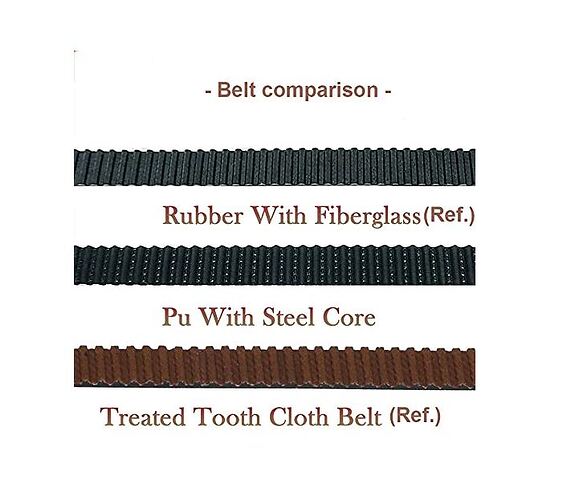
Now I am looking for belts and I come across at least three different types.
Rubber with fiberglass core is the type in use right now.
I wonder if those with steel core are better.
Perhaps stronger and more resistant to pulling, which is, in my opinion, the main purpose of these belts. However, when evaluating the construction of the same, I notice that the steel filaments are very much on the surface (internal) and I fear that they will begin to wear the pulleys carving grooves. Do you agree with me?
Then there are the “Treated Teeth Cloth”, such treatment consists in what exactly? More grip only? Less wear?
With this I intend to be more informed and satisfy my curiosity because, taking into account that my machine has a maximum speed of 4000mm/min, the X axis only drags the laser head and the Y axis has two stepper motors and two belts ( one on each side) it seems common sense to me not to want to be (as they say in Portugal “more papist than the pope”) that is to say to want to be more perfect than necessary, and use conventional straps without too many requirements. Am I correct or,… not so much? ![]()
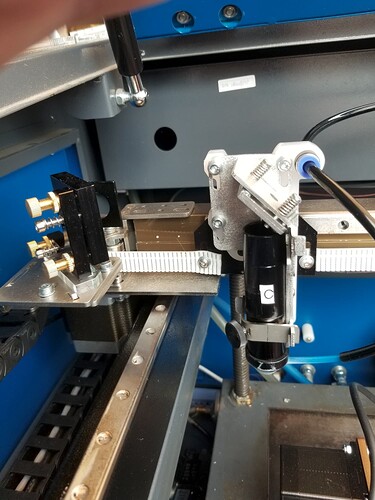
When I upgraded my drive mechanics to a rack and pinion style X axes. Belt teeth are outward facing …
Russ Sadler recommended this belt…
1 x AT3 Standard Breco® Open Length Timing Belt (1742) = £39.11
Width in mm 15
Length in metres 2
Nylon covering Not Required
Tension Cords Steel
Material Standard 590 White PU
My understanding is that these are timing belts so I’d follow along in that direction… I have a pdf (remove the txt extension) on timing belts, maybe it will help…
The_World_of_Timing_Belts.pdf.txt
Good luck…
![]()
Hi Jack, I have done a quick read on this at the time I found this thread.
I also have some experience with straps (as a result of my day job)
What is the benefit of this update? A lighter laser head carriage?
My machine don’t have mirrors, what the maximum speed of your machine? ![]()
I’ve run it up to 1650mm/s…it’ll really scream… pretty useless… the real advantage is the increase in acceleration by removing all the extra mass from the head assembly…
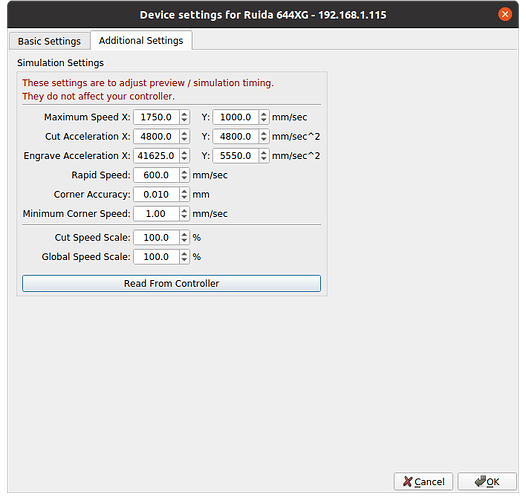
I think the 6000mm/s^2 is common on new machines… I believe that’s what mine was… it is now 45000mm/s^2… This cuts down on turn around time, lowering the overall time required and reduces overscan.
These are two previews, left at 40000mm/s^2 and 6000mm/s^2, the same image with only a change in the acceleration value… You can see the overscan around the image… the red is where the laser head is traveling… Notice the time difference 6:53 compared to 10:07 for the same job.
I started out with an OMTech 60W China Blue… this is close to new then how it looks now…
This video explains what happens that causes what’s referred to as curtains and is more prominent when you engrave deeply.
This is the fix Russ worked out and what’s on my machine…
Good luck…
Have fun
![]()
Does this mean Lightburn uses the $120-$122 parameters in the run time calculation? Can I bump up my 10mm/s^2 to what?
Absolutely… it has too.
They can be viewed from Edit → Device Settings → Additional settings
Yes, you can change them to whatever you want. Assuming the hardware can handle it.
There are a lot of videos out there on tuning up a cnc3018 type machine… it pretty much applies to all cnc types…
I did this to one of mine… it moved so fast it had to be tied down… it’s now about 10 or 20% above the factory conservative value. Good learning experience but …
You can keep increasing it until it complains… it will sound terrible as the fields change faster than the mechanical part can respond. Doesn’t hurt anything in the short term.
Read and save the current configuration before you change it and break it… it’s easy to do in the Machine Settings.
Keep in mind that you might do some operation down the road where that acceleration is too high and it fails… it just looses steps, in effect it’s lost…
Other than that… have fun ![]()
![]()
Copy that!
