I read a post recently by someone who made hold downs for plywood while cutting. I made about twenty of them this past week. They work fine except of course if the wood is bowed in the middle a little bit there isn’t much you can do about it. Placing magnets in the cutting area is not an option unless you want to stop the laser and reposition several times. That doesn’t strike me well.
Years ago before we had a vacuum table on the CNC, I bought a “fitting” made to create vacuum when connected to air pressure from a compressor. Unfortunately using vacuum hold down won’t work when cutting small pieces completely through the substrate.
I would be interested to know what other folks have done to accomplish this. Also, I have watched Russ’s video of doing jigsaw puzzles and sliding a plastic sheet under the finished cut puzzle while it is on the laser honey comb bed. I have tried every doggone thing I can think of to slide something under a finish cut puzzle. You can get it under the first outside row but the next row of pieces will catch on the edge of whatever you are trying to place and also on the honey comb. I would be interested to know how Russ is accomplishing this so easily because it doesn’t work for me no matter what I use as material thick or thin to go under.
If you plan your workpiece precisely, you can advantageously use thin wood screws, from below through the honeycomb. Use some wood scraps as large washers.
Does Russ not use a steel plate instead of honeycomp?
From what I could see in his video Russ has honeycomb
I tried a solid metal piece, what a mess underneath
I do not agree, I also use for some task a steel plate with punk spikes as spacers, (approx. 15mm high) it works very well and is easy to clean. However, my plate is perforated so extraction works from all directions.
Maybe a link to the Sadler video would help. He’s made over 200 of them…
Have you watched his video on Honeycomb beds? It’s rather enlightening.

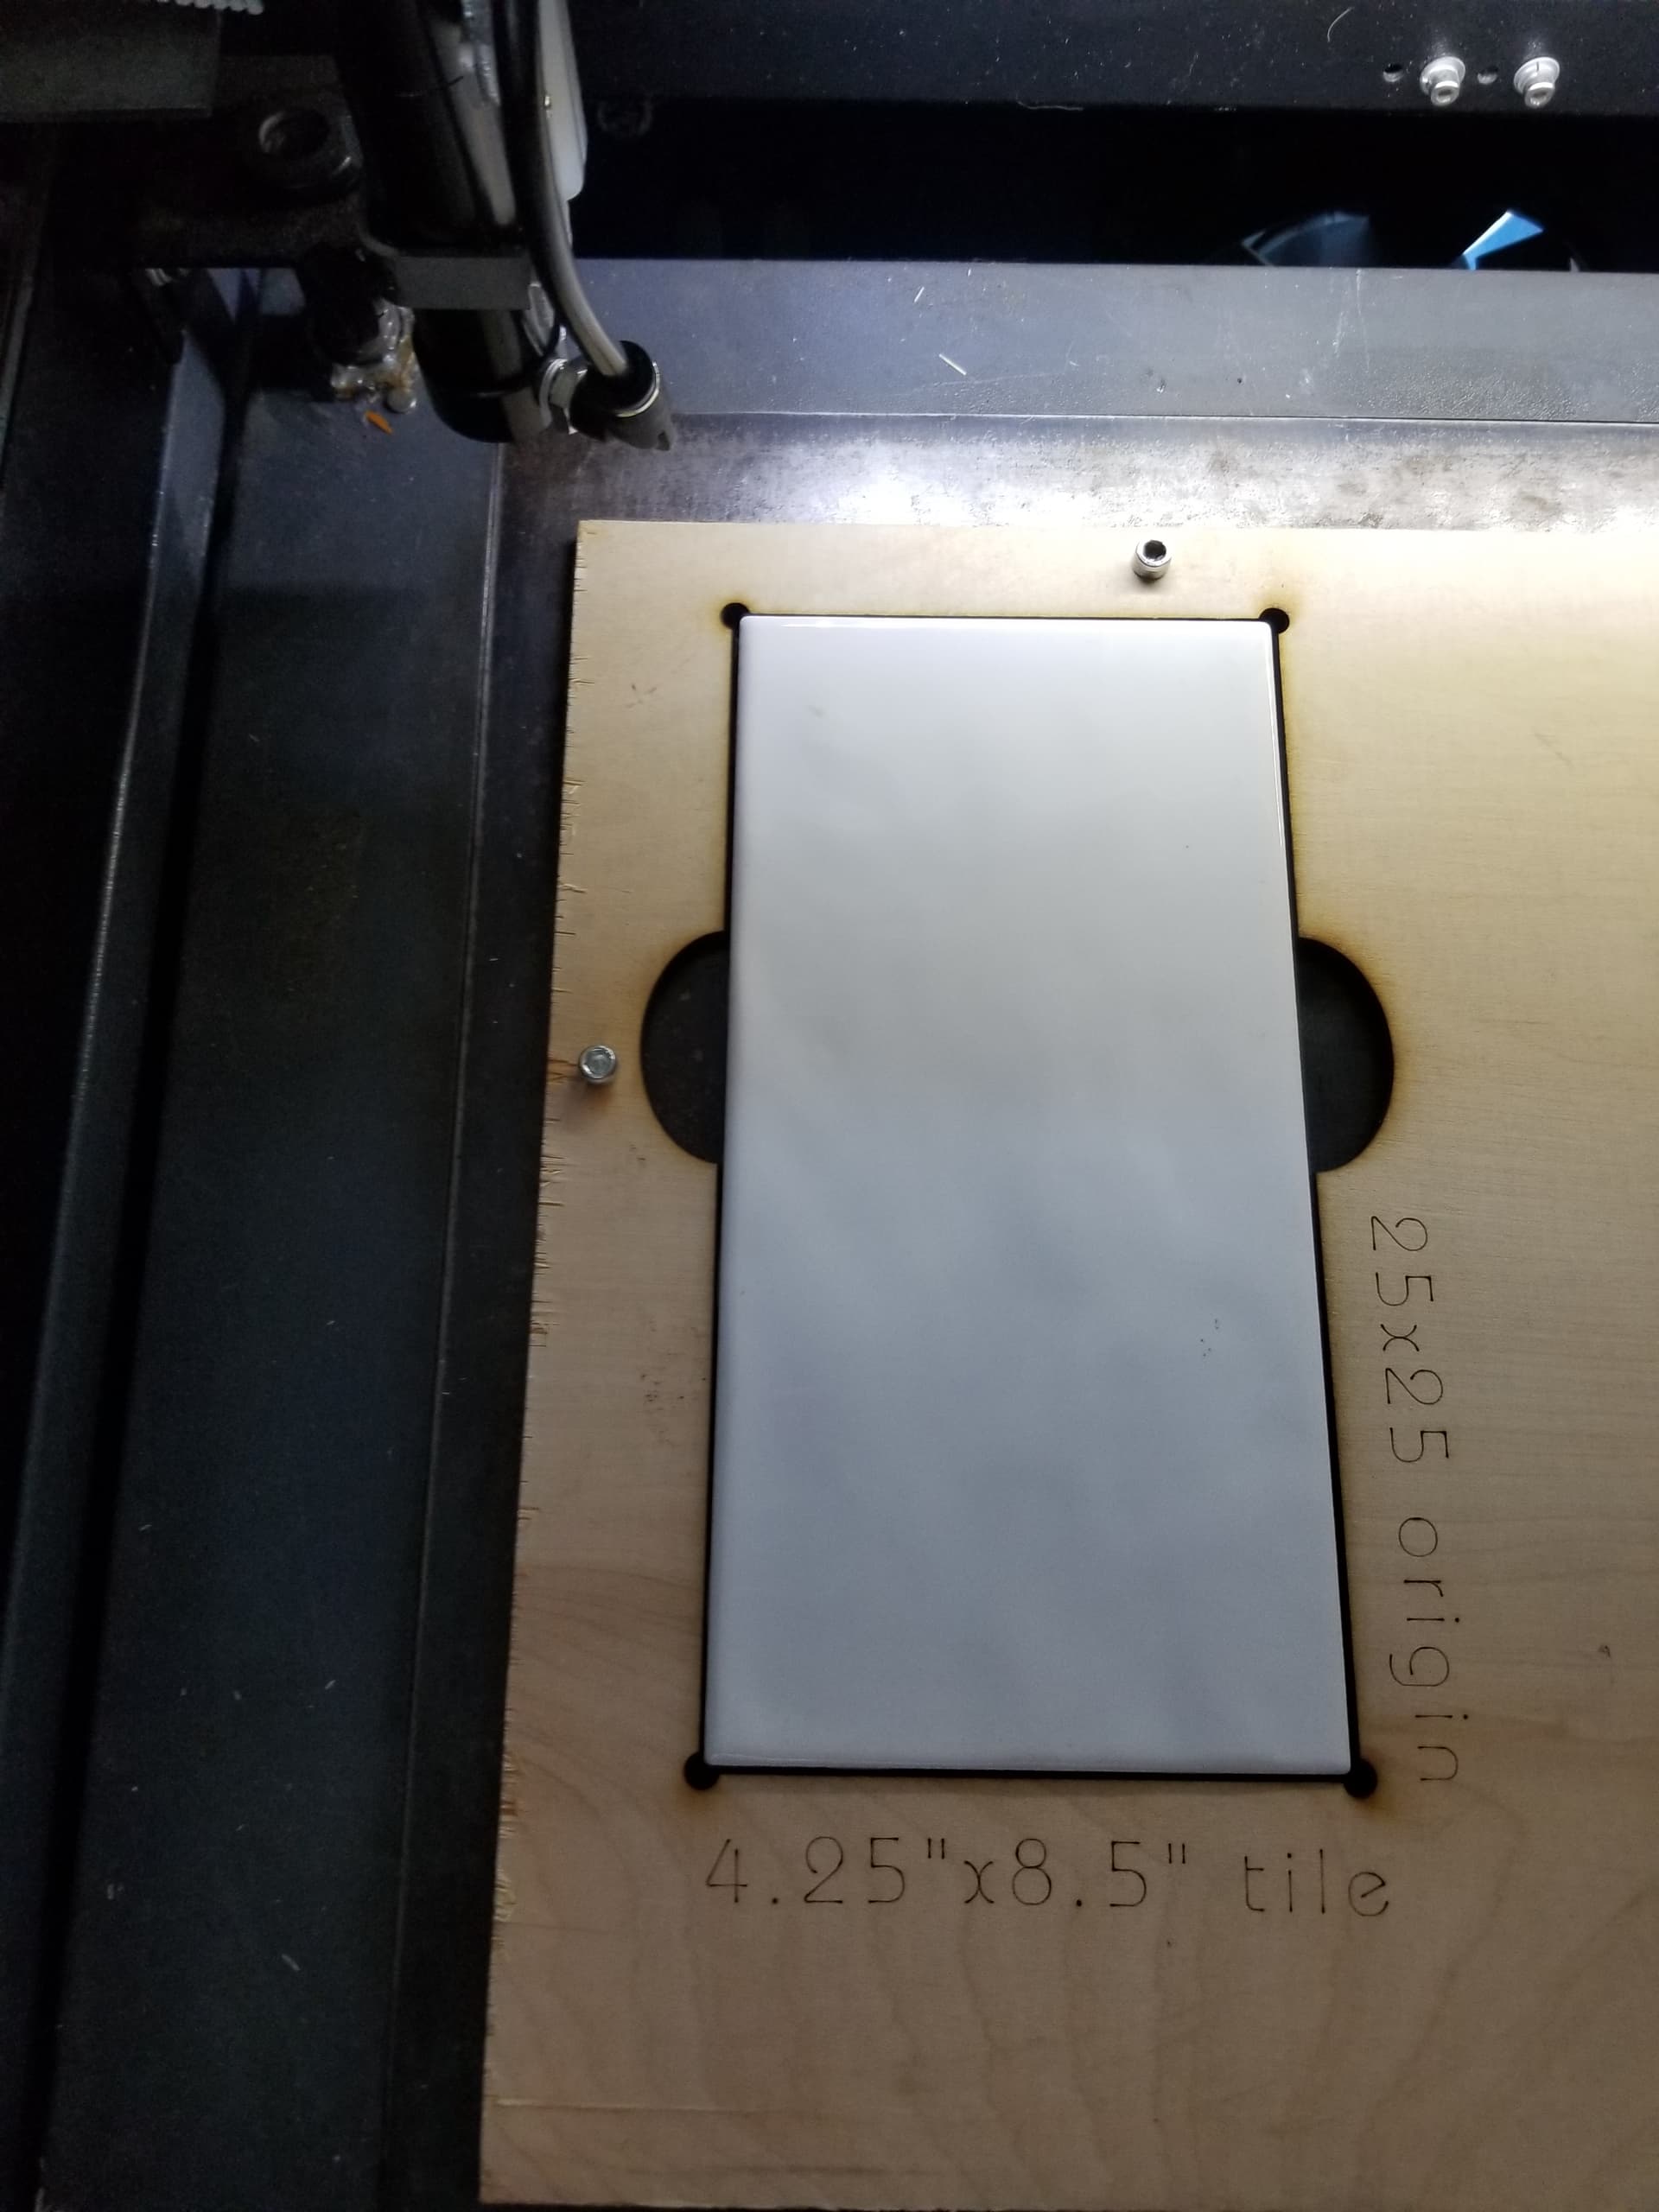
I replaced my honeycomb with a rolled steel sheet. It has some holes in it for templates.
The ‘mess’ on the plate is easily wiped off, unlike a honeycomb, where it needs to be soaked.
![]()
Don’t forget, I am cutting small jigsaw pieces as Russ is doing.
I watched his vids. I haven’t tried the steel plate since using a higher volume air compressor and setting air assist at 45psi.
My puzzles don’t need soaking to clean the side next to the honeycomb and the mess on the photo side does not wipe off easily. Again, it may work better since I jacked the air assist. I will try it on a small puzzle.
Cut vapors are full of the whatever the tree had. When it hits something cold the junk condenses out.
It’s inside the honeycomb. It’s on my steel plate, but just wipes off.
Assume the photo is down facing the honeycomb…?
The ‘mess’ on the photo side is probably from the laser hitting the previously deposited ‘stuff’ stuck to the inside of the honeycomb and burning it. Which I why I mentioned they needed to be soaked to get them clean, not your photo…
Used to use jigsaws to cut puzzles in high school. Lasers never seemed to me the ideal tool for that…
If you figure out a good working model, please post…
Good luck, take care.

Jack,
I agree that most or almost all of the gunk is from the wood.
That said:
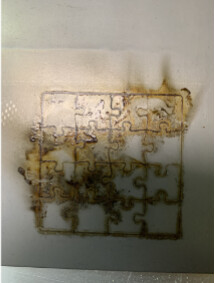
That SS is what I get when using a steel plate under the item I was cutting.
I am doing more work on this. I never give up!!!
I think it’s pretty clear that the steel plate isn’t good either. The problem is always going to ‘where is the cut stuff going’ I haven’t cut puzzles on mine but have cut finger joint boxes and such.
I set my stuff on 5mm width magnets off the steel table. I rarely get anything deposited on the back and run about 20 to 25 lbs pressure when cutting.
Keep searching… It would be neat to use a laser for that…
Take care…
I do a lot of puzzles as well, and have a honeycomb bed. When I am cutting my puzzle, I place a piece of sacrificial Masonite under it. ( Sometimes I use photopaper to slide under after it burns ) Whole thing comes out of the laser then in one piece. I clean the top off, with alcohol or such, then place another Masonite piece on top. I can then flip the puzzle upside down, and clean the backside. Some people use transfer tape on the back to prevent this, but peeling it off all those pieces isn’t worth it for me… I do have a YouTube vid of my process.
Paul,
Thank you for comments.
I have had no luck with sacrificial masonite under the plywood with photo glued to one side. It was a big glob of gunk. lol
I am getting close to an answer to my dilemma. I will post further info as soon as I finalize it.
Thanks again
That is puzzling, because you shouldn’t even be cutting into the Masonite… puzzled ( no pun intended.) What is your substrate you have the photo attached to?
5mm plywood.
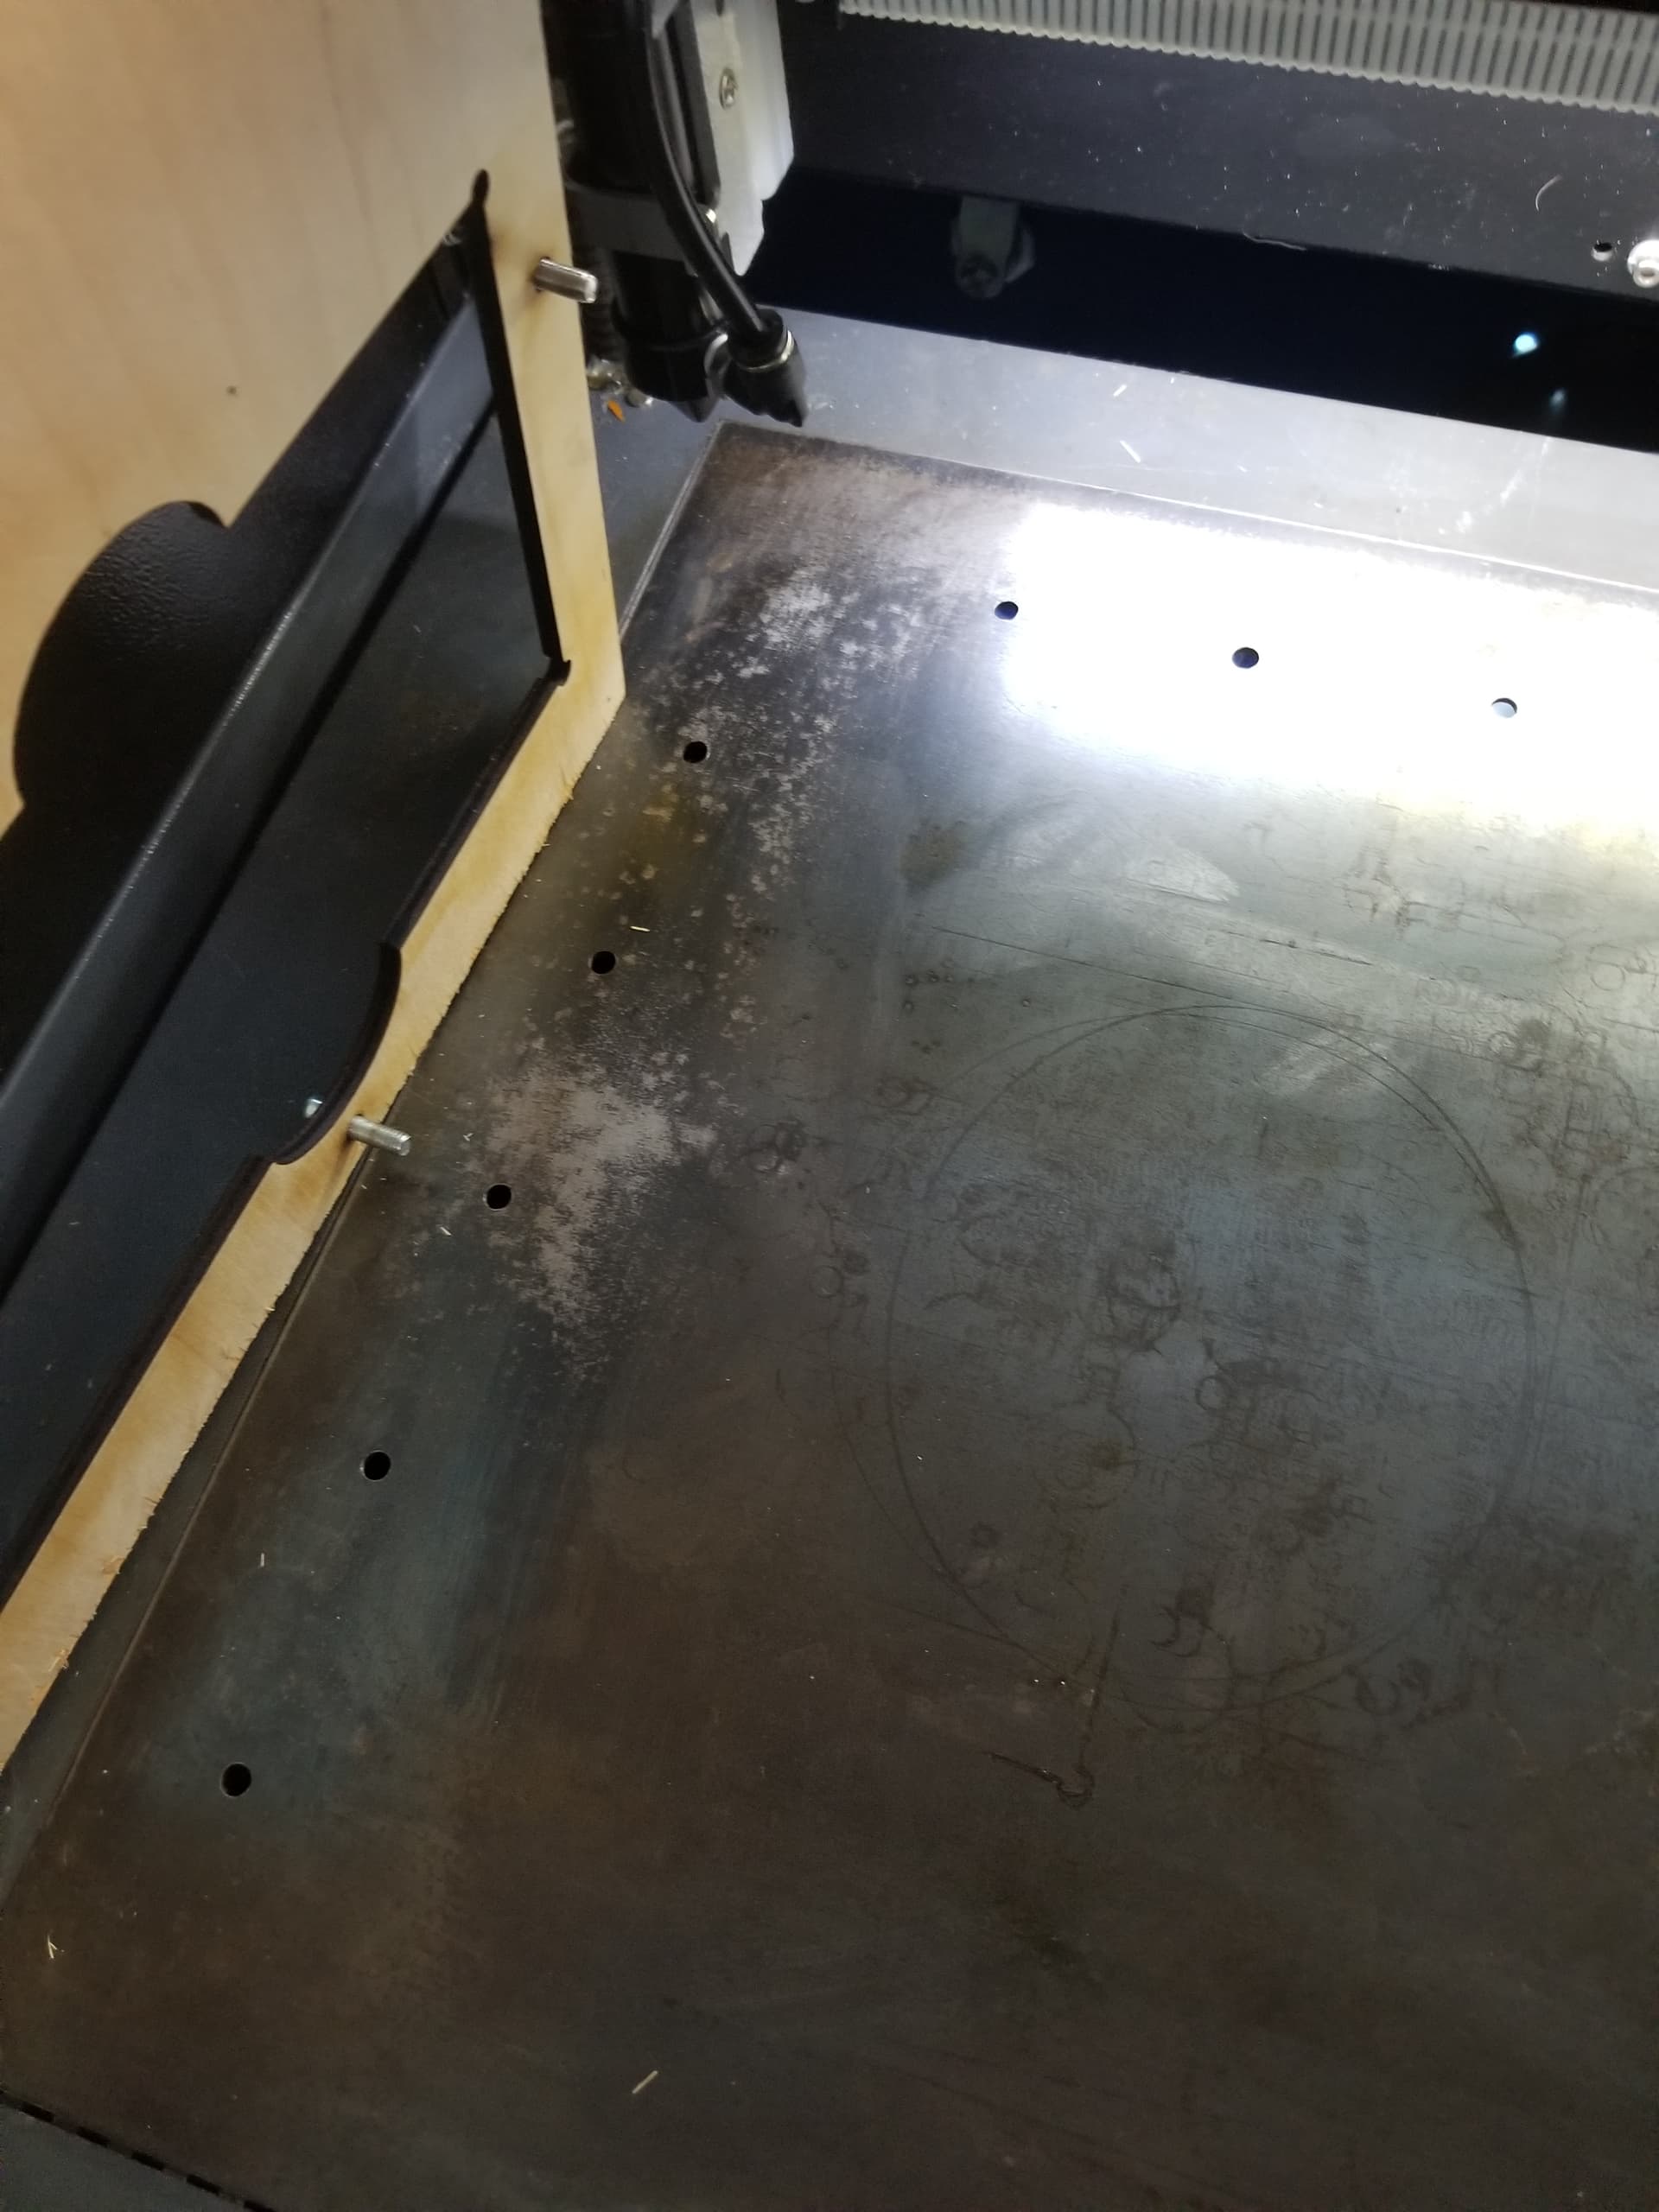
I have cleaned my honey comb and set aside.
I have 1/4” hardware cloth laying on the aluminum cross bars. I plan on making a wooden frame of heavy wood machined to accommodate the plywood. I have little turnbuckles, for lack of better name, fastened around the edge of wood that will hold the plywood down at the edges. I have found that after gluing photo to one side, the plywood warps close to the thickness of plywood. After I apply a solution of soda and water the plywood flattens to very nearly perfect inside 15 minutes.
The hardware cloth holds the completed puzzle which I slide through one of the slide through doors or access door allowing it to rest on a plywood panel. No cleaning necessary on bare wood side but photo surface has small amount of residue that is less than optimum. I am working on that.
Not to continue this topic forever, but I use 3.5 mm ( .118 ) Dry erase chalkboard for my puzzle base. I use Scotch 3M Super 77 Spray glue on it and put my photo on top of that. I then roll it using a J roller to remove the bubbles. I then apply 2 coats of Krylon “Preserve It!” on the photo before lasering. This allows me to easily wipe off any residue on the photo side after lasering. The chalkboard, I guess a type of Masonite, has a nice edge when cut, so it looks better as a puzzle. Good luck on your ventures…
Think I mentioned before, I quit using the 77 spray glue, now use water based contact cement. I always try to think if I had to make large numbers of these puzzles what is the most convenient and economical way
I normally use spray on the photo except when I am doing prototypes
A couple of points, you don’t need 45psi, that’s high, 15-20 should be enough. Your vent air through the machine almost certainly isn’t optimal either. Ideally you want a fast vent flow both over and under the work. Some small movable internal fans can help with badly designed machines. Place them at the edge of the work so they blow over and under it towards the vent exit. Forget honeycomb, flat steel is better, put work on tall stand offs to get the vent flow underneath as well as over the top. You want just enough power to cut through cleanly, if you don’t want the parts to fall out leave very small tabs. However if the power and focus are correct and the standoffs are high enough any parts that fall though shouldn’t get damaged and you shouldn’t get any residue condensate if the vent air is good enough. Also, try cutting from the back and see if you get a clean front.
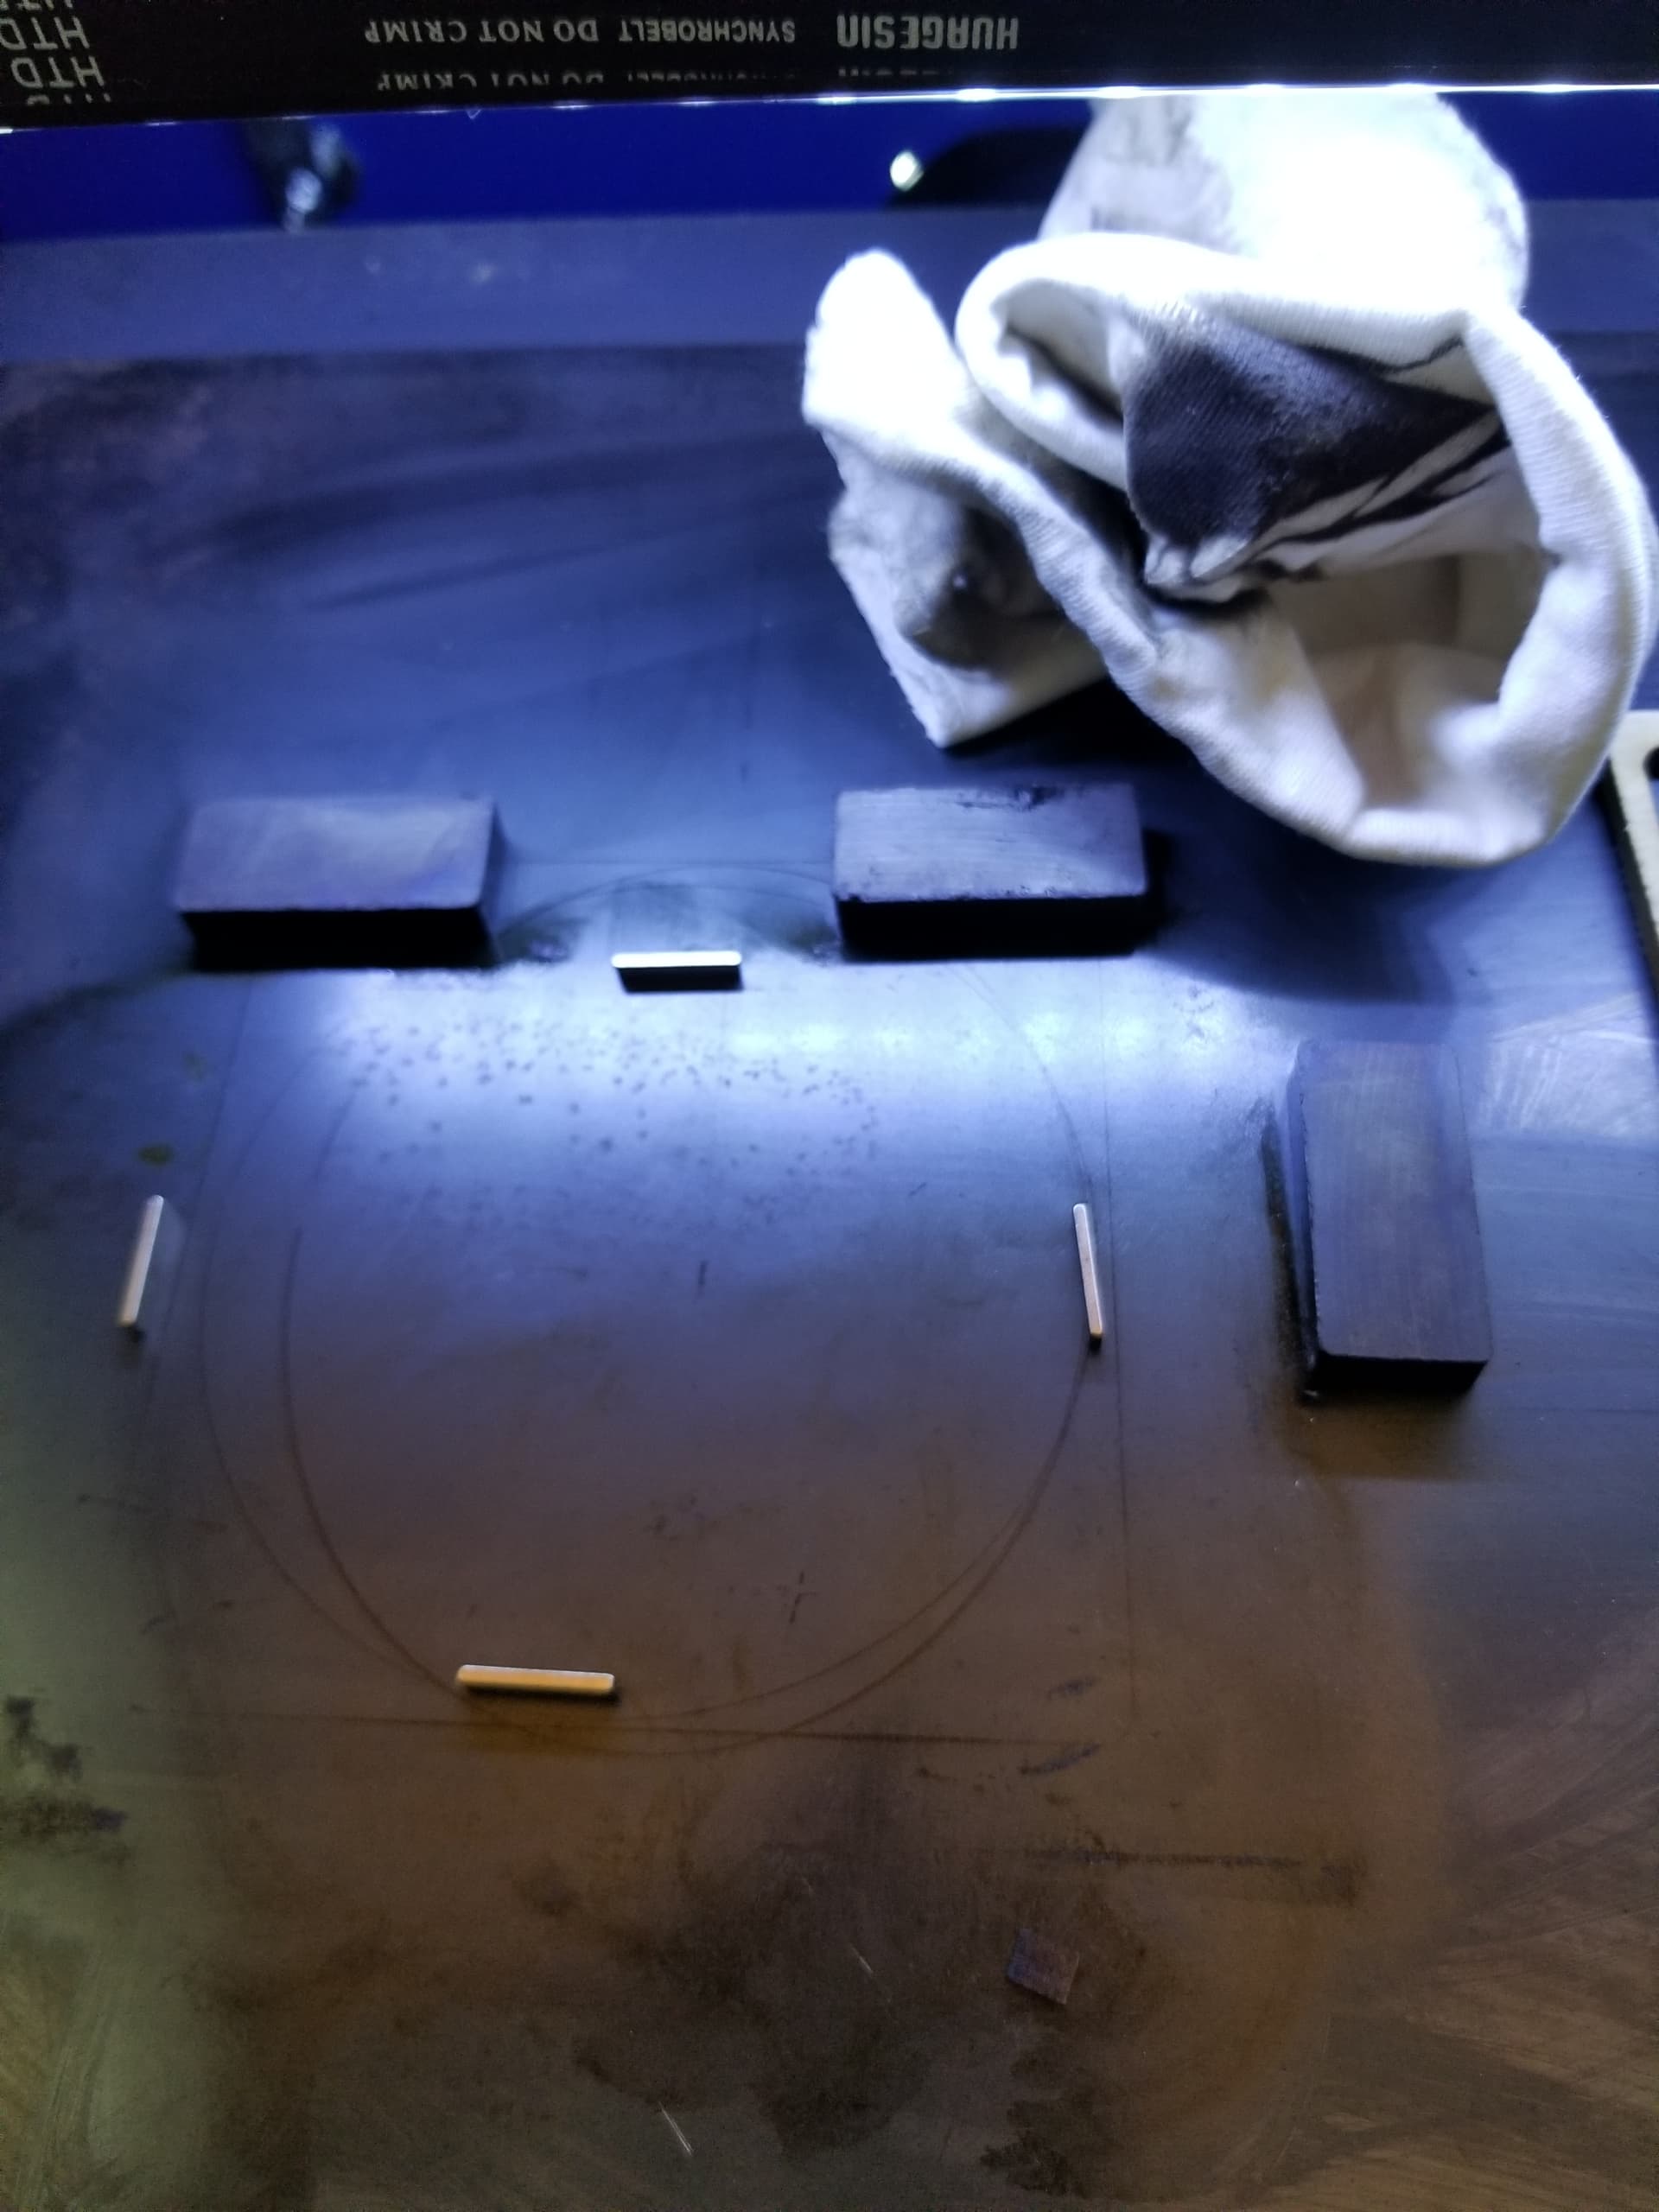
I use the molybdenum magnets that are about 12mmx5mm wide. Set them on the edge and I have my material up 5mm over the bed. The 5mm drop for ‘parts’ hasn’t been an issue with less distance to the table.
The big magnets are for ‘edge’ alignment.
After a number of them it leaves a mess…

A couple minutes with a rag and solvent, it’s clean…
Here is a ‘moose’ being cut. It’s up on the magnets. About half way through you can really see the ‘stream’ of gas coming out from under the material. I this this is about 5mm plywood or flooring underlayment.
This is why I dumped the honeycomb, what a mess and no ‘real’ controllable air flow. It’s also why my lid sits open about an inch…
Steve,
I have three fans for vent air, the final one is a 24". I have no problem removing air/smoke from the cabinet since I decided to leave either the pass through door or cleanout door open.
I removed the honeycomb. I am cutting jigsaw puzzles. I don’t want nor need the steel plate on top of the aluminum rails. I have hardware cloth and other apparatus that enables me to catch the pieces that fall out, they only drop, at most 3/8"/1/2" to the hardware cloth. The hardware cloth has little to no residue on it.
Jack,
I don’t want nor need the steel plate. As stated to Steve I have hardware cloth laying over the aluminum bars, no residue. I have devised a way to elevate the ply I am cutting to about 3/8"/1/2" above the hardware cloth which catches the puzzle pieces. I will send a photo of the way I have done this when I get the problem with finding a lens tube extension resolved.