At first I thought it would not be complicated to use a laser engraver - just create a vector graphic and “print” it. Well, I spent the last two days trying to get it work with variety of software - Laserweb, Laser GRBL and others. They turned out to be too difficult to operate or lack some basic features like image resize, so I stopped my attention at Lighburn.
I don’t understand many things about working with 3D axis device, I honestly hoped that using it would be easier, like with a printer. But there are so many different laser settings I do not understand.
Since I know nobody with such a device that could teach me some basic stuff, I hope that you would give me a hand in starting using this device.
Here are my first questions -
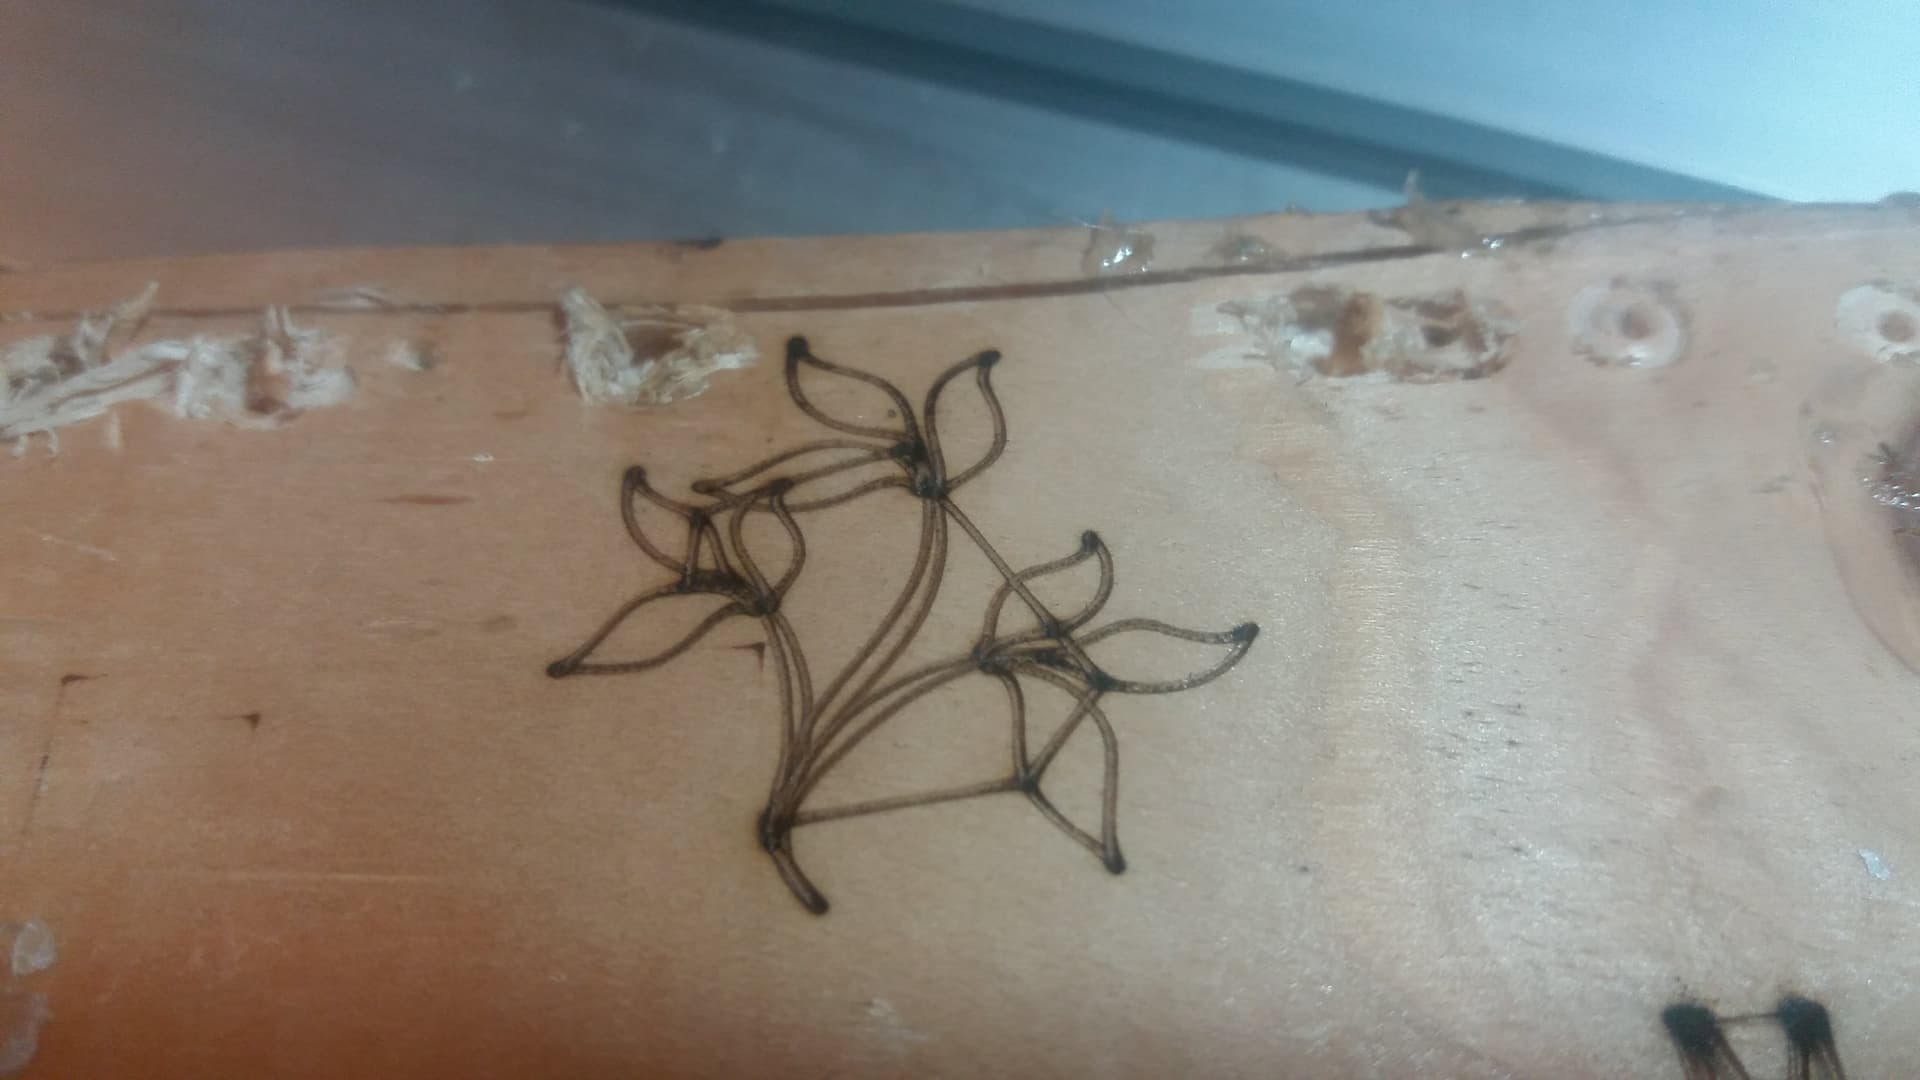
I tried to burn a vector graphic, but for some reason ii burns straight lines when moving the head. Why is it doing that?
When I click on “Frame” it just moves, but does not point the engraving area with the laser.
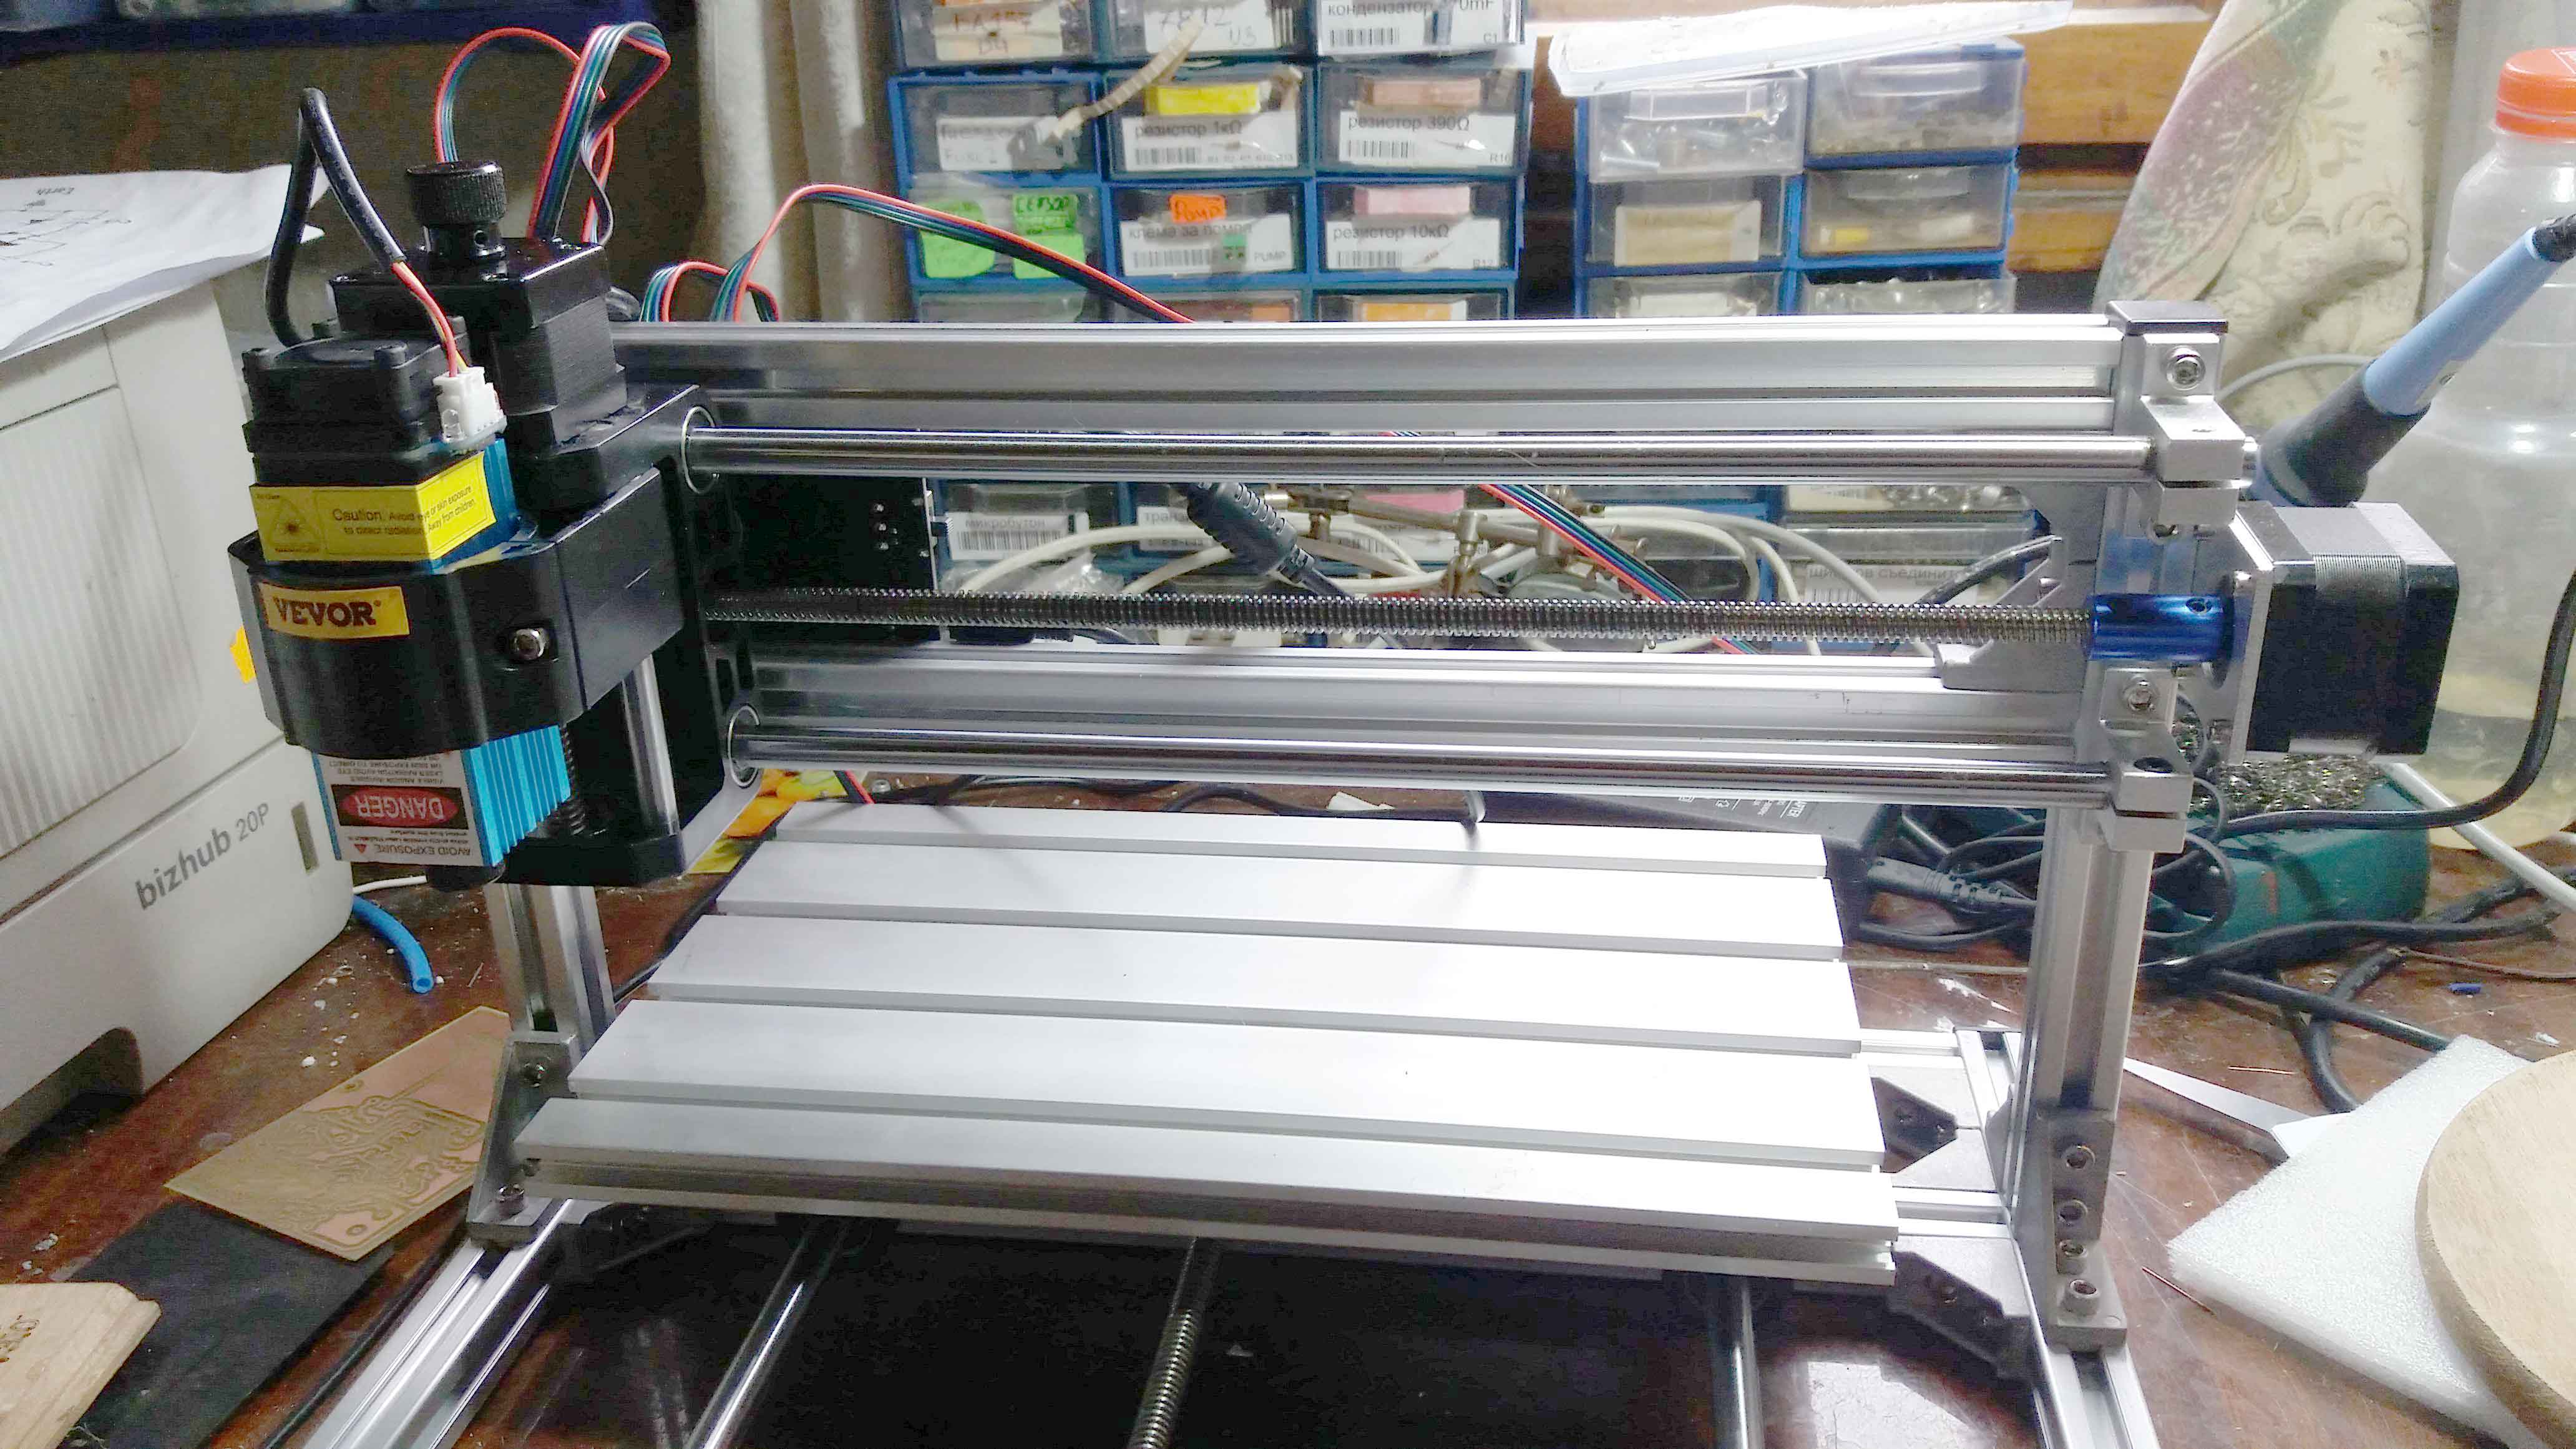
This machine does not seem to have limit switches or something, so when it hits the end of the axis the motor starts to roar loudly and I’m afraid it will be damaged. Is there a way to limit it in the software from hitting outside the borders?
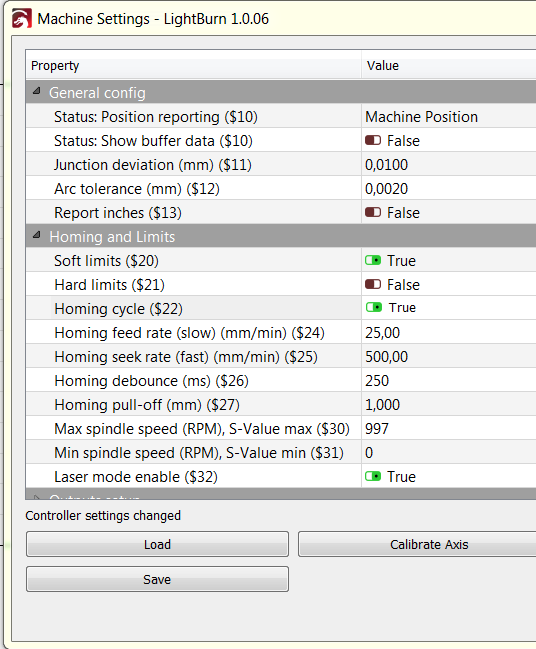
Make sure Laser Mode is enabled in Edit->Machine Settings. This should be $32=1. I suggest making a full backup of your settings before making any changes in case you need to go back.
Homing only works if homing is enabled in your GRBL settings ($22=1) and you have homing/limit switches. Typically CNC 3018 type machines don’t ship with limit switches. Check to see if you have these. If not, you will have to adapt your startup procedure or change your workflow to work without homing. Make sure you start the machine with the laser head at front left of the machine. This will set the starting point to 0,0.
Alternatively you could add limit switches to your machine.
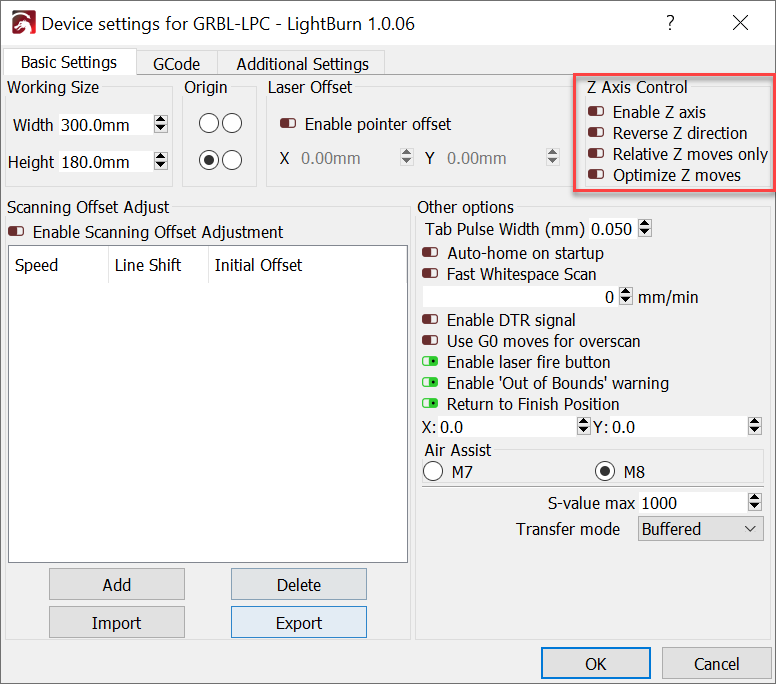
Make sure “Enable Fire Button” is configured in Edit->Device Settings
Set power level to a reasonable level in Move window. Just enough so that you can see the light with your goggles on but not enough to burn your work material.
Thank you, just enabled laser mode.
yes, there are no limit switches and I am afraid it will damage the motors. How can I limit it within the software?
Once you sort out setting 0,0 correctly to front left then you can enable soft-limits ($20=1). This depends on the size of your work area being correct in $130-$132 (x, y, z max travel in mm). Make sure $130-$132 is correct. Then enable soft-limits.
This should avoid most crash situations as long as you are working in Absolute Coords mode which I recommend until you are very comfortable with the laser.
Hi!
When I enabled soft limits I get a message “Homing cycle is not enabled in your Grbl settings.”
I enabled it, but now when I click on it would sping the Z axis and not stop, so I have to turn the engraver off.
No. Many people create a Macro to set these each time.
Ah. Sorry about that. Forgot that soft limits required homing.
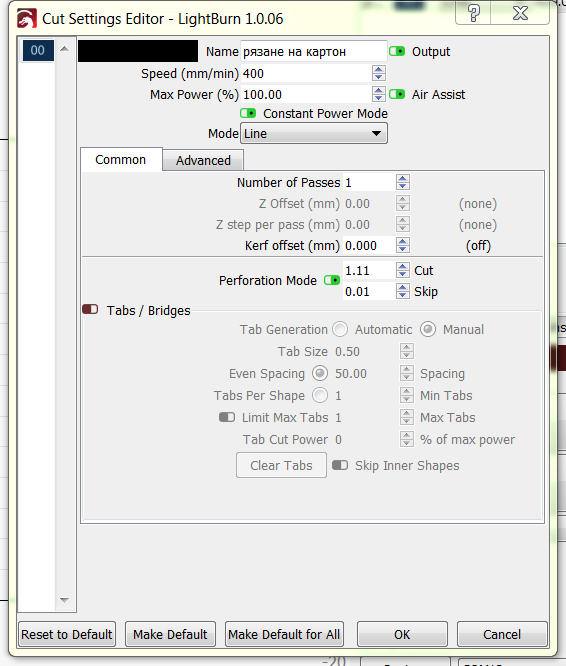
As long as you are using GRBL device type and have not enabled Constant Power Mode on the cut settings you should be using M4. You can check this by using the Save to Gcode feature and looking through the code to make sure M4 is used.
I believe that’s correct but it’s possible your machine is setup differently. You can confirm that it’s correct by checking position at all 4 corners after you startup with laser in that position. That position should be 0,0 and upper right should be (X-max, Y-max).
If these are correct settings for a particular material you can use the Material Library to store these settings
If you want these settings to be always available for that layer across projects you can use the “Make Default” button. If you ever want to restore the default just use “Reset to Default”.
If you just want the settings in a project you can create a sample project with the settings that you want and then make copies of that project file as you create new projects.
the Z axis goes up and keeps crashing even after I turn the engraver off and on. The only way to stop it is to disable soft limits again.
Is this how it is supposed to be?
Z home is all the way up by default(or tradition). It keeps the mechanical cutting devices from plowing into the bed or workpiece and it helps the mechanical cutting devices jump out of the work before going home. I think there are a few ways to address this.
Are you going to use the Z-axis operations in your next few projects?
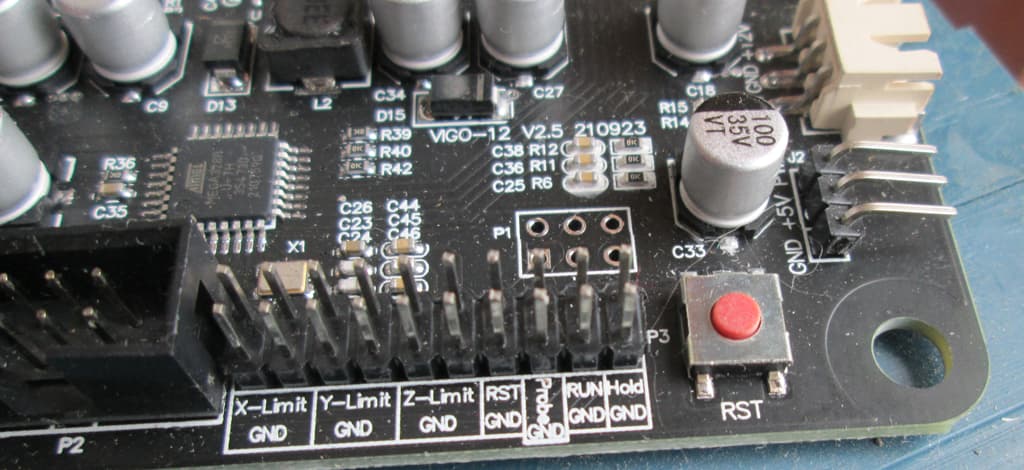
The seller was very kind to send me a new control board with limit switch pins, so now I can attach limit switches to the CNC engraver. Any idea what is the “Run” and “Hold” connector for?