Newbie. Ortur sometimes "forgets" position and old jobs are all shifted!

I have an Ortur Laser Master 2 Pro S2 LU2-4-SF. I’m using Windows 10 Pro. If there’s any other info you need, just lemme know!

I am a newbie with lasers, but I have successfully made dozens of nicely centered wood or slate coasters with my Ortur, and I find the LightBurn software to be very pleasant and intuitive to use.

I taped myself a “corner” on my waste board to butt my objects against to easily place my images on the coasters and have had great results doing that with Absolute Coordinates. So I was perplexed to find, after 3 successful days of burning, that when I started up my laser, it suddenly began framing on a different place!

My laser homes fine, the movement seems fine. When I entered $# in Console, I don’t see any offset, it’s all zeroed. I am using the same files I had burned successfully and saved from before – nothing about them has changed at all. However, the laser now thought that everything is shifted left by about a cm.
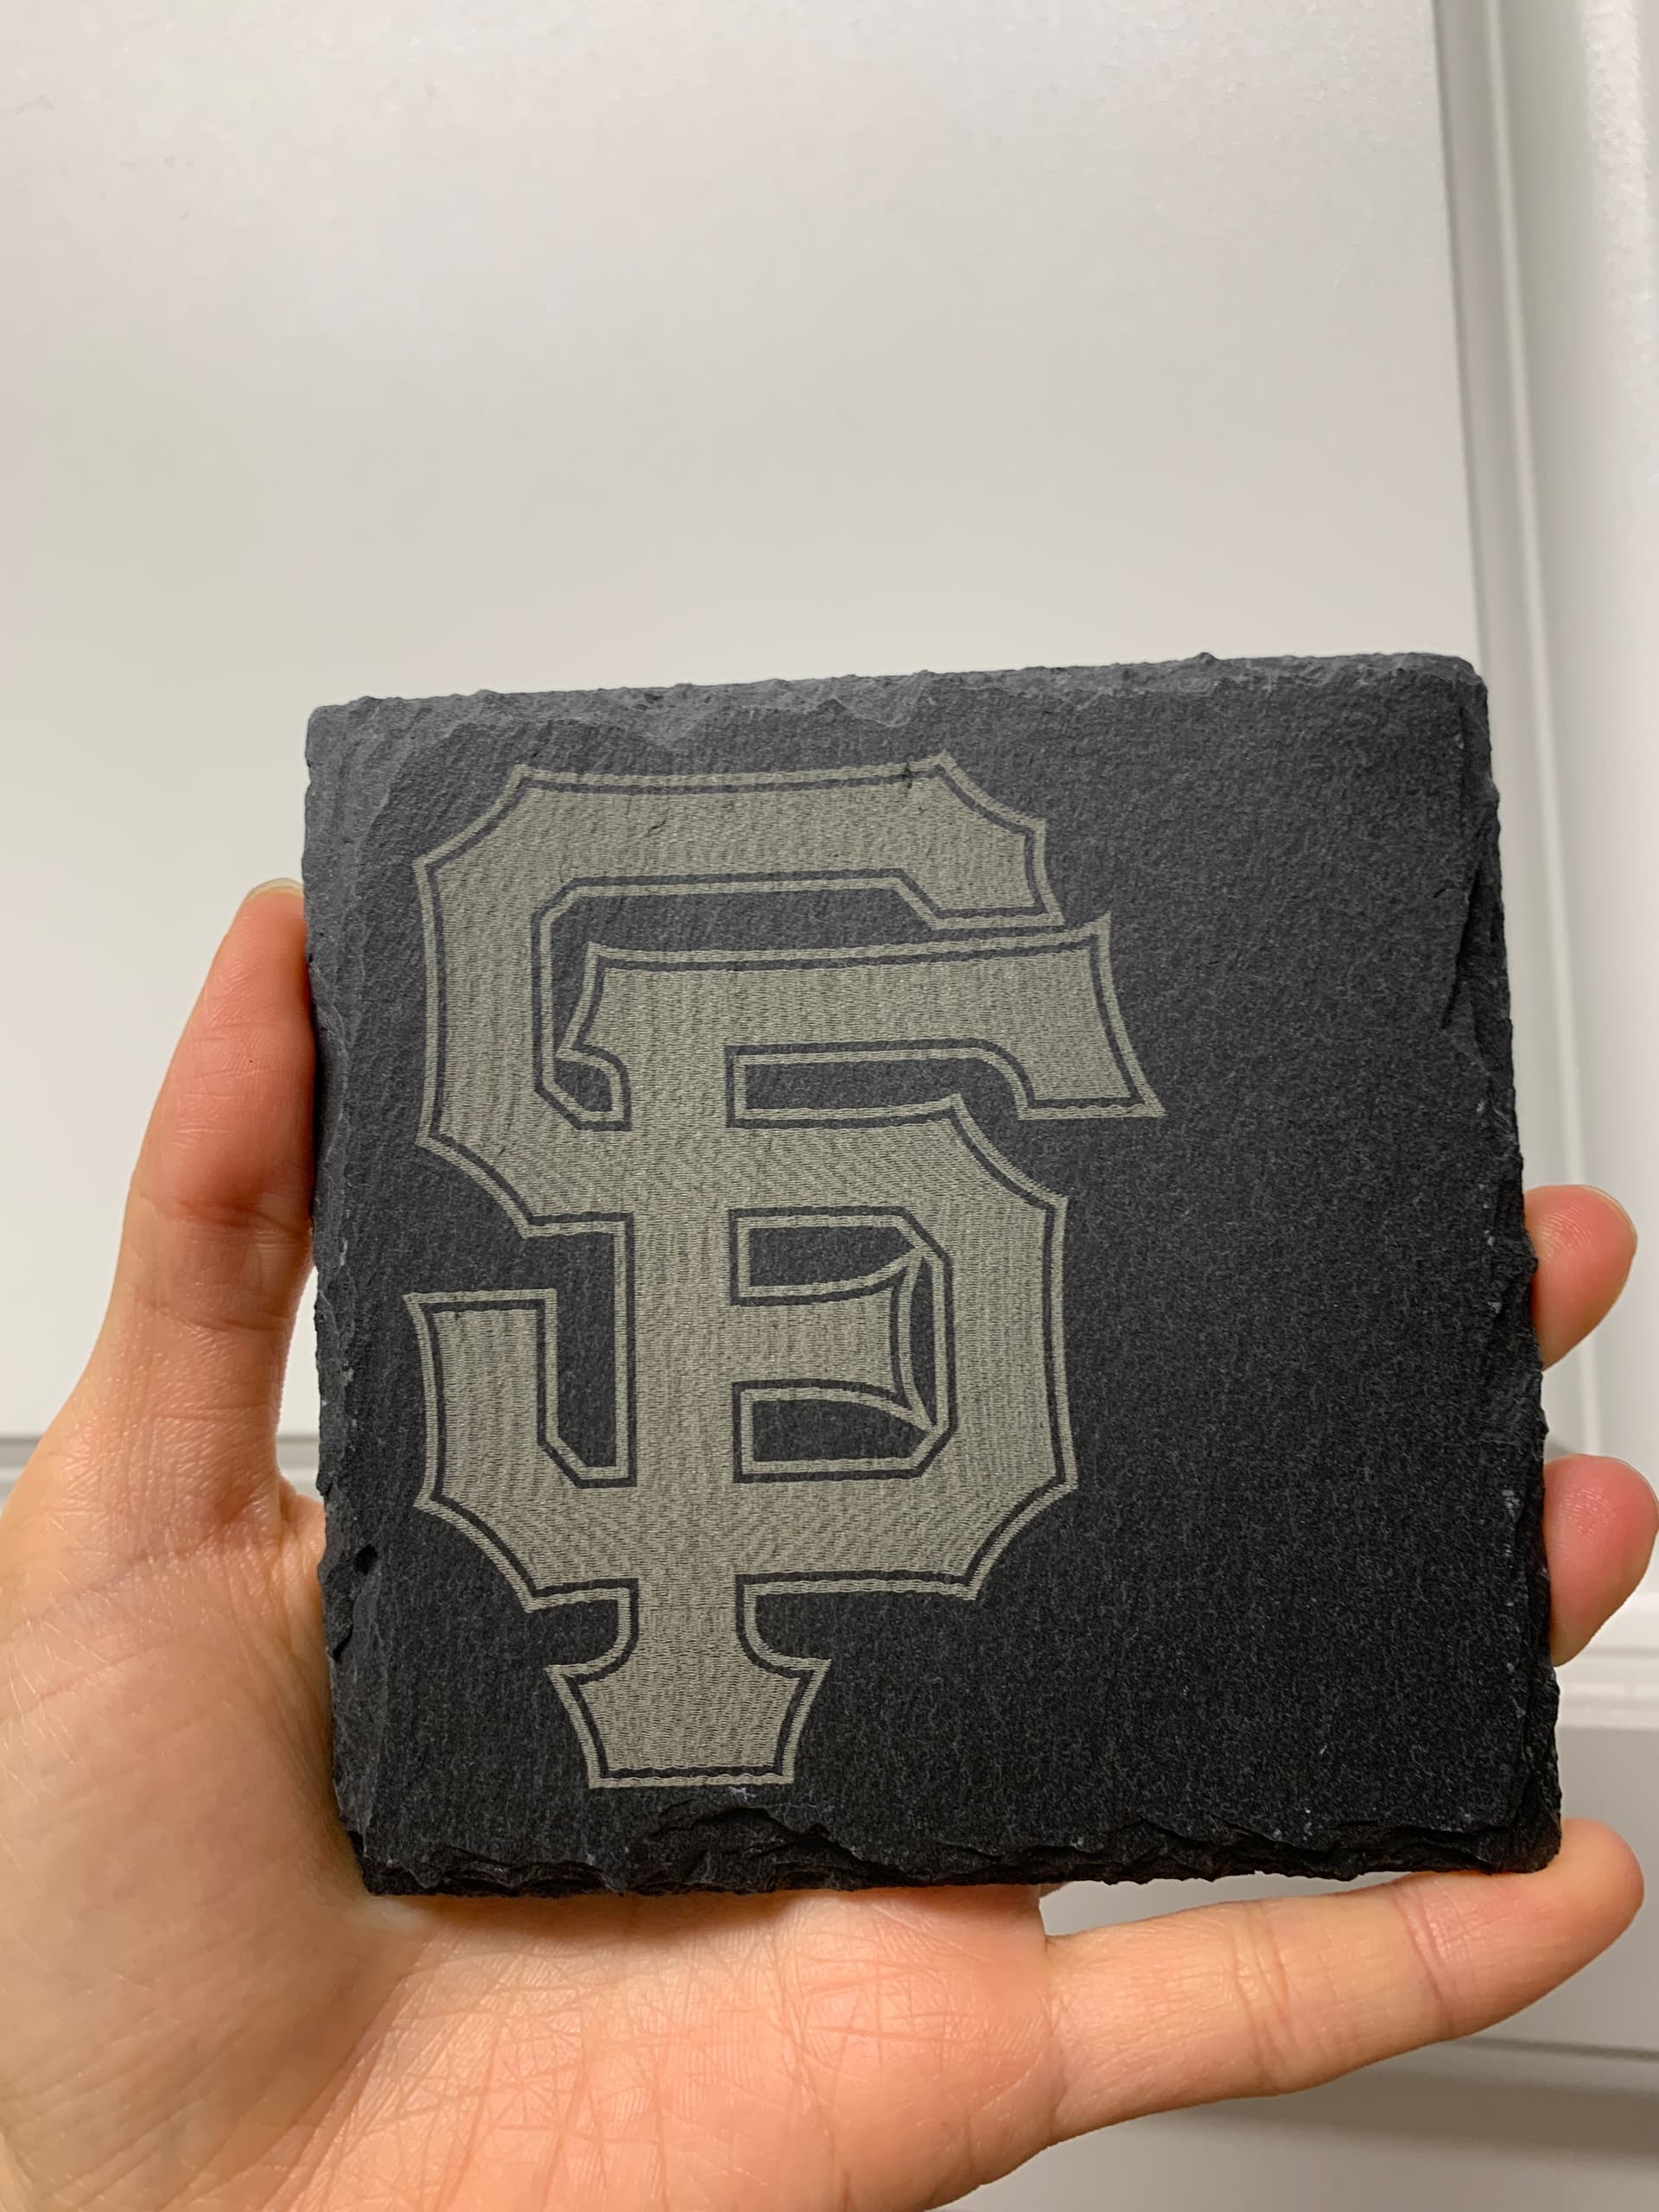
When I opened other files, it was the same, everything was shifted to the same new center. :open_mouth:

After spending all day reading forums and asking laser online buddies, I ended up giving up trying to fix it, and ended up making new files of each image with the new center my laser wanted.
I burned a bunch of nice coasters for another two days or so, then when I was gone for the weekend and came back to continuing my coasters, I found that everything was once again shifted. This time, everything is shift about a cm to the right and down instead of left!

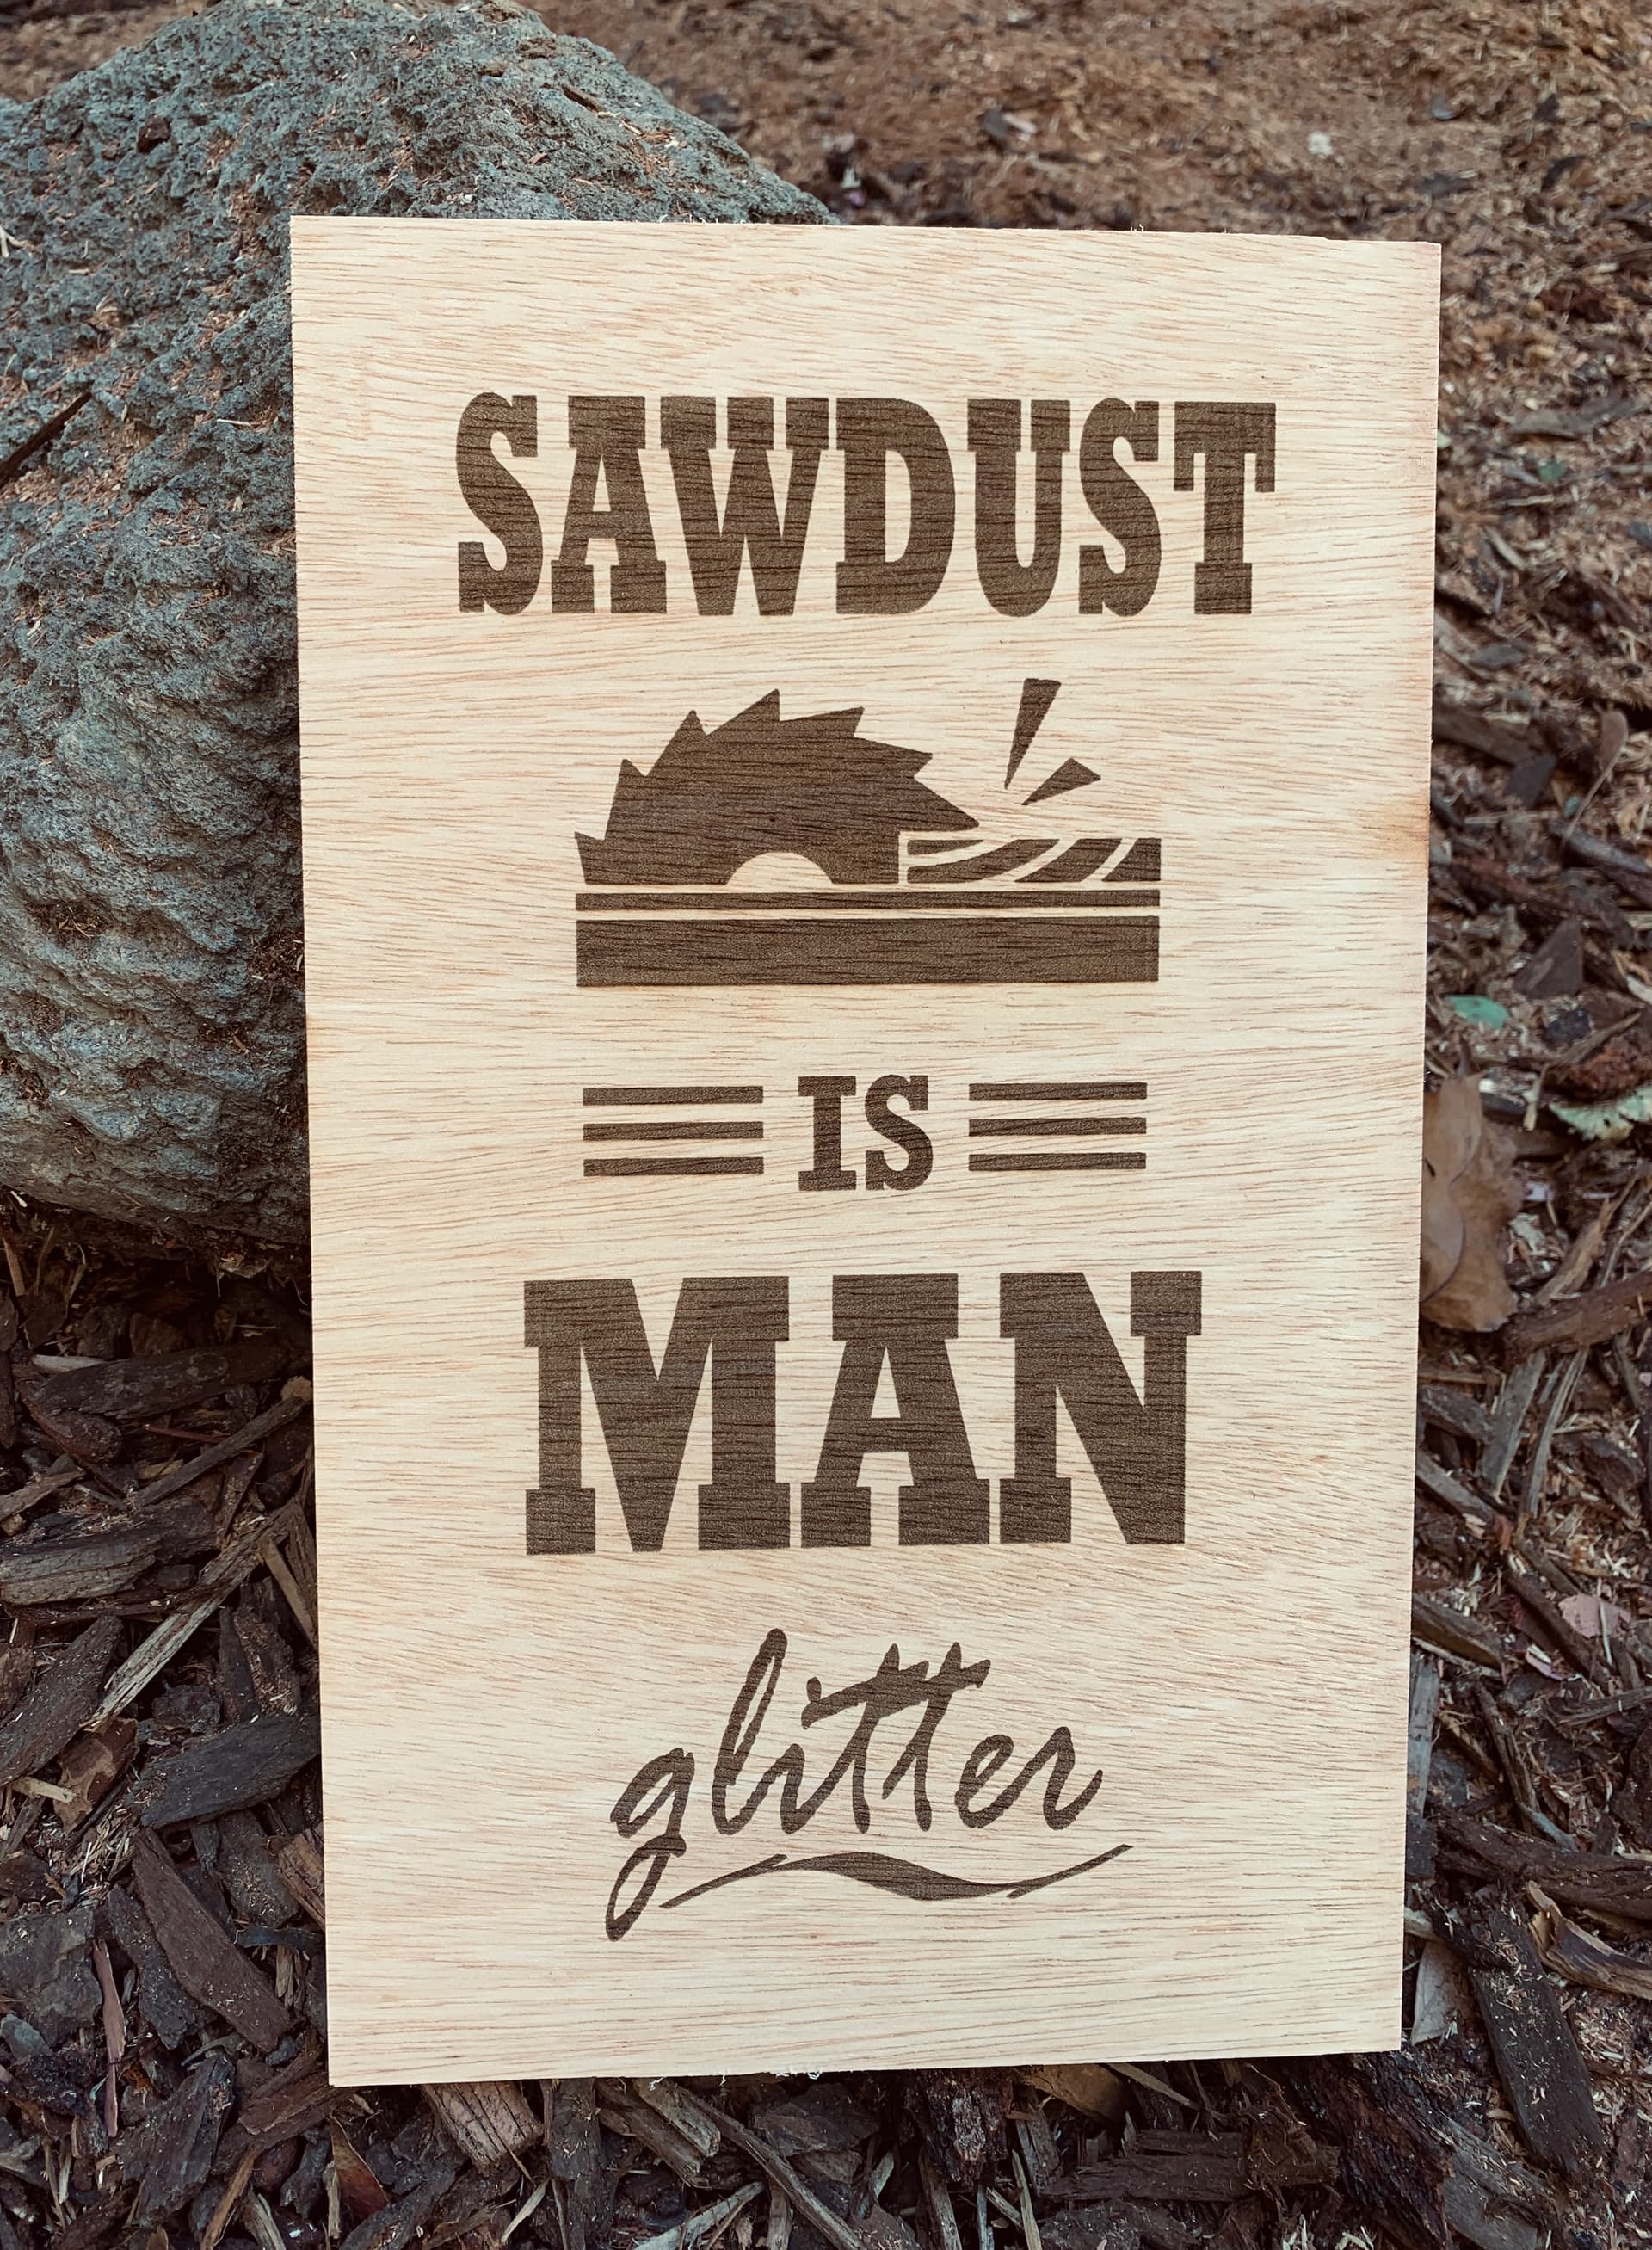
I had chalked up the first issue to maybe doing something dumb while working on it sleepy, but now, I feel certain it isn’t something I’ve done. It sounds unscientific, but it feels so out of the blue that I cannot determine why this is happening, why it’s only sometimes after I return after leaving it overnight, and why it is moved in another direction this time. Nothing about the issue feels consistent to me. :frowning:

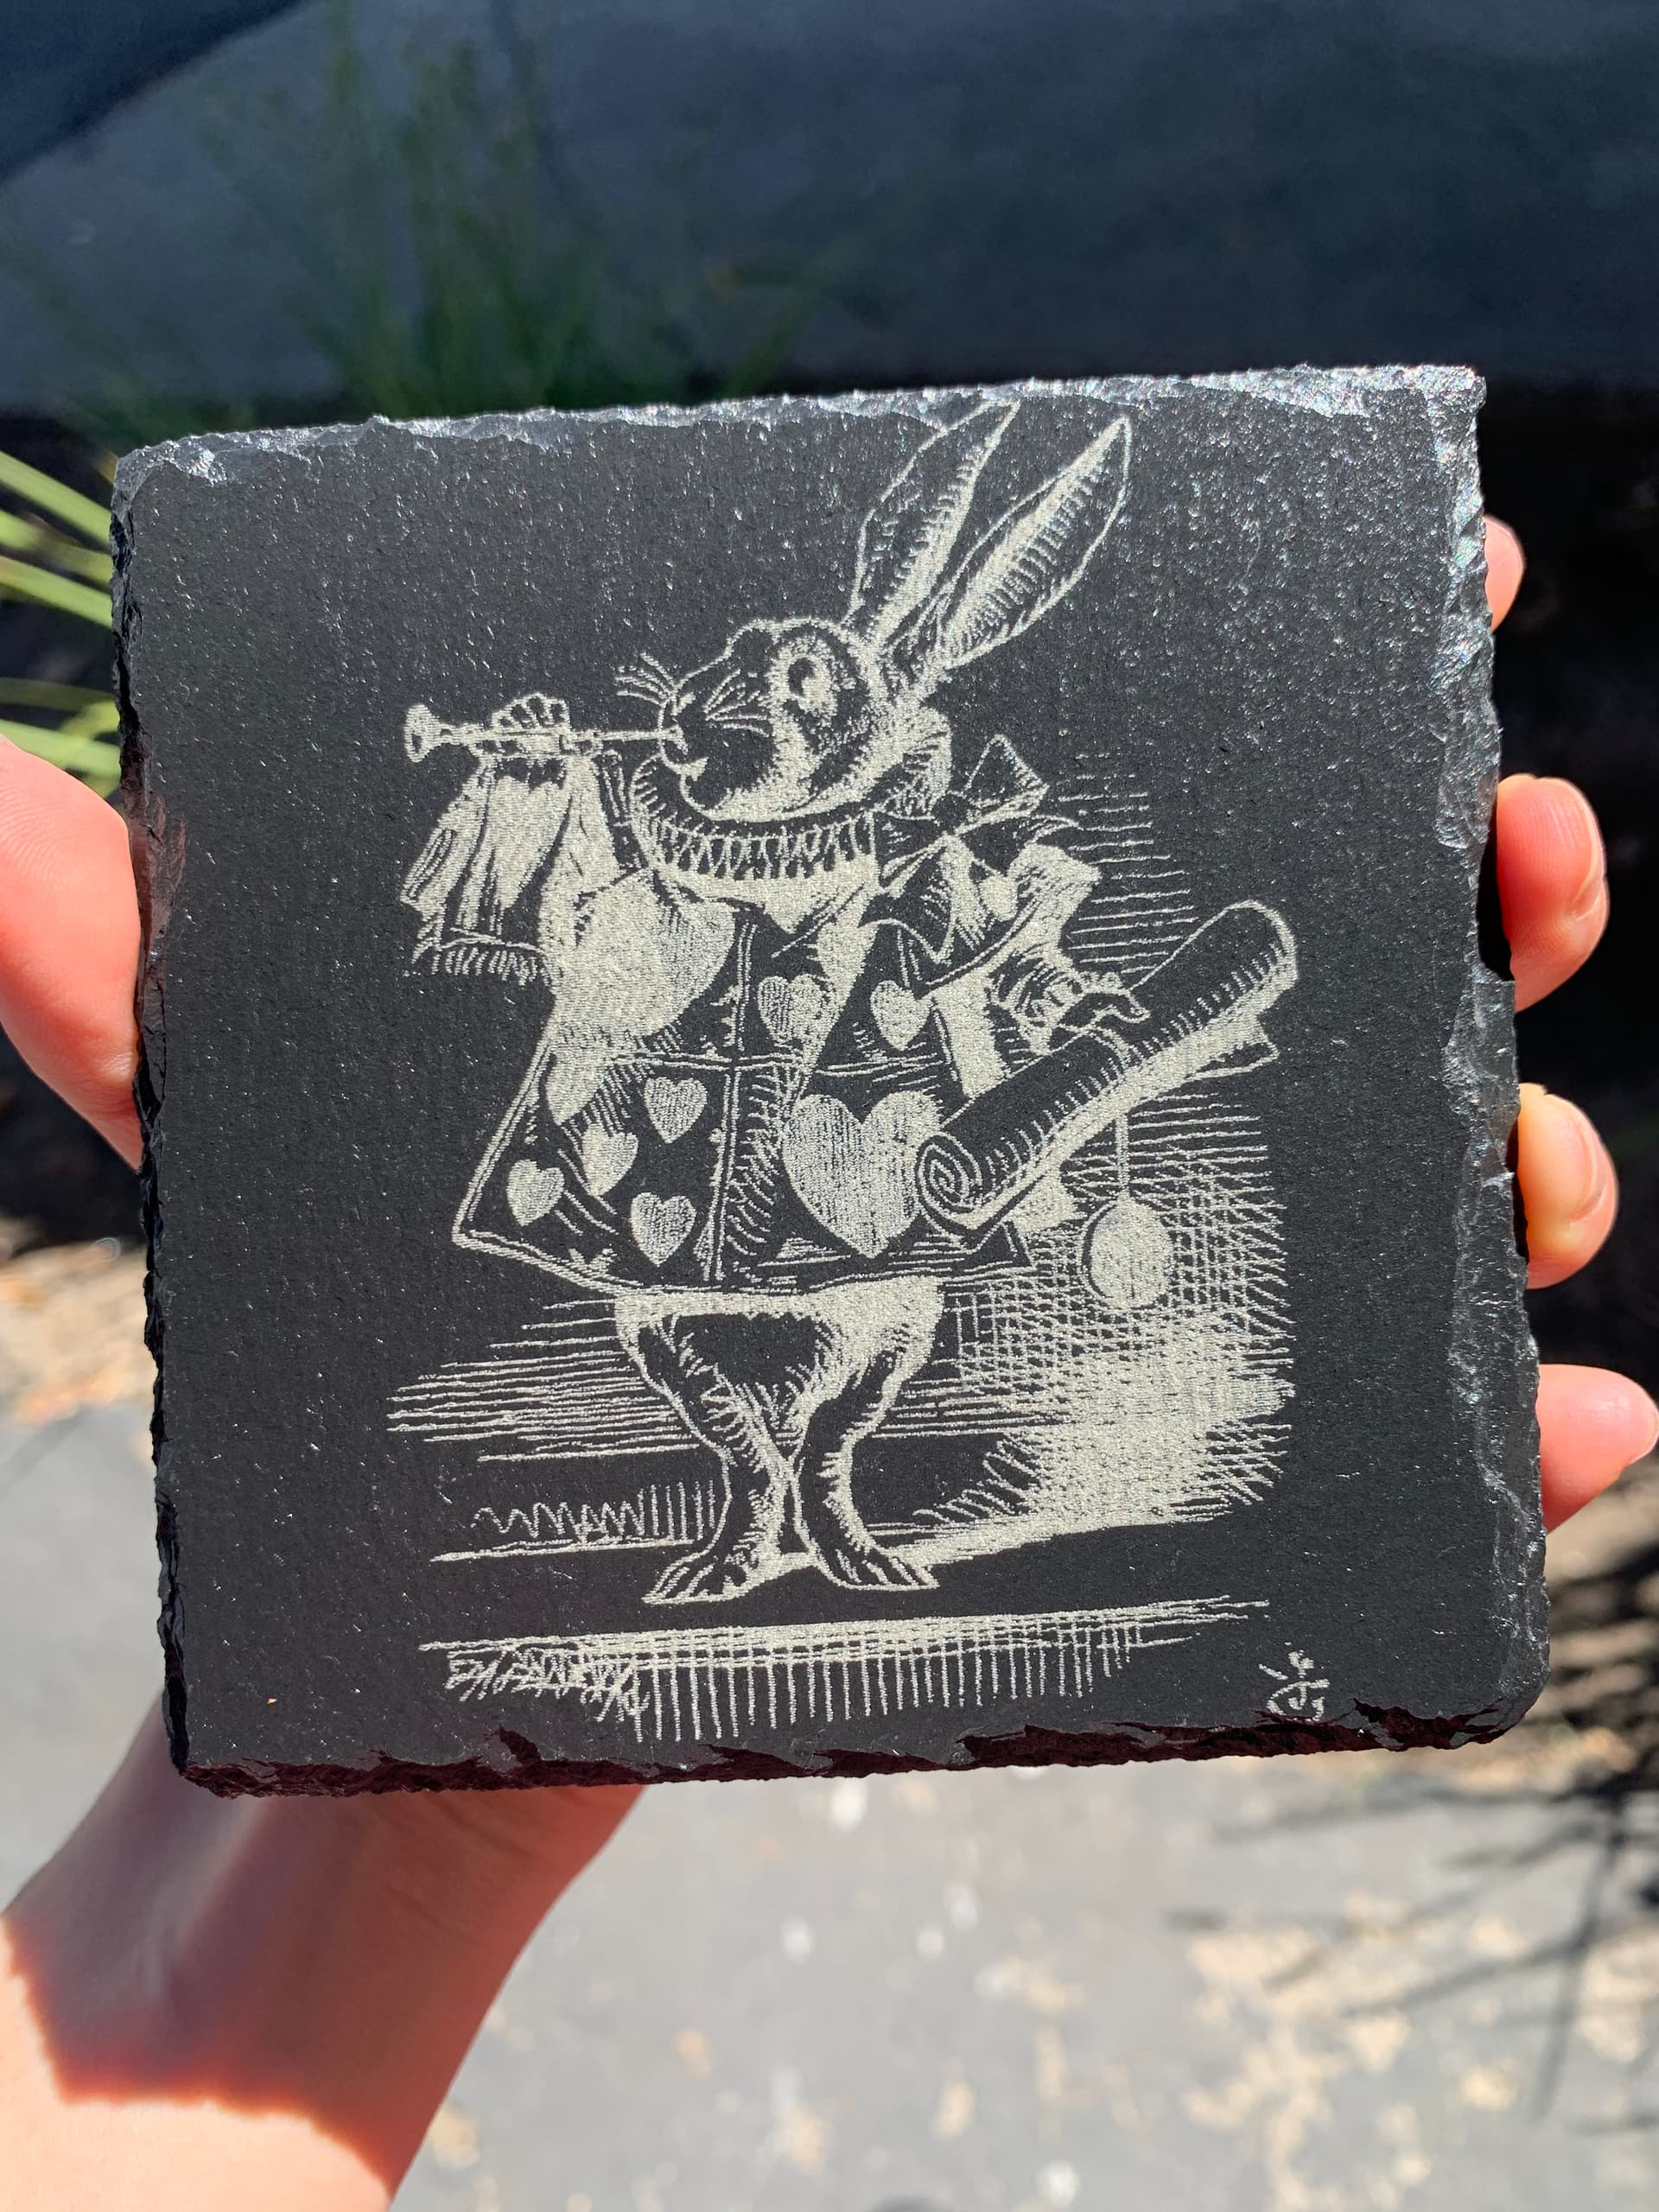
Thank you to anyone for reading and for any suggestions or insight. Please lemme know what other info you may need to help me with this strange issue. If I can solve this, I cannot wait to burn other materials and items other than just coasters haha. :blush:

1 Like

I know you’ve checked output of $# but I’m curiosu if you’re getting full output or if you get an error part way through.

Can you run these commands in Console after homing and then return the output text?

$I
$$
$#
?

Also, are you able to jog to every corner of the machine without collision?

1 Like

Dear Berainlb,

I just realized what is wrong. I am so sorry for wasting your time, oh my goodness. I feel so silly.

I thought that when I was creating my new templates that they were all in the same place, but for some reason, some of them are saving in a slightly different place!

I’m not sure why that is, when I try to do it the same way each time, but I am gonna go and just copy the same x y coordinates to each one, and I think that SHOULD fix it. I’ll be back if it doesn’t. :blush:

Well it’s good that you can account for the difference. Much better than making blood sacrifices before every job hoping that will appease the gremlins.

1 Like

Dear Berainlb,

Thanks again for your help previously. I got overly excited with being able to adjust my images back to the proper place at the time, but as I have continued to work on the laser, I’ve encountered the same issue again but worse, I think. :sweat_smile:

I spent a few hours burning test coasters just fine after I learned I could adjust the x y position manually (200, 200, to be around the center).
But in just the time that I went outside to clear coat some items for about an hour, the laser turned itself off (which is fine), but when I powered it back on to make some more coaster samples, the centering had jumped somewhere else once more. :dizzy_face:

But this time, I couldn’t simply type 200 200 for the x y positions like I had done previously. The images are already on 200 200 on the x y plane, yet they are in a different place in real space on my waste board.

My theory is that it must have to do with letting the laser turn itself off (maybe versus turning it off manually)? What settings are being lost/altered when my laser turns off, and how can I account for that?

Sorry for the long confused explanation. Thanks again for your time and kind assistance! :blush:

Here’s a photo of some of my successful burns. :smile:

The only thing that’s lost during power cycling would be position. However, that is the purpose of homing. That should reestablish a known 0,0 position.

Can you confirm that the machine is homing after every machine restart?

Question, are you ever manually moving the position of the laser head? As in not using the jogging controls? If so, this could be the reason for your shifting location problem.

1 Like

Dear Berainlb,

Yeah I was getting this feeling that the laser is forgetting its position and then also not understanding where it is coming from when I turn it on.

I have only worked in absolute coordinates. They’re pretty great.

I think using absolute coordinates and having it home is supposed to negate this, and my limit switches function, so not sure why it’s having problems. Perhaps I’m not homing it correctly?

My laser always parks itself at home and pushes the clicky switch before it does anything, which I thought was the homing. Is there a part of the code I can show you to see if the homing has issues?

Regarding jogging (by hand), I haven’t moved the laser head by hand for many weeks. To get to a place, I’ll either have it Frame or go to selection center.

If you mean jogging the laser head via LightBurn, I used to that a lot in the beginning before I realized it was much easier to simply change the x y coordinates and nudge the item on the waste board by hand. I wondered if pushing left/right/up/down might affect positioning?

Occasionally I’ll tell it go to home or push left button a few times if I just want to see the engraved item underneath without moving the item. Could that be related?

Thank you again for your help!

Yes, this is the homing process. The laser should hit limits for each axis, bounce back, and then hit the switches a second time, bound back, and finally come to a rest. If there was an issue with homing you would see a message in Console. Any issue should be fairly obvious, however.

Note that I’m differentiating jogging from physically grabbing and moving the laser head with your hand. Jogging would be using the controls in Move window. As long as you’re electronically controlling laser head position through LightBurn steps and position should not be lost. If, however, there’s any movement to the laser head not initiated electronically then position information will be lost.

Note that re-homing can result in a slight position shift each time. So if you’re counting on very precise placement (sub-millimeter) you should not re-home during a job cycle.

When you see the shifting, by how much have things shifted?

1 Like

Dear Berainlb,

The shifting is maybe by like a cm.

I’ll attach a pic of one coaster that I pushed Play on before checking the framing (because I had been on a perfect streak without ever needing to check the framing).

It has since re-positioned itself in various other places over the days I’ve worked with it, always somewhere nearby but certainly not on the careful positioning I made of my saved files.

I know that I’m just not quite understanding something about positioning/homing that would probably be glaringly straightforward if seen in person haha :sweat_smile:

I’ve tried pushing the home button on the Laser Window numerous times to see if it would fix it, but it hasn’t helped.

Is it possible that I somehow set a different origin point in my laser despite using absolute coordinates?

Thank you again!

This is more than I would expect slight differences in homing to be. Unless there was something that was causing homing to be off… perhaps you have a cord or something obstructing the limit switches when you home. This can easily happen. For example if there are a bundle of cables roughly a centimeter in diameter and it’s stuck between the gantry and the switch, the switch can trigger fine but you’ll be offset from your expected origin.

Not with actual homing, unless there was an offset in place which you said you’ve checked. And once set, it would be consent until reset.

Just in case, can you run these commands in Console and report back? Try this immediately following a homing cycle:

$I
$#
?
1 Like

Dear Berainlb,

Thanks for your reply! Sorry for the delay. :blush:

It’s so strange, because sometimes when I begin working on my laser, everything is right where it should be, and sometimes it’s just in a different place haha. Like now when I just turned my laser back on to the same file I’d just printed this afternoon. :sweat_smile:

I input those codes you gave me after I pressed Home, and this is what I got.

[ORIGIN: China]

[PRODUCER: ORTUR]

[AUTHOR: ORTUR]

[MODEL: Ortur Laser Master 2 Pro S2]

[OLF: 185]

[OLH: OLM_ESP_PRO_V1.2]

[OLM: GENERAL]

[DATE:22:44:33 - Oct 25 2021]

[VER:1.1f(ESP32).20210403:]

[OPT:VNMZHSL,35,4096,3]

Target buffer size found

ok

ok

$I

[ORIGIN: China]

[PRODUCER: ORTUR]

[AUTHOR: ORTUR]

[MODEL: Ortur Laser Master 2 Pro S2]

[OLF: 185]

[OLH: OLM_ESP_PRO_V1.2]

[OLM: GENERAL]

[DATE:22:44:33 - Oct 25 2021]

[VER:1.1f(ESP32).20210403:]

[OPT:VNMZHSL,35,4096,3]

Target buffer size found

ok

$#

[G54:0.000,0.000,0.000]

[G55:0.000,0.000,0.000]

[G56:0.000,0.000,0.000]

[G57:0.000,0.000,0.000]

[G58:0.000,0.000,0.000]

[G59:0.000,0.000,0.000]

[G59.1:0.000,0.000,0.000]

[G59.2:0.000,0.000,0.000]

[G59.3:0.000,0.000,0.000]

[G28:0.000,0.000,0.000]

[G30:0.000,0.000,0.000]

[G59.6:0.000,0.000,0.000]

[G92:0.000,0.000,0.000]

[HOME:0.000,0.000,0.000:7]

[TLO:0.000]

[PRB:0.000,0.000,0.000:0]

ok

?

<Idle|MPos:0.000,0.000,0.000|Bf:35,4096|FS:0,0|Pn:P|CL:0,100|PS:2,1|ER:0,0|VA:23855,0|A:S|H:1,7>

ok

[GC:G0 G54 G17 G21 G90 G94 G49 G98 G50 M5 M9 T0 F5994 S0.]

Please let me know if that tells you anything!

Thank you so much! :smiley:

Did you confirm that there’s nothing physically impeding the homing process such as a cable or hose or anything similar?

I don’t see anything particularly unusual there. However, I do see that you’re running an older version of the firmware. You’re not experiencing one of the common problem scenarios but might be worth updating to the latest firmware.

Take a look here. Make sure you follow the instructions for your laser very carefully if you do this.

Ortur – Firmware Repository – Ortur

1 Like

Dear Berainlb,

Thank you for your reply! Okay, I will try updating the firmware. It sounded a little intimidating with the warnings to only do it if there’s something wrong and you’ve talked to someone in support and they tell you to try it haha. :joy:

I downloaded the 1.87 firmware release for the OLM2 Pro S2 model. I guess I need the laser to show up in my drives by holding the power button for 5 seconds and then holding the reset button for 1 second without letting go of power?

While I’m here, I had come up with a few quick questions while working on the laser.
How do I display a time remaining estimate rather than the elapsed run time? (I know I can peek at it in the Preview tab, but was wondering if it can go in the laser window during a burn.)

More troubling, I normally see options in the Cuts/Layers window under the Mode column that say Line, Fill, or Offset Fill. Suddenly I am only getting Multi in it.
Same with the Speed/Power column, which normally shows the speed and power–now that only says Multi.

What caused this to change and how can I put it back to the way it was?

I am enjoying using LightBurn and have been studying and making things every day. :grin: Thank you very much for all your help!

I attached some photos of recent burns I did :blush:


That’s the gist of it. Note that I saw a warning from Ortur that you should not do this if you have Mcafee AV software installed in your computer.

I don’t think there’s a way to do this at the moment.

Multi will display if you have multiple sublayers defined for that particular layer. Double click on the layer and you should be able to see all the sublayers shown as tabs. Each sublayer will be burned independently. Remove all but one sublayer if you don’t need the additional sublayers.

Nicely done. Looks like you’re getting some quality results even with your growing pains.

1 Like

Dear Berainlb,

I’ll get around to updating the firmware one of these days haha. Lately, I’ve been experimenting with other materials like glass and metal.

Thank you so much for all your help! You saved my bacon with the Multi issue too haha.

See you around!
-Angela

This topic was automatically closed 30 days after the last reply. New replies are no longer allowed.