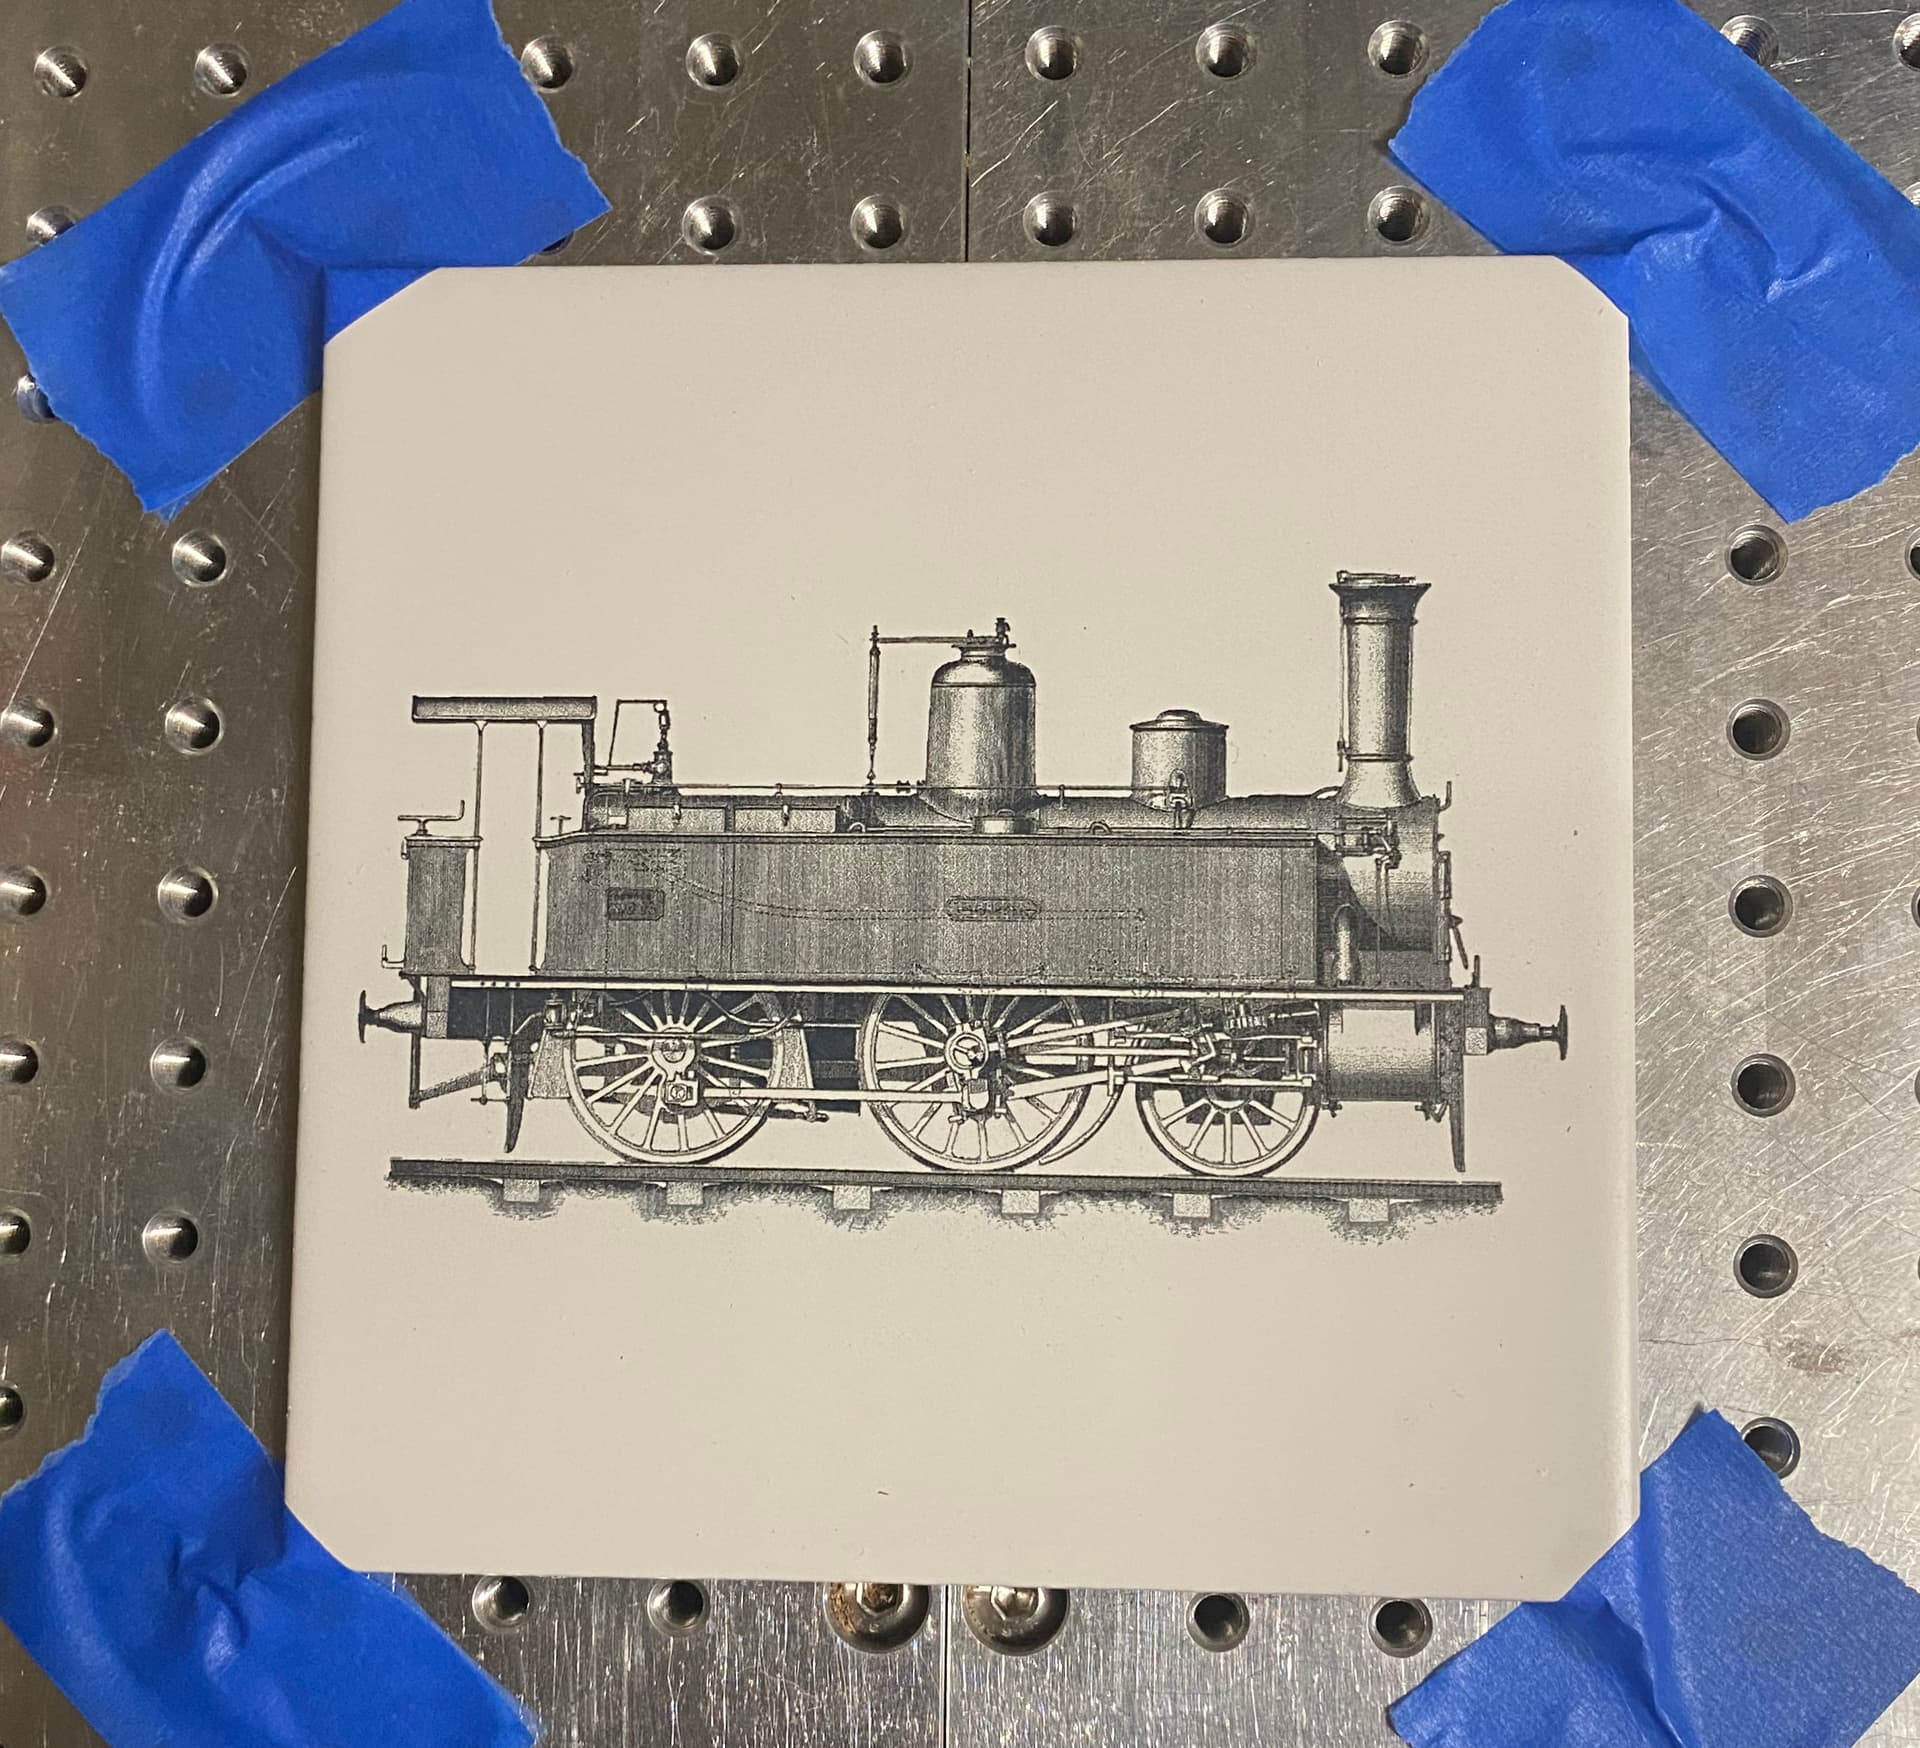
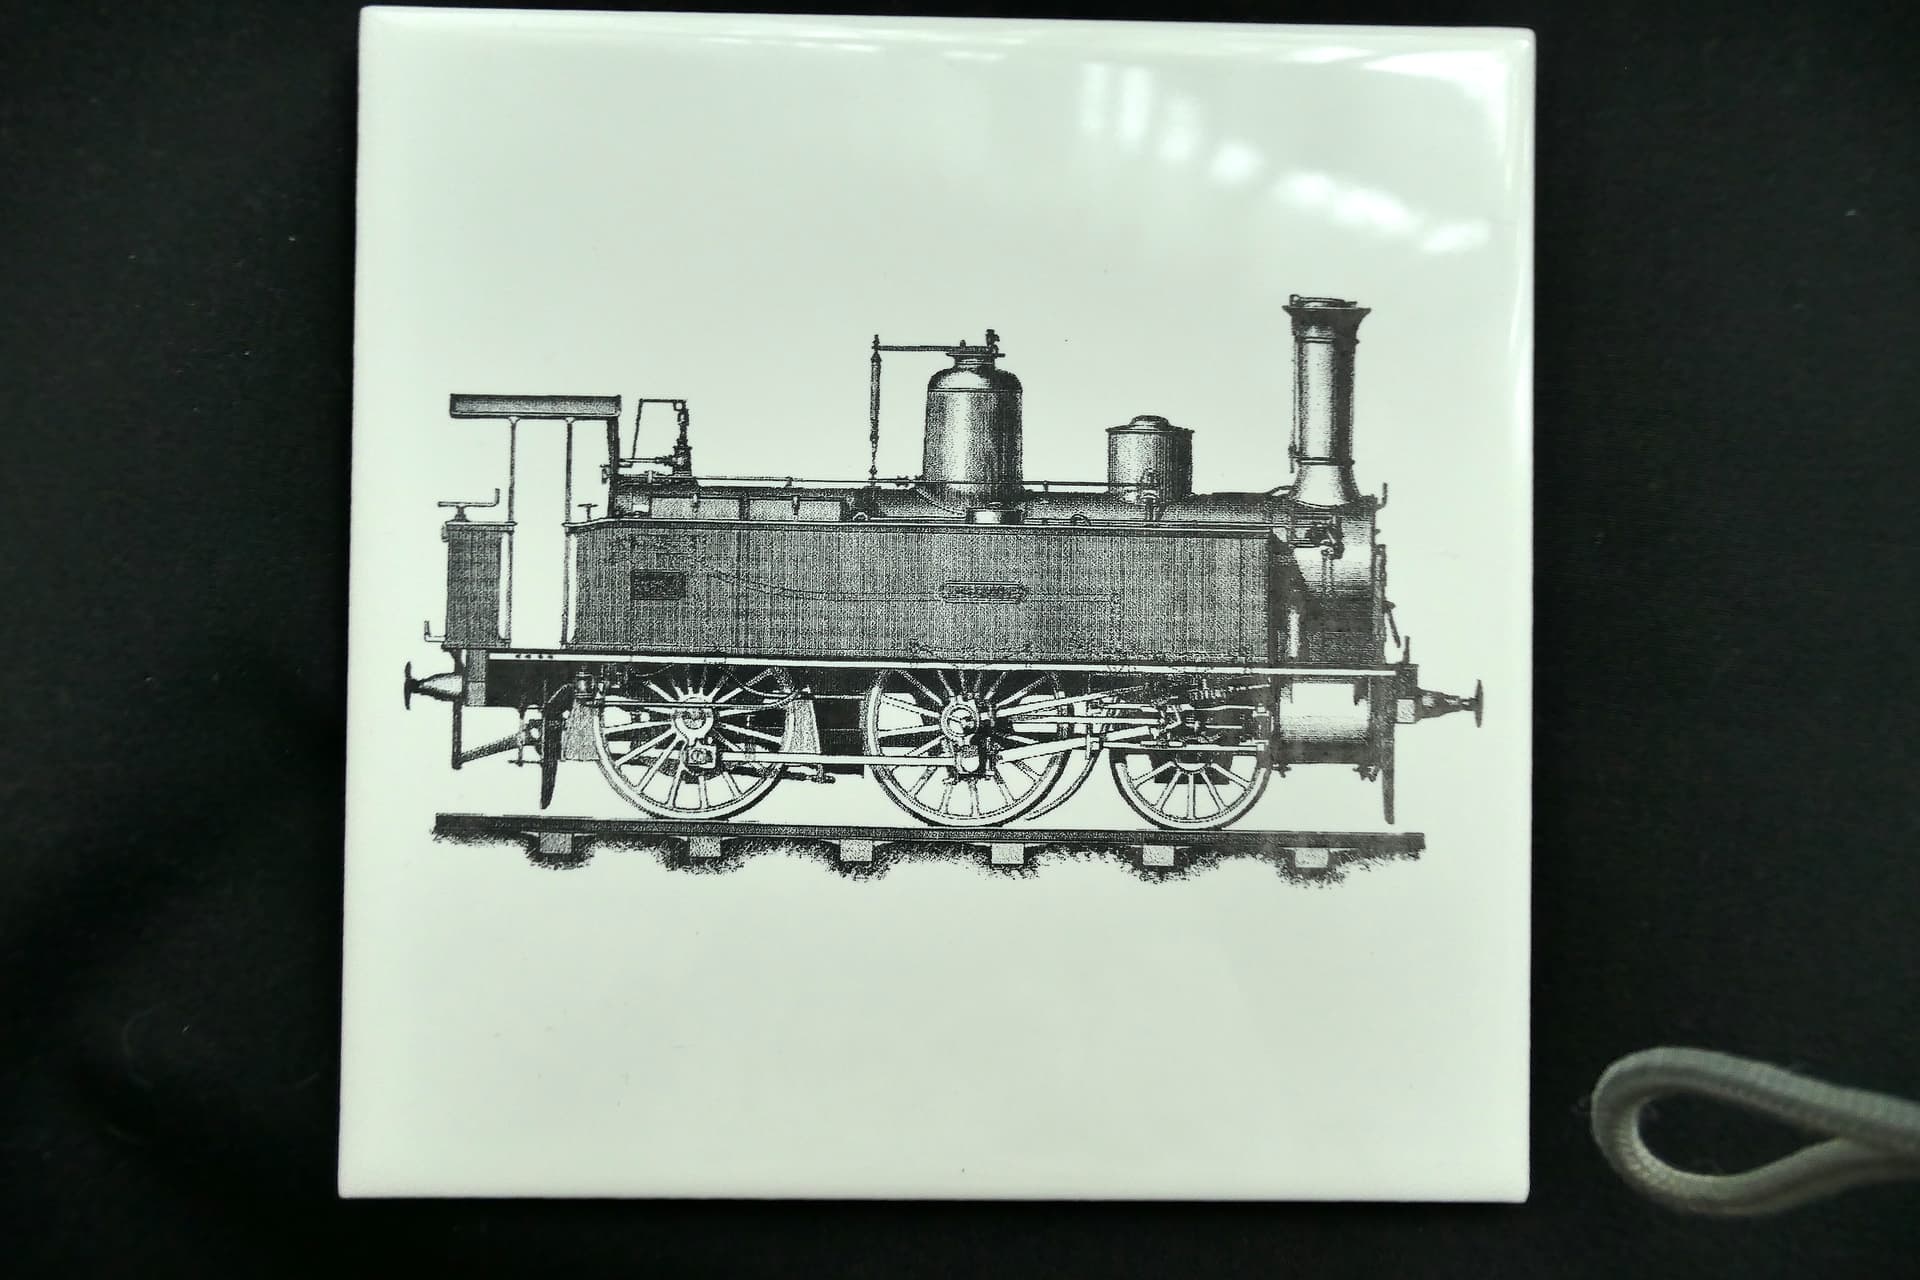
I have created many different styles of tile using the Norton method. I have settled on Rust-Oleum Flat White as my paint of choice. I get the most consistent results with it. This is a low cost gift for a person I know who is interested in narrow gauge railway locomotives and the one depicted is from 1896.
I used an imported 150 x 150mm (6 x 6")tile that I can buy in a box of 44 for around £5.90 ($7.16) so that works out to around 13p (16 cents) per tile. I clean the tile with acetone and then apply a thin but even coat of Rust-Oleum Flat White paint and let it dry.
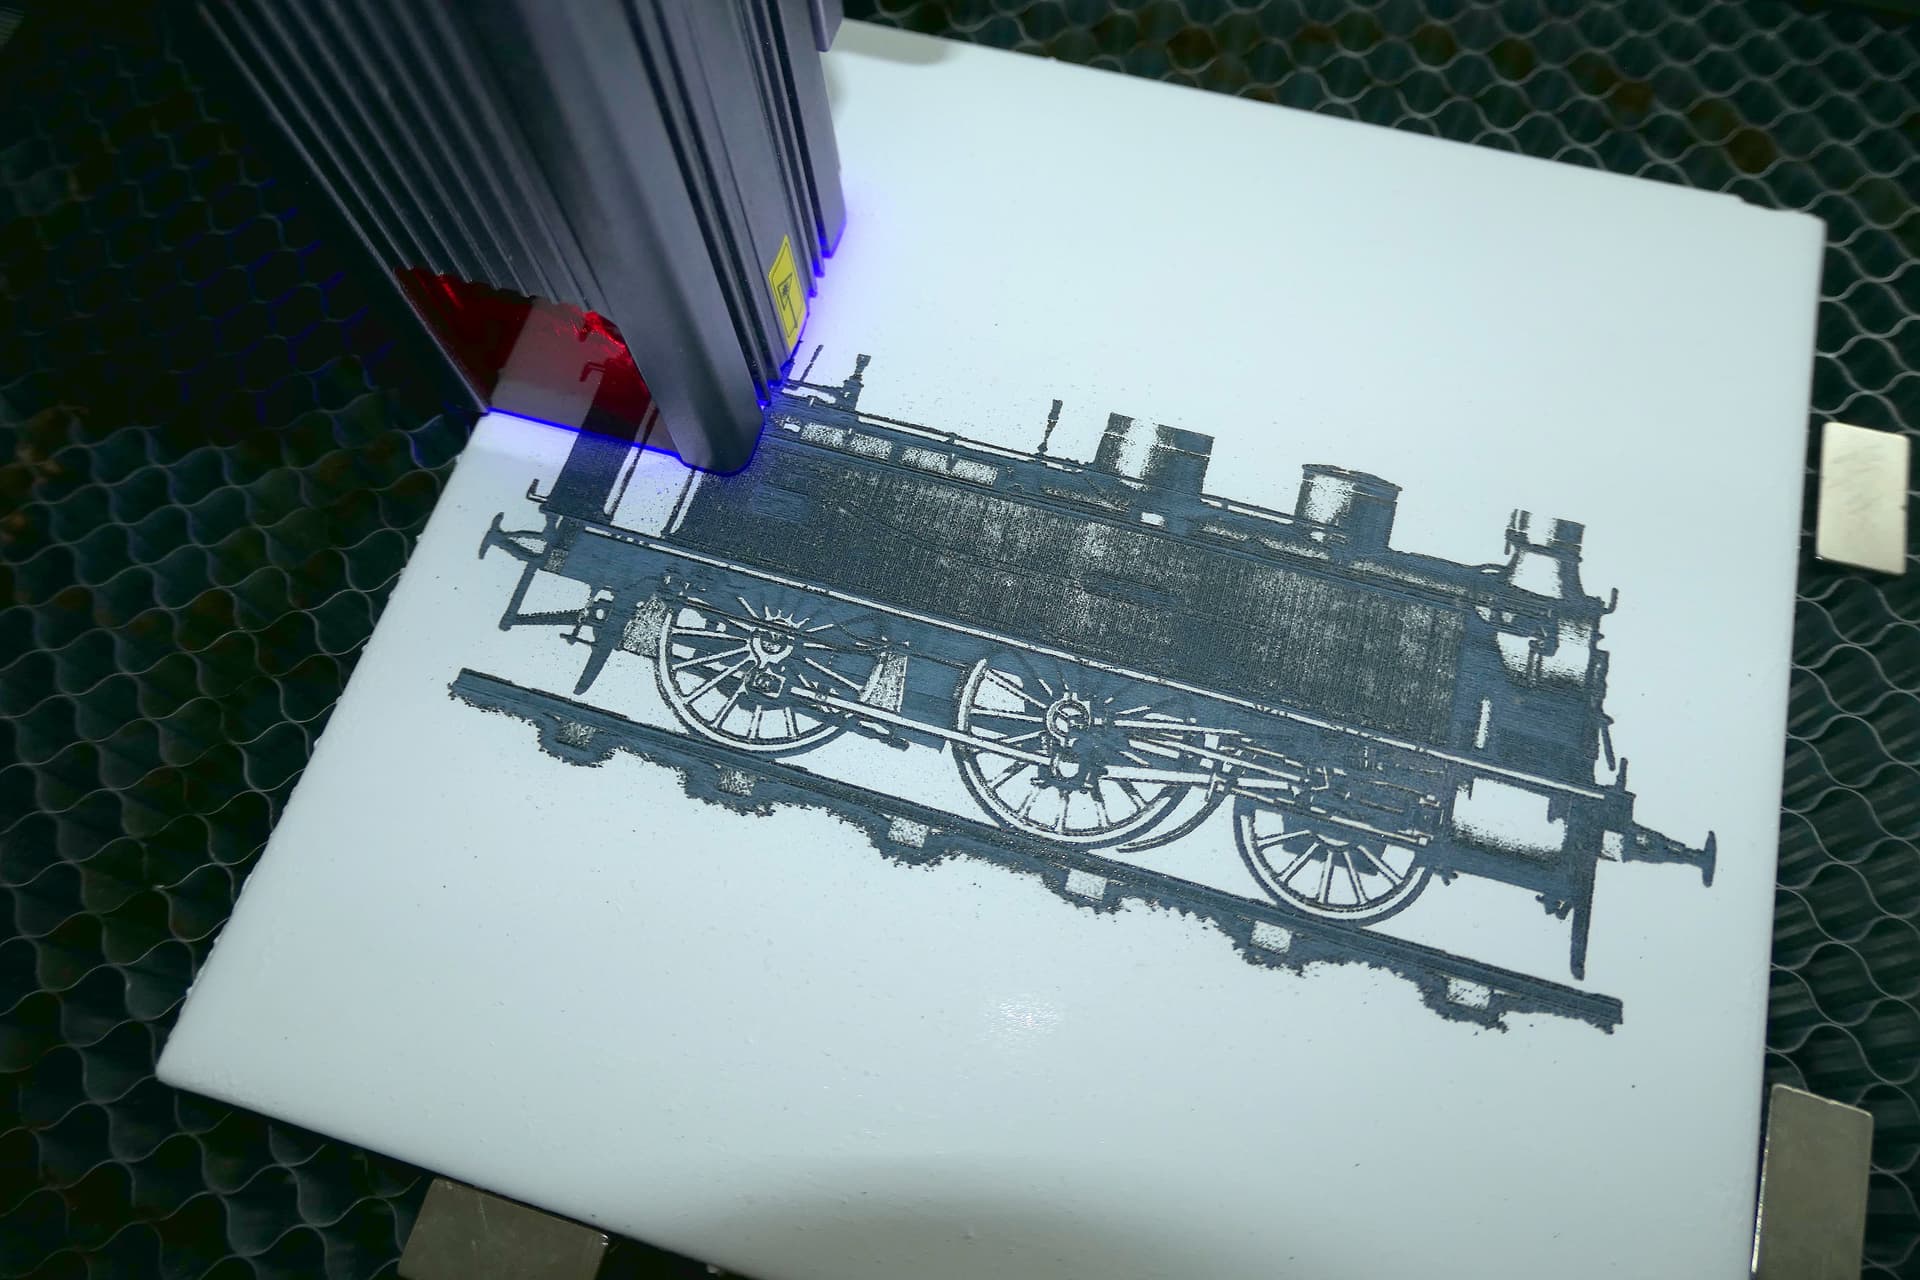
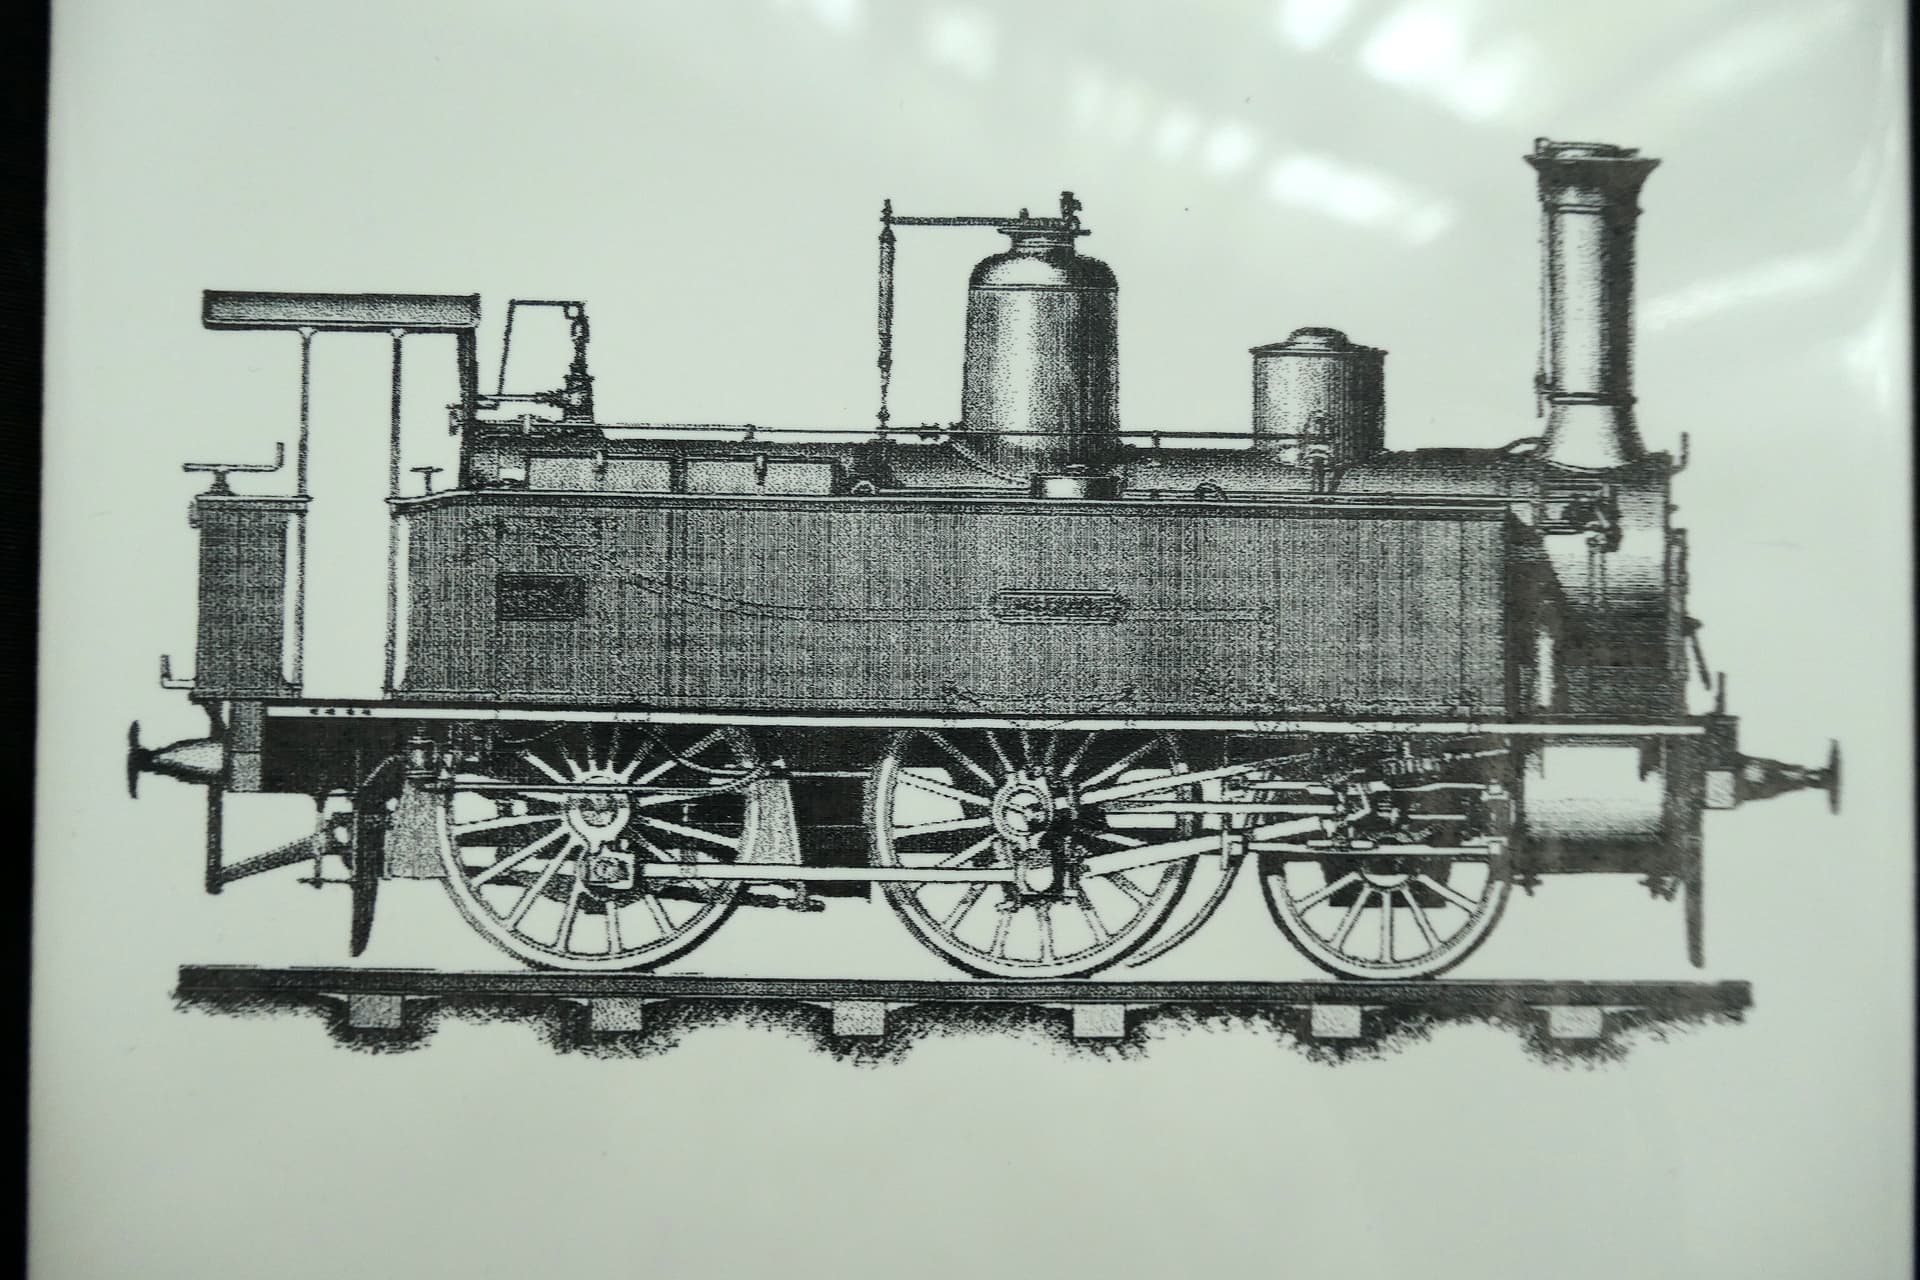
I design my burn in LightBurn which is great for sizing images. This burn was an image arranged at a line interval of 0.091 (279 dpi) with an overscan of 2.5% and Jarvis dithering. I could get a reasonable approximation to the different grey colours using Jarvis and it is one of my goto dithering patterns for image processing in LightBurn.
Power was set to 75% on my JTech 4.2Watt Blue diode (445nm) laser. The feed speed was 1000mm/min. Cells per inch was 50 and the halftone screen angle was 22.5 degrees. This image was burned in around 56 minutes.
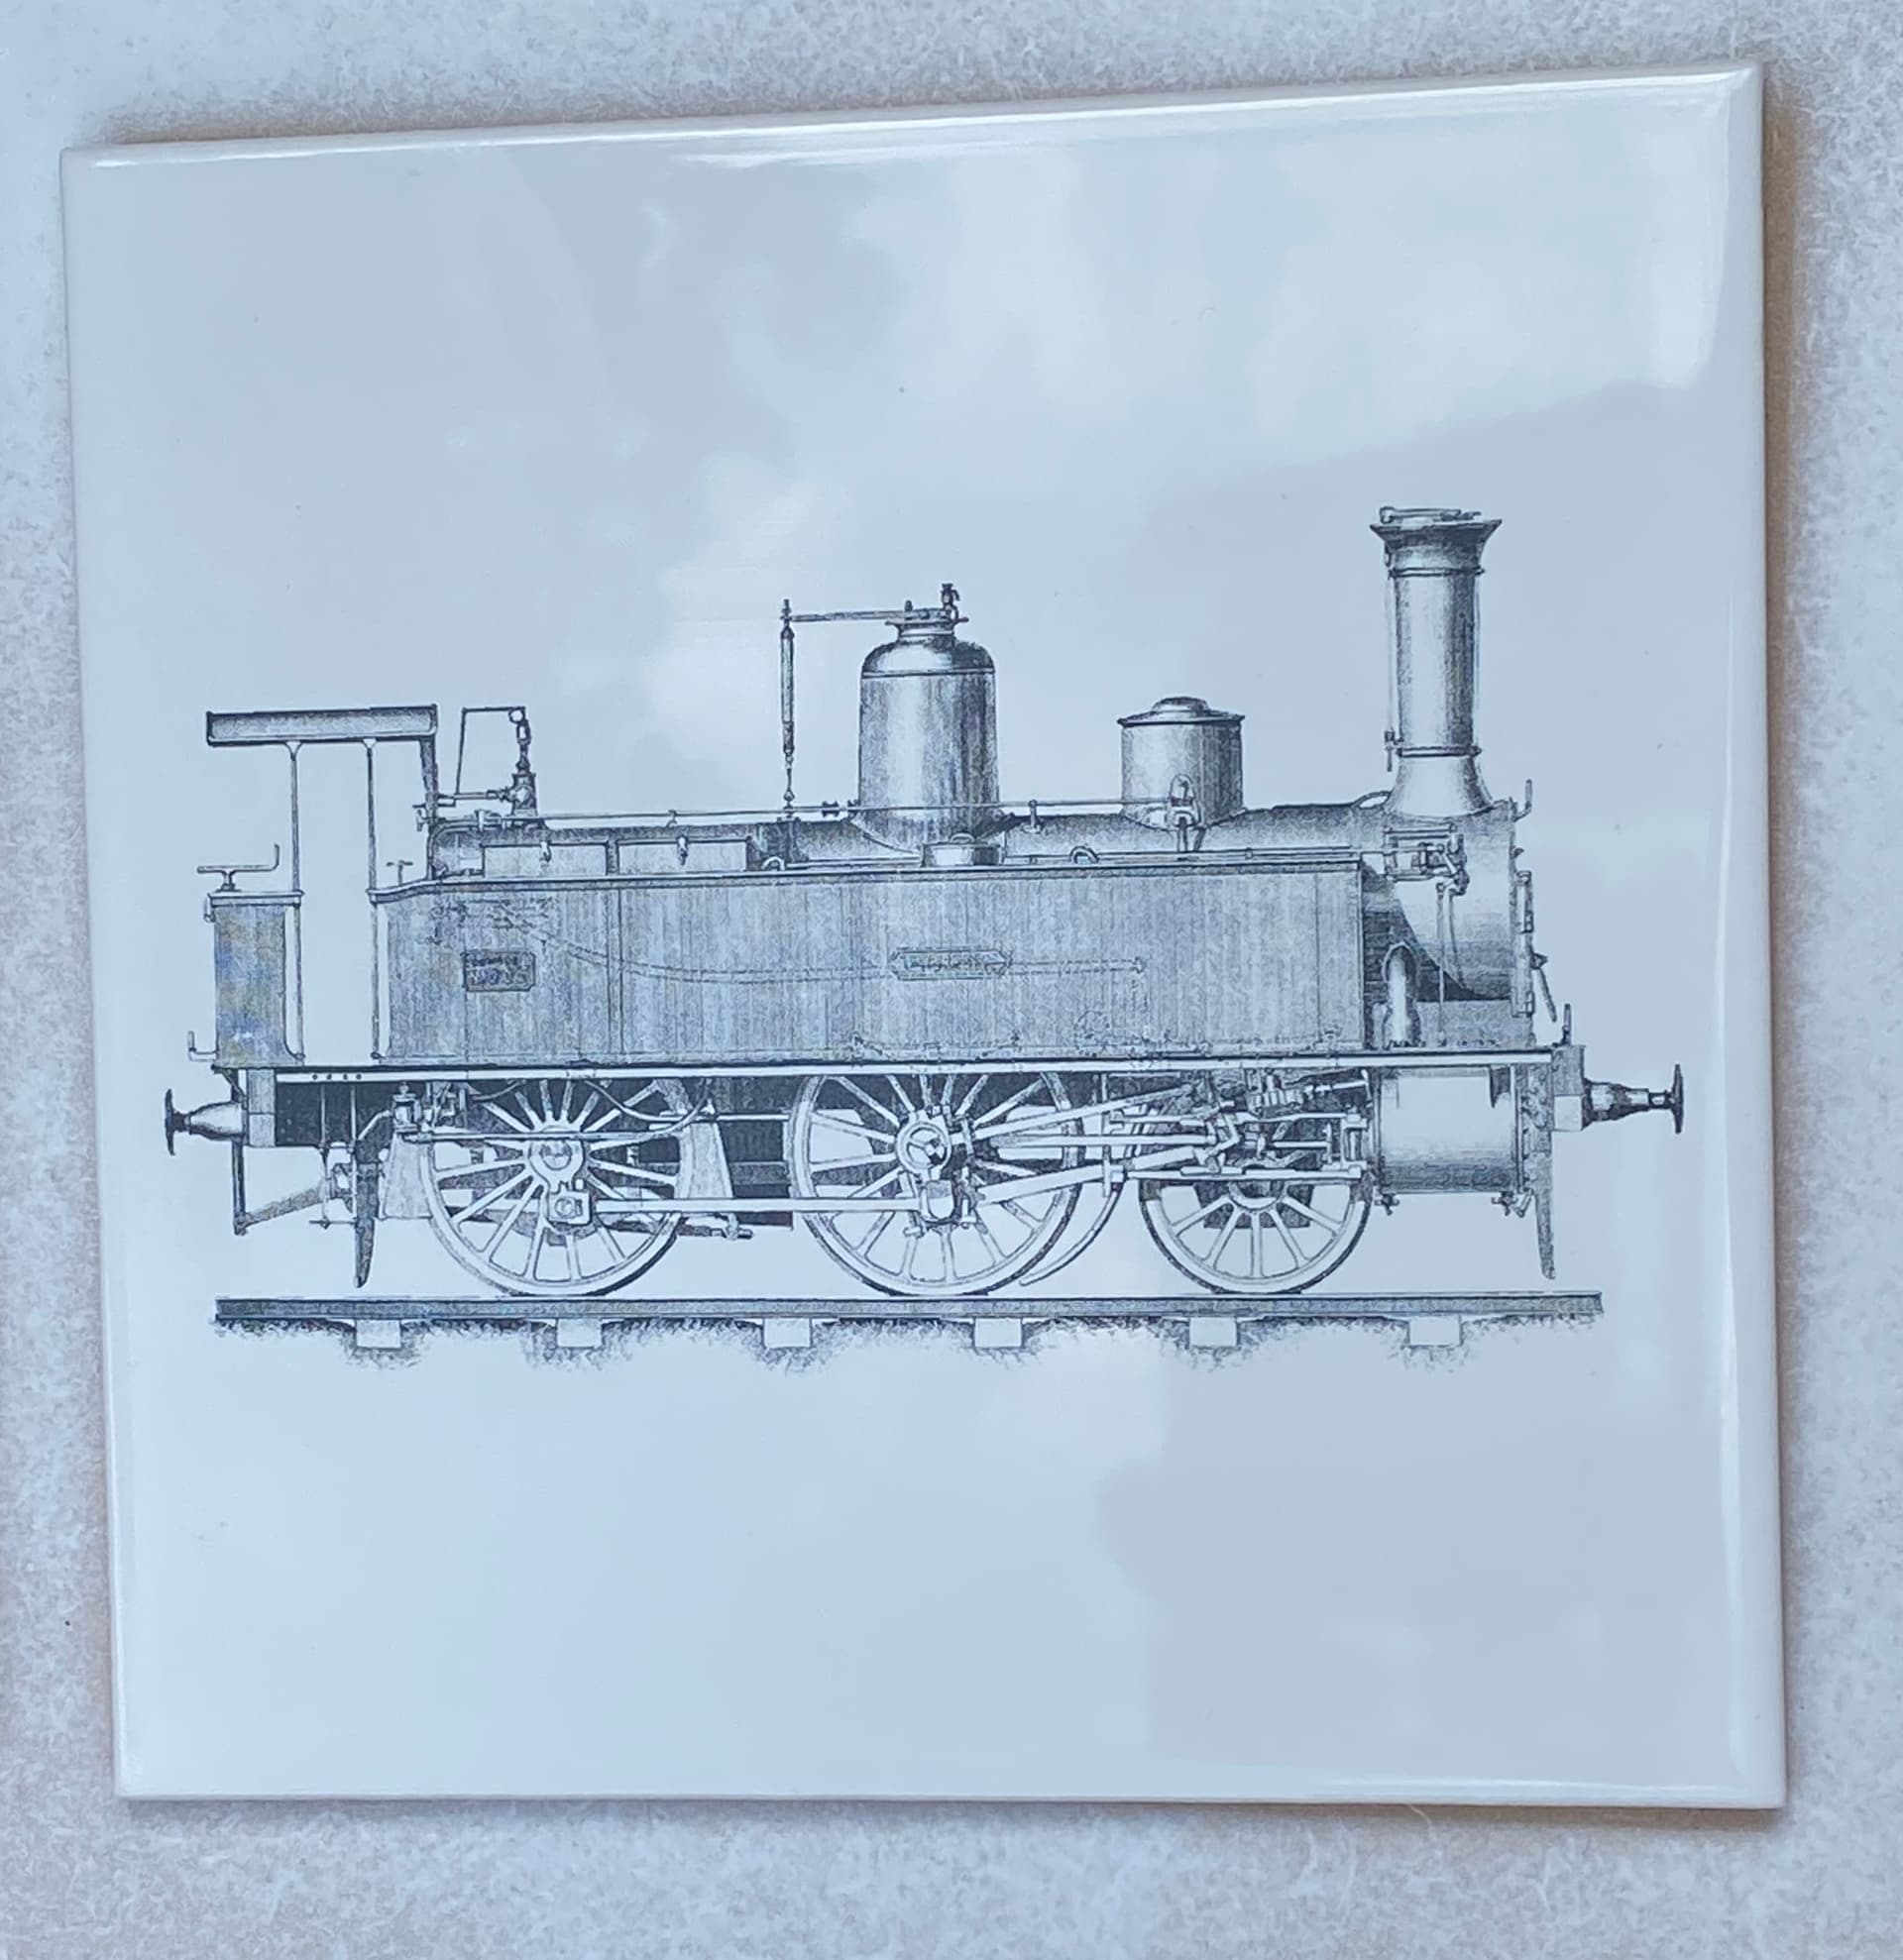
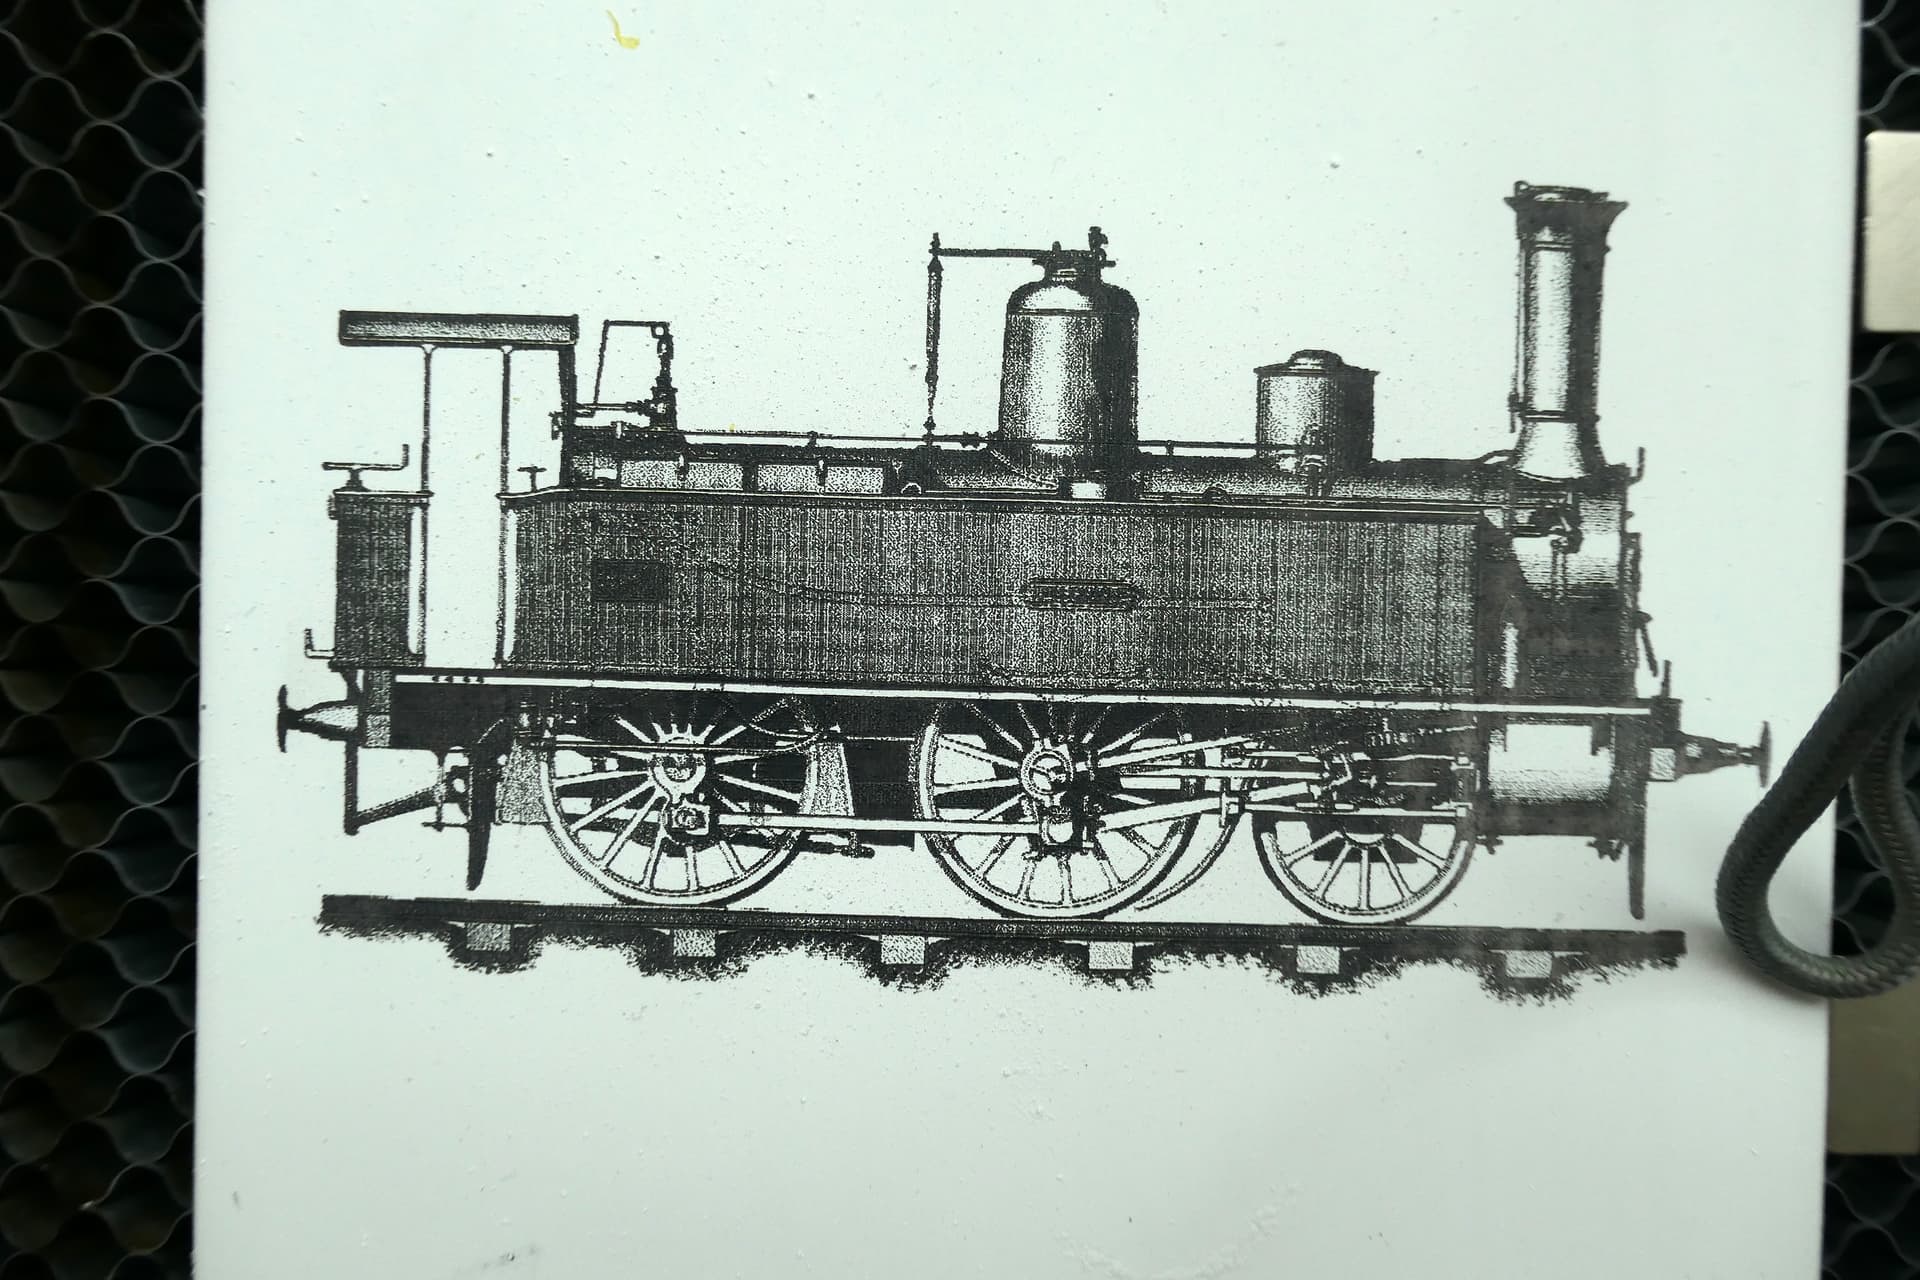
Flat white painted tile demonstrates great contrast.
Nice work. Have to point out that selecting Jarvis means the halftone settings are greyed out and have no effect. Can you post the art work file for this so I could try etching it with my PVA method. Would be nice to compare with your paint method.
Thank you for your kind comments. I guess the selection of a piece that will work well is half the battle. I love this type of monochrome image that is really graphic.
Yes. I was more interested in getting a decent dithered finish for the image in question. With a bit more time to spare, I would have chosen the greyscale option and then tweaked the settings to suit.
Sure no problem. I have this image either as a .png file or as a .lbrn2 file, which would permit you to export the image in a number of useful formats. Which file format would you prefer to upload?
I would be interested in seeing the differences between the methods for the same image file too.
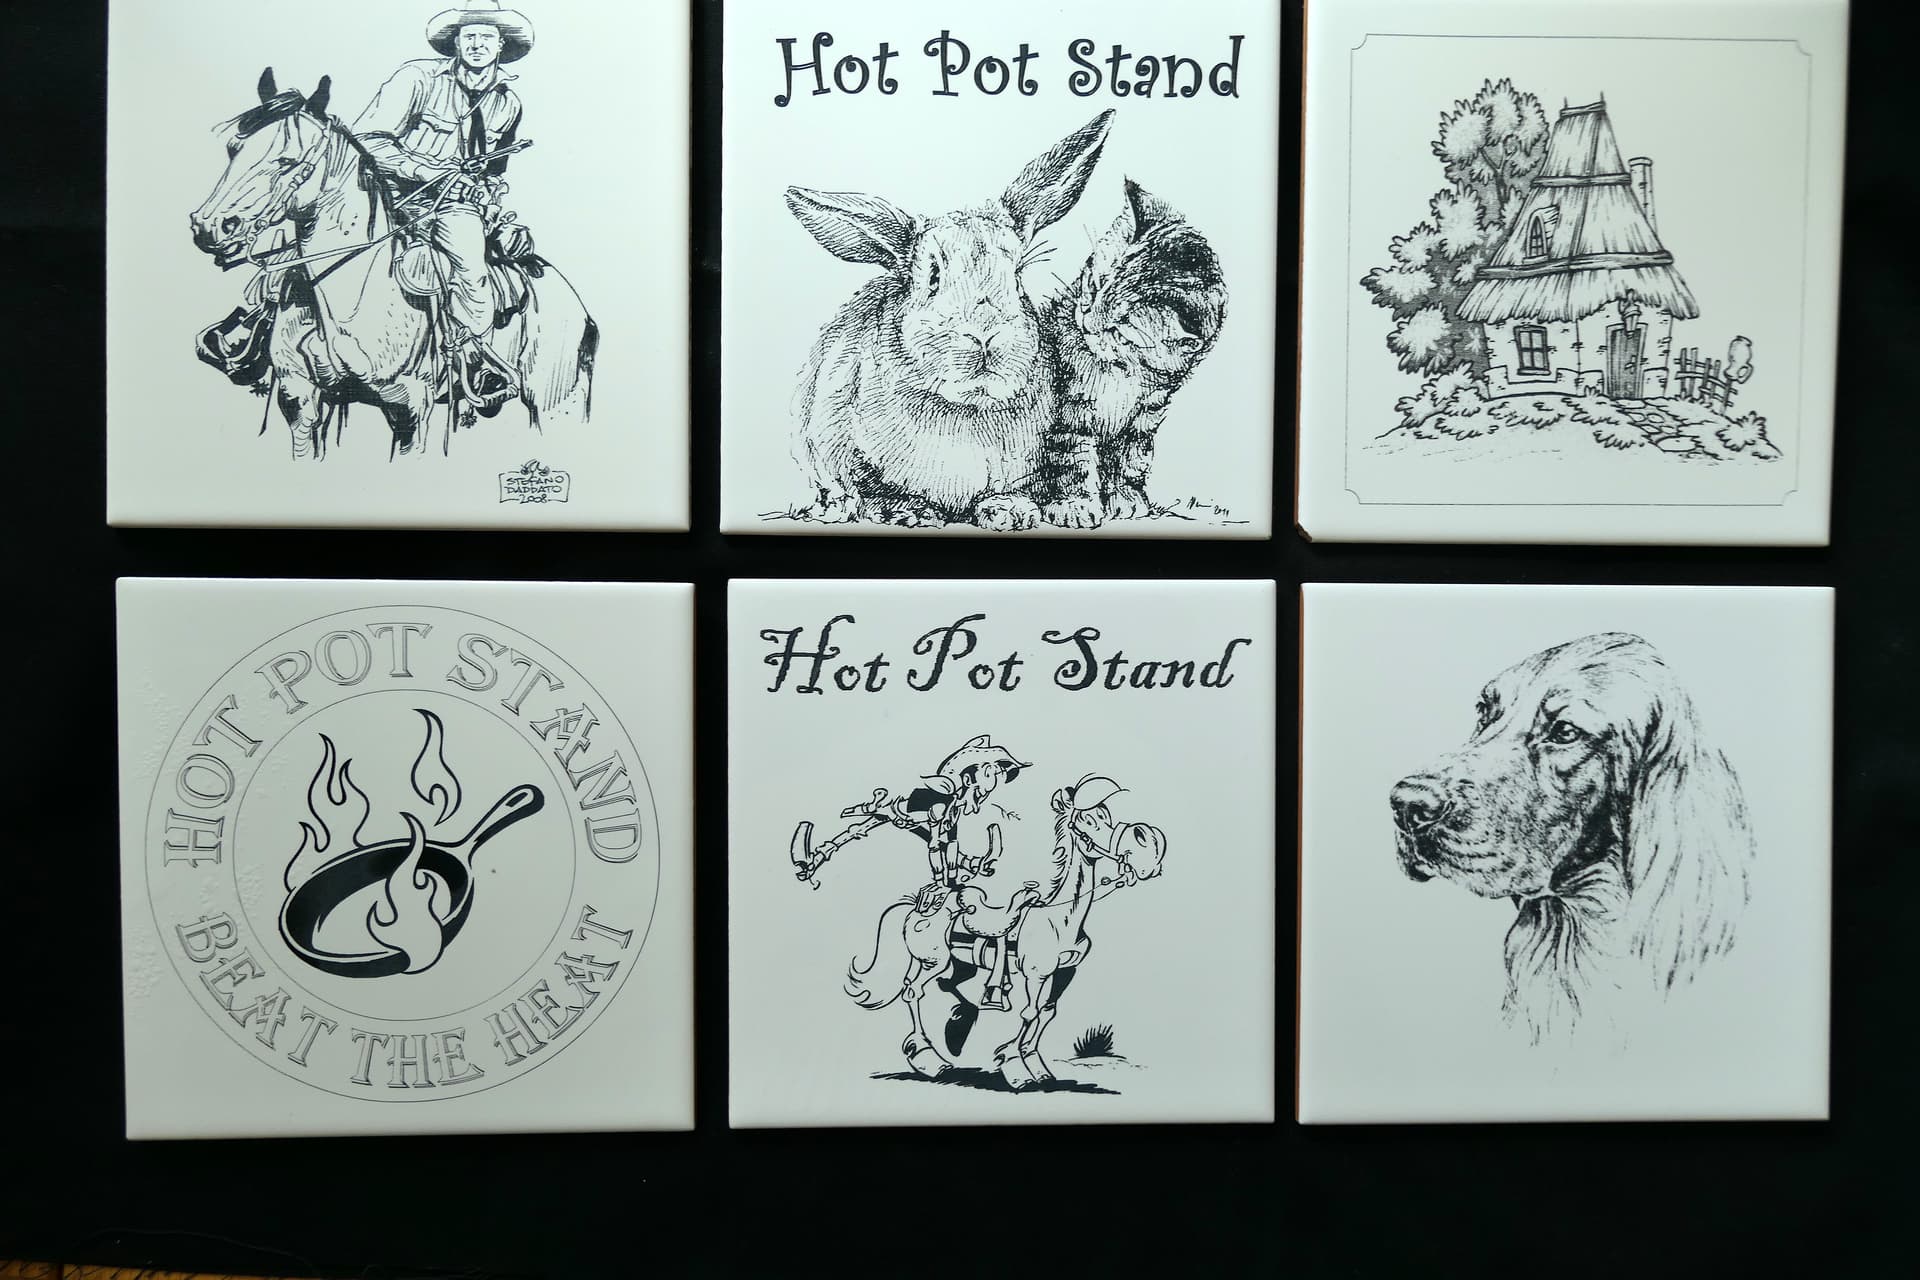
All etched with my PVA mix coating. Not shure what you will think of these. I think it looks just as good, and hope you feel the same. Here are a few of my latest crreations with PVA.
I think your method gives a little more contrast. It is not easy to say from these images but it looks a little darker to my eyes.
I wondered how your laser may differ from mine. I am not sure but I think that my image looks like it has a little more resolution and appears to be sharper. Ideally, that comparison needs the images closer together. I may try that in a couple of hours. I have a lesson right now and cannot duck it.
Yes you are probably right. No two lasers will be identical using the same settings. Your dpi is higher than I normally use. With less dots to the inch the image would look lighter. Also you may have a better lens on your machine or a better camera to photograph the finished tile. Main thing is to see how the PVA mix coped with the same image. It’s so much cheaper and easier to apply than paint. Quick dry with hairdryer and washed off with tap water. Only by trying that new method will you see if it is better or not. I’m getting constant results so will stick with it for now.
I was happy to work at the setting of 279 dpi for this image. It is generally accepted in photographic image presentation circles, that one would choose a dpi of 300 or more. The most suitable LightBurn setting in this case would be 304 dpi… or beyond. This setting of more than 300dpi guarantees that the eye will see the detail in the image but not the pixels.
There is a useful rule of thumb to help you to find the correct viewing distance for any printed photographic image. If you measure the imaginary diagonal line running from corner to corner of the image, then multiply that number by 1.5, you will get near to the optimum distance for the image to be viewed. In the example given, 150mm square (6 x 6") measures 213mm (8.38") corner to corner. 213 x 1.5 = 319.5mm (8.38" x 1.5 =12.57") So the viewing distance minimum for this 6x 6" image should be around 12.5 inches. Additional to this rule of thumb is that if you can see individual pixels when viewing the print, then you are too close to the image for the resolution it was printed at.
I have not seen PVA before. What strength is it mixed to and how much is applied to the tile? I like the idea of not needing acetone to remove the filter layer. Do you clean the tile with anything before you apply the PVA? finally, is PVA in the watercourse safe or will it harm fish and other wildlife?
I Started a thread “New tile engraving method” on here but don’t know how to link you to it. I’m 84 and a bit slow with these things. If you can find it you will have loads of other members views on the subject.
PVA is a cheap glue used in schools for craft work. Also one of the best wood glues available. Totally safe as is titanium dioxide which is used in toothpaste, food as well as paint. Let me know if you can’t find the thread and I will list the mixing instructions here.
Brady street, Whitechapel born and bred. That is a strange coincidence eh? Very small world. OK, sunbeam, we must have lived within a stone’s throw of each other. I now live in Bedfordshire but have travelled and worked extensively around the world. I am retired and in my 70s and off to help a mate out in Hungary at the end of October hence my Hungarian language lessons.