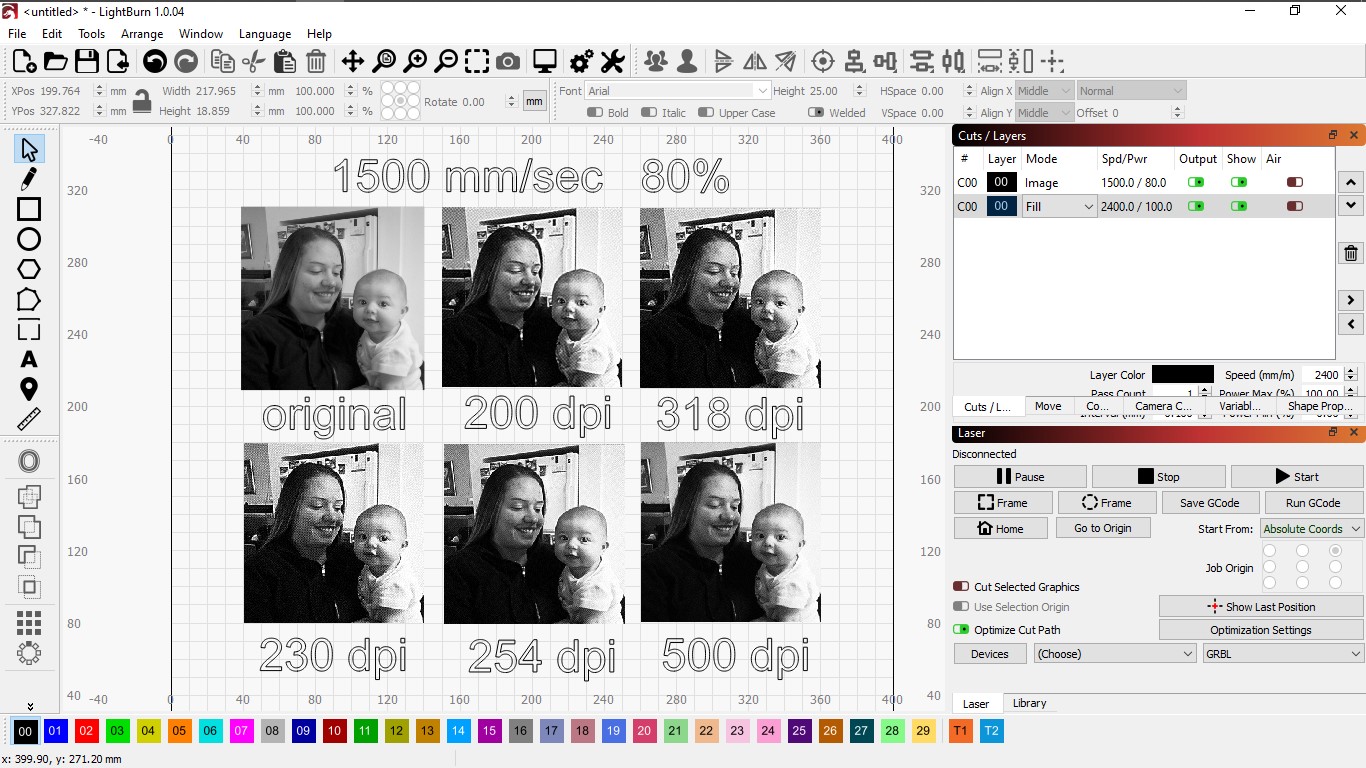
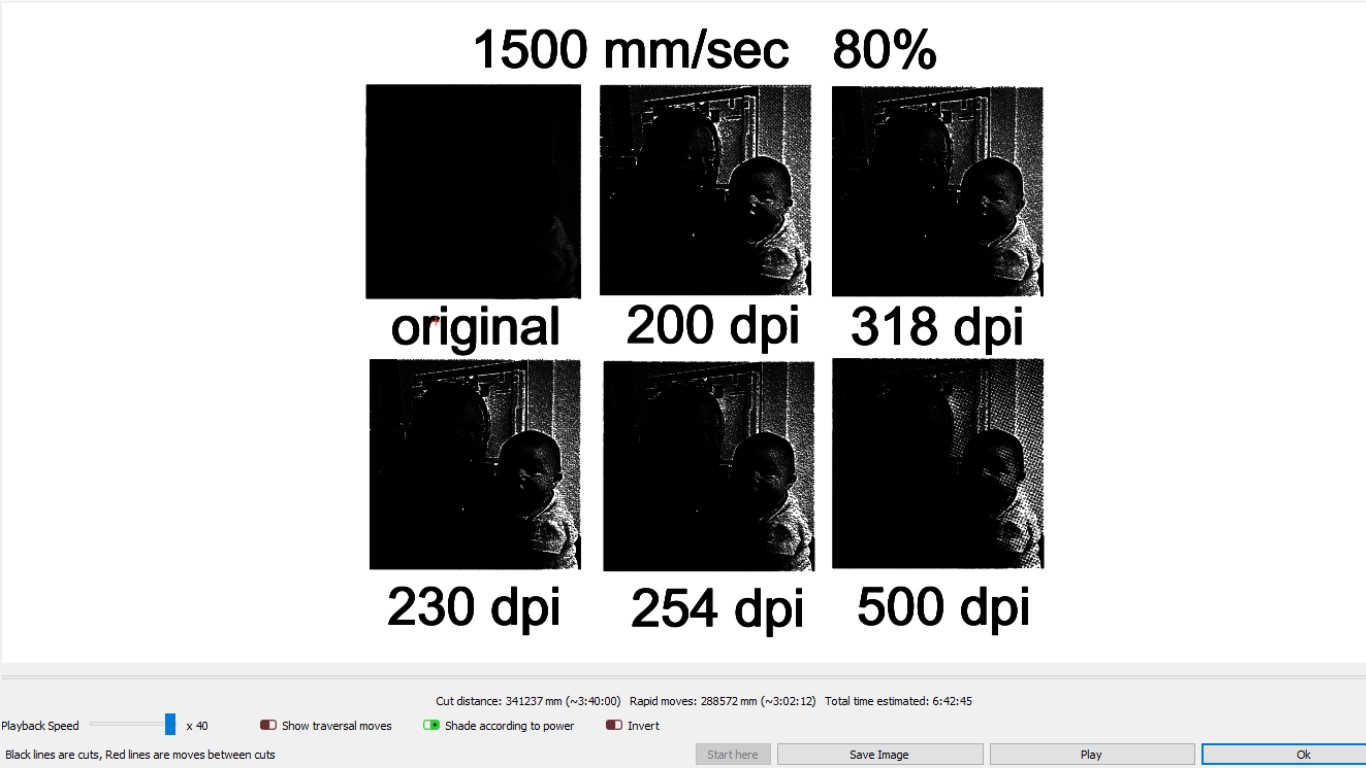
I cant seem to get the Norton White tile Method to work. I followed all the advice from the web to create a really good looking picture. The image on the lightburn grid looks really good, but when i look at the preview all the dark parts are really dark with almost no definition. When I burn the tile it is way too dark. I have tried using Imgr, Gimp and just bringing the image directly to lightburn. Ive tried all the different combos of dither/jarvis etc and using the pass-thru setting. Im at a loss here.
I am using an ortur laser master 2 pro 20w laser. 4.25x4.25 homedepot tiles with flat white paint.
I didn’t think that machine could go that fast.
What are your $110 through $112 set to?

Doh, I meant mm/min not per sec. That would be insane. I did have some success with speeding it up to 2100 mm/min.
If you are starting off with white paint, I think you have way too much power going on. I have a co2, so most of us talk mm/s. I know mine is ripping at 1650mm/s, fun to fool around with, not very useful.
So it seems that you’re in the mid 30’s in mm/s, seems slow to me. Less power/greater speed may be a better direction until you get it out of mostly black.
30mm/s for a diode is not too fast….they run way less power than a CO2. 20-30 mm/s is common.
CO2 I run at 55mm/sec….diode at 25mm/s.
Your image is dark because that’s what your image is. If you read on the whole subject of images you will see time and again about avoiding if possible a lot of shifty shading. Your photo has a lot of slightly different shades between the subject and the background. You need more contrast between the two. So this is due to settings and or post processing.
When you dither a photo, either in say photoshop, or in lb it tends to darken those middle and upper middle grey areas and sometimes drops of the light greys. You have to test…it can be difficult if not even possible to get good results if there is not enough contrast between subject and background or areas of adjacent yet slightly different shades.
You would be better served to process this in say photoshop and adjust your light levels and contrast.
If you do not dither it in photoshop, meaning do not convert to bitmap, you can then adjust the photo again in lb to tweak it in.
It is dark because, if you look closely, it has dithered a high density of dots so to speak in this areas. Your laser simply burns what it is sent to burn. It does not lighten the shade….shades are accomplished by the amount of dithering.
You can see this in say photoshop. When you change mode to bitmap and choose diffusion dither and then look at the image you can see shaded areas get darker. Zoom in and you will see the dithering in this areas. I will convert to bitmap just to check dithering and if it’s too dark undo the bitmap then adjust levels etc then dither again until I get the contrast I want. I then convert back to grayscale because I like to let lb dither it as well as the fact that a bitmap image,dithered, you cant adjust gamma, contrast etc in lb and I like to be able to tweak it so import as grayscale.
If you are fusing the paint properly to the tile meaning not burning it off or not getting enough fusing then you are fine at speed and power. Changing speeds to get a lighter result is not fixing anything. Once you have determined the proper speed and power by doing your black square test you are done changing them. you should never need to change them to get a better result. If the result is bad then it’s photo processing. Unless your power and speeds were never correct
I have found on my diode the lpi to be around 340 dpi. This will vary on your diode due to its beam diameter but they are small spot sizes. If your dpi is too low you will end up with small lines between the scans as it is not overlapping the previous scan line enough. You need a slight bit of overlap to avoid scan line gaps.,.not much but a tad. More on a CO2 as it’s beam is hotter in the center and cooler at the edges but diodes tend to be more uniform throughout.
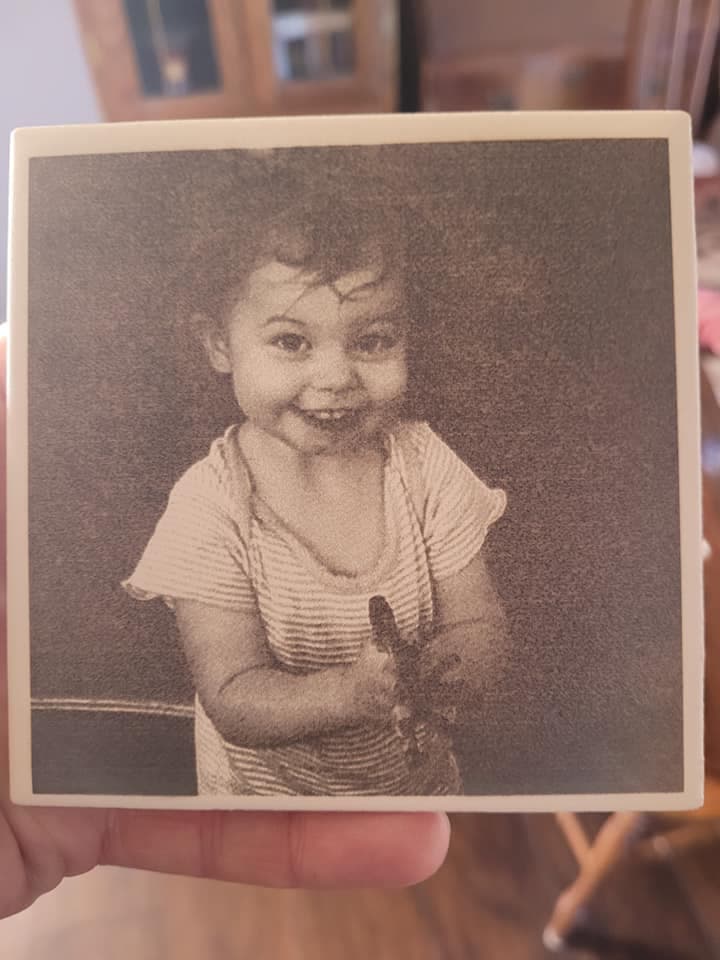
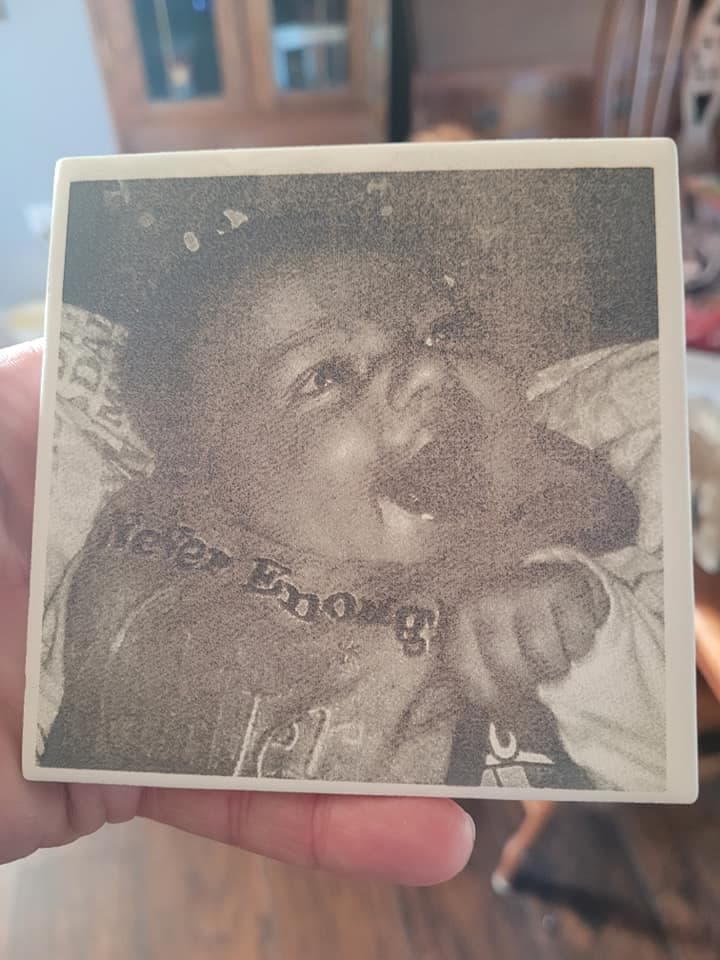
Last is your tiles do not look like the power to speed is correct. They look tannish gray which can be overcooked or under powered…or over speed. Either side of perfect and you get similar looks but considering you look like you fused all areas it looks over cooked…out too hot and too fast which will give you fusing but it will be light. The black areas should be….black…no other shade or your settings are off somewhere in speed verses power
1 Like
This topic was automatically closed 30 days after the last reply. New replies are no longer allowed.