I have a 50watt Co2 Chinese Blue White laser as pictured with Ruida RDC6442S-B controller. I does incomplete engraving. video of engraving attempt also if i click on the TV icon and hit play this is the result preview screen lightburn
How can I make this different so engraves all in one motion as it stops at top and does not come down to finish the job.
Thanks in advance for any information that may help.
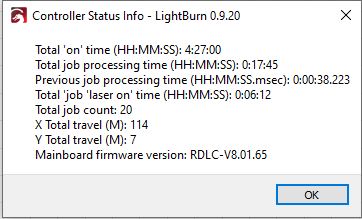
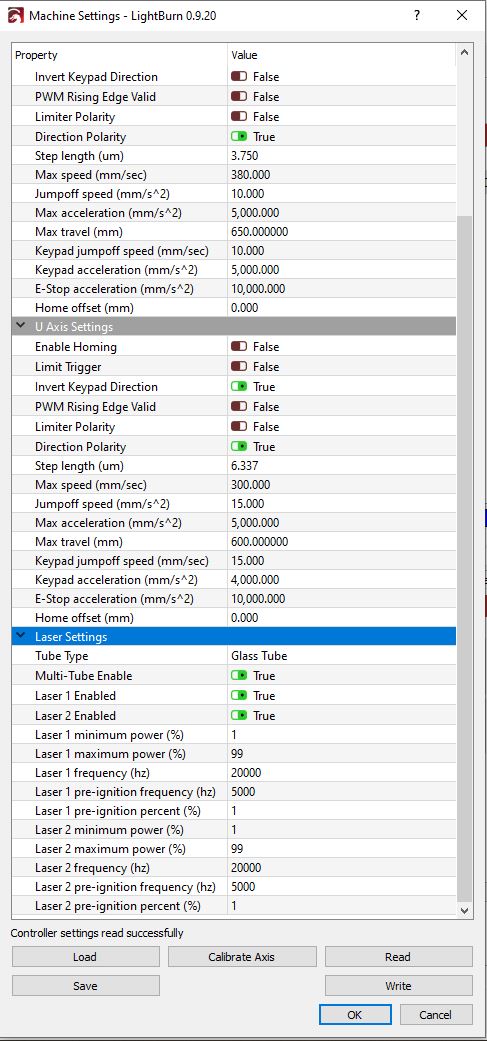
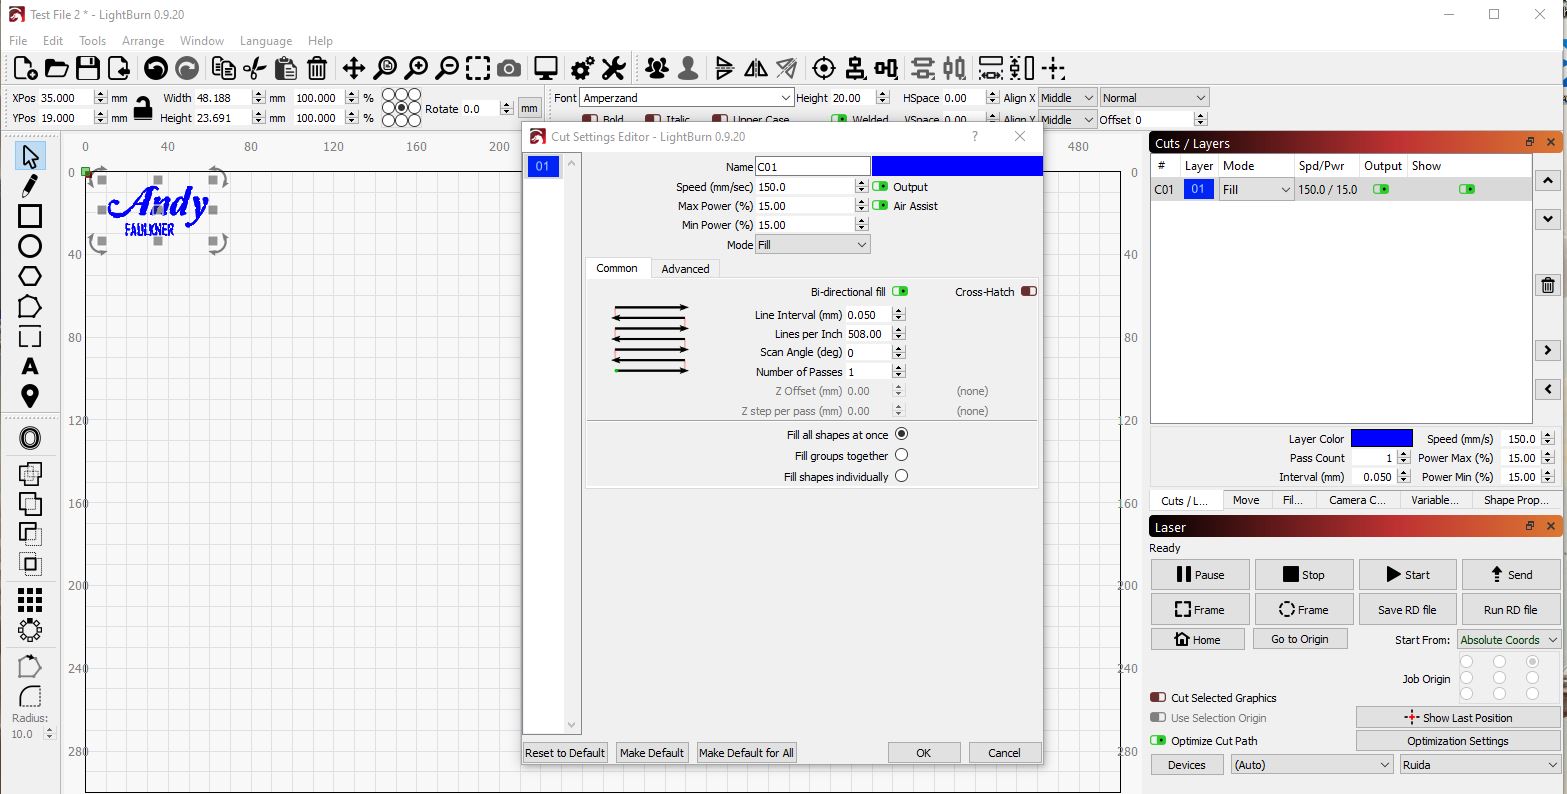
Thanks Oz I have already done that and it was the first problem but now I have another and I think it is to do with the laser firing. On small text it only engraves the horizontles not verticals and is trying to burn a double image.[Engraving](https://www.youtube.com/watch?lightburn preview These are all the controller settings don’t know if i need to adjust any of them.
These aren’t the same job, so that’s going to make it hard to compare what it should look like.
Can you show a screen shot of the Fill settings when you double-click the entry in the Cuts/Layers list, so I can see the settings you’re using?
The laser looks like it’s not properly focused, and the double-image happens when the X axis belt is loose or some other part of the motion system, like the motion pinion that connects to the belt, a set screw, coupling, etc.
Hi OZ
Thank you for trying to assist me. As I look into thing closer things get clearer but still dont know where to look to fix the issue. I know this is not a software issue as it does the exact same thing with RDWorks.
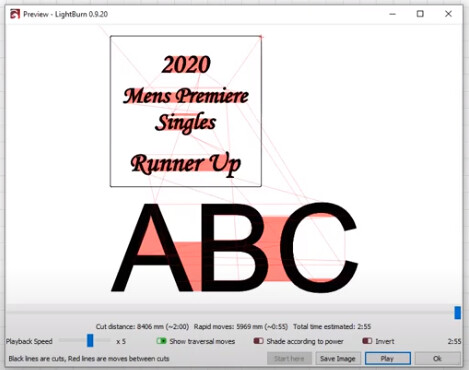
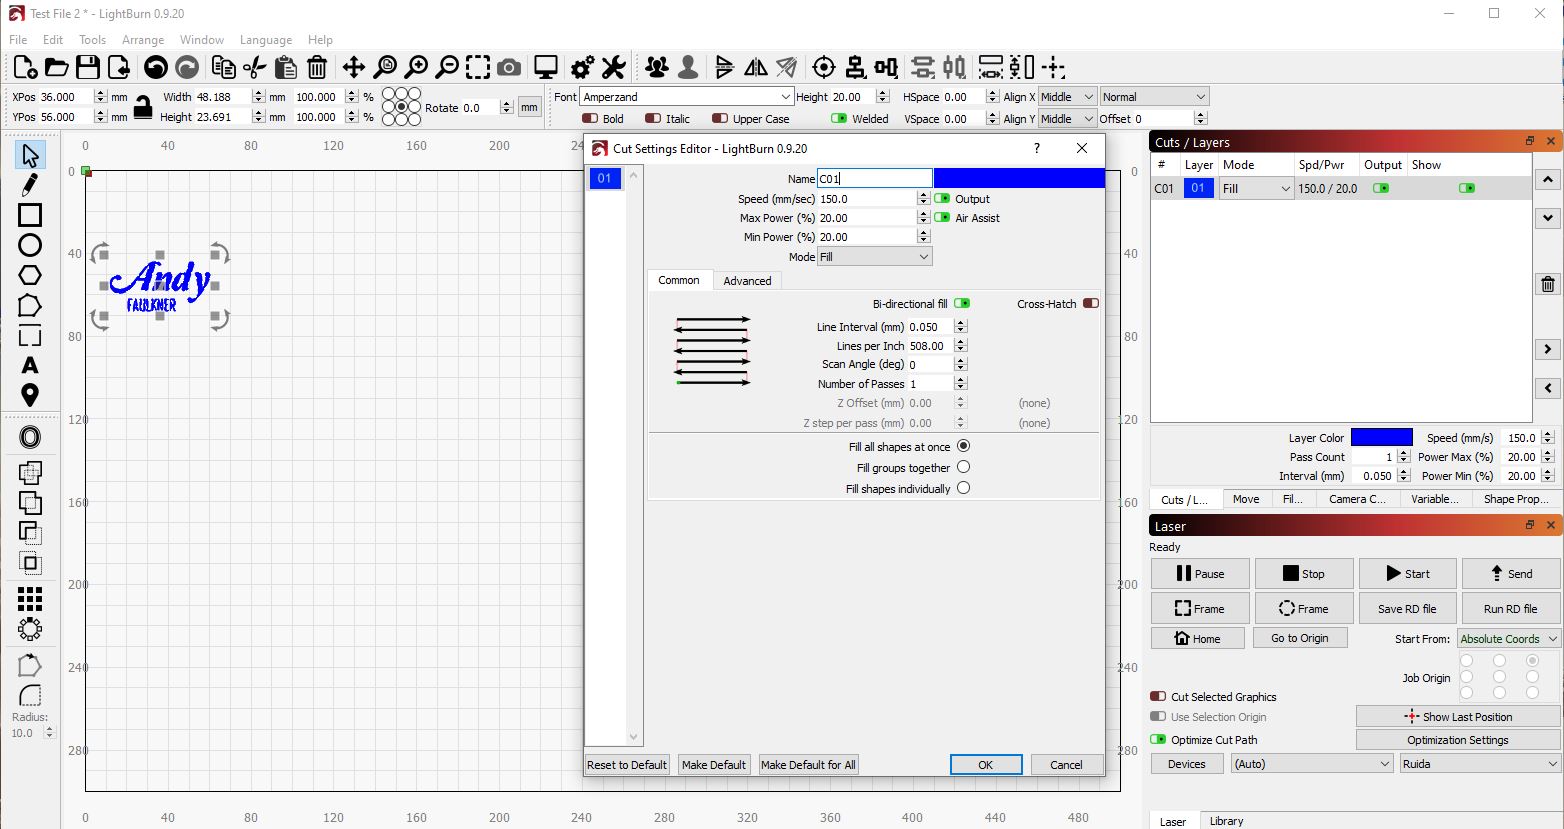
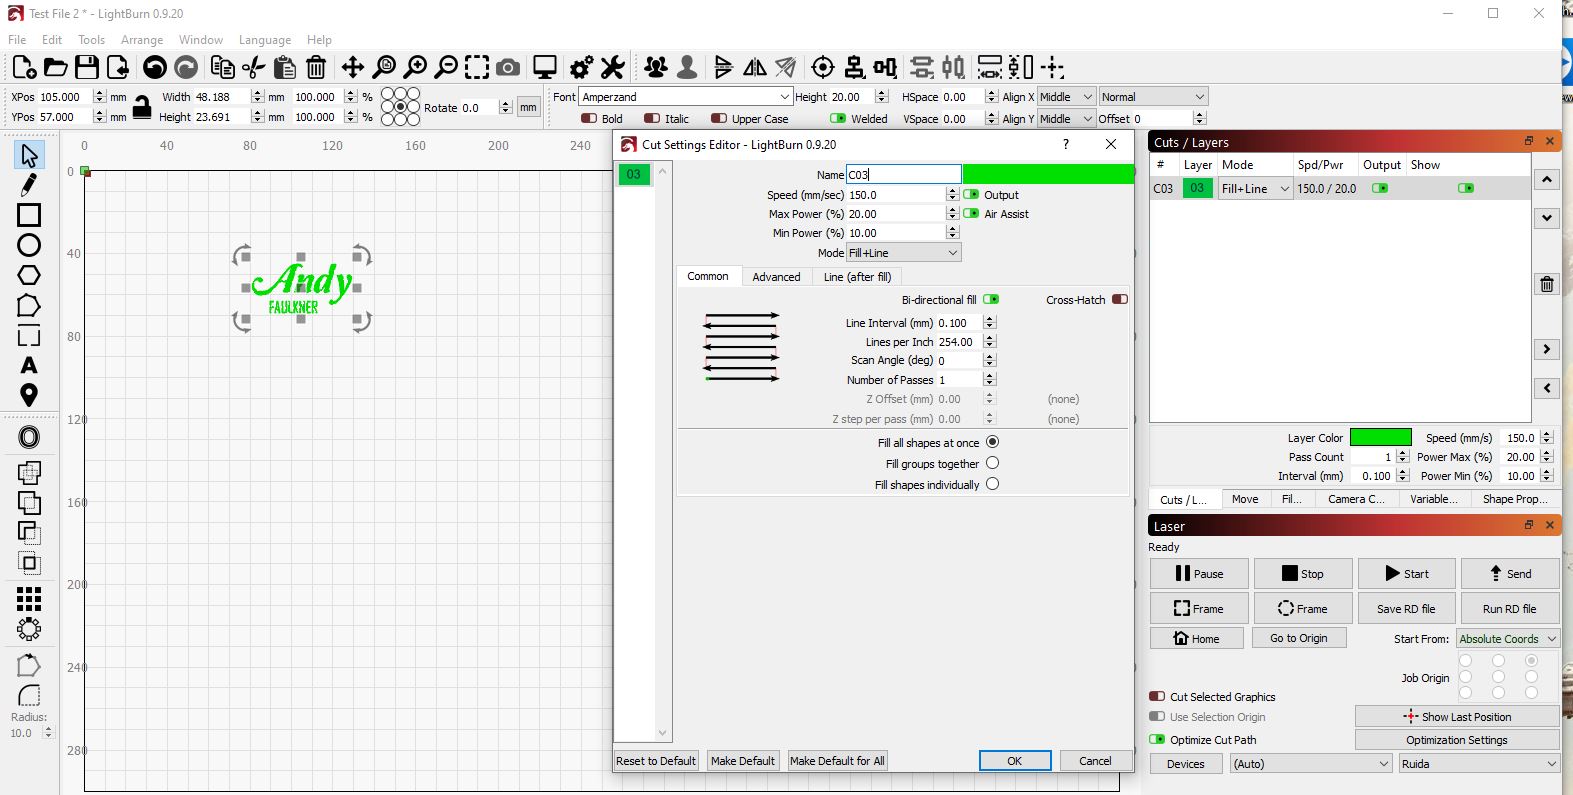
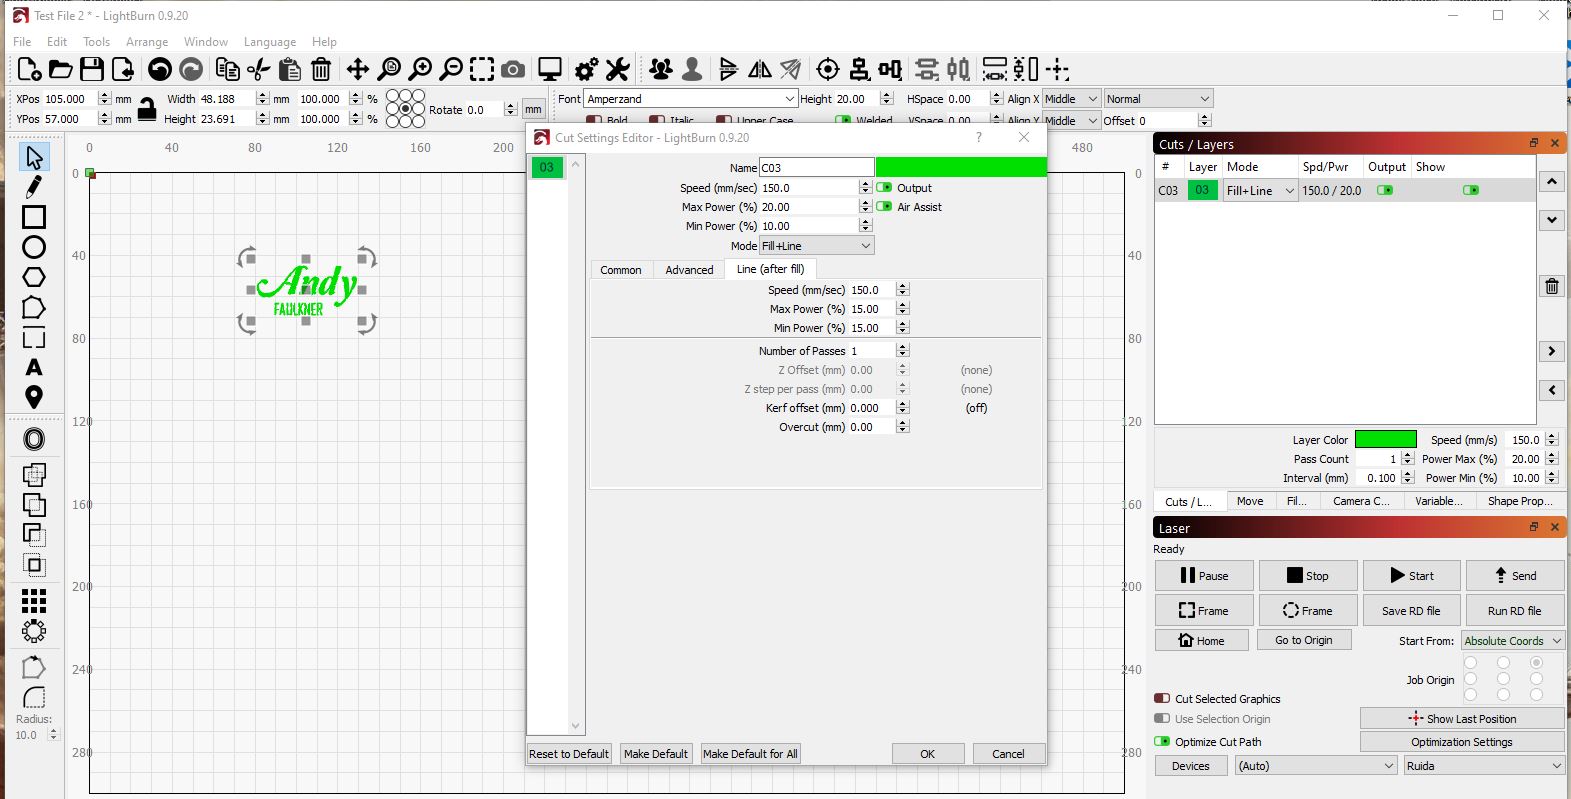
Here are links to three test videos with attached images of the settings used. This is a new file and I have saved this for any future tests. I have taken a macro shot of the engraved ply and it appears the engrave seems to form a v groove rather than a square engrave. and in test three the line shows it is not ghosting it just not engraving Test 1 Test 2 Test 3 Preview of fill & Line
Can you post the LightBurn file you’re using here?
A couple things to try:
Use more power, and set both Min Power and Max Power to the same value when filling
Make sure you don’t have “Ramp mode” enabled (in the advanced tab of the Fill settings)
Your “line after fill” looks like it worked properly, but it also looks out of focus, so I suspect that you’re just not using enough power, and haven’t focused the laser properly.
Run a ramp test to figure out where your best focus distance is, then try running another fill with Min & Max power both set to 20%. See where that gets you.
This is the file I was using In the fill only engraves the min and max power were the same so this did not make a difference.
Ramp legnth is 0 and the switch is greyed out unles i put in a figure. Flood fill is of as when that was on the engraving path was all over the place.
I have done a ramp test I will watch a video on this in case I am wrong as it look like the thinnest part of the line. I did it with line mode not fill.
I am really hoping it is just a setting as I know it is not software as it is exactly the same result with RDWorks.