Ah, that documentation is not made by LightBurn.
If you do want to try again, try using our documents here: Getting Started - LightBurn Documentation and let me know if you get stuck anywhere, so we can make our docs better! ![]()
Ah, that documentation is not made by LightBurn.
If you do want to try again, try using our documents here: Getting Started - LightBurn Documentation and let me know if you get stuck anywhere, so we can make our docs better! ![]()
I am tryinfg to configure my engraver camera now. The Sculpfun installation video screen set up for the camera with VCAm is in Chinese and it’s out of date!
The engraver is working OK. I’m happy with that.
I need to find a way to make sure that my honeycomb and tile marking the centre are square! I’ll probably set up two large set squares for this…
This should be a new subject.
You are just jumping into the most complicated topics right at the beginning ![]() I recommend getting used to the laser and all manual positioning methods before starting with a camera. The camera setup is fiddly and to make it really usable, you will need a lot of tuning and calibration. Manual positioning is much faster and more precise usually.
I recommend getting used to the laser and all manual positioning methods before starting with a camera. The camera setup is fiddly and to make it really usable, you will need a lot of tuning and calibration. Manual positioning is much faster and more precise usually.
+1 to the above comment.
Cheap and easy jigs are soooo much easier than camera. Amazon boxes are great for jigs. Single use or repeating use.
Crawl
Walk
Then Run…
I make my jigs using 2.8mm ply scraps, and black hot melt glue for the glass or bottle fixtures. Just be sure to label them. ![]()
.
Hold on … There was nothing said by the seller or anywhere that I researched that stated don’t buy a camera until I am familiar with engraving.
I bought the camera because on paper it made engraving easier as it worked out the position of the object to be engraved (doesn’t mean that I shouldn’t check it).
Just don’t say you weren’t warned.
Just to say:
I have been using my laser manually for a couple of months.
Things looked easier with a camera and lightburn so I decided to make the switch.
If I had known what I now know before I switched I would never have made it. Now that I have, I’m going to see it through to fruition.
From my experience the lightburn video on configuring a camera is very different to the images shown in lightbulbs set up in the app
I think as a result if this thread I have identified another problem that is; the camera needs to be centred for checking the cut out
From what I remember this can’t be done from the alignment cut out window and that window can’t be minimised so that it can be done from the main app.
I tried checking the cut earlier, it was out of alignment by several CM ( or inches ).
I wasn’t able to close the cut out window in order to follow the cut out trace in the app. By being able to watch it I could have determined if my camera configuration was wrong or the positioning of the laser.
I guess that I will have to position the laser manually. It won’t be long until I find out
Sure, because they want to sell it ![]() They also don’t tell you that those lasers are not permitted to be sold in EU, US, GB, Canada and most other countries. They are laser class 4 which is not allowed to be sold like that.
They also don’t tell you that those lasers are not permitted to be sold in EU, US, GB, Canada and most other countries. They are laser class 4 which is not allowed to be sold like that.
Putting that aside, laser is a very complex hobby and the more features you add, the more complex it gets. So it’s best to start with basic things and go on from there. It’s also perfectly fine to start with a full setup, but expect a steeper learning curve then.
It’s like all these people who sell a complete sports equipment because they bought everything that was available before noticing that it doesn’t make fun, or they aren’t successful ![]() Not saying you did that, but I see many people selling complete laser kits including rotaries etc. and saying it’s only used half an hour and they didn’t managed to make it work.
Not saying you did that, but I see many people selling complete laser kits including rotaries etc. and saying it’s only used half an hour and they didn’t managed to make it work.
Tony,
Glad to see that you’re still trying to use LightBurn. It is way more powerful and easier to use than the freebie software. I tried using the other one and did not like it. I’m a retired electronics technician and an on the job trained retired engineer so I’m used to having to learn how to do things on my own. I strongly recommend looking at The Louisiana Hobby Guy videos on YouTube. He is a great teacher and walks you through almost every type of engraving that you can do with your machine.
When you try to do prints, make sure you set the low laser setting as well as the high setting. I didn’t know about that at first and every print was dark.
I don’t understand why sculpfun has to be so difficult to set up? maybe it’s designed for experienced engravers and not newby’s like me.
I have had enough of trying to work this out. There appears to be one obstacle after another.
If it wasn;t for the fact that I have bought an engraver and accessories I would walk away from from it. I’ve even considered throwing it in the bin as I don’t want others to face the same issues that I have.
With regards to alignment a width or 200mm is too small. The markings go right to the edge on my engraver. That means that if the engraving alignment is more than 1mm too high it will go over the edge.
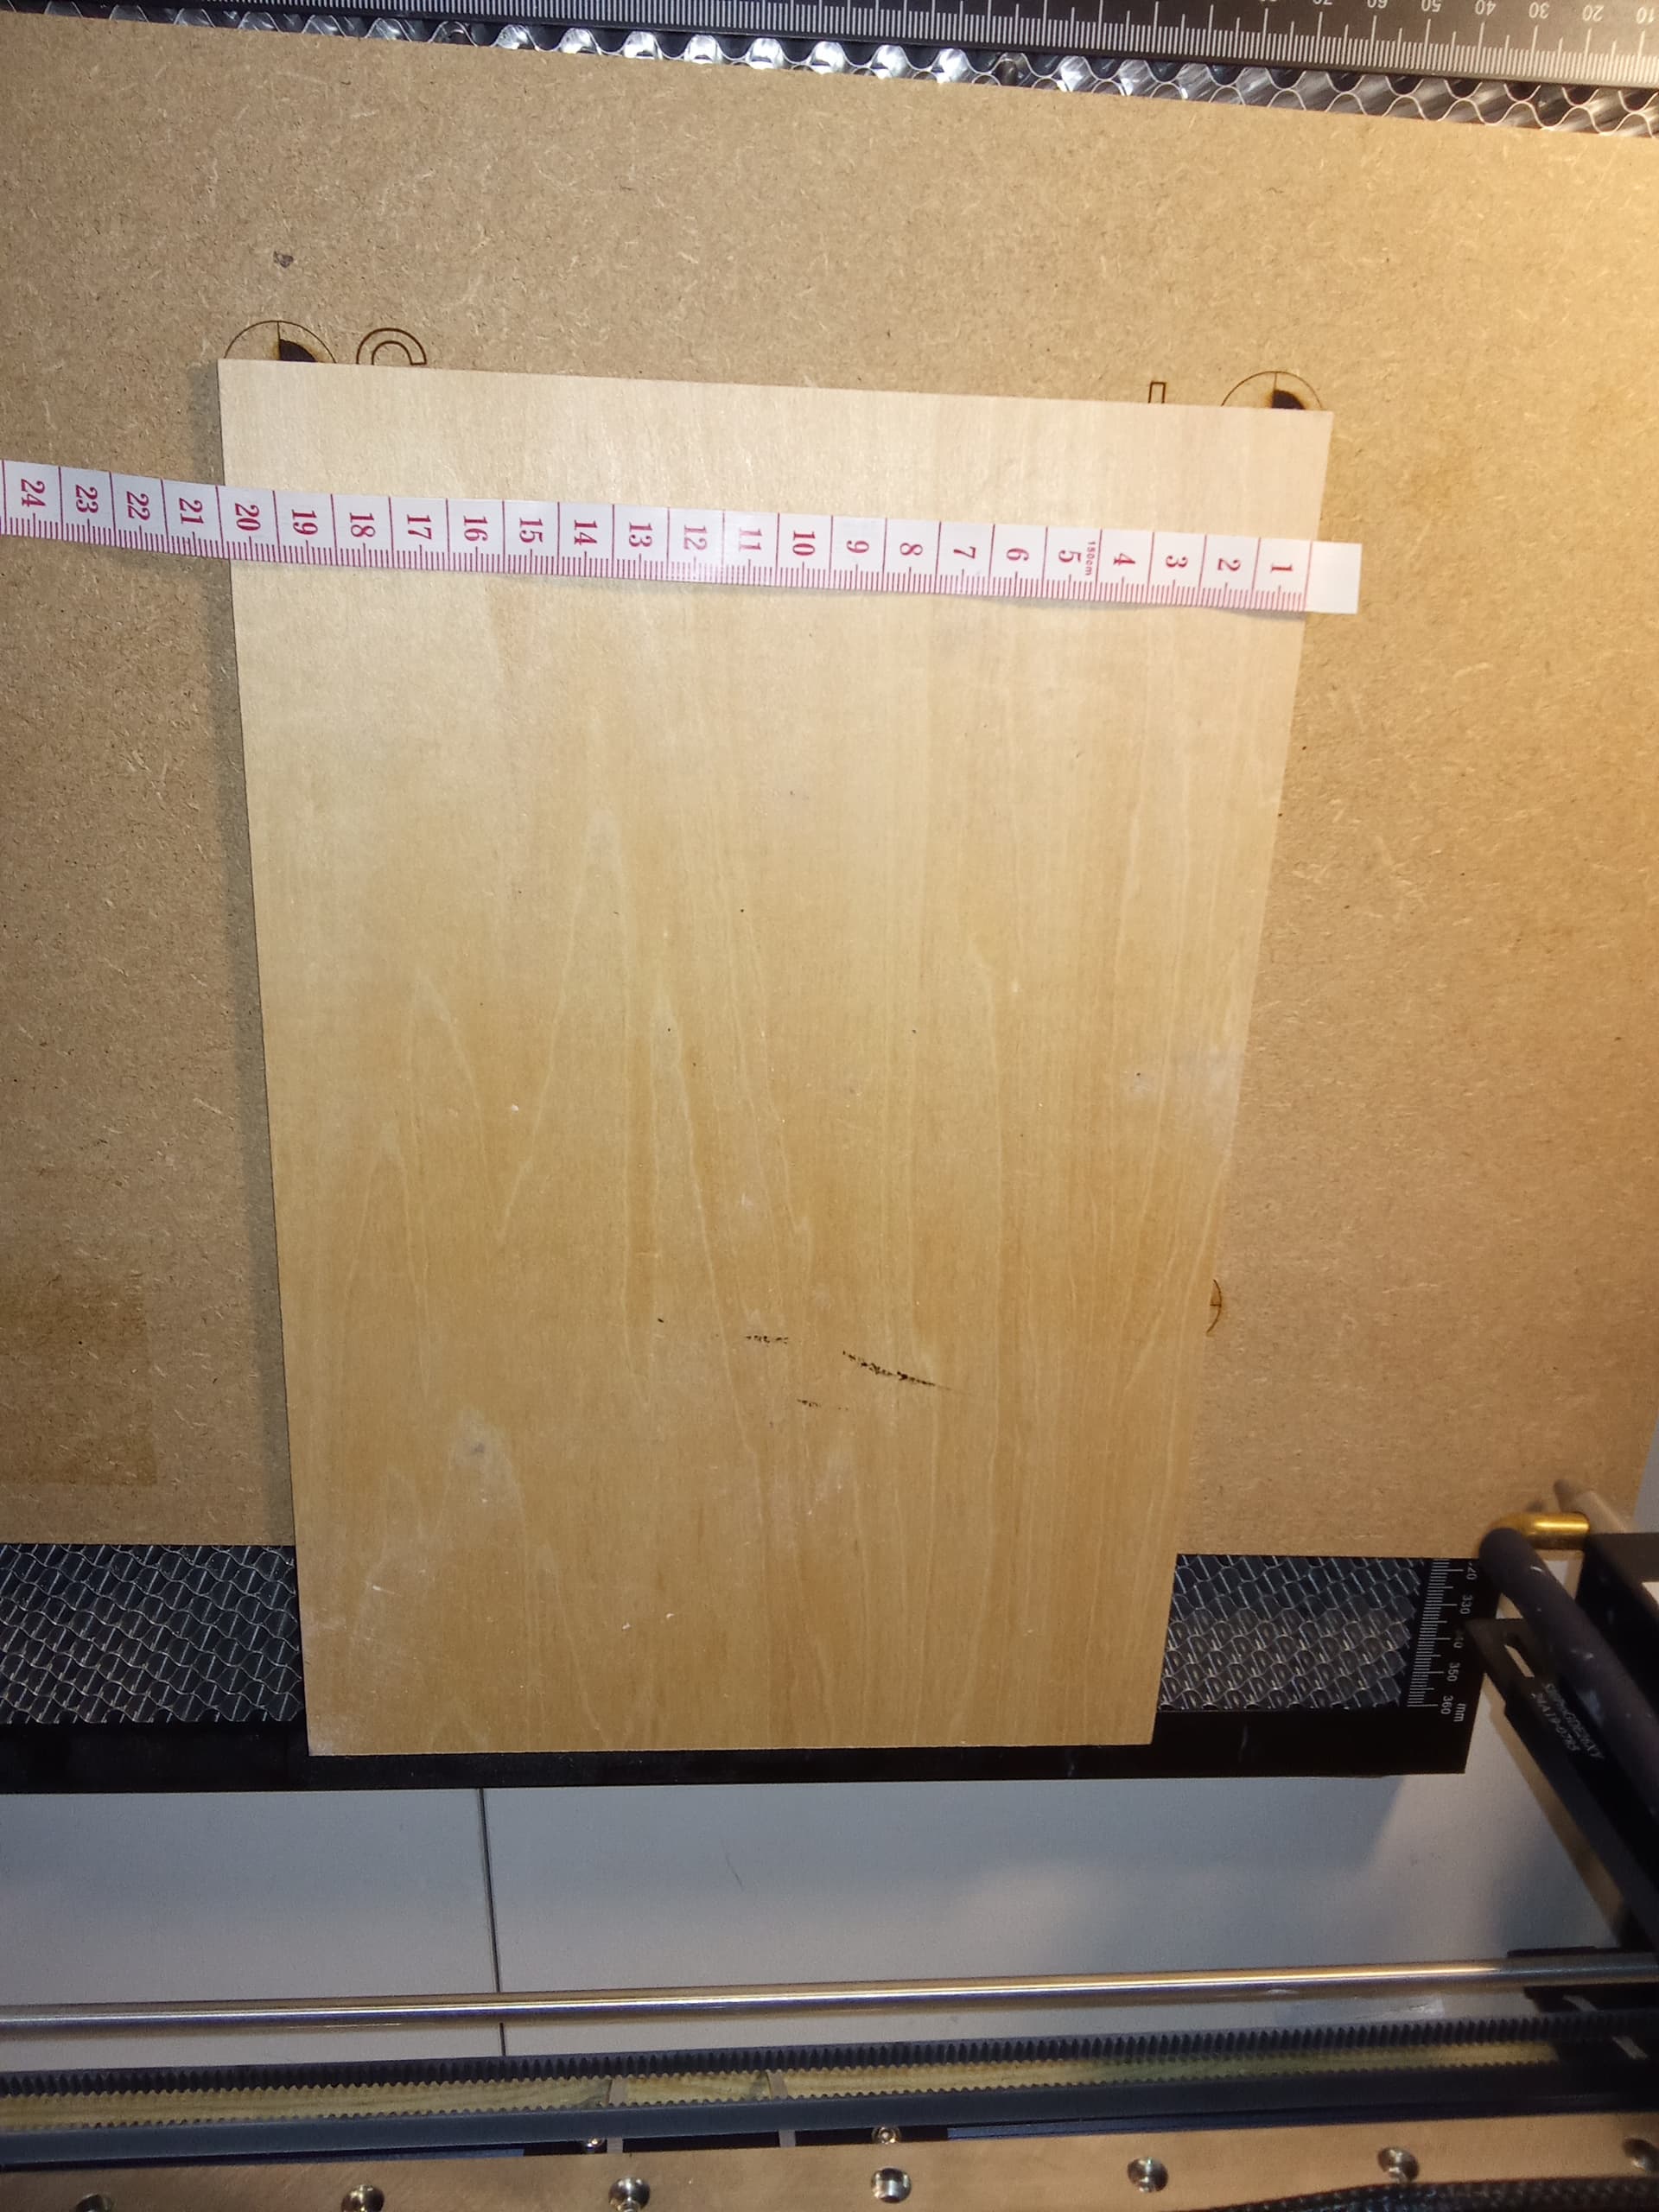
I’ve ordered A3 sized plywood over the net as I can’t buy plywood locally (unless I want 1200 x 1000mm (builders merchants)
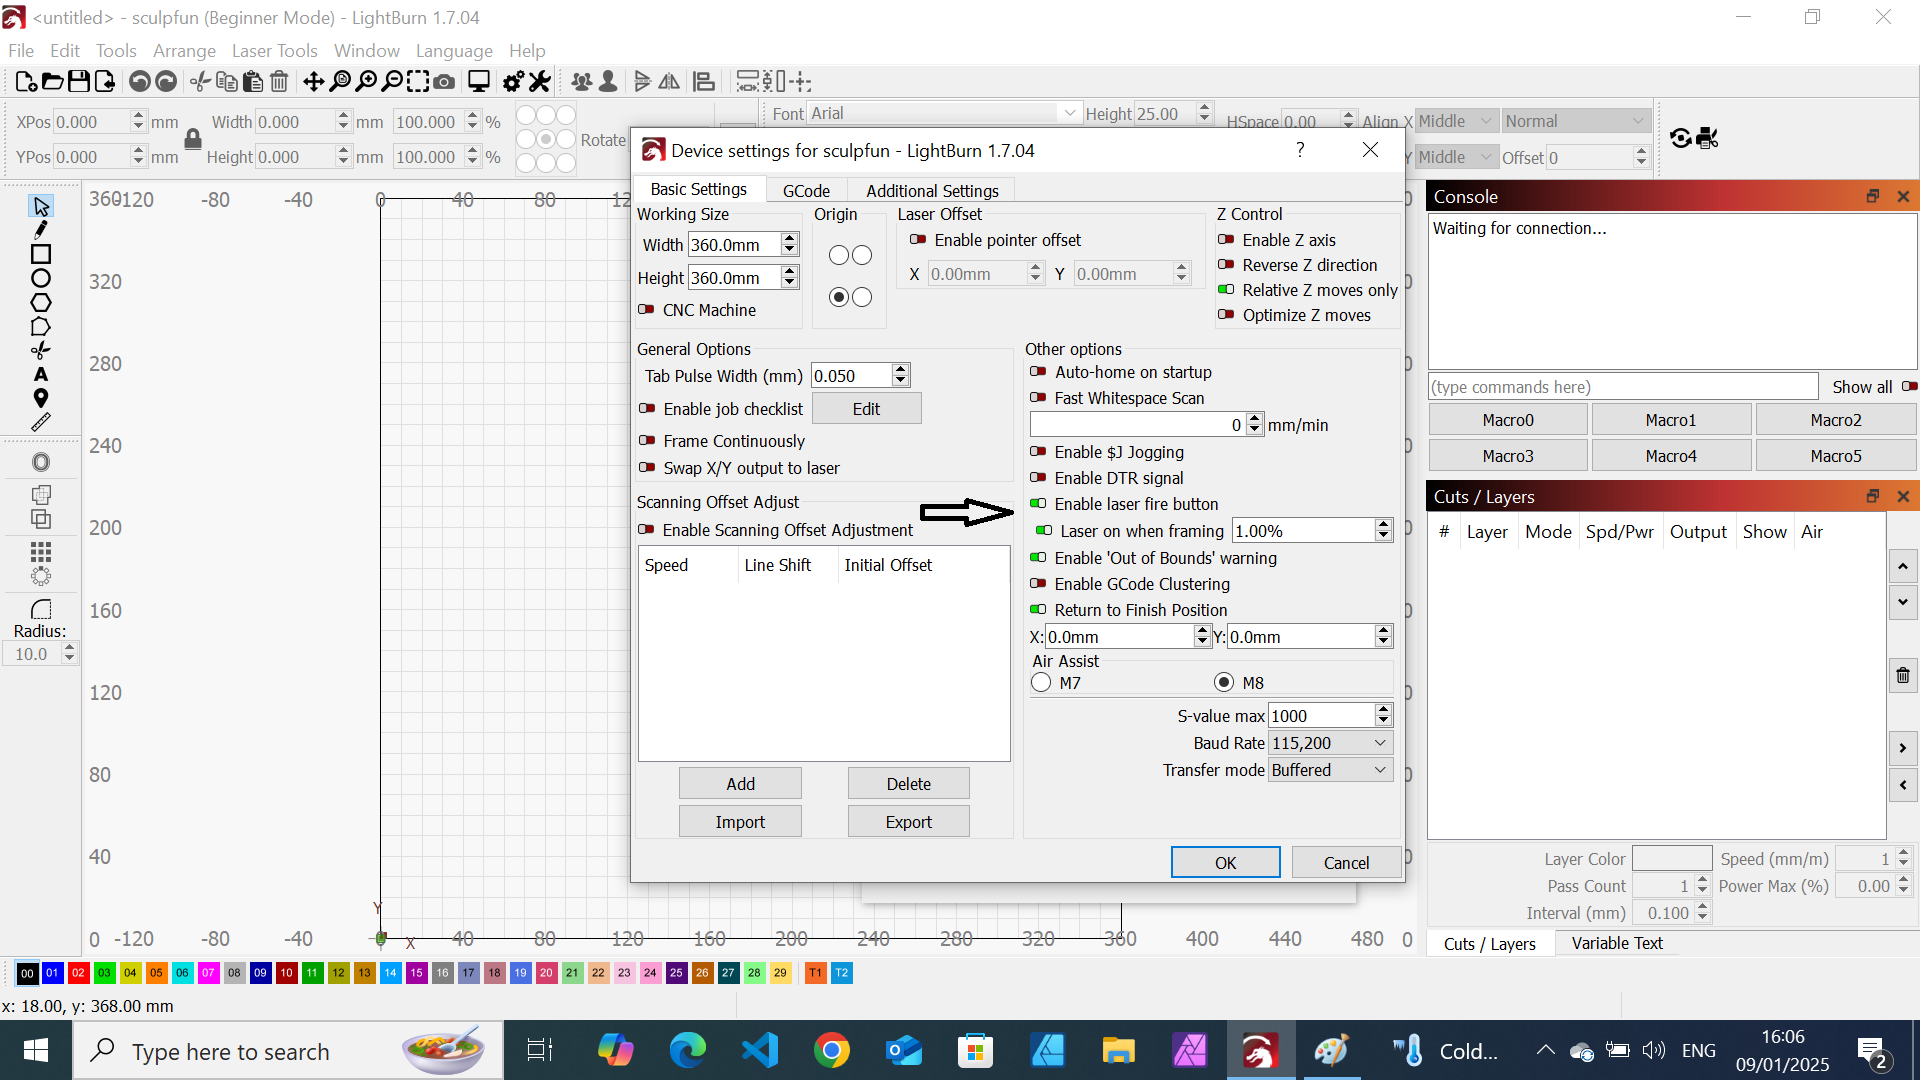
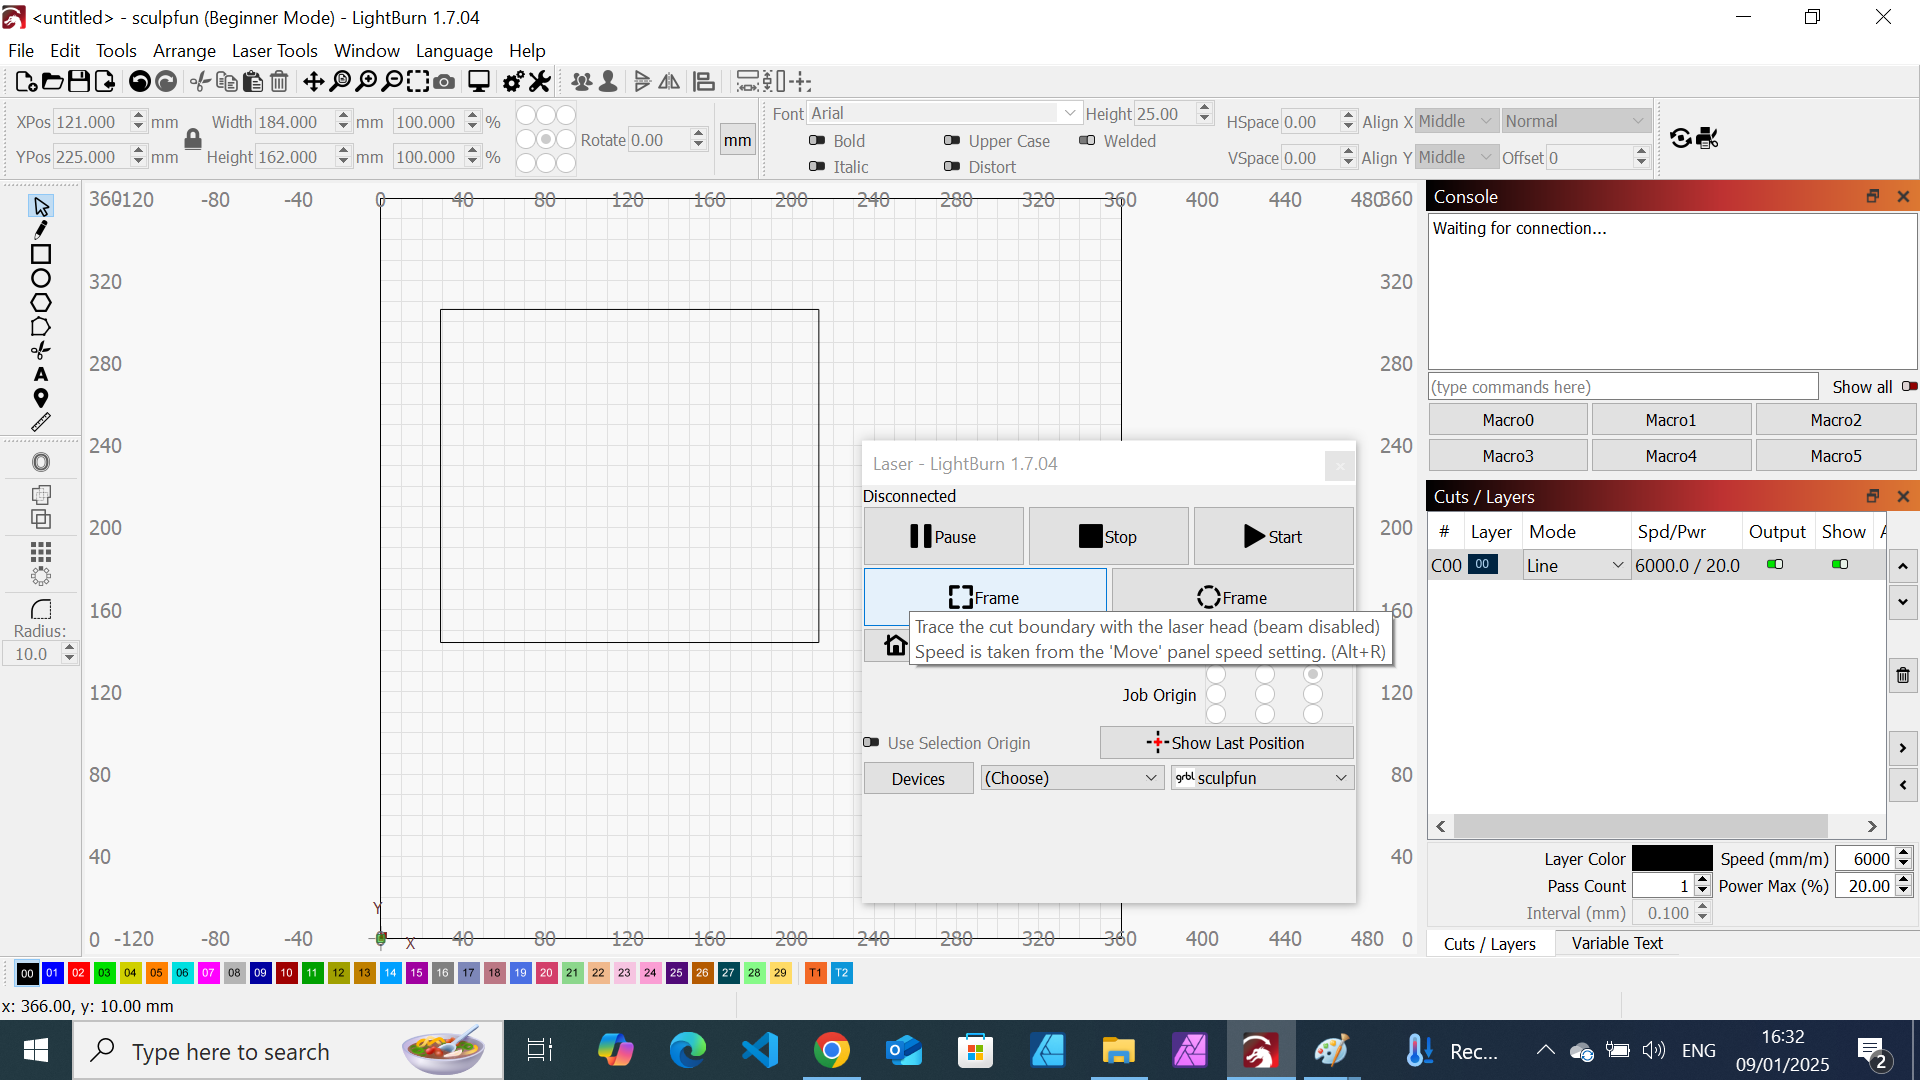
I’m also having problems with the side panel. I had problems whilst sorting out the alignment. I ended up accidentally deleting all the panels (laser, cuts. console etc). I’ve managed to put console and cuts in the side panel but I can’t put the laser panel back. I’ve attached 2 screen prints.
What windows are normally in the side panel?
I also can’t find where to fine tune the cutting settings (the cuttings window only gives speed and % strength).
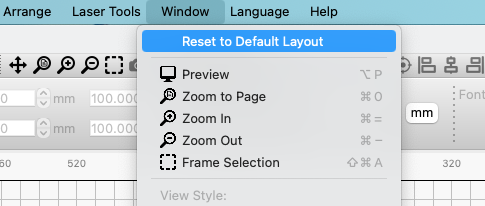
In the Window menu> Reset to Default Layout.
Rather than wasting expensive material, do your testing with cardboard.
That is it for diode lasers, except for 1 more. You can increase the burn by adding more passes.
Remember a laser is a binary machine. It is either burning or it is not. We get the in-between by playing with the settings.
Repeating @thelmuth , top of screen, Window, Reset to Default Layout. I used this a lot when first starting out.
My first Sculpfun machine needed a parameter change. The next two required nothing to be done to the machine to use them with Lightburn. What you are doing is telling Lightburn about your machine. There are a gazillion machines out there, so it cannot possibly know them all without being setup.
Slow down and go slow. Do not be overwhelmed by all there is to know about this hobby. I too was clueless about how much I would get to learn, and am still learning. Read, watch, and ask everything you can. This is the first hobby I have had where I did not get tired of it within a year or two.
All of those lasers need some time to be set up. If you come back in half a year, you will be smiling upon those questions you had in the beginning. We all had them. As I said, lasering is extremely complex, though it doesn’t seem to be at the first glance.
And a major factor - the price tag. 10 years ago, any laser you could buy cost $10,000 and up. For such a laser, you could expect great hardware, premium support, and you got it. Of course, mostly professionals were using them.
Now, remember what you paid for it. $300? So you need to adapt your expectations. At such a price tag, you will get the most basic hardware (and as few of it as possible). Support from overseas is also quite difficult to provide / get. You get what you pay for. If you pay $2000 for a premium Sculpfun, xTool or Creality laser, you get more and easier setup. But still, consider home / hobby laser still in the early stages as 3D printers were 15 years ago. This business will evolve a lot in the coming years and setup will be easier. But it takes some time.
I glanced through this topic. Don’t care to get too involved, other than to reiterate what’s been said. I recently started from scratch, as well. The very first steps are by far the hardest. So many new concepts! I started with Vectric for my One Finity with add on J-Tech, but have been recently using a Creality with Lightburn.
Don’t blame Lightburn for your challenges. Imagine writing software that needs to be good for experts, newbies, CO2, Diode, Fibre lasers, PCs and iOS, and… a thousand different machines, machine OSes … and so on!
LB is DIRT CHEAP compared to so many other apps. I paid $2k for Aspire. I paid $550 per year for F360. This is just a brief example. I give you a money back guarantee that LB is a top contender, worth every penny.
Anything worth learning takes time. If you want to use a less robust option that requires you to apply less effort maybe lasergrbl is a better option for you.
I disagree…
The difficulties that can be experienced in setting up lightburn with a camera are not mentioned in any videos issued by lightburn or the manufacturers. To that end, Lightburn’s video makes it look simple to set up a camera.
If I was made aware of the difficulties that can be experienced it wouldn’t have stopped me from buying and would have more likely made me save up to buy a lightburn camera which is supposed to be easier to configure.
Also, I wasn’t aware that I could use card to configure my laser as plywood is used in the video.
I have bought some card as someone suggested. It also got me thinking about using card. From what I have learned through photography, I am hoping that the contrast between the white card and the lasered circles will make it easier to configure the settings.
Also, I wasn’t aware that configuration was required for each thickness of material. I configured my laser without my honeycomb. The reason being that I kept getting error messages which I interpreted to be caused by the honeycomb. It’s smaller than my laser’s frame. Not having the honeycomb for the configuration may be the cause of the misalignment. I will find out when I reconfigure my laser.
From my point of view, the introduction to setting up a camera in your video could be better i.e. consider that users aren’t familiar with laser cameras, their setting up and explain about the use a honeycomb during set up. You could also go through the whole configuration process using a white sheet of card.
From my point of view, I bought the camera in Asa result of watching videos and the belief that it would save framing and realigning material. Instead, it appears that a camera is only useful if I was to do a lot of lasering . As I now have a camera I might as well set it up.
I have been a tutor in the past and taught sailing, and a rehabilitation program. Which is a big contrast. The one thing that they had in common was to assume that learners have no prior knowledge and to guage where learners are at at the start of each course) session.
It’s not so easy for videos, but experienced users can scroll through and skip what they already understand.
Ok. Then it looks like we’re done here. Hope you find success.
There is another source of information about using cameras with Lightburn.
The Lightburn Forum.
I too was considering a camera for two of my machines. Some research told me it was not worth the effort and hassle for my situation. I am way past tinkering with stuff.